Acrylic paint primer ensures better adhesion of paint to surfaces and enhances the paint’s durability. It also provides a consistent base for topcoats.
Acrylic paint primer is essential for achieving a professional finish in painting projects. It prepares the surface by sealing pores and creating a smooth texture. This primer is versatile and works on various materials, including wood, metal, and drywall. Its quick-drying properties save time, allowing for faster project completion.
Using acrylic primer reduces the number of paint coats needed, making it cost-effective. It also improves the longevity of the paint job, preventing peeling and chipping. For best results, apply the primer evenly and let it dry thoroughly before painting.
The Magic Of Acrylic Paint Primers
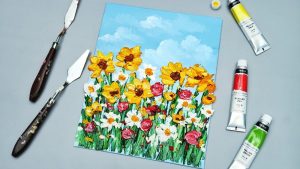
Acrylic paint primers are essential for artists. They help create smooth surfaces. These primers prepare your canvas for painting. Understanding their magic can transform your artwork.
Why Primers Matter
Primers make your paint stick better. They cover the surface evenly. Primers also fill tiny holes and cracks. This ensures a smooth painting experience.
- Better adhesion: Paint sticks to the primer easily.
- Smooth surface: No bumps or rough spots.
- Even color: Your colors will look more vibrant.
Primer And Acrylic Paint Chemistry
Acrylic primers have special chemicals. These chemicals help the paint bond. They create a strong layer. This layer holds the paint firmly.
| Component | Function |
|---|---|
| Binders | Hold the paint together |
| Pigments | Add color and coverage |
| Solvents | Help spread the primer |
Using a primer also prevents paint from soaking in. This saves paint and money. It also enhances the final look of your art.
Choosing The Right Primer
Choosing the right primer is crucial for a smooth painting experience. The right primer ensures better adhesion, durability, and a flawless finish. Let’s dive into the specifics to help you make an informed choice.
Types Of Acrylic Primers
Acrylic primers come in various types, each with unique features. Understanding these types helps you choose the best one for your project.
- Water-Based Acrylic Primer: Ideal for indoor projects, easy to clean.
- Oil-Based Acrylic Primer: Perfect for surfaces needing extra durability.
- Shellac-Based Acrylic Primer: Great for sealing stains and odors.
Factors To Consider
Several factors play a role in selecting the right acrylic primer. Evaluate these elements before making your decision.
| Factor | Details |
|---|---|
| Surface Type | Consider if the surface is wood, metal, or drywall. |
| Coverage | Choose a primer that offers good coverage with fewer coats. |
| Drying Time | Some primers dry faster, which is ideal for quick projects. |
| Compatibility | Ensure the primer is compatible with your chosen paint. |
By considering these factors and understanding the types, you’ll find the best acrylic primer for your needs. A well-chosen primer leads to a beautiful, long-lasting finish.
Preparing Your Canvas
Before you start painting, preparing your canvas is essential. Proper preparation ensures your artwork looks vibrant and lasts longer. Let’s explore the steps involved in this process.
Surface Cleaning
Start by cleaning your canvas surface. Dust and dirt can affect paint adhesion. Use a soft, lint-free cloth to wipe the canvas. For stubborn spots, dampen the cloth slightly with water.
Do not use harsh chemicals. They can damage the canvas fibers. Ensure the surface is completely dry before applying primer.
Applying The Primer
Once the canvas is clean, it’s time to apply the primer. Primer helps the paint adhere better and provides a smooth surface.
Follow these steps for best results:
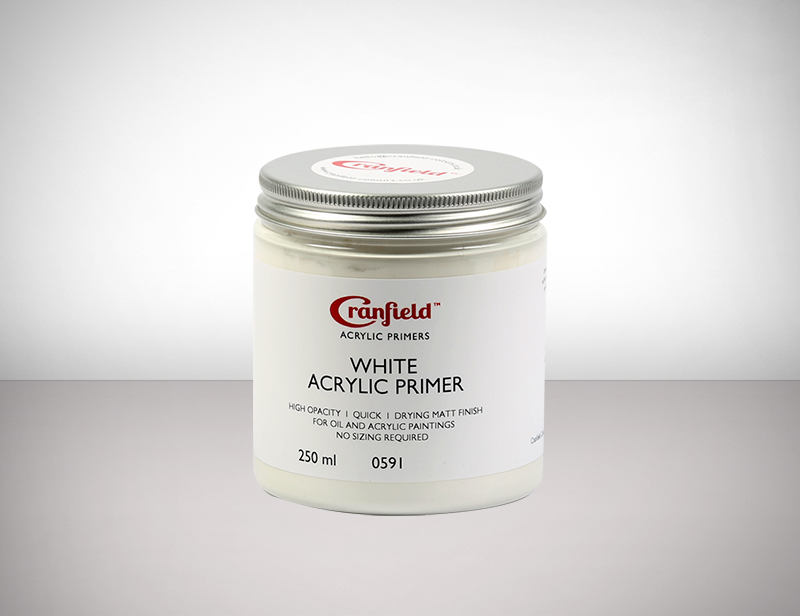
- Choose a high-quality acrylic primer.
- Use a wide, flat brush for even coverage.
- Apply a thin, even coat of primer.
- Let the first coat dry completely.
- Apply a second coat for better coverage.
Allow the primer to dry completely. This usually takes a few hours. Your canvas is now ready for acrylic painting.
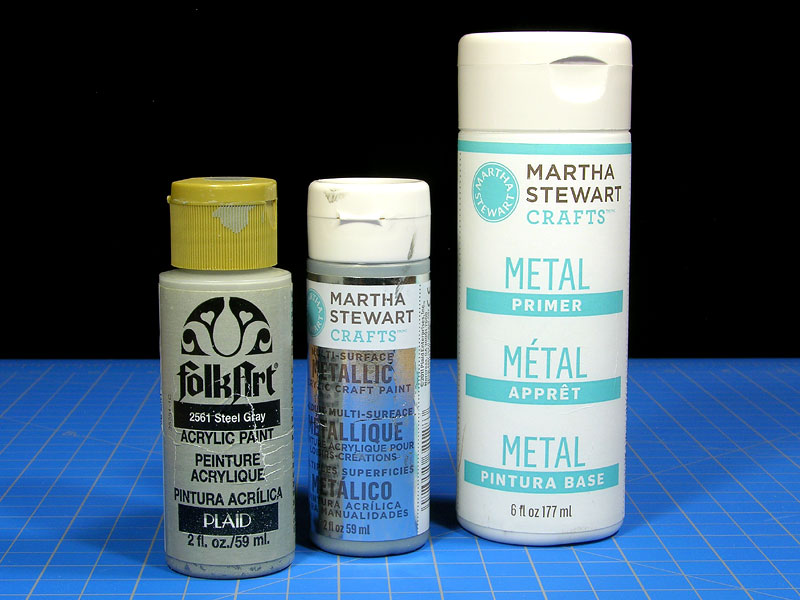
Credit: www.raildig.com
Primer Application Techniques
Applying acrylic paint primer correctly is important for a smooth finish. This section will guide you through the best techniques for applying primer.
Tools Of The Trade
To apply primer, you need the right tools. Here is a list of essential items:
- Brushes: Use high-quality brushes for detailed areas.
- Rollers: Rollers cover large areas quickly and evenly.
- Sprayers: Sprayers are perfect for a smooth, professional finish.
- Sandpaper: Sandpaper helps to smooth surfaces before priming.
- Drop Cloths: Protect floors and furniture with drop cloths.
Achieving An Even Coat
To achieve an even coat, follow these steps:
- Clean the surface with soap and water. Let it dry.
- Use sandpaper to smooth any rough spots.
- Stir the primer to ensure an even consistency.
- Apply a thin coat of primer with a brush or roller.
- Let the first coat dry completely.
- Lightly sand the first coat to remove any imperfections.
- Apply a second coat if necessary for better coverage.
Here are some tips for a perfect finish:
- Work in small sections to ensure even application.
- Keep a wet edge to avoid lap marks.
- Avoid overloading the brush or roller to prevent drips.
- Use even pressure to spread the primer consistently.
These techniques will help you achieve a professional-looking primer coat. Using the right tools and methods makes a big difference.
Drying And Curing Primer
Acrylic paint primer is crucial for preparing surfaces before painting. It ensures better adhesion, durability, and a smoother finish. Understanding the drying and curing process is essential for optimal results.
Drying Times
Drying times for acrylic paint primer vary based on factors like temperature and humidity. On average, primers dry to the touch within 30 minutes to 1 hour. Full curing takes between 24 to 72 hours.
Here’s a quick reference table for drying times:
| Condition | Drying Time |
|---|---|
| Touch Dry | 30 minutes – 1 hour |
| Recoat Time | 2 – 4 hours |
| Full Cure | 24 – 72 hours |
Troubleshooting Common Issues
Sometimes, issues arise during the drying and curing process. Here are common problems and solutions:
- Tacky Surface: Ensure adequate ventilation. Use a dehumidifier if needed.
- Uneven Drying: Apply thinner coats. Ensure even application.
- Cracking: Avoid thick layers. Allow proper drying time between coats.
- Peeling: Ensure the surface is clean. Sand the area before applying primer.
By addressing these common issues, you can achieve a smooth, durable finish with your acrylic paint primer.
Layering Acrylics Over Primer
Layering acrylics over primer enhances your painting experience. A primer prepares the canvas and ensures better adhesion of the paint. This results in a smoother, more vibrant finish. Using a primer can also save paint and help achieve the desired look faster.
Building Color Depth
To build color depth, start with a thin layer of acrylic paint. Let each layer dry before adding the next one. This method creates rich, deep colors. Use a variety of brushes for different effects. Thicker brushes cover large areas, while thinner ones add fine details.
| Brush Type | Usage |
|---|---|
| Flat Brush | Large areas and background |
| Round Brush | Details and lines |
| Fan Brush | Textures and blending |
Maintaining Vibrancy
Maintaining vibrancy in your painting is crucial. Use high-quality acrylic paints. These paints have more pigment and stay vibrant longer. Apply a final coat of varnish to protect the colors. This also gives the painting a finished look.
- Use high-quality paints
- Layer paints thinly
- Protect with varnish
Mix colors carefully to avoid dullness. Always clean brushes between colors. This keeps your colors bright and true to their original hue. Proper care and technique ensure a vibrant, lasting artwork.
Sealing And Protecting Your Artwork
Acrylic paint primer helps your artwork last longer. Sealing and protecting your artwork is key. It keeps colors vibrant and shields against damage. Let’s explore how to seal and protect your art.
Sealants And Varnishes
Sealants and varnishes add a protective layer to your artwork. They safeguard against dust, dirt, and UV rays. This keeps your colors bold and bright.
Here are some popular options:
- Gloss Varnish: Gives a shiny finish and enhances colors.
- Matte Varnish: Offers a non-reflective, flat finish.
- Satin Varnish: Balances between glossy and matte finishes.
Applying sealants is simple. Use a clean brush and even strokes. Let each layer dry fully before adding the next. This ensures a smooth, protective coat.
Longevity Of Your Art
Proper sealing extends the life of your artwork. It protects against environmental factors like moisture and sunlight. This keeps your art looking fresh for years.
Here’s a quick guide to ensuring longevity:
- Prepare: Make sure the artwork is clean and dry.
- Apply Primer: Use an acrylic paint primer for a solid base.
- Seal: Choose the right sealant for your finish.
- Store: Keep artwork in a cool, dry place away from direct sunlight.
Regular maintenance is also crucial. Dust your artwork gently with a soft cloth. Avoid using harsh chemicals or cleaners.
| Sealant Type | Finish | Protection Level |
|---|---|---|
| Gloss Varnish | Shiny | High |
| Matte Varnish | Flat | Moderate |
| Satin Varnish | Semi-Shiny | High |
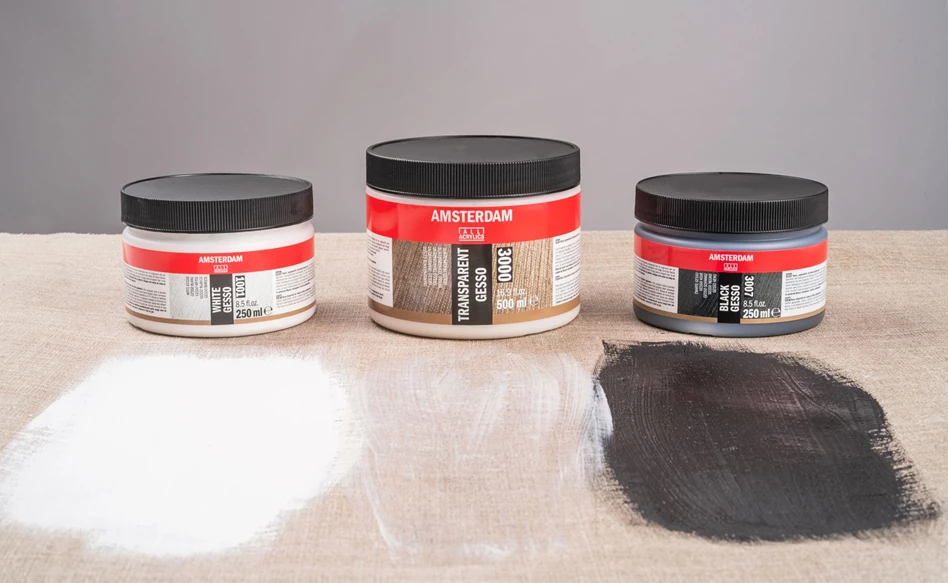
Credit: www.amsterdam-acrylics.com
Advanced Primer Techniques
Advanced primer techniques can elevate your artwork. These methods add depth and character. Learn about texturing methods and mixing media with primers. These techniques can make your paintings stand out.
Texturing Methods
Texturing primers can create interesting surfaces. Use these methods for unique effects.
- Stippling: Dab the primer with a brush for a dotted texture.
- Scraping: Use a palette knife to scrape the primer. This creates lines and grooves.
- Sponging: Apply primer with a sponge for a textured, uneven surface.
Mixing Media With Primers
Mixing media with primers can add layers of interest. Combine different materials for unique effects.
| Media Type | Effect | Application |
|---|---|---|
| Sand | Grainy texture | Mix with primer and apply |
| Gel Medium | Thicker consistency | Blend with primer for depth |
| Glitter | Sparkling finish | Mix with primer and apply |
Credit: www.craftystudio.ie
Frequently Asked Questions
Do I Need A Primer For Acrylic Paint?
Yes, using a primer for acrylic paint is recommended. It improves adhesion, ensures even coverage, and enhances durability.
What Is The Difference Between Acrylic Primer And Normal Primer?
Acrylic primer is water-based and dries quickly. Normal primer can be oil or water-based. Acrylic primer is suitable for most surfaces and offers better adhesion and flexibility. Normal primer might not provide the same level of durability.
What Is An Acrylic Primer Used For?
An acrylic primer prepares surfaces for painting by ensuring better adhesion. It also seals porous materials and prevents paint from peeling.
What Do You Put On Before Acrylic Painting?
Apply a layer of gesso to the canvas before acrylic painting. It primes the surface and improves paint adhesion.
What Is Acrylic Paint Primer?
Acrylic paint primer is a preparatory coating applied before painting. It improves paint adhesion and durability.
Why Use An Acrylic Paint Primer?
Using an acrylic paint primer enhances paint adhesion, coverage, and longevity. It also helps to cover stains and imperfections.
Can I Use Acrylic Primer On Wood?
Yes, acrylic primer works well on wood surfaces. It seals the wood and provides a smooth painting surface.
How Long Does Acrylic Primer Take To Dry?
Acrylic primer typically dries within 30-60 minutes. Drying time can vary based on temperature and humidity.
Conclusion
Choosing the right acrylic paint primer is essential for a flawless finish. It prepares the surface, ensuring durability and vibrant colors. Remember to pick a high-quality primer suited to your project needs. This step will make your painting process smoother and more enjoyable.
Happy painting!