Painting a room can transform a space and reflect your personal style.
Imagine walking into a room that perfectly mirrors your personality, from the walls to the decor. Painting might seem simple, but the impact is profound and lasting. Engaging in a DIY room painting project can be both empowering and rewarding. This comprehensive guide will walk you through every detail of the process, combining expert tips with personal insights, to ensure your room looks stunning and professionally done. Whether you’re freshening up a space or completely transforming it, knowing how to paint effectively makes all the difference. Let's dive in!
Preparing the Room
Before you dive into the fun part—choosing paint colors and actually painting—it’s imperative to prepare the room. Preparation sets the foundation for a flawless finish.
Clear the Space
- Remove all furniture or move it to the center and cover with drop cloths.
- Take down wall hangings and fixtures. This keeps everything protected and accessible.
Clean the Walls
- Dust and wash the walls to remove any dirt or grime that could affect paint adhesion.
- Fill holes and cracks with spackling paste. Let it dry, then sand smooth.
Protect Surfaces
- Use painter's tape around windows, trim, and outlets to ensure clean lines.
- Lay drop cloths on the floor to catch drips and spills.
Choosing the Right Paint and Tools
The type of paint and tools you select can make or break your project.
Types of Paint
- Latex paint: Perfect for walls, it's easy to clean and long-lasting.
- Oil-based paint: Ideal for trim, offering a durable, glossy finish.
Finish Types
- Matte: No shine, good for low-traffic areas.
- Eggshell: Slightly shiny, good for moderate-traffic areas.
- Semi-gloss: Shiny and durable, great for trim and high-traffic areas.
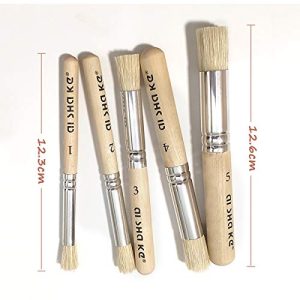
Essential Tools
- Brushes: A variety of angles and sizes matter.
- Rollers: Use a roller with the correct nap for your wall texture.
- Trays and liners: Keep paint accessible without making a mess.
Painting Techniques
Implementing correct painting techniques ensures a professional-looking result.
Cutting In
- Start by painting the edges of the room with a brush, a process known as "cutting in."
- Work in sections to keep edges wet and avoid visible marks.
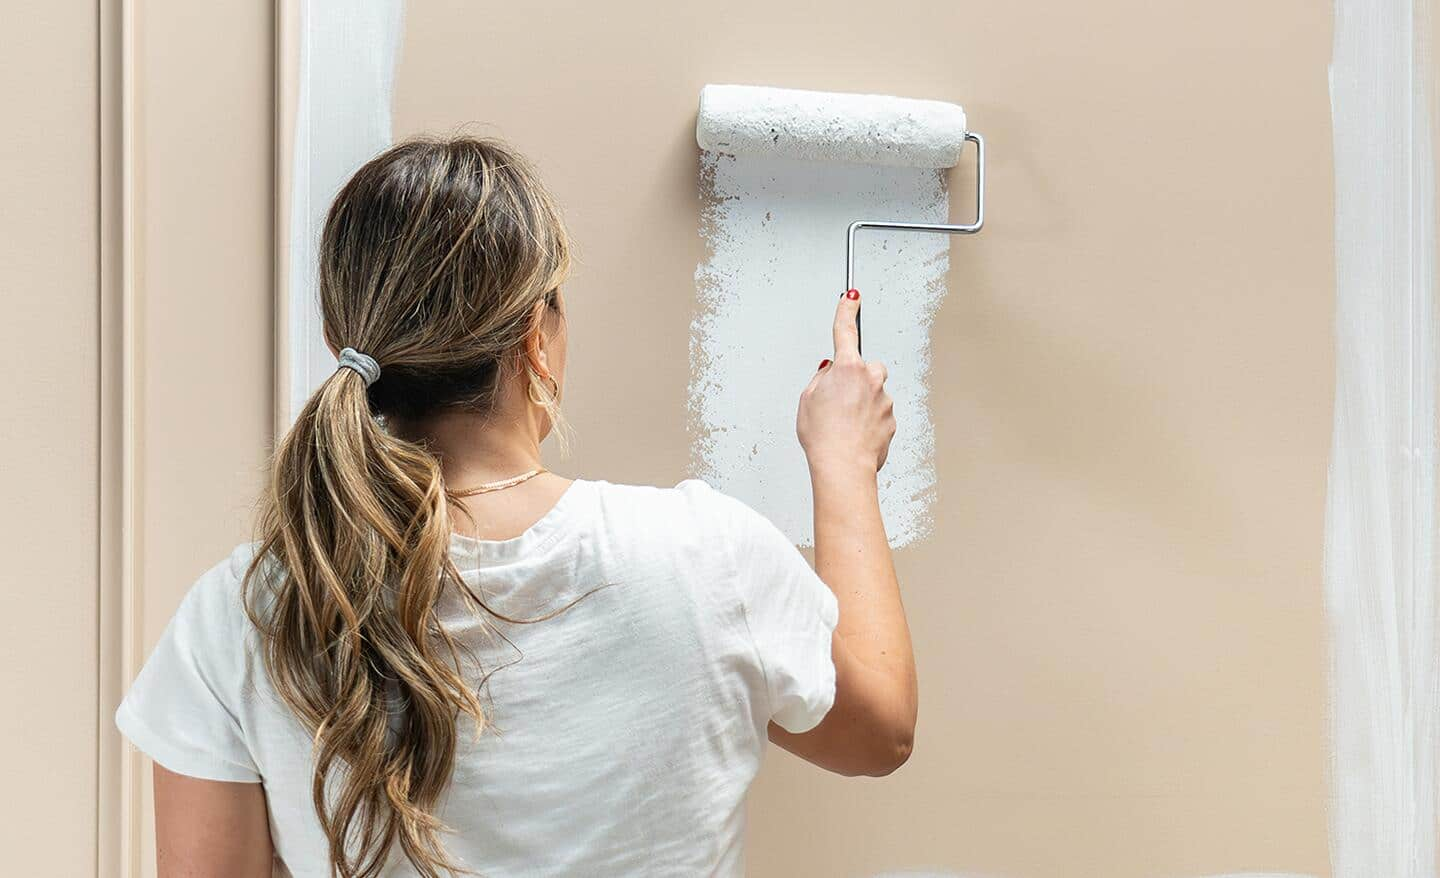
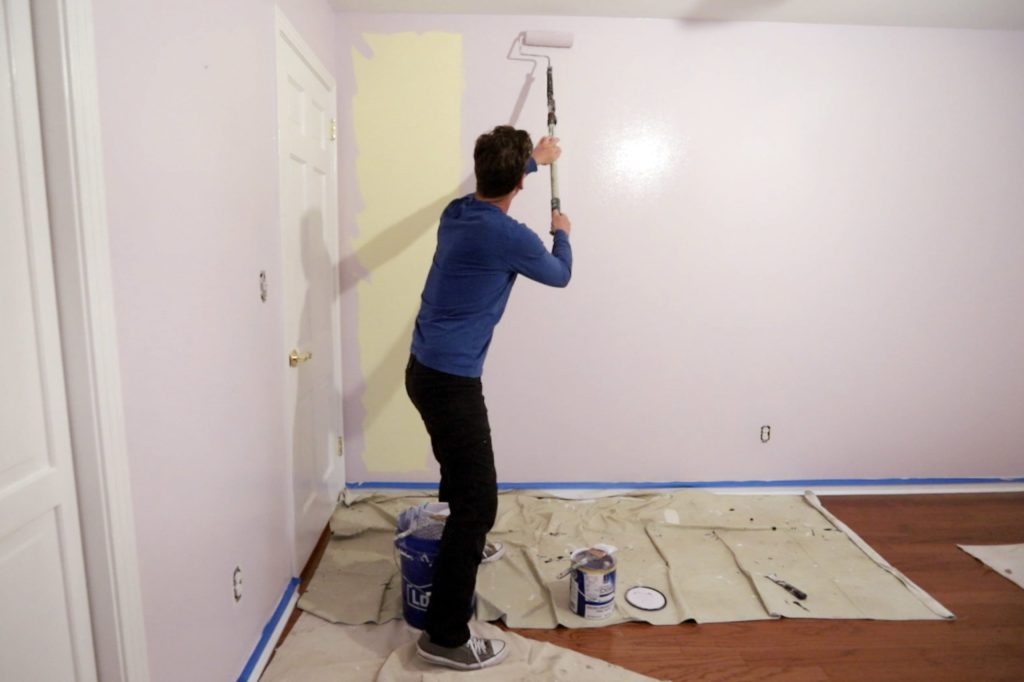
Rolling the Walls
- Use a "W" pattern with your roller to ensure even coverage.
- Overlap sections and roll from top to bottom to blend.
Multiple Coats
- Apply at least two coats, allowing each layer to dry before adding the next.
Common Mistakes to Avoid
A successful painting project means avoiding common pitfalls.
Oversaturation
- Don’t overload the brush or roller to prevent drips and uneven coverage.
Neglecting Primer
- Always use a primer, especially on new or dark surfaces, to ensure vibrant color and better adhesion.
Skipping Cleanup
- Clean tools immediately after finishing to extend their life and performance.
Frequently Asked Questions of DIY Guide to Painting a Room
How long should I wait between coats?
Typically, wait at least 4 hours between coats. However, always check the paint can instructions for the best results.
What’s the best finish for a child’s room?
An eggshell or satin finish is ideal for a child’s room as it’s durable and easy to clean.
How can I avoid brush marks?
Use high-quality brushes and apply paint with long, even strokes for a smoother finish.
Is it necessary to sand before painting?
Yes, sanding helps create a smooth surface and improves paint adhesion, especially on glossy surfaces.
Can I paint over wallpaper?
It’s possible but not recommended. Removing wallpaper before painting ensures a smoother finish and better durability.
Conclusion
Painting a room not only revamps the space but also gives it life and character that resonates with you. By following this DIY guide, you’re equipped with the knowledge and confidence to tackle any painting project. Remember, attention to detail and patience are keys to success. Now, it’s your turn to unleash your creativity and transform your room into a masterpiece. Ready to get started? Grab your brushes, pick your colors, and make sure to share your transformation journey with others or seek feedback in the comments below!