Are you ready to bring the delicate beauty of watercolor painting into your digital art? Learning how to do digital watercolor in Procreate opens up a world where you can create stunning, fluid artwork without the mess or hassle of traditional paints.
Whether you’re a beginner or looking to refine your skills, this guide will walk you through the simple steps to master watercolor effects on your iPad. By the end, you’ll have the confidence to make your digital paintings come alive with soft washes, vibrant colors, and natural textures—just like real watercolor on paper.
Keep reading to unlock the secrets that will transform your art and make your creations truly stand out.
Setting Up Procreate
Setting up Procreate is the first step to creating beautiful digital watercolor art. Preparing your canvas, brushes, and workspace correctly helps you paint smoothly and efficiently. This section guides you through essential setup steps to start your digital watercolor journey.
Choosing Canvas Size
Select a canvas size that fits your project needs. Larger canvases offer more detail but use more memory. A common size is 3000 x 4000 pixels for good quality and performance. You can always resize later, but starting right saves time. Adjust resolution to 300 DPI for clear prints. This size works well for most digital watercolor artworks.
Importing Watercolor Brushes
Watercolor brushes give your art a natural look. Procreate supports importing brushes easily. Download brush packs from trusted sources or create your own. Open Procreate, tap the brush icon, and select “Import.” Find your brush file and add it. Test brushes on a new layer to see their effect. Proper brushes mimic watercolor textures and blending.
Organizing Your Workspace
Keep your workspace clean for better focus. Arrange tools and brushes you use most often within easy reach. Use Procreate’s brush favorites to save your watercolor brushes. Create custom palettes with colors you plan to use. Hide unnecessary panels to avoid distraction. A tidy workspace helps you paint faster and with less hassle.
Selecting Watercolor Brushes
Selecting the right watercolor brushes in Procreate shapes your entire digital painting experience. The brush you choose affects how your colors blend and flow. It can give your art a realistic or stylized look. Understanding different brush types and settings helps you paint with more control and creativity. You can also make unique brushes that fit your style perfectly. Let’s explore how to pick and customize watercolor brushes for Procreate.
Types Of Watercolor Brushes
Procreate offers many watercolor brushes that mimic real paint effects. Some brushes create soft washes, while others add texture or rough edges. Flat brushes cover large areas smoothly. Round brushes give more detail and control. Dry brushes add grainy, textured strokes. Wet brushes blend colors softly, like real watercolors. Using different types helps build depth and interest in your artwork.
Customizing Brush Settings
Adjusting brush settings changes how your strokes behave. You can control size, opacity, and flow to suit your needs. Lower opacity creates light washes, while higher opacity makes bold marks. Changing the flow controls how much paint appears with each stroke. You can also adjust wetness to create blending or drying effects. Play with these settings to find the perfect balance for your painting style.
Creating Your Own Brushes
Procreate lets you create custom watercolor brushes from scratch. Start by opening the Brush Studio and selecting “Create new brush.” You can adjust shape, grain, and dynamics to design unique effects. Import textures to add realism or experiment with settings for unusual results. Custom brushes give your art a personal touch and help you stand out. Save your creations for future use and keep refining your digital watercolor toolkit.
Creating A Sketch
Starting with a clear sketch is essential in digital watercolor art. It sets the base for your painting and guides your strokes. In Procreate, sketching feels natural and smooth, making it easy to plan your artwork.
This phase helps you define shapes and forms before adding colors. Keep your lines light and simple to maintain flexibility for changes later.
Using Pencil Brushes
Procreate offers many pencil brushes that mimic real pencils. These brushes create soft, natural lines perfect for sketching. Choose a brush with a light opacity and texture for a realistic feel.
Adjust the brush size for fine details or broad strokes. Experiment with pressure sensitivity to vary line thickness. This adds depth and interest to your sketch.
Layer Management For Sketching
Create a new layer specifically for your sketch. Keeping the sketch separate from other layers allows easy edits. You can lower the layer opacity to make the sketch faint.
This makes painting on layers above easier without the sketch dominating the view. Rename your layers clearly for better organization. Using multiple sketch layers helps refine your drawing step by step.
Credit: www.skillshare.com
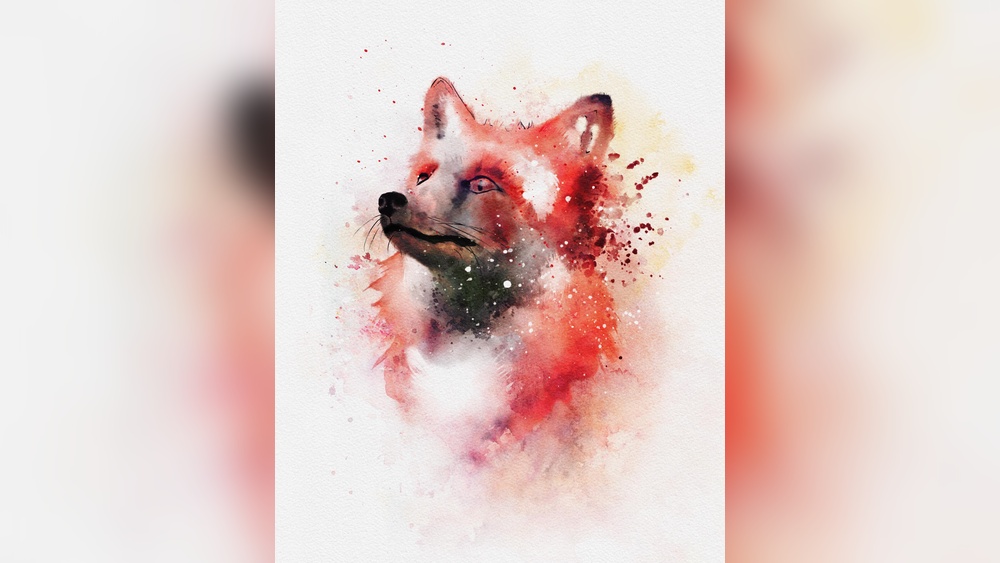
Applying Base Colors
Applying base colors is the first step in creating digital watercolor art in Procreate. It sets the foundation for your entire painting. Base colors help establish the mood and overall tone of your artwork. Using soft, transparent layers mimics traditional watercolor effects. This section breaks down key techniques for applying base colors effectively.
Choosing A Color Palette
Select a color palette that fits your artwork’s theme. Keep colors harmonious and avoid too many bright shades. Limited palettes create a natural, cohesive look. Use Procreate’s color wheel or color harmony tools to find balanced combinations. Soft, muted tones work best for watercolor style. Pick base colors that will blend well together later.
Using Watercolor Washes
Watercolor washes add smooth color layers with varying transparency. Use a soft brush with low opacity for gentle washes. Paint large areas lightly to build up color slowly. Start with lighter shades and layer darker tones for depth. Let each wash dry before adding the next layer. This method keeps the colors fresh and vibrant.
Blending Techniques
Blending base colors creates smooth transitions and natural gradients. Use Procreate’s smudge tool with a watercolor brush for soft edges. Adjust brush opacity and size for subtle blending effects. Blend colors while they are still wet to mimic real watercolor flow. Experiment with layering and blending to achieve organic textures. Smooth blending enhances the overall realism of your digital watercolor.
Building Up Layers
Building up layers is a key step in creating beautiful digital watercolor art in Procreate. Layers help you control colors, depth, and details separately. This method allows you to fix mistakes easily without ruining your whole artwork.
Start with a base wash on one layer. Then add more layers for shadows, highlights, and textures. Each layer can have different settings to create unique watercolor effects. Layering mimics how traditional watercolor paints build color and depth gradually.
Adding Details With Layer Modes
Layer modes change how colors mix between layers. They help add details without painting over the base colors. Use modes like Multiply to darken areas or Screen to lighten them. Overlay mode can add color vibrancy and contrast. Experiment with modes to find effects that suit your style.
Using Clipping Masks For Effects
Clipping masks let you paint inside the shape of a layer below. This keeps your details clean and precise. Use clipping masks to add shadows, highlights, or texture only on specific parts. It saves time and helps keep your artwork neat. Try different brushes and colors inside clipping masks for varied effects.
Adjusting Opacity For Realism
Opacity controls how transparent a layer looks. Lower opacity creates soft, subtle colors. Higher opacity makes colors bold and solid. Adjust opacity on each layer to mimic real watercolor’s lightness and flow. Gradual changes in opacity create smooth transitions and natural depth. Play with opacity to add realism and emotion to your painting.

Credit: www.reddit.com
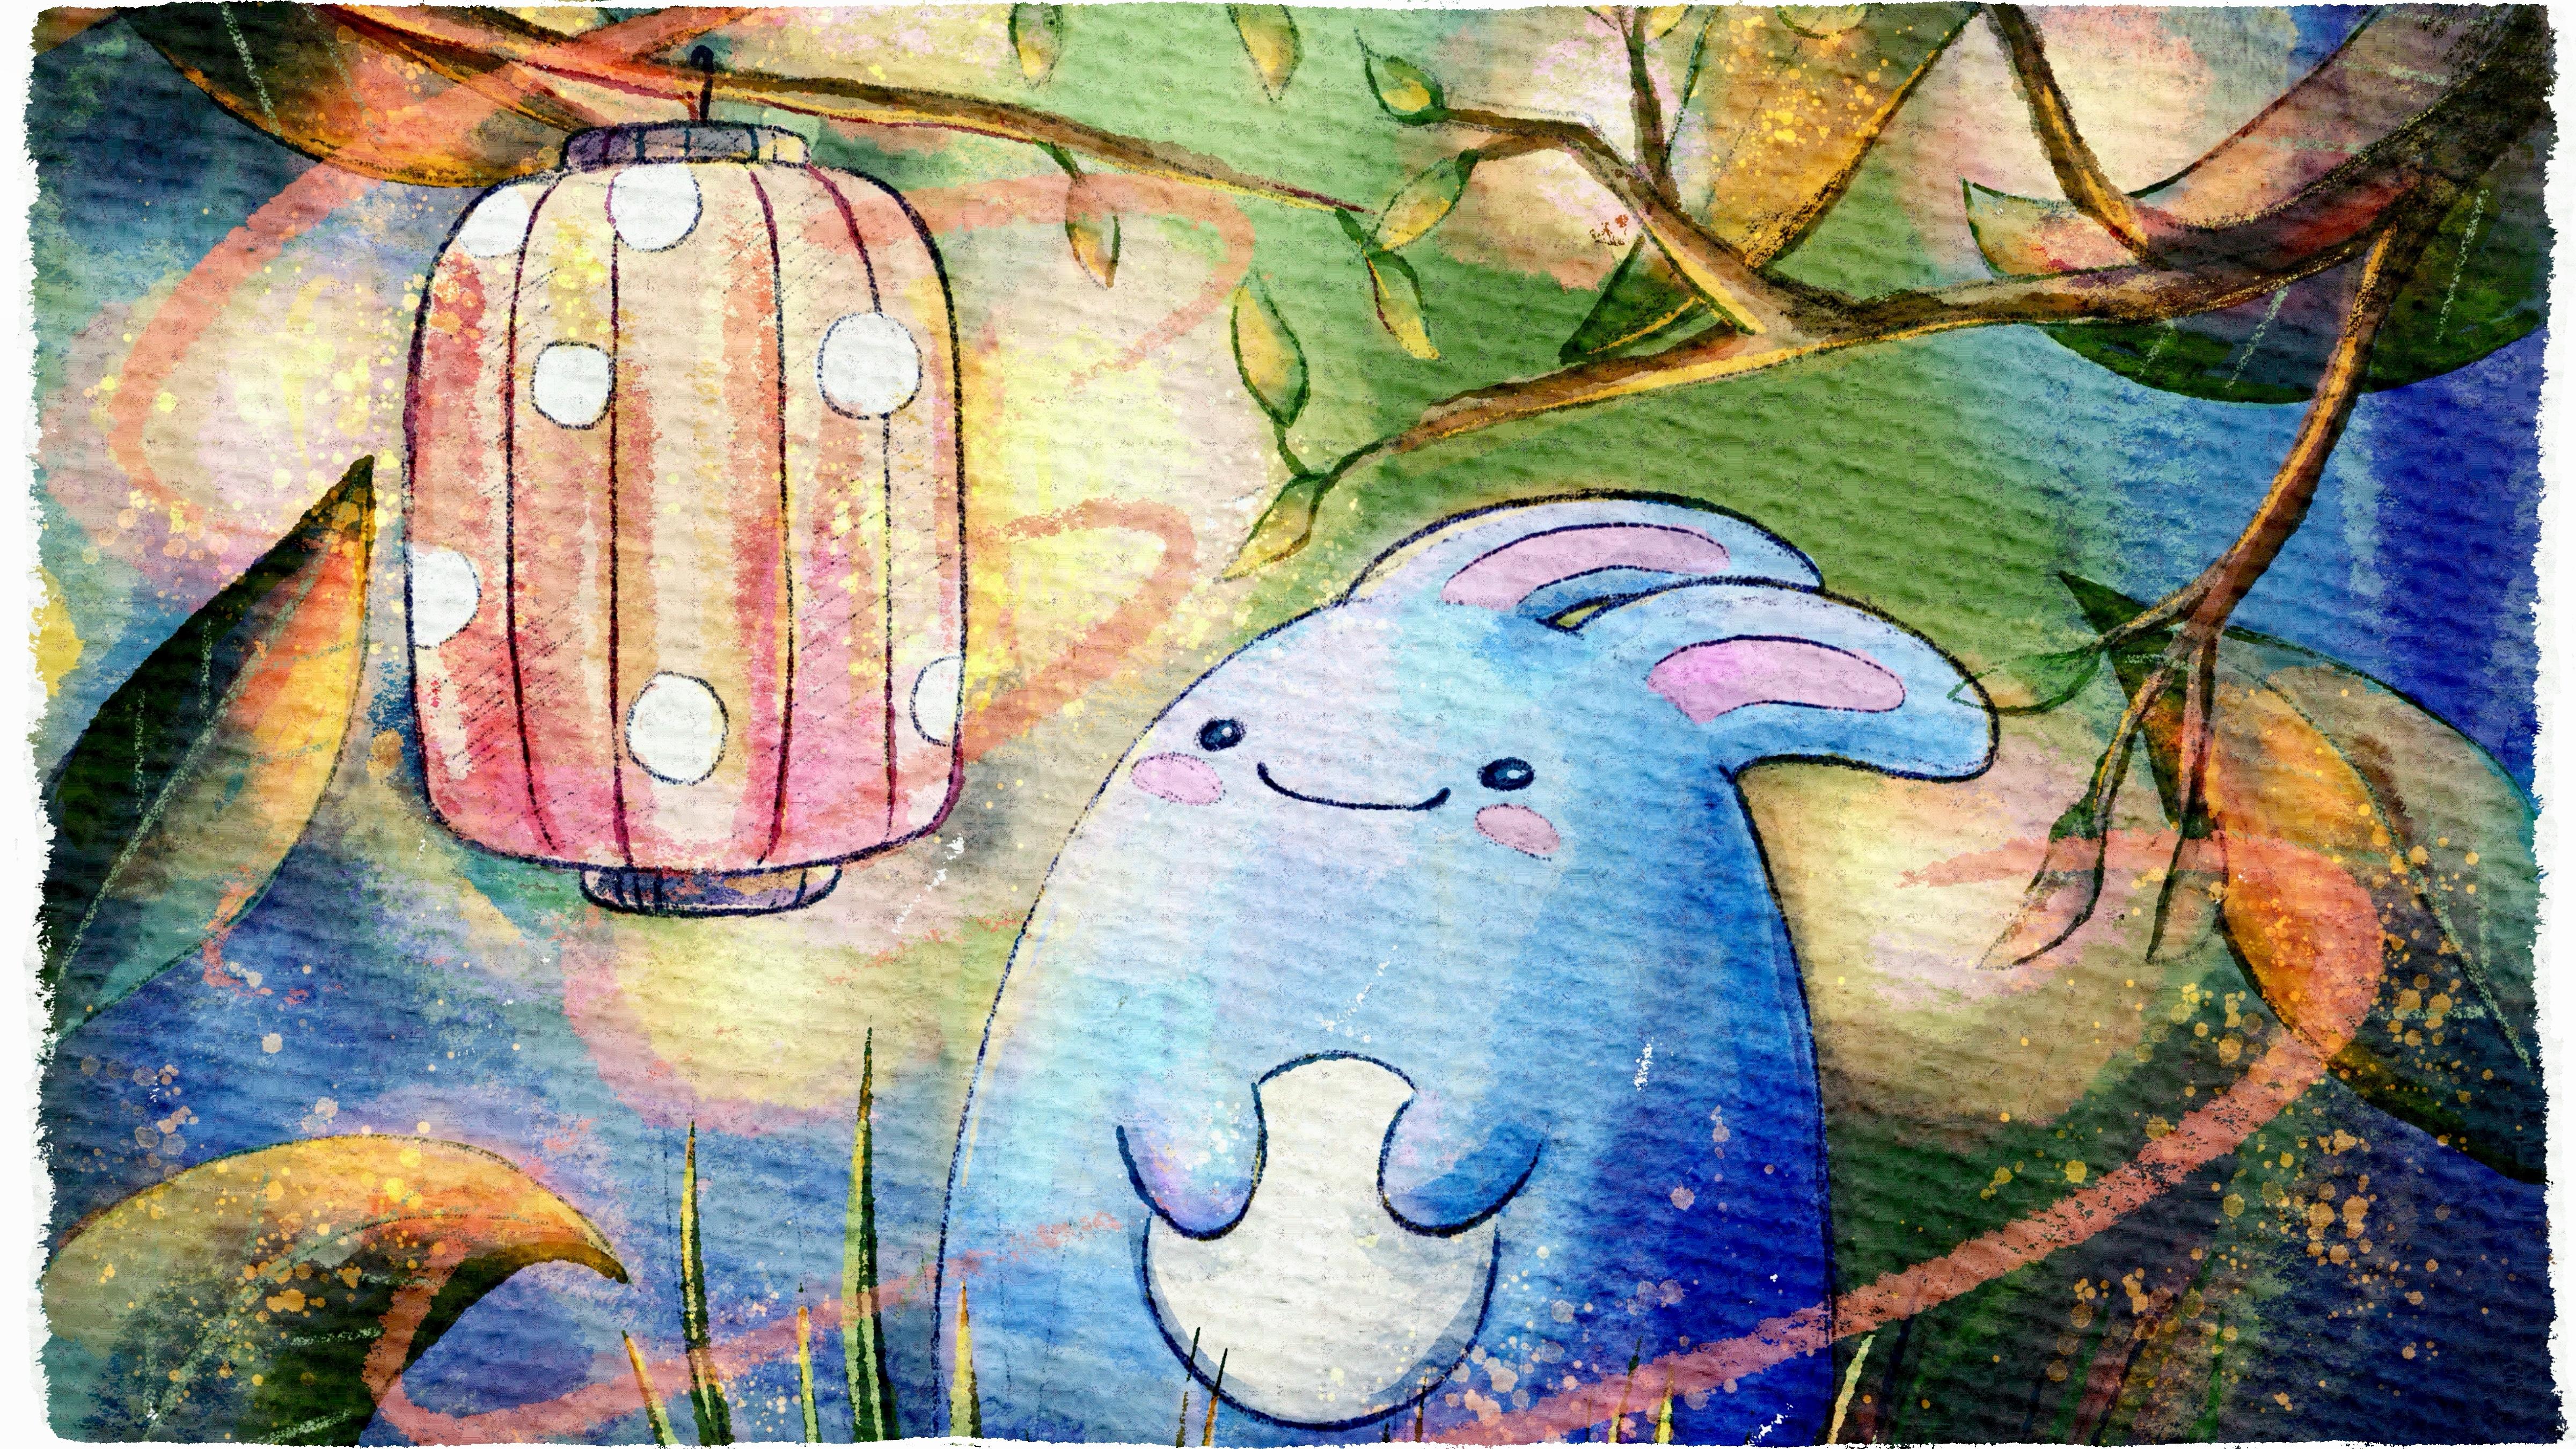
Adding Texture And Effects
Adding texture and effects in Procreate transforms flat digital paintings into lively watercolor artworks. These techniques enrich your piece, giving it a natural and tactile feel. Small details like paper texture and bleeding paint add realism and charm. Let’s explore simple ways to enhance your digital watercolor paintings.
Simulating Paper Texture
Start by importing a paper texture image into your Procreate canvas. Set the layer to multiply or overlay mode for best results. Adjust the opacity to keep the texture subtle but visible. This step mimics the rough, grainy surface of watercolor paper. It helps paint strokes blend naturally and avoids a plastic look. You can also create your own texture by using brushes with grain settings. Experiment with different textures to match your style.
Using Smudge Tool For Soft Blends
The Smudge tool is perfect for blending colors softly. Choose a brush with low opacity and softness for gentle smudging. Drag colors lightly to create smooth transitions between hues. This technique replicates the way wet paint merges on paper. Use it around edges to soften harsh lines and create a natural flow. Avoid overusing smudge to keep the painting fresh and lively.
Creating Watercolor Bleed Effects
Watercolor bleed happens when paint spreads into wet areas, creating organic edges. To replicate this, paint with a low-opacity brush and layer colors while still wet. Use the Liquify tool to push and pull colors gently for a bleeding look. Adding a slight blur can simulate pigment diffusion. Layering multiple colors with different opacity levels also adds depth. These effects bring life and unpredictability to your digital watercolor.
Final Touches
Final touches bring your digital watercolor to life. This stage refines and polishes the artwork. Small improvements here make a big difference. Focus on light, detail, and color balance. These steps help the painting look natural and vibrant.
Enhancing Highlights And Shadows
Use soft brushes to add highlights on raised areas. This gives depth and realism to your painting. Darken shadows where light is blocked. Adjust opacity to keep effects subtle. Highlights and shadows create contrast and volume.
Adding Fine Details
Switch to smaller brushes for fine lines and textures. Add veins on leaves or delicate strokes on petals. Details sharpen the image and guide the viewer’s eye. Avoid overdoing it; keep details light and natural. Fine touches add complexity without clutter.
Color Correction And Adjustments
Check the overall color balance. Use Procreate’s adjustment tools like Hue, Saturation, and Brightness. Correct colors to make the painting feel cohesive. Slight tweaks can enhance mood and harmony. Keep colors soft and watercolor-like for best results.

Credit: kamilastankiewicz.com
Exporting Your Artwork
Exporting your digital watercolor artwork from Procreate is the final step to share or print your masterpiece. Choosing the right settings ensures your art looks great on any platform. This section explains how to export your work properly for different uses.
Choosing File Formats
Select the file format based on how you want to use your art. PNG is best for digital images with transparent backgrounds. JPEG suits photos and artwork for websites. TIFF is ideal for high-quality prints without loss. Procreate also allows exporting as PSD for editing in Photoshop. Save a copy in Procreate’s native format to keep all layers intact.
Optimizing For Web And Print
For web use, keep the resolution at 72 dpi to reduce file size. Export images in sRGB color mode for accurate display on screens. Compress JPEG files moderately to balance quality and loading speed. For print, set resolution to 300 dpi or higher. Use CMYK color mode if your printer supports it. Check the canvas size matches your desired print dimensions. Exporting with these settings ensures vibrant colors and sharp details in print and online.
Tips For Better Digital Watercolor
Improving your digital watercolor skills in Procreate requires practice and smart techniques. These tips help you create more natural and vibrant watercolor effects. Focus on key areas that enhance your workflow and final results.
Using Reference Images
Reference images guide your color choices and shapes. They help you understand how watercolor flows and blends. Use them to study light, shadow, and texture. Keep your references visible while painting for better accuracy. This approach makes your digital watercolor look more realistic.
Practicing Brush Control
Brush control is essential for smooth strokes and textures. Practice adjusting pressure and speed with the Apple Pencil or stylus. Experiment with brush size and opacity to mimic real watercolor effects. Learn to layer colors gently to build depth. Consistent practice improves your hand stability and brush handling.
Experimenting With Layer Styles
Layer styles add complexity to your digital watercolor. Use different blending modes like multiply or overlay for rich color effects. Adjust layer opacity to create soft washes and gradients. Group layers to keep your work organized and editable. Play with textures on separate layers to add depth and interest.
Frequently Asked Questions
How To Simulate Watercolor In Procreate?
Use Procreate’s watercolor brushes and adjust opacity for soft washes. Apply blending modes and layering for natural texture. Utilize smudge tool gently to mimic pigment flow. Add paper texture overlays for realism.
Is Procreate Good For Digital Painting?
Procreate offers powerful tools and brushes tailored for digital painting. It delivers smooth brush strokes and vibrant colors, making it ideal for artists. Many professionals and beginners trust Procreate for creating detailed and expressive digital artwork efficiently.
How To Turn A Digital Photo Into A Watercolor?
Upload your digital photo to a photo editor like BeFunky or Procreate. Apply watercolor filters or use watercolor brushes. Adjust settings for soft edges and pigment flow. Save your watercolor-style image. This process creates artistic, print-ready results without painting skills.
How To Make A Digital Brush In Procreate?
Open Procreate and tap the “+” to create a new canvas. Go to Brush Library, tap “+” to create a new brush. Customize settings like shape, grain, and dynamics. Save your brush to use it for digital painting.
Conclusion
Digital watercolor in Procreate offers a fun way to create art. Practice blending colors softly for natural effects. Use layers to build depth and control your painting. Experiment with brushes to find your favorite style. Keep your strokes light and flowy for best results.
With time, your digital watercolor skills will improve. Enjoy the creative process and have patience. This method makes painting easy and accessible for all levels. Try different techniques and watch your artwork grow.