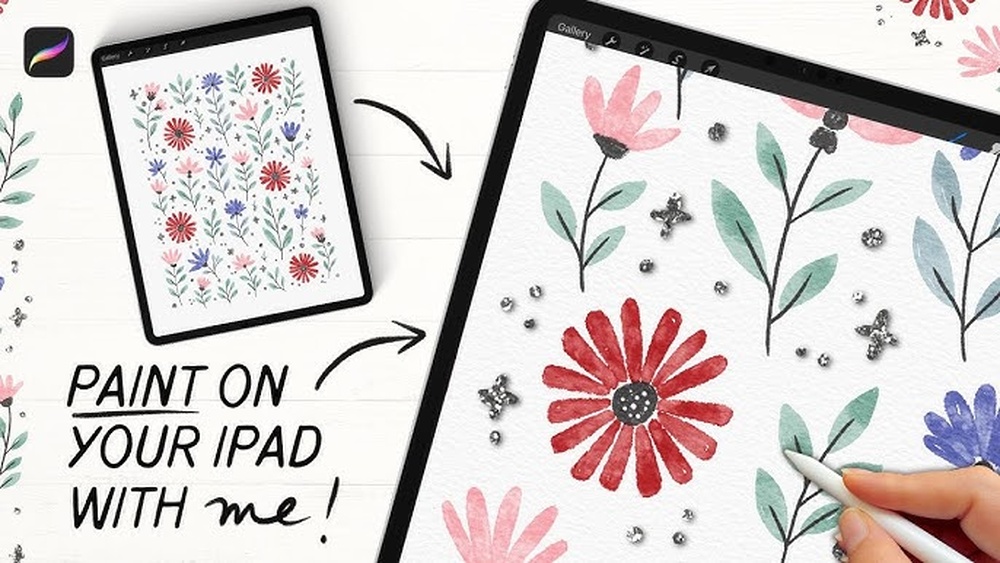
Want to create stunning digital flowers that look just like the real thing? Whether you’re a beginner or have some experience with Procreate, this guide will help you bring your floral art to life on your iPad.
You’ll learn simple techniques to paint beautiful petals, add depth with shading, and make your flowers pop with vibrant colors. By the end, you’ll have the skills to craft digital blooms that impress every time. Ready to turn your screen into a blossoming garden?
Let’s dive into how to paint digital flowers in Procreate!
Setting Up Procreate For Flowers
Setting up Procreate properly helps create beautiful digital flowers. Good preparation saves time and improves your artwork. It makes drawing flowers easier and more fun.
Start by choosing the right canvas size. Next, select brushes that fit floral painting. Lastly, create a color palette that matches your flower style.
Choosing The Right Canvas Size
Pick a canvas size that fits your project. A canvas of 2000×2000 pixels is a good start. It gives enough space for details without slowing your device. If you want to print, use 300 DPI for sharp results. For social media, 1080×1080 pixels works well. Keep your canvas square for balanced flower designs.
Selecting Essential Brushes
Use brushes that mimic natural flower textures. Soft round brushes help with petals and shading. Try textured brushes for leaves and stems. A fine liner brush adds details like veins and edges. Save your favorite brushes in a set for quick access. Avoid using too many brushes to keep the style consistent.
Creating A Custom Color Palette
Pick colors that match your flower theme. Use soft pinks, yellows, and greens for a natural look. Add darker shades for shadows and depth. Include light colors for highlights. Save these colors in a custom palette inside Procreate. This way, your colors stay consistent across your artwork.
Sketching Basic Flower Shapes
Sketching basic flower shapes is the first step in painting digital flowers in Procreate. It sets the foundation for your artwork. Start by drawing simple shapes to capture the flower’s form. This approach helps create a clear, balanced design. Keep your lines light and loose to allow easy adjustments. A well-planned sketch guides your painting process and improves the final result.
Breaking down flowers into basic shapes makes the drawing easier. Focus on petal shapes, center details, and overall layout. This stage is about exploring ideas and compositions without worrying about perfection. Use simple strokes to suggest petals and stem placement. Let creativity flow and build your floral design step by step.
Drawing Simple Petal Outlines
Begin by sketching the petals with basic outlines. Use curved lines to show the natural flow of petals. Draw each petal as a separate shape, keeping them simple. Avoid adding too many details at this stage. Focus on the size and shape of each petal. This creates a clear, readable flower form for painting.
Try different petal shapes like oval, round, or pointed. This adds variety and interest to your flower design. Use Procreate’s brush settings to create smooth lines. Keep your strokes confident but light. Simple petal outlines make the painting process smoother and more enjoyable.
Arranging Floral Composition
Place your flower sketches to form a balanced composition. Arrange petals and blooms to create harmony and flow. Think about the space each flower occupies on the canvas. Avoid crowding the elements too close together. Leave room for leaves, stems, or background details later on.
Use Procreate’s layers to move and adjust each flower easily. Experiment with different placements until the design feels natural. A well-arranged composition guides the viewer’s eye through the artwork. This step helps create a pleasing and organized floral piece.
Refining Sketch Details
After arranging the flowers, refine your sketch details. Add subtle lines to show petal texture and shape changes. Define the flower center with simple dots or small shapes. Clean up overlapping lines and erase unwanted marks. This makes your sketch clearer and ready for painting.
Use a smaller brush size in Procreate for fine details. Keep your lines smooth and consistent. Refining the sketch helps avoid confusion during painting. It also adds depth and realism to your digital flowers.
Blocking In Base Colors
Blocking in base colors is a crucial first step in painting digital flowers in Procreate. It sets the foundation for your artwork and helps define the shapes and overall color scheme. This phase involves applying simple, flat colors to each part of the flower, avoiding details. By focusing on broad color areas, you can quickly establish the composition and mood of your painting.
Starting with base colors makes it easier to build depth and dimension later. It also allows you to experiment with different color choices without committing to details. Use a medium brush size to cover large areas efficiently. Keep your strokes smooth and consistent to create clean shapes. This method saves time and keeps your workflow organized.
Applying Flat Colors
Choose a solid brush with no texture for smooth color application. Pick the main colors for petals, leaves, and stems. Fill each flower part with one flat color, avoiding shading or highlights at this stage. Use the selection tool to isolate areas for precise coloring. Blocking in flat colors simplifies the painting and makes later steps easier.
Using Layer Modes For Depth
Create new layers for different color sections to keep your work flexible. Experiment with layer blend modes like Multiply or Overlay to add subtle shadows or light effects. These modes enhance color richness without painting extra details. Adjust the opacity of layers to control the intensity of these effects. This technique helps build depth while keeping the base colors intact.
Building Color Foundations
Base colors act as the color foundation for your digital flower painting. Use soft brushes to gently blend edges if needed. Keep the color palette simple and harmonious to avoid confusion. This stage prepares your artwork for adding textures, shadows, and highlights. Strong color foundations lead to more vibrant and realistic flowers in the final piece.

Credit: www.skillshare.com
Adding Texture And Details
Adding texture and details brings your digital flowers to life. It makes petals look soft or rough, and leaves appear natural. This step transforms flat shapes into realistic blooms. Using Procreate’s tools creatively adds depth and interest. Focus on layering textures carefully to keep your flowers vibrant and fresh. Small details can create a big impact on the final look.
Painting Petal Textures
Begin by choosing a brush with a soft edge for petals. Use gentle strokes to mimic natural veins and folds. Vary pressure and direction to avoid flatness. Add subtle lines and dots to suggest petal surfaces. Blend colors softly to keep textures delicate. Petal textures give flowers a lifelike feel and complexity.
Incorporating Brush Strokes
Brush strokes add movement and character to flowers. Pick brushes that simulate natural media like watercolor or acrylic. Layer strokes with different opacities for a dynamic effect. Use quick, light strokes for fine details. Experiment with brush size to create contrast in texture. Brush strokes make your painting feel organic and rich.
Enhancing With Highlights And Shadows
Highlights and shadows create depth and form in flowers. Paint highlights where light naturally hits petals and leaves. Use a soft brush to blend highlights smoothly. Add shadows in creases and under overlapping petals. Keep shadows subtle to maintain softness. This contrast enhances realism and makes your flowers pop.
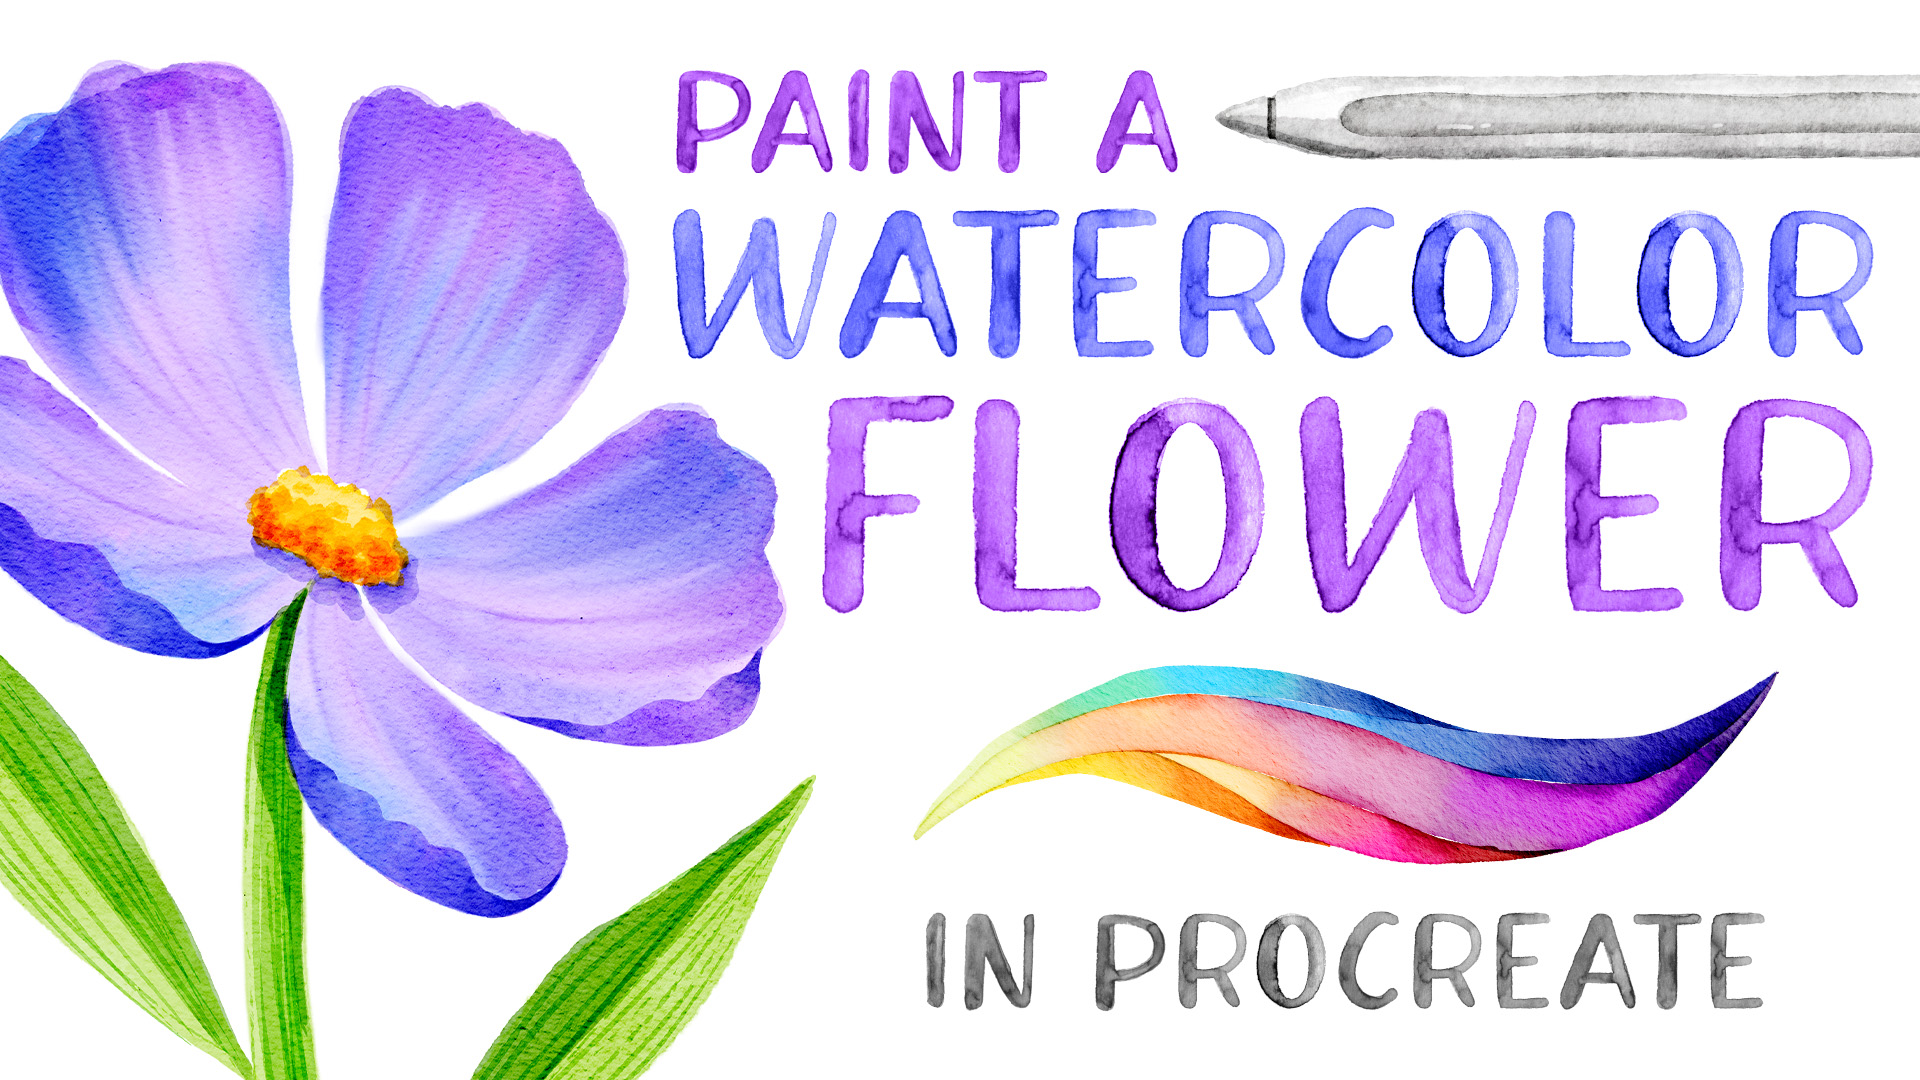
Creating Realistic Watercolor Effects
Creating realistic watercolor effects in Procreate brings your digital flowers to life. This technique adds softness and depth, mimicking traditional watercolor art. It helps your floral designs feel fresh and natural. Achieving these effects requires understanding blending tools, brushes, and paint behavior. With the right approach, your digital flowers can look like they were painted on paper.
Using Blending Tools
Blending tools smooth colors and edges to create soft transitions. Use the smudge tool with low opacity for gentle blending. Adjust the brush size to control detail blending. Blend colors where petals overlap to avoid harsh lines. This technique adds natural gradients that resemble real watercolor washes. Experiment with different brush settings to find the best effect for your flowers.
Applying Watercolor Brushes
Watercolor brushes simulate the texture of paint on paper. Choose brushes that have soft edges and grainy textures. Layer colors using light strokes to build depth gradually. Use varying pressure to create color intensity variations. These brushes help replicate the uneven color spread of real watercolor. They also add subtle texture that enhances realism in your floral art.
Simulating Paint Bleeds
Paint bleeds make watercolor art unique and organic. To simulate bleeds, use brushes with wet edges and lower opacity. Paint overlapping colors while they are still “wet” to blend naturally. Use the liquify tool to gently push colors outward for bleed effects. Adding small water spots or irregular edges boosts authenticity. These details make your digital flowers appear spontaneous and lively.
Refining Flower Centers
The center of a flower holds the key to its realism and beauty. Refining flower centers in Procreate enhances your digital painting’s natural look. Focus on small elements to bring life and dimension to your work. Use layers and brushes to add details that make the center stand out.
Careful attention to flower centers draws the viewer’s eye and completes the floral design. The next steps explain how to detail stamens and pistils, add depth with shadows, and highlight focal points effectively.
Detailing Stamens And Pistils
Start by sketching tiny stamens and pistils in the flower’s center. Use a fine brush for thin lines and small dots. Choose colors that contrast slightly with the petals. This makes the center more visible and interesting. Vary shapes and sizes to keep it natural. Layer strokes gently to build texture without harsh lines.
Adding Depth With Shadows
Shadows add realism and depth to the flower center. Paint subtle shadows below stamens and pistils. Use a soft brush with low opacity for smooth blending. Darker shadows near the base create a 3D effect. Shadows help separate elements and avoid a flat look. Adjust shadow color to match the flower’s lighting and mood.
Highlighting Focal Points
Use highlights to guide the viewer’s attention to important parts. Add small white or light color dots on stamens tips or pistil edges. Bright spots simulate light reflection and make details pop. Keep highlights minimal to avoid overpowering the center. Combine highlights with shadows for a balanced, lifelike effect.
Painting Leaves And Stems
Painting leaves and stems brings life to your digital flowers in Procreate. These elements add depth and balance to your artwork. Focusing on shapes, colors, and details helps create a natural look. Use layers and brushes to build realistic textures. Let’s explore how to paint leaves and stems step-by-step.
Sketching Leaf Shapes
Start by drawing simple leaf shapes with a basic brush. Use light strokes to outline different sizes and angles. Keep shapes varied to mimic nature’s randomness. Focus on smooth curves and pointed tips. Avoid perfect symmetry to keep leaves looking real.
Layering Greens And Shadows
Choose several green shades for depth. Begin with a flat base color on each leaf. Add darker greens on one side for shadows. Use a soft brush to blend edges gently. Layer colors gradually for a smooth transition. This technique makes leaves look three-dimensional.
Adding Vein Details
Veins give leaves a realistic texture. Select a fine brush with a slightly lighter or darker green. Draw thin lines following the leaf’s shape. Add a central vein first, then smaller veins branching out. Keep the lines subtle to avoid overpowering the leaf. This detail enhances the natural feel of your painting.
Credit: bardotbrush.com
Final Touches And Effects
After completing the main painting of your digital flowers, adding final touches and effects brings the artwork to life. These subtle enhancements create depth and interest. They make your flowers look polished and professional. Small details can change the whole mood of your piece. Use Procreate’s features to give your flowers a unique sparkle and texture. Adjusting colors and contrast can also improve the visual impact.
Adding Glitter And Sparkles
Glitter and sparkles add magic to your digital flowers. Use a small brush with low opacity to paint tiny dots of light. Choose colors that complement your flowers. Gold, silver, or white work well. Scatter sparkles around petals and leaves for a natural look. Use blending modes like “Add” or “Screen” for glowing effects. Avoid overdoing sparkles; subtlety creates elegance.
Applying Canvas Texture Overlay
A canvas texture overlay gives your artwork a traditional feel. Import a canvas image or texture into Procreate. Place it above your flower layers. Set the blend mode to “Multiply” or “Overlay.” Adjust the opacity to keep the texture soft and subtle. This adds depth and a tactile quality. It helps digital art mimic real painting surfaces.
Adjusting Colors And Contrast
Colors and contrast define the mood of your floral art. Use Procreate’s adjustment tools like Hue, Saturation, and Brightness. Increase contrast to make flowers pop from the background. Slightly tweak colors to harmonize the palette. Avoid extreme changes that lose the natural look. Preview your work on different screens to ensure balance. Fine-tuning these elements enhances the overall beauty.
Exporting And Sharing Your Artwork
After finishing your digital flower painting in Procreate, exporting and sharing your artwork is key. Proper export settings keep your art clear and vibrant. Sharing helps you show your creativity to friends, clients, or social media followers. Let’s explore how to save your work in the best formats and share it online.
Choosing File Formats
Procreate offers several file formats for export. PNG is great for high-quality images with transparency. JPEG works well for photos or artworks without transparent backgrounds. TIFF files keep all details for print projects. PSD format allows further editing in Photoshop. Pick a format based on how you want to use your art.
Optimizing For Web And Print
For web use, keep file size small but maintain good quality. Use 72 dpi resolution for faster loading on websites. Resize the image to fit the platform’s requirements. For print, choose 300 dpi or higher for sharp details. Export the file in CMYK color mode if your printer needs it. Proper settings protect your artwork’s look on paper or screen.
Sharing On Social Platforms
Social media platforms have specific image sizes and formats. Resize your digital flowers to match platform recommendations. Use PNG or JPEG for easy upload. Add clear titles and simple descriptions to attract viewers. Tag relevant accounts or use hashtags in your post caption. Regular sharing helps build an audience and gain feedback.

Credit: www.youtube.com
Frequently Asked Questions
What Are The Best Brushes For Painting Flowers In Procreate?
The best brushes for digital flowers include watercolor, textured, and blending brushes. These brushes create natural petal effects and soft color transitions. Experiment with custom floral brush sets for unique styles. Procreate’s default brushes also offer great versatility for beginners.
How Do I Create Realistic Flower Textures In Procreate?
To create realistic textures, layer colors using textured brushes and adjust opacity. Use blending tools to smooth transitions and add details with fine brushes. Applying canvas texture overlays can enhance the organic feel of petals and leaves digitally.
Can Beginners Easily Paint Flowers In Procreate?
Yes, beginners can paint flowers by starting with simple shapes and basic brushes. Following step-by-step tutorials helps build skills gradually. Practice layering colors and using blending modes for better depth. Procreate’s user-friendly interface supports easy learning.
How To Add Highlights And Shadows To Digital Flowers?
Add highlights with a soft white brush at petal edges and shadows using darker tones. Use low opacity brushes for subtle effects and layer multiple strokes for depth. Adjust layer blending modes to enhance light and shadow realism in your artwork.
Conclusion
Painting digital flowers in Procreate is both fun and rewarding. Practice each step slowly to build your skills. Use different brushes to find your favorite style. Experiment with colors to make your flowers vibrant. Remember, patience and creativity bring your art to life.
Keep exploring new techniques and enjoy the process. Your digital garden will grow with every stroke you make. Start painting today and watch your floral art flourish.