
Wooden signs add charm to any home. They are simple and fun to make. Follow this guide to learn how to paint and personalize wooden signs. Let’s get started!
Materials You Will Need
Before you start, gather these materials:
- Wooden sign
- Sandpaper
- Primer
- Paint
- Paintbrushes
- Stencil (optional)
- Pencil
- Ruler
- Sealer
- Rags or paper towels
- Painter’s tape
Step 1: Prepare Your Wooden Sign
First, prepare your wooden sign. Sand the surface until it is smooth. Use a piece of sandpaper for this task. Wipe off any dust with a rag or paper towel. This will help the paint stick better.
Step 2: Apply Primer
Next, apply a coat of primer. The primer helps the paint stick well. Allow the primer to dry completely. This usually takes a few hours. Follow the instructions on the primer can for the best results.
Step 3: Paint the Base Color
Once the primer is dry, paint your base color. Use a paintbrush for this step. Choose a color that matches your home decor. Apply one or two coats of paint. Let each coat dry completely before adding another.
Step 4: Plan Your Design
Now, plan your design. Use a pencil and ruler to sketch it out. You can write a quote, your family name, or a welcome message. Keep it simple and clear.
Step 5: Paint the Design
It’s time to paint your design. Use a small paintbrush for detailed work. You can also use stencils for a professional look. Hold the stencil in place with painter’s tape. Fill in the stencil with paint. Remove the stencil carefully once the paint is dry.
Step 6: Add Details
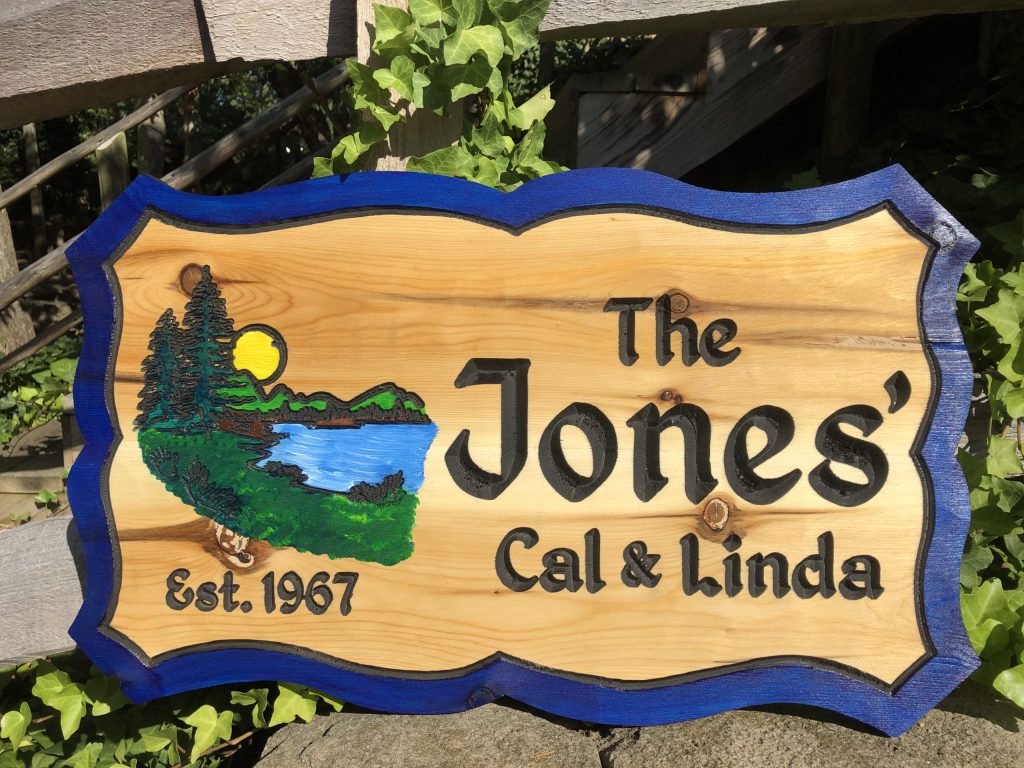
Add details to make your sign unique. You can use different colors and brush sizes. Add patterns, borders, or small pictures. Be creative and have fun!
Step 7: Seal Your Sign
Finally, seal your wooden sign. A sealer protects the paint and wood. It makes your sign last longer. Follow the instructions on the sealer can. Let the sealer dry completely before handling your sign.
Ideas for Personalized Wooden Signs
Here are some ideas for personalized wooden signs:
- Welcome sign for your front door
- Family name sign for your living room
- Inspirational quote for your office
- Child’s name sign for their bedroom
- Seasonal signs for holidays

Credit: www.amazon.com
Tips for a Perfect Wooden Sign
Follow these tips for a perfect wooden sign:
- Use high-quality paint and brushes
- Take your time with each step
- Practice your design on paper first
- Keep your workspace clean
- Be patient and let each layer dry

Credit: www.handpaintedwoodsigns.com
Frequently Asked Questions
What Materials Do I Need To Paint Wooden Signs?
You will need wood, paint, brushes, sandpaper, and sealant for painting wooden signs.
How Do I Prepare The Wood For Painting?
Sand the wood surface and clean it to remove dust and debris before painting.
What Type Of Paint Works Best On Wood?
Acrylic paint works best on wood because it is durable and easy to work with.
Can I Use Stencils For Wooden Signs?
Yes, stencils are great for creating precise and clean designs on wooden signs.
Conclusion
Painting and personalizing wooden signs is a fun DIY project. It adds a personal touch to your home. Follow our guide and create beautiful signs. Enjoy your new, personalized wooden signs!


