Painting a realistic eye in oil is one of the most rewarding skills for any artist. The eye is not only a focal point in portraits—it’s a window to emotion and life. If you want to create convincing, lifelike eyes, you need more than basic brushwork.
You must understand anatomy, color, light, and the secrets that make an eye appear alive. In this guide, you’ll discover every step, from preparing your canvas to adding the final sparkle. Even if you’re a beginner, you can follow these steps and avoid mistakes that frustrate many new painters.
Preparing Your Materials
Before you start, gather all the tools you’ll need. Quality materials make a big difference in the final result.
- Oil paints: Choose artist-grade paints. Popular brands include Winsor & Newton, Rembrandt, and Gamblin. You’ll need basic colors: titanium white, burnt umber, ultramarine blue, cadmium red, cadmium yellow, and sap green.
- Brushes: Use small, soft brushes for detail, like size 0 to 4 rounds. Flat brushes help with blending.
- Palette: A wooden or glass palette works well.
- Mediums: Linseed oil and odorless mineral spirits help with blending and thinning.
- Canvas or panel: A primed surface is essential. Many artists prefer linen for portraits.
- Reference photo: Choose a high-resolution image of an eye.
Here’s a comparison table of popular oil paint brands:
| Brand | Price Range | Color Vibrancy | Availability |
|---|---|---|---|
| Winsor & Newton | Medium | High | Widely Available |
| Rembrandt | High | Very High | Specialty Stores |
| Gamblin | Medium | Medium-High | Art Stores |
Understanding Eye Anatomy
Knowing the anatomy helps you paint an eye that feels real. The main parts are:
- Iris: The colored part, usually round.
- Pupil: The dark center.
- Sclera: The white area.
- Eyelids: The skin that frames the eye.
- Eyelashes: Fine hairs along the lids.
- Tear duct: A pinkish area near the nose.
Pay close attention to how light interacts with these areas. The sclera is not pure white; it reflects colors from around it. The iris has many tiny color variations. Beginners often miss the subtle shadow under the top eyelid, which gives depth.
Sketching The Eye
A good sketch sets the foundation for your oil painting. Use a thin pencil or charcoal to lightly mark:
- Outer shape: Start with an almond outline.
- Pupil and iris placement: Mark the iris as a circle within the eye, then add the pupil.
- Eyelids: Draw the upper and lower lids, showing thickness.
- Tear duct: Add the small triangle at the inner corner.
Keep the sketch light. Heavy lines can show through the paint and distract from realism.
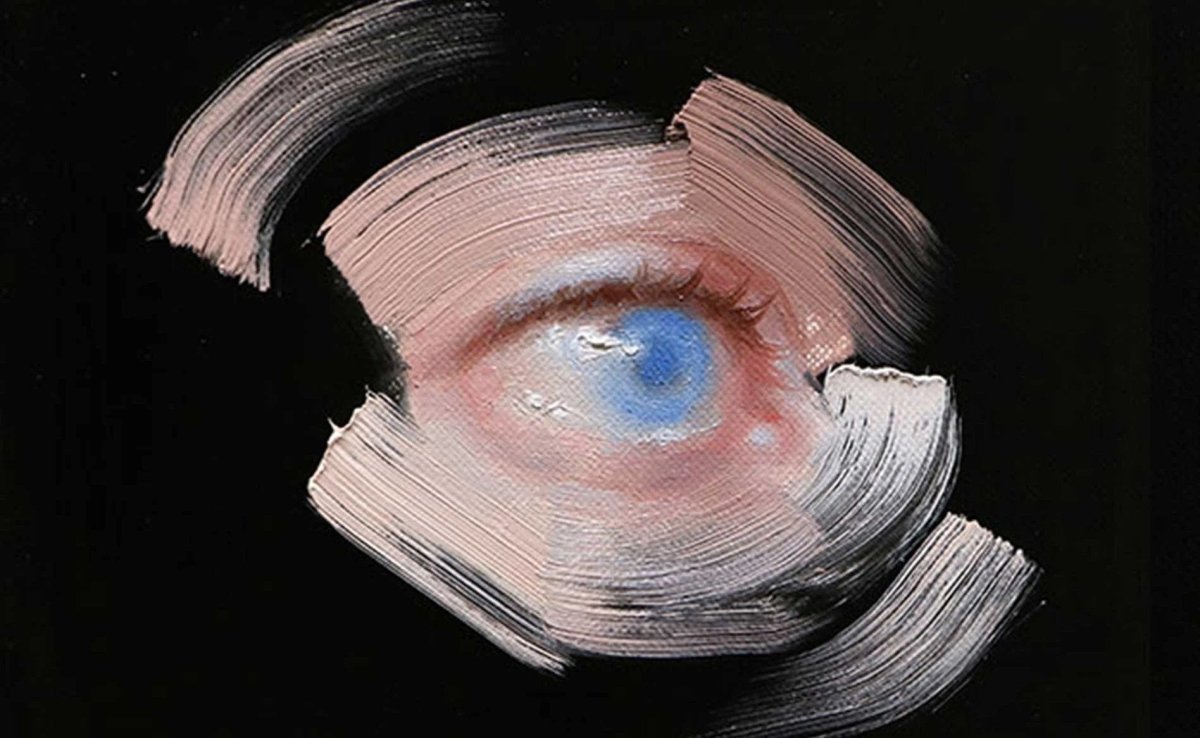
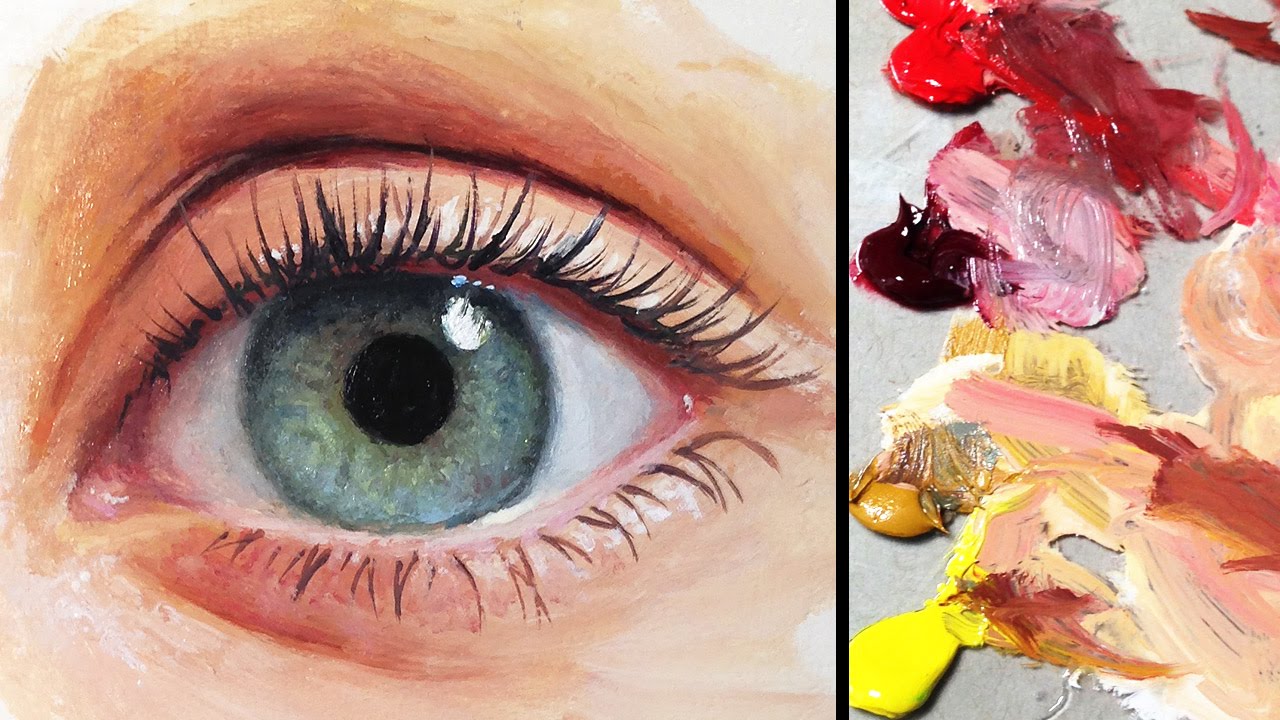
Blocking In Basic Colors
Now begin painting. Use thin paint and block in main areas:
- Sclera: Mix white with a touch of blue and red for a natural tone.
- Iris: Choose a base color, then add hints of other colors (brown, green, blue) for realism.
- Pupil: Use black or a mix of blue and brown for depth.
- Eyelids: Mix skin tones—start with ochre, red, and white, adjusting for warmth.
- Tear duct: Use pinkish tones, mixed with white and a touch of red.
A common mistake is using pure white for the sclera or pure black for the pupil. These look flat and unnatural. Always mix colors for depth.
Credit: sbanavigation.com
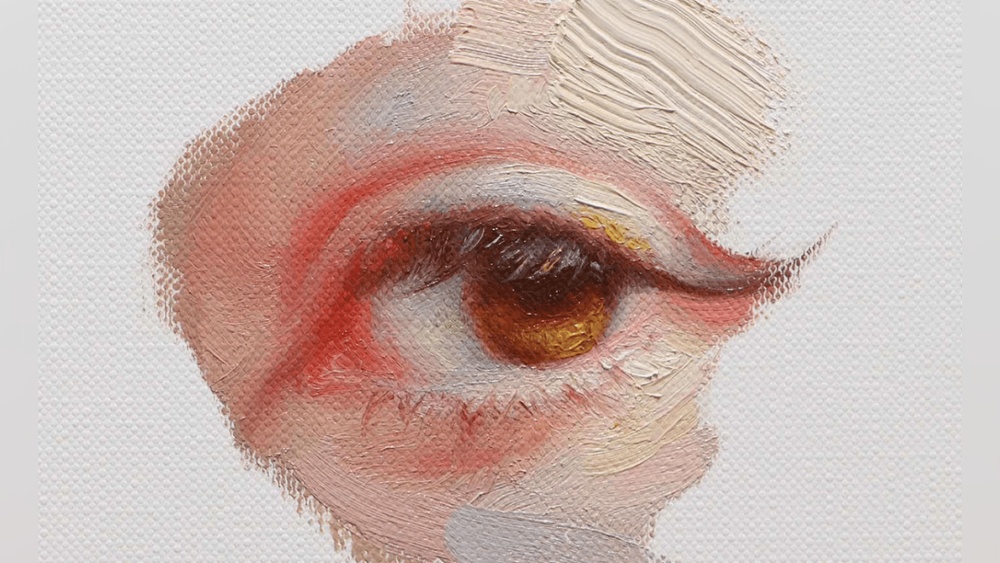
Building Layers And Values
Oil painting is about layers. Let your blocked-in colors dry, then build up values and shadows. Use these tips:
- Upper eyelid shadow: The upper lid casts a soft shadow on the eye. Add a thin layer of grayish-brown under the lid.
- Iris details: Paint small lines and flecks radiating from the pupil outward. This adds realism.
- Reflected light: The lower part of the eye often has a subtle glow from reflected light. Use a touch of white mixed with the sclera color.
- Skin folds: Eyelids have folds and wrinkles. Add darker skin tones in these areas.
Here’s a quick comparison of common eye shapes and their effects:
| Eye Shape | Common Features | Emotional Effect |
|---|---|---|
| Round | Large iris, visible sclera | Innocence, surprise |
| Almond | Balanced proportions | Calm, natural |
| Hooded | Covered upper lid | Mystery, intensity |
Painting The Iris
The iris is the most complex part. It’s not a flat color—it has layers, flecks, and patterns. Follow these steps:
- Base color: Start with the dominant color (blue, brown, green).
- Radial lines: Use a small brush to paint thin lines radiating from the pupil.
- Color variations: Add flecks of yellow, orange, or green depending on the eye color.
- Dark ring: The outer edge often has a darker ring—add this for depth.
- Highlights: Place a small dot of white for the light reflection.
Many beginners forget that the iris is slightly darker near the eyelid’s shadow. Blend this area gently.
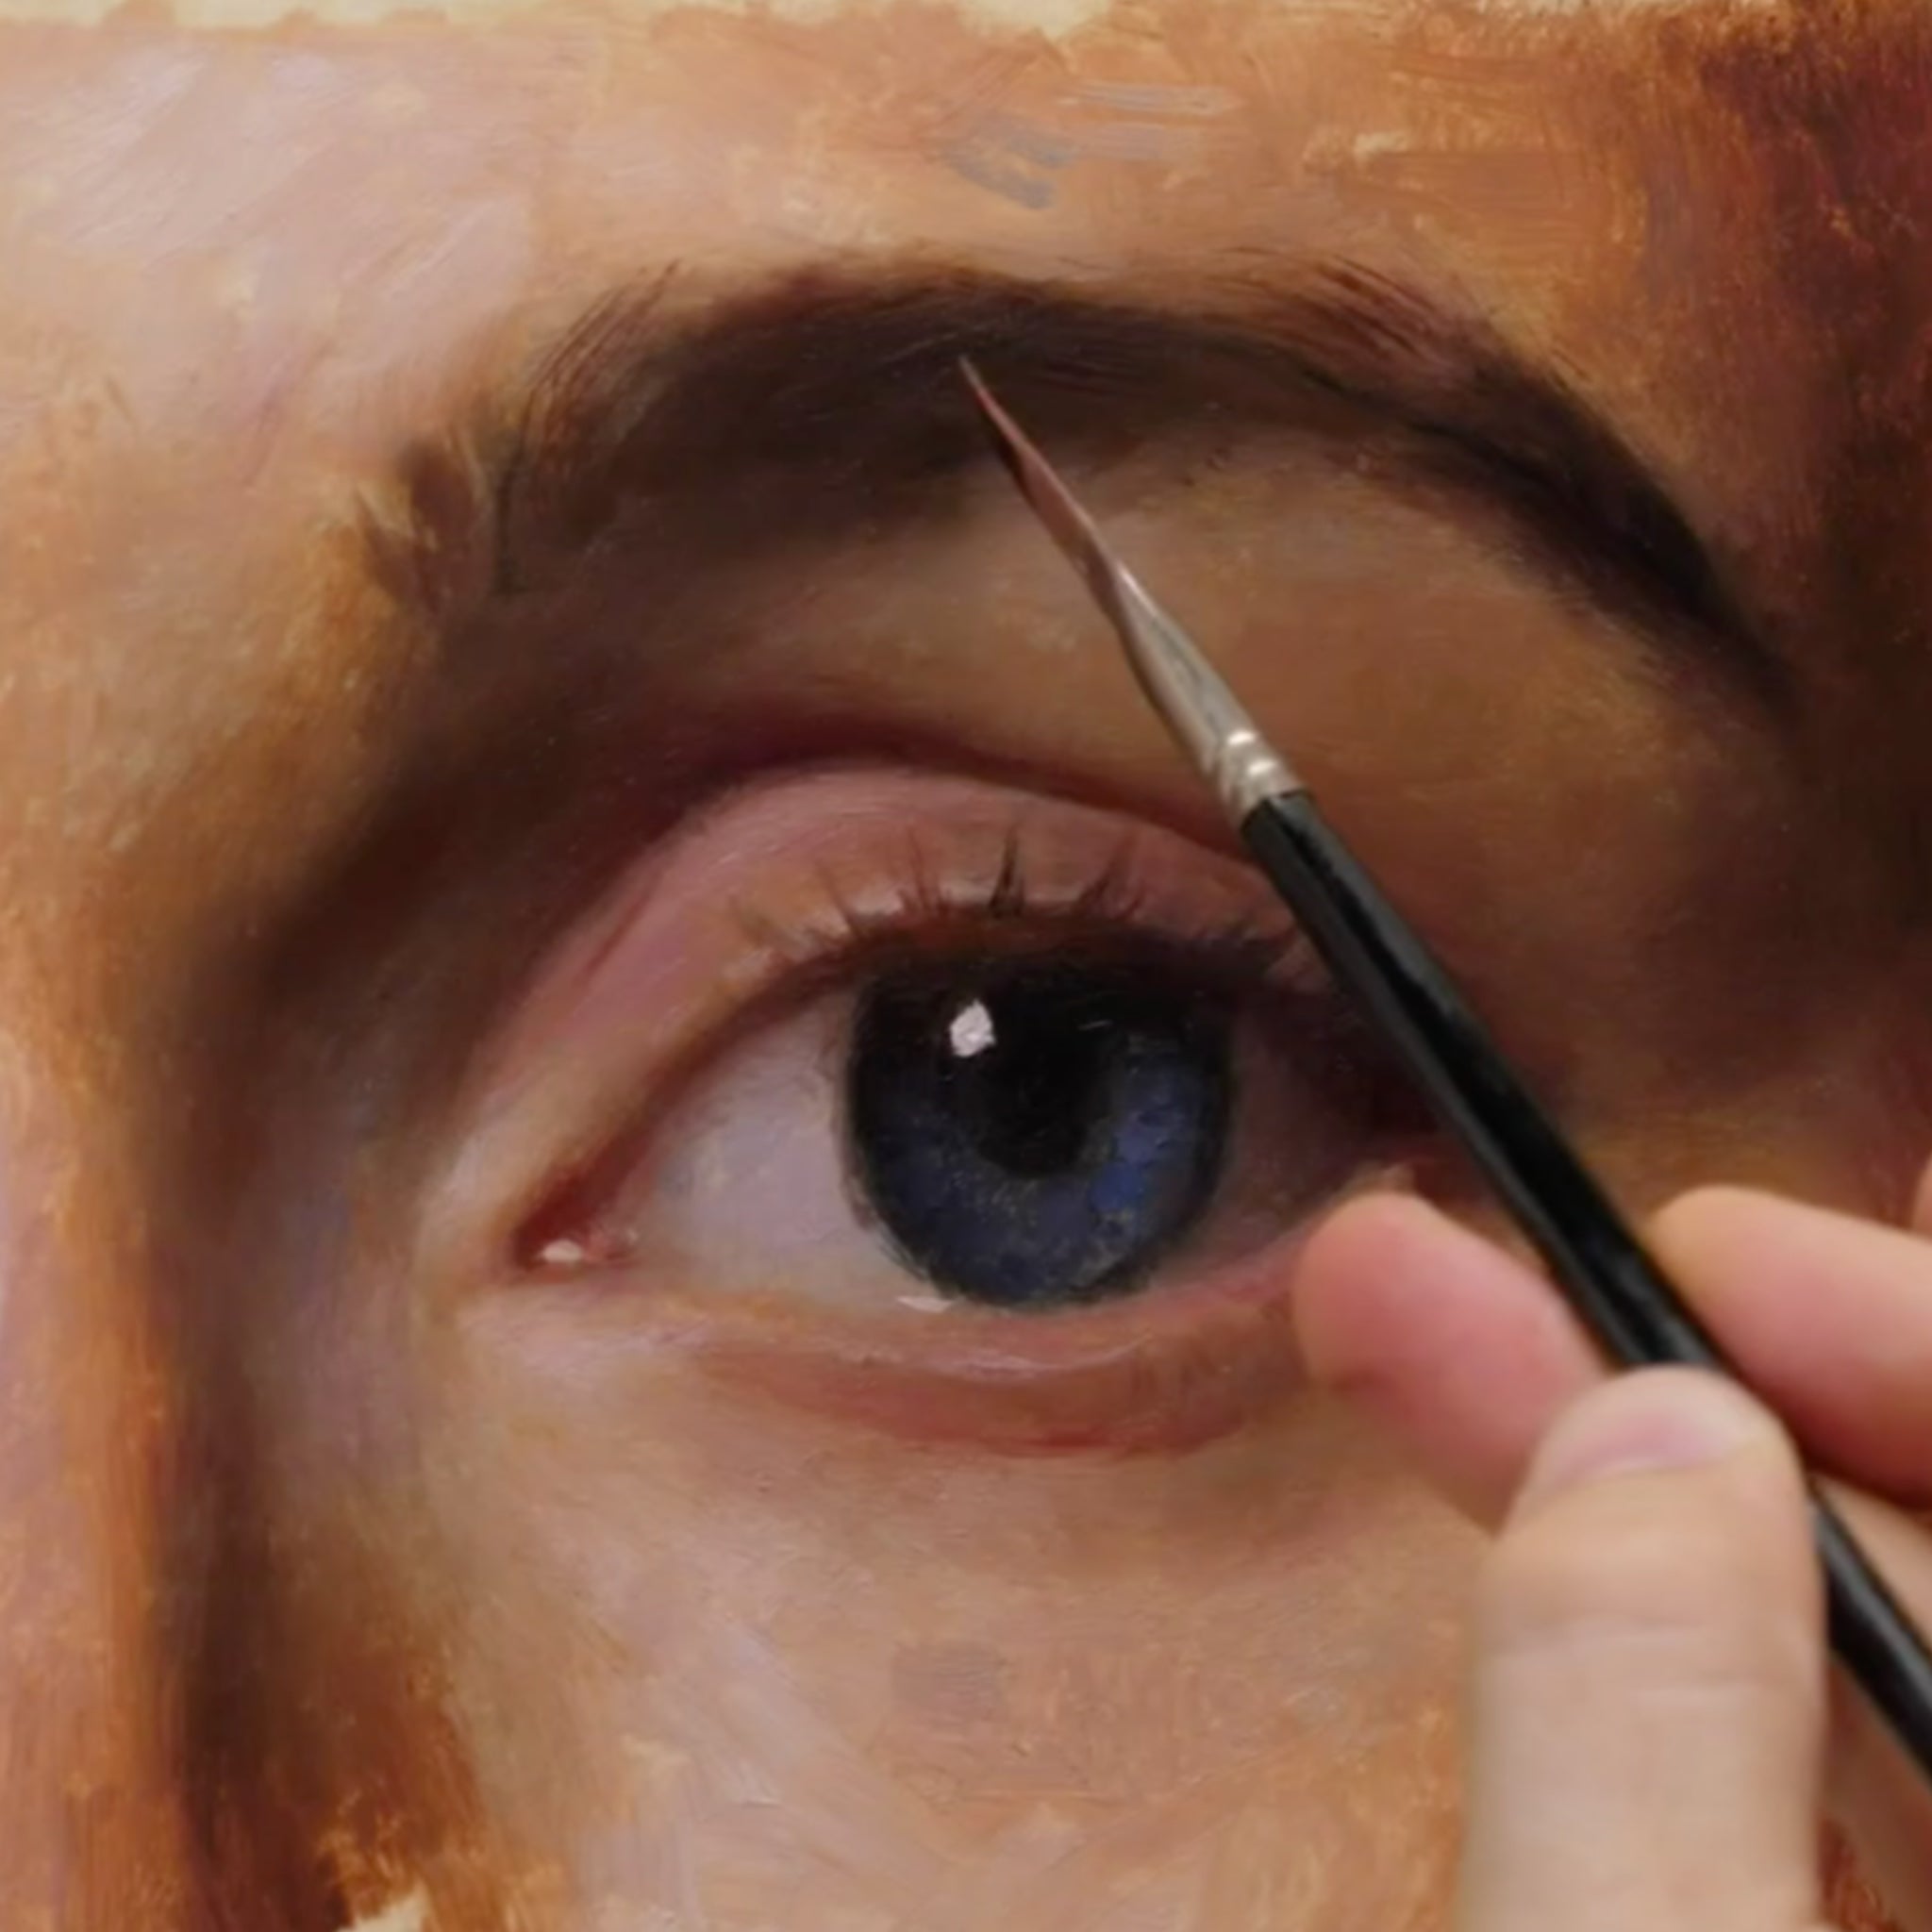
Capturing Highlights And Reflections
Eyes look alive because of light. The highlight is usually a small white spot or streak, often shaped by the light source. To paint it:
- Use titanium white mixed with a tiny bit of the iris color, so it’s not too stark.
- Place the highlight over both the pupil and iris, following your reference.
- Add secondary reflections if needed—sometimes you see two light spots.
Don’t overdo highlights. A single, well-placed highlight brings the eye to life.
Painting Eyelids And Eyelashes
The eyelids frame the eye and must match the skin tone. Use layers of color to show depth:
- Start with a base skin tone, add shadows under the eyelid and along the crease.
- Use a soft brush for blending.
- For eyelashes, use a thin brush and quick strokes. Eyelashes are not straight lines; they curve and overlap.
Here’s a comparison of brush types for eyelash painting:
| Brush Type | Best For | Drawback |
|---|---|---|
| Fine Liner | Detail, single hairs | Can be slow |
| Round | Multiple lashes, blending | Less sharp detail |
| Fan | Soft edges | Not precise |
Credit: www.royaltalens.com
Adding The Final Details
Fine details make your eye realistic. Look for:
- Veins in the sclera: Use a thin brush and pale red lines.
- Tiny color flecks: In the iris, add small dots of contrasting color.
- Moisture: The lower eyelid often has a wet look. Use a thin glaze of white mixed with medium.
At this stage, step back from your painting. Compare it to your reference. Adjust colors and shapes as needed.
Common Mistakes And How To Avoid Them
Many artists face these problems:
- Flat colors: Mix several colors for each area. Avoid pure colors.
- Misplaced highlights: Highlights must match the light source.
- Hard edges: Blend edges softly, except where sharp lines are needed (like lashes).
- Overworking: Too much detail can make the eye look unnatural.
A non-obvious tip: The sclera should reflect the surrounding skin color. If the skin is warm, add a hint of yellow or red to the white.
Credit: www.youtube.com
Drying And Varnishing
Oil paintings take time to dry. A thin layer may dry in a week, but thicker paint can take longer. When fully dry, apply a varnish to protect and enhance colors. Use a brush-on varnish for small works. Make sure your painting is dry to the touch before varnishing—otherwise, colors may smudge.
Practice Tips For Beginners
- Paint from life if possible. Eyes look different in photos versus real life.
- Use a mirror to study your own eye. Notice the subtle color shifts.
- Start small. Paint just the eye, not the whole face, until you master the technique.
- Keep your workspace clean. Dust or hair can ruin a wet painting.
Useful Resources
For more in-depth anatomy and painting tips, check out WetCanvas. This site offers forums, tutorials, and examples from experienced oil painters.
Frequently Asked Questions
How Long Does An Oil Painting Of An Eye Take To Dry?
Oil paintings dry slowly. A thin layer can dry in 3-7 days, but thicker paint may need weeks. Drying depends on humidity, paint thickness, and type of oil used.
What Colors Should I Use For Painting A Realistic Eye?
For the sclera, avoid pure white—mix white with hints of blue, red, or yellow. The iris varies; use multiple colors for depth. For skin, mix ochre, red, and white. Always adjust based on your reference.
How Do I Make The Eye Look Alive?
Focus on highlights and reflected light. The highlight brings sparkle. Add subtle color variations in the iris and moisture on the lower lid. Soft blending and accurate shadows help realism.
Can I Paint An Eye Without A Reference Photo?
It’s possible, but harder. A reference photo helps with proportions, colors, and light. If you paint from imagination, practice with real eyes first to understand the structure.
What Is The Best Brush For Painting Fine Details In The Eye?
Use a fine liner brush (size 0 or 1) for details like eyelashes and iris lines. Soft round brushes help with blending. Avoid stiff brushes—they can scratch the paint and make edges harsh.
Painting an eye in oil is a journey. Each attempt teaches you something new. With careful observation, patience, and the right technique, you’ll create eyes that truly engage the viewer. Remember, practice and attention to detail are your best friends.