
Painting a frog can be a fun and creative activity for kids. It helps them learn about colors, shapes, and even a bit about real frogs. Many parents and teachers look for simple ways to guide children in art without making it too complicated.
If you want to teach a child how to paint a frog easily, you are in the right place. This guide will walk you through every step, from gathering materials to adding the final touches. You will also find tips to make the process smoother and more enjoyable for young artists.
Why Painting Frogs Is Great For Kids
Painting is not just about making pictures. For kids, it helps develop important skills. When children paint frogs, they learn how to mix colors, use brushes, and follow instructions. This activity also encourages creativity and hand-eye coordination. Painting a frog is simple enough for beginners but has enough steps to keep kids interested.
Many children are curious about animals, and frogs are especially fun. Their bright colors and unique shapes make them perfect for art projects. Plus, painting frogs can lead to discussions about nature, science, and the environment.
What You Need To Paint A Frog
Before you start, gather the right materials. Having everything ready saves time and keeps kids focused on the fun part—painting! Here is a list of what you will need:
- Paper or Canvas – Thick paper (like watercolor paper) works best.
- Pencil – For sketching the basic frog shape.
- Eraser – To fix small mistakes.
- Paints – Watercolor or acrylic paints are both good options.
- Brushes – Different sizes help with details and large areas.
- Water Cup – For rinsing brushes.
- Palette – For mixing colors.
- Paper Towels – To clean brushes and fix spills.
- Apron or Old Shirt – To keep clothes clean.
For younger kids, washable paints are a smart choice. Older children might like trying more advanced paints.
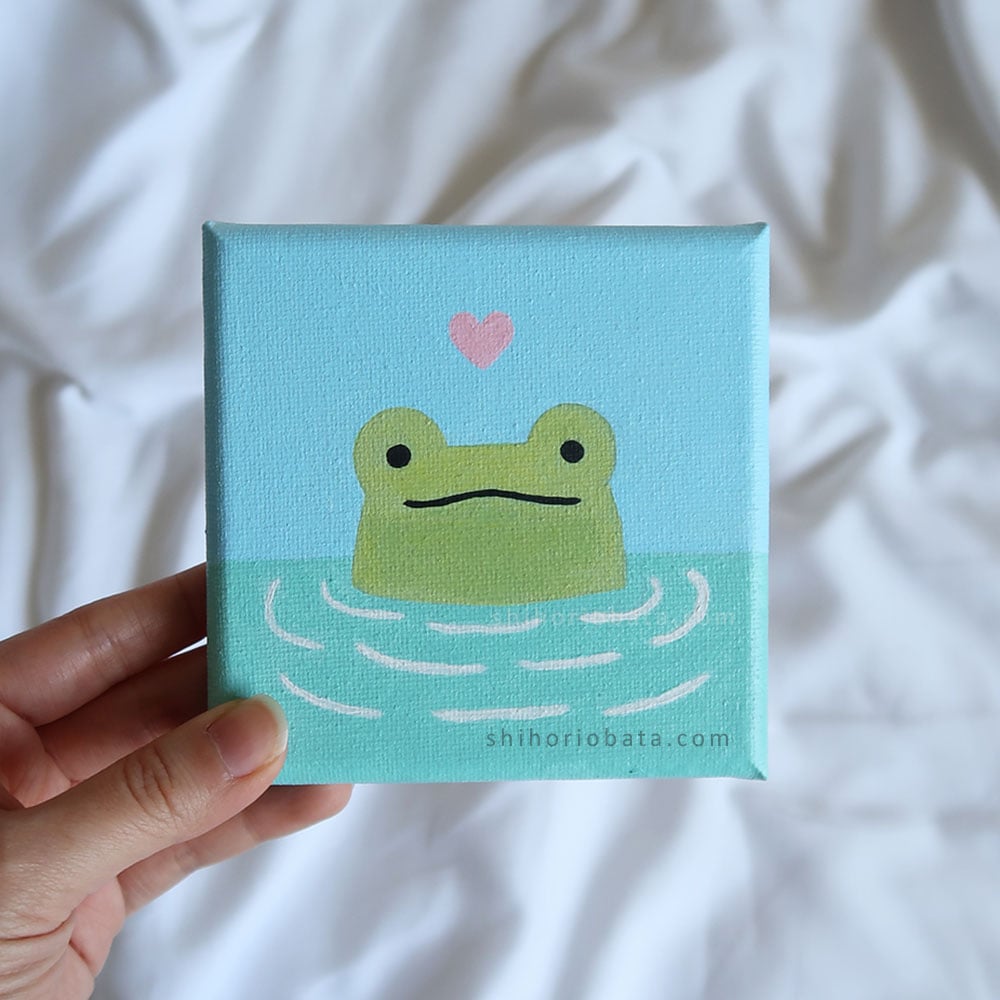
Credit: www.shihoriobata.com
Easy Step-by-step Guide To Paint A Frog
Painting a frog can seem tricky at first. But if you break it into steps, it becomes much easier. Here is a simple way to guide kids through the process:
1. Sketch The Frog Outline
Start by drawing a basic outline with a pencil. Teach kids to use simple shapes:
- Draw a big oval for the frog’s body.
- Add a smaller circle on top for the head.
- Draw two circles for the eyes, and connect them to the head.
- Sketch four simple lines for the legs. Add ovals for the feet.
Do not worry about perfection. The goal is to create a simple, cartoon-like frog. Remind kids that every frog will look a little different.
2. Add Details
Next, add a few details:
- Draw a curved line for the mouth.
- Sketch round shapes for the tips of the frog’s toes.
- Add small lines inside the eyes for pupils.
Encourage kids to keep the lines light. They will paint over these later.
3. Choose And Mix Colors
Now comes the fun part—choosing colors! Frogs can be green, yellow, blue, or even red. Show kids some frog pictures for inspiration. Help them mix colors on the palette. For a classic look, mix green with a little yellow for brightness.
Children often forget to test colors before painting. Show them how to try a small spot on scrap paper first.
4. Paint The Main Body
Use a larger brush to fill in the frog’s body. Remind kids to paint inside the lines but not worry too much if they go outside a little. Kids often use too much water or paint. Remind them to use a small amount and add more if needed.
Let the first layer dry before adding more. This keeps colors bright and prevents smudging.
5. Paint The Eyes And Feet
Switch to a smaller brush for the eyes and feet. Use white for the eye base and black or brown for the pupils. For the feet, use a lighter or darker shade of green.
Younger kids may find small areas hard to paint. Show them how to rest their hand on the table for better control.
6. Add Patterns And Spots
Many frogs have spots or stripes. Use a thin brush to add small dots, lines, or patches in darker green or brown. Let kids be creative and add their own patterns.
Explain that real frogs have unique patterns, so every painted frog can be different.
7. Paint The Background (optional)
If there is time, let kids paint a simple background. A blue pond, green leaves, or even just a splash of color works well. Remind them to keep the background simple so the frog stands out.
8. Let It Dry And Add Final Touches
Wait for the painting to dry completely. Then, kids can outline parts of the frog with a black marker for a cartoon look. This step makes the frog “pop” on the page.
Add a name or signature in the corner for a personal touch.
Common Mistakes Kids Make When Painting Frogs
Learning to paint means making mistakes. Here are some common problems and how to help kids avoid them:
- Using Too Much Water: This makes colors run and paper wrinkle. Teach kids to dip the brush lightly.
- Painting Over Wet Areas: Paint can mix together in a messy way. Remind kids to wait for paint to dry between steps.
- Forgetting to Rinse Brushes: This can make colors muddy. Show kids how to clean the brush each time they switch colors.
- Sketching Too Dark: Heavy pencil lines can show through the paint. Remind kids to draw lightly.
If mistakes happen, it is okay. Encourage kids to keep going. Every painting is unique.
Comparing Different Paint Types For Kids
Choosing the right paint is important. Here’s a comparison of common paint types for kids:
| Paint Type | Best For | Clean Up | Pros | Cons |
|---|---|---|---|---|
| Watercolor | Young children | Easy with water | Washable, soft colors | Can be too light |
| Acrylic | Older kids | Soap and water (wet) | Bright colors, dries fast | Hard to remove when dry |
| Tempera | Classrooms | Very easy | Cheap, good for groups | Not as bright |
For most kids, watercolor or tempera are good choices. They are safe, easy to clean, and fun to use.
Making The Frog Painting Activity More Fun
Painting can be even better with a few small changes:
- Play music while painting.
- Use glitter or stickers for extra decoration.
- Let kids paint frogs from their favorite storybooks.
- Hold a “frog art show” at home or in class.
- Talk about real frogs and their habitats.
Adding these small touches makes the activity memorable.

Credit: www.snazaroo.com
Example: Step-by-step Frog Painting For A 6-year-old
To show how easy this can be, here’s an example for younger children:
- Draw a big green oval for the body.
- Add a smaller green circle for the head.
- Paint two big white eyes on top.
- Use a thin brush to paint a big smile.
- Add four lines for legs, with round toes.
- Paint small dark green spots on the body.
- Let the painting dry, then outline with black.
This simple approach helps young artists build confidence.
Comparing Painting On Paper Vs. Canvas
Kids can paint frogs on different surfaces. Here’s a quick comparison:
| Surface | Cost | Durability | Recommended Age | Notes |
|---|---|---|---|---|
| Paper | Low | Less durable | Any age | Good for practice |
| Canvas | Medium to high | Very durable | 6+ | Great for gifts |
Paper is best for first tries and group activities. Canvas is better if you want to keep or display the art.

Credit: www.youtube.com
Painting Frogs In A Group Setting
Painting frogs works well as a group project. Here are tips for parents and teachers:
- Set up a big table with all supplies.
- Show a finished example to inspire kids.
- Guide everyone step by step, but let kids add personal touches.
- Display all the frogs together on a wall or board.
Group painting teaches teamwork and sharing. It also helps shy children join in.
Useful Tips For Parents And Teachers
- Always cover tables with newspapers or plastic sheets.
- Have kids wear aprons or old shirts.
- Keep a wet wipe or towel nearby for quick clean-up.
- Give lots of praise, even if the frog is not “perfect.”
- Allow children to choose their own colors and patterns.
A common mistake is correcting kids too much. Let their creativity shine—even if their frog has purple spots!
Real-life Examples Of Frog Painting Projects
Many schools and art camps use frog painting to teach art basics. For example, some classes paint frogs to celebrate Earth Day or to learn about rainforests. Kids often remember these projects because they are fun and connected to real-life learning.
Some museums even display children’s frog art in special exhibits. This can inspire kids to take pride in their work and try new art styles.
Safety And Clean-up Tips
Safety is important, especially with younger children. Here are the basics:
- Only use non-toxic paints and supplies.
- Teach kids not to put brushes or paint in their mouths.
- Always wash hands after painting.
- Store paints and sharp tools out of reach.
Clean-up is easier with a system. Have kids help wash brushes and wipe tables. This teaches responsibility and respect for art supplies.
How Painting Frogs Helps Learning
Painting a frog is more than art. It helps with:
- Color recognition – Mixing and naming colors.
- Fine motor skills – Holding brushes and making small strokes.
- Following directions – Listening and working step by step.
- Confidence – Completing a project gives a sense of pride.
Teachers often say kids who do art projects are better at problem-solving and teamwork.
Advanced Ideas For Older Kids
If you have older children, make the activity more challenging:
- Paint a realistic frog using a photo as a reference.
- Try shading and blending for a 3D effect.
- Add a background scene, like a lily pad or a pond.
- Use different materials, like sponges or cotton swabs, for textures.
Older kids can even research and paint frogs from different countries. For more information about frogs and their colors, the Wikipedia page on frogs is a good resource.
Comparing Step-by-step Vs. Free Painting
Some kids like following steps, while others enjoy free painting. Here’s a comparison:
| Style | Structure | Creativity | Who Will Like It? |
|---|---|---|---|
| Step-by-Step | Guided | Medium | Beginners, younger kids |
| Free Painting | Open-ended | High | Older kids, creative types |
Try both methods and see which your child prefers.
Final Thoughts
Painting a frog is a fun, simple way to introduce kids to art. It encourages creativity, teaches new skills, and lets children express themselves. Whether you are a parent, teacher, or just want to try painting with a child, these steps make it easy for everyone. Remember, art is not about being perfect—it’s about having fun and learning together. So grab some paints, and let your imagination hop into action!
Frequently Asked Questions
How Old Should Kids Be To Start Painting Frogs?
Most children can start simple painting projects by age 4 or 5. Younger kids may need more help with brushes and paint, while older children can do more detailed work.
What Is The Easiest Paint For Kids To Use?
Tempera and watercolor paints are best for beginners because they are washable and safe. Avoid oil paints or any toxic materials.
How Do I Help A Child Who Is Afraid To Make Mistakes?
Encourage them by saying every frog will look different. Show examples of unique frogs and praise effort, not just the result.
Can I Use Markers Or Crayons Instead Of Paint?
Yes, markers and crayons are great alternatives for younger kids or for quick projects. The steps are the same—just skip the water and brushes.
What Should I Do If My Child’s Painting Tears The Paper?
Use thicker paper, like watercolor paper, and teach kids to use less water. If a tear happens, tape the back to repair it and let them finish painting.