Painting a room involves preparation, choosing the right materials, and applying paint in even layers.
Transforming a room with a fresh coat of paint can breathe new life into your space. However, knowing how to paint a room step by step is essential to achieving professional-looking results. In this comprehensive guide, you'll learn all the tips and techniques needed to successfully paint a room, from initial preparation to the final brushstroke. Whether you're a seasoned DIY enthusiast or a complete beginner, this authoritative guide simplifies the process, ensuring that your painting project is both efficient and rewarding.
Gather Your Materials
Before starting, ensure you have all the necessary materials:
- Paint: Choose the right type and finish for your room.
- Primer: If needed, helps paint adhere better.
- Brushes: Different sizes are essential for corners and edges.
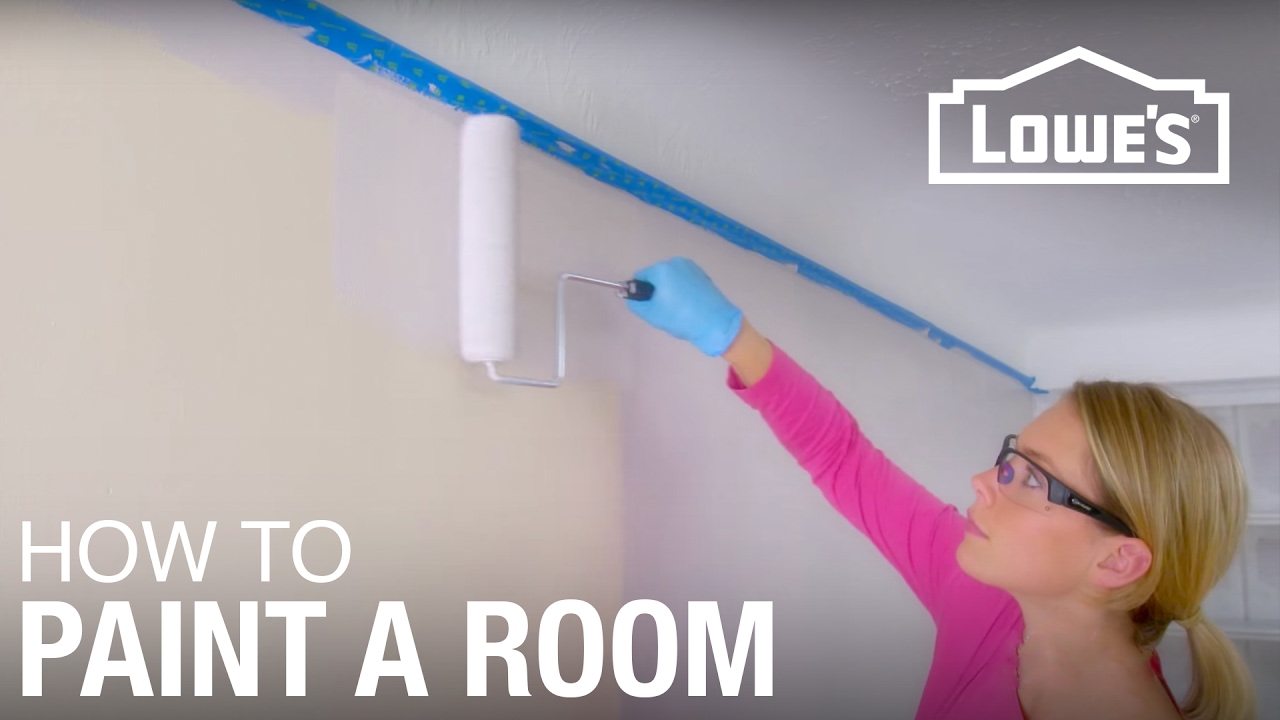
- Rollers: Ideal for large surfaces.
- Painter’s Tape: To protect areas you don't want to paint.
- Drop Cloths: To protect floors and furniture.
- Sandpaper: For smoothing surfaces.
- Paint Tray: To hold your paint and easily use with rollers.
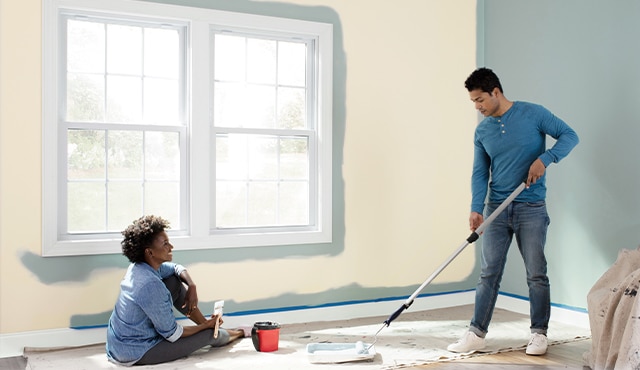
Prepare the Room
Preparation is key to success:
- Clear the Room: Remove all furniture and cover the floor with drop cloths.
- Clean Surfaces: Wipe down walls to remove dust and grease.
- Repair and Sand: Fill any holes or cracks, then sand the surfaces to ensure a smooth finish.
- Tape Edges: Use painter’s tape to protect trims, edges, and other features.
- Prime if Needed: Apply primer on walls for better paint adhesion.
Choose the Right Paint
Consider these factors when selecting paint:
- Type: Choose latex for easy cleanup or oil-based for durability.
- Finish: Select flat, eggshell, satin, or semi-gloss based on your desired look and room function.
Begin Painting
Follow these steps for a perfect finish:
- Cut-In the Edges: Use a brush to paint edges and corners that rollers can't reach.
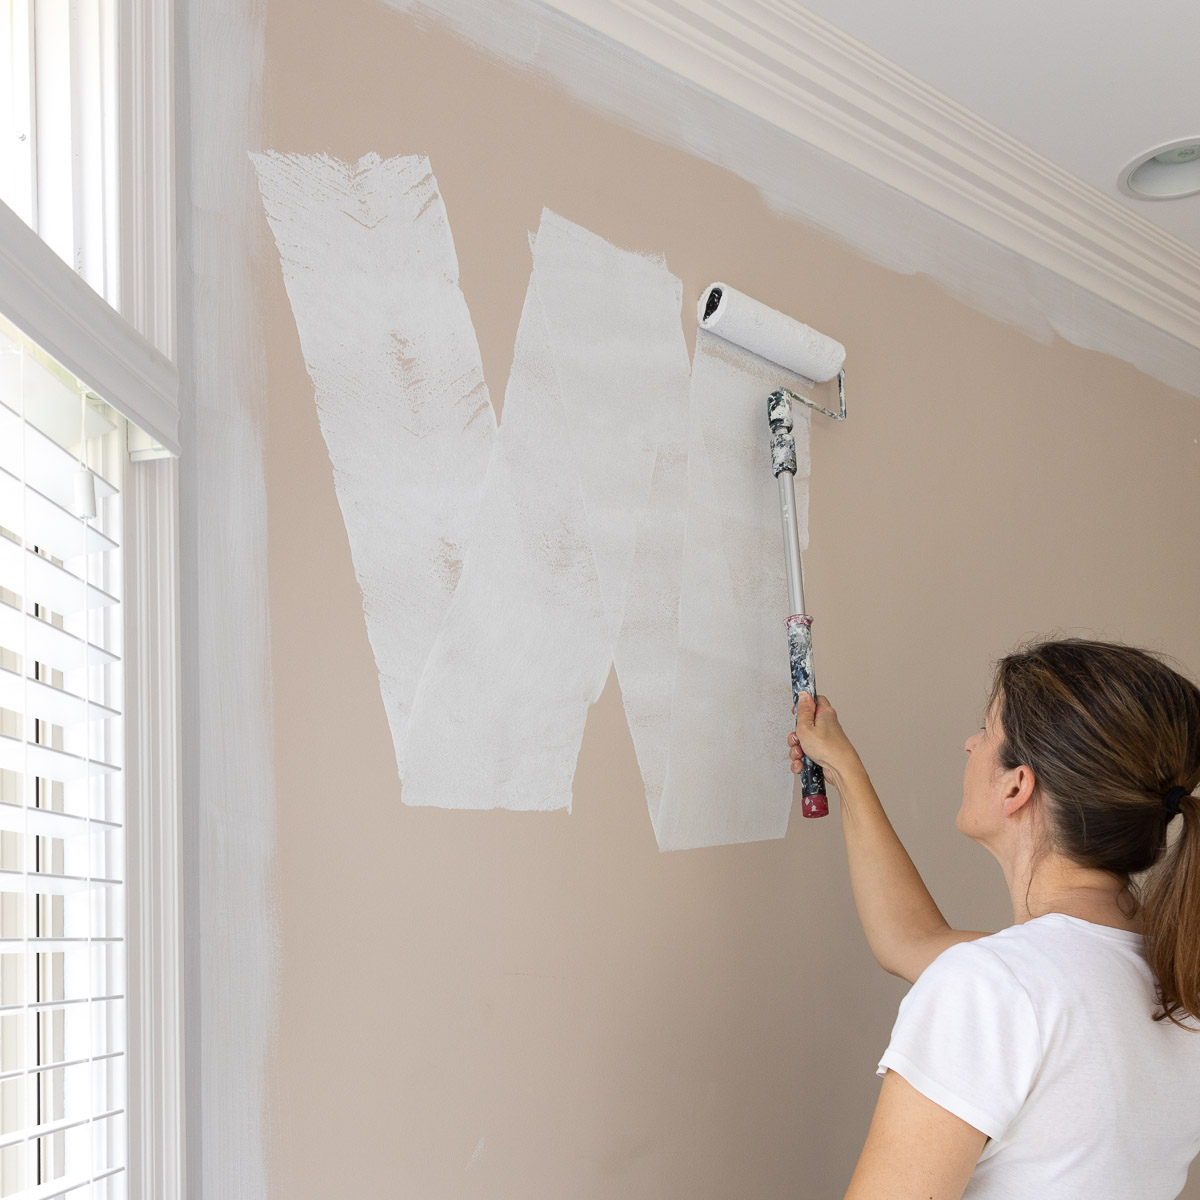
- Roll the Walls: Apply paint in a "W" pattern for uniform coverage.
- Apply Multiple Coats: Once the first coat dries, apply a second for a richer finish.
- Inspect for Touch-Ups: After drying, check for any missed spots and retouch as necessary.
Allow Proper Drying Time
Be patient and allow ample time for drying between coats. This ensures the paint sets correctly and lasts longer.
Clean Up
After finishing, carefully remove the painter's tape and replace any hardware or fixtures. Clean your brushes and rollers thoroughly, and store leftover paint for future touch-ups.
Frequently Asked Questions of How to Paint a Room Step by Step
Do I need to use a primer before painting?
Primer is essential if you're painting over a dark color or on bare walls. It helps the paint adhere and enhances the final color.
How long should I wait between coats?
Typically, wait 2-4 hours between coats, but always refer to the paint can's instructions for the best results.
What's the best way to avoid streaks and roller marks?
Use a quality roller, apply paint evenly, and follow a consistent pattern such as the "W" technique to avoid marks.
Can I paint a room on a rainy day?
Avoid painting in high humidity as it can affect drying time and paint adhesion. Choose dry conditions for optimal results.
Should I sand between coats?
Lightly sanding between coats helps achieve a smoother finish, especially when dealing with high-gloss paints.
Conclusion
Painting a room step by step doesn't have to be daunting. By following the right methods and utilizing the correct materials, you can transform any space with confidence and ease. Now that you have the knowledge to achieve professional results, start your painting project today and enjoy the transformation. Don’t forget to explore additional resources or leave a comment to share your experiences and tips!