Have you ever wanted to capture the magic of the moon on your canvas? Painting a moon with acrylic paint is easier than you think, and you don’t need to be an expert to create something stunning.
Imagine holding a brush and watching the soft glow of the moon come to life right before your eyes. In this guide, you’ll discover simple steps and insider tips that will help you paint a realistic and beautiful moon. Ready to turn your blank canvas into a night sky masterpiece?
Let’s get started!
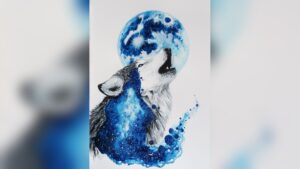
Credit: stepbysteppainting.net
Materials Needed
Gathering the right materials sets a strong base for painting a moon with acrylics. Each item helps create clear shapes and beautiful textures. Prepare these tools before you start. It makes the process smooth and enjoyable.
Acrylic Paint Colors
Choose basic colors like white, black, and gray for the moon’s surface. Add blue or purple for shadow effects. A small amount of yellow or brown can show moon craters. These colors mix well and create depth.
Brush Types
Use a variety of brushes for different details. A round brush works well for fine lines and small craters. Flat brushes help fill large areas quickly. A fan brush adds texture to mimic the moon’s rough surface.
Canvas And Palette
Select a medium-sized canvas, around 12 by 12 inches. This size is perfect for detailed moon painting. Use a palette to mix your paint colors. A simple plastic or wooden palette works fine.
Additional Tools
Keep a cup of water nearby to clean brushes. Paper towels help wipe brushes between colors. A pencil lets you sketch the moon shape before painting. Use a sponge for soft blending effects on the moon.

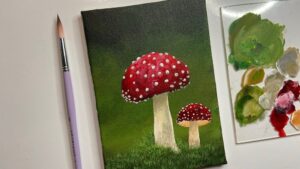
Credit: www.youtube.com
Preparing Your Workspace
Preparing your workspace is the first step to a successful moon painting with acrylics. A neat and organized area helps you focus on your art. It also makes the process smoother and more enjoyable. Below are key tips to set up your space properly.
Setting Up Canvas
Choose a canvas size that fits your project. Place it on an easel or flat surface. Make sure it is secure and stable. This prevents wobbling while you paint. Clean the canvas surface if needed. This ensures the paint sticks well.
Organizing Paints And Brushes
Arrange your acrylic paints by color for easy access. Use a palette or mixing tray for blending. Keep your brushes sorted by size and type. Place them in a container nearby. This saves time and keeps brushes safe. Have a jar of water ready to rinse brushes.
Lighting And Ventilation
Good light shows the true colors of your paint. Natural light is best, but bright lamps work well too. Avoid harsh shadows on your canvas. Open windows or use a fan to keep fresh air flowing. Proper ventilation helps with paint fumes and comfort.
Sketching The Moon
Sketching the moon is the first step in creating a beautiful acrylic painting. It sets the base for your artwork. A clear sketch helps you paint with confidence and accuracy. Start simple and build details slowly. This way, your moon will look realistic and striking.
Choosing The Moon Shape
Decide the shape of your moon. A full circle is classic and easy. A crescent shape adds mystery and style. Use a round object like a cup or lid to trace a perfect circle. For a crescent, draw two overlapping circles and erase the extra parts. Keep the shape light so you can paint over it easily.
Drawing Basic Outlines
Draw the moon’s outline lightly with a pencil. Avoid pressing hard to prevent marks. Sketch the edges smooth and round. Focus on the overall shape before adding details. Simple lines help guide your painting. Check the shape from a distance to ensure it looks right.
Adding Crater Details
Crater details make the moon look real. Use small circles and irregular shapes to show craters. Place them randomly but balance the overall look. Vary the sizes to create depth. Lightly shade some craters for a 3D effect. These details will add texture and interest to your painting.
Base Layer Painting
Base layer painting sets the stage for your moon artwork. It creates the foundation for all details later on. A good base layer helps the colors and shapes stand out clearly. It also makes blending easier and smoother. The right start leads to a more realistic and bright moon.
Selecting Base Colors
Choose colors that match the moon’s natural tones. Light gray, off-white, and soft blue work well. Avoid very bright or dark colors at this stage. They can hide details and make blending hard. Mix a little white with gray to soften the look. These colors give a calm and realistic feel.
Applying The Background
Start with a clean canvas. Use a wide brush for a smooth background. Paint the whole area around the moon with a dark color. Black or deep navy blue works best. This color will make the moon’s brightness pop. Let the paint dry before adding the moon shape.
Creating Smooth Blends
Blending helps colors fade gently into each other. Use a dry, soft brush for blending edges. Move the brush in small circles to soften harsh lines. Work quickly while the paint is still wet. This keeps the colors smooth and natural. Smooth blends create a soft glow around the moon.
Adding Texture And Depth
Adding texture and depth gives your moon painting a lifelike feel. It brings the surface to life, making it look three-dimensional. Simple techniques can create shadows and highlights that show the moon’s rugged terrain.
These steps help your acrylic moon look more natural and interesting. Focus on small details like craters and rough patches. This makes your painting stand out with realism and charm.
Using Dry Brush Technique
Use a dry brush with very little paint. Lightly drag it across the moon’s surface. This creates rough, textured strokes that mimic moon dust and rock.
Keep the brush stiff and the paint sparse. This technique builds a grainy look without heavy layers. It adds subtle texture that looks natural.
Highlighting Craters
Crater edges catch light differently than flat areas. Use a small brush and lighter paint to add highlights. Focus on the tops of crater rims and raised edges.
Highlighting these parts makes craters pop out. It gives the surface more dimension and interest. Paint softly to avoid sharp lines.
Shading For Realism
Shade the lower parts of craters and valleys. Use darker paint and blend gently. This creates shadows that add depth to the moon’s surface.
Shading helps separate different areas visually. It gives your moon a round, solid look. Blend edges softly for a smooth transition.
Final Touches
The final touches bring your moon painting to life. These small steps add depth and interest. They make your artwork stand out and look complete. Focus on light, details, and protection to finish your piece.
Enhancing Highlights
Use a small brush and white or light gray paint. Gently add highlights to the moon’s craters and edges. This creates a glowing effect and adds depth. Soft strokes work best for natural light. Avoid overdoing it; subtle highlights look real.
Adding Stars Or Surrounding Elements
Paint tiny white dots around the moon for stars. Vary the size to create a realistic sky. You can add soft clouds or a dark blue background. These details give context and make your moon pop. Keep the elements simple and balanced.
Sealing Your Painting
Apply a clear acrylic sealer to protect your work. Use a spray or brush-on varnish in a thin layer. This step prevents dust and fading over time. Let it dry completely before touching. Sealing keeps your painting bright and safe.
Tips For Better Results
Painting the moon with acrylic can be fun and rewarding. Simple tips help improve your results. Small changes in your method can make a big difference. Focus on avoiding mistakes, choosing the right brush strokes, and keeping the paint consistent. These steps help you create a more realistic and beautiful moon.
Avoiding Common Mistakes
Start with a clean, dry surface. Paint on wet or dirty surfaces causes uneven texture. Use thin layers of paint to prevent cracking. Avoid thick paint blobs that dry poorly. Let each layer dry fully before adding another. Mistakes happen but fixing them early saves time.
Choosing The Right Brush Strokes
Use gentle, circular strokes for craters and details. Light dabbing helps create soft moon textures. Short strokes work well for shadows and highlights. Avoid heavy or harsh strokes that hide details. Changing brush direction adds depth and realism.
Maintaining Paint Consistency
Keep paint smooth by mixing well before use. Thin paint with a little water for better flow. Thick paint can look rough and uneven. Test paint thickness on scrap paper first. Consistent paint helps layers blend naturally and look clean.

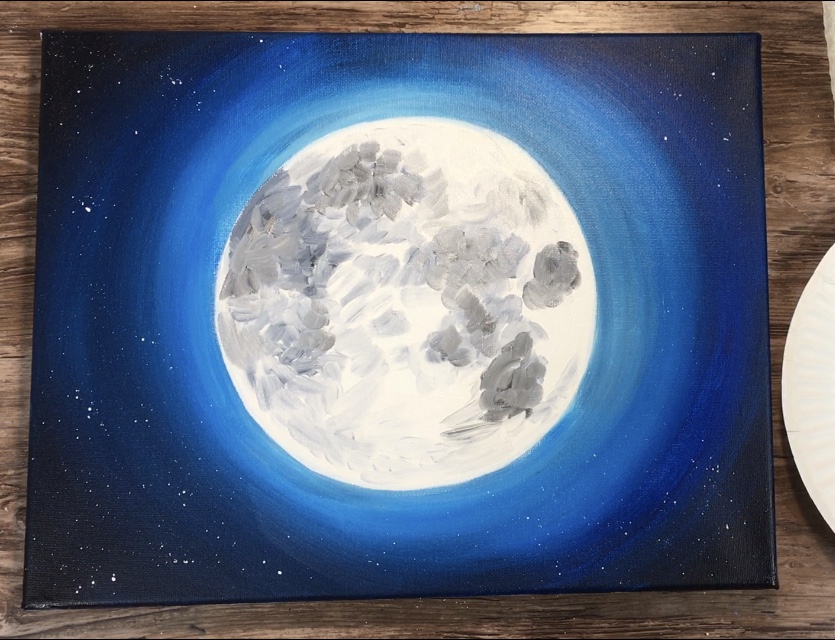
Credit: www.chalkola.com
Frequently Asked Questions
What Supplies Do I Need To Paint A Moon With Acrylics?
You need acrylic paints, brushes, a palette, canvas, water, and paper towels. Optional: sponge for texture and a pencil for sketching.
How Do I Create Realistic Moon Textures With Acrylic Paint?
Use a dry brush or sponge to dab and blend shades. Layer light and dark grays for craters and shadows.
What Colors Are Best For Painting A Moon With Acrylics?
Use shades of white, gray, black, and a hint of blue. These create depth and realism in your moon painting.
How Long Does It Take To Paint A Moon With Acrylics?
It typically takes 1 to 3 hours, depending on detail and drying time between layers.
Conclusion
Painting a moon with acrylic paint is fun and simple. Start with basic shapes and soft colors. Add details little by little. Practice helps you improve each time. Use light and shadow to make it real. Enjoy the process and be patient.
Your painting will shine with your own touch. Keep trying and watch your skills grow. Painting the moon can brighten any room or mood. Give it a chance and see what you create!