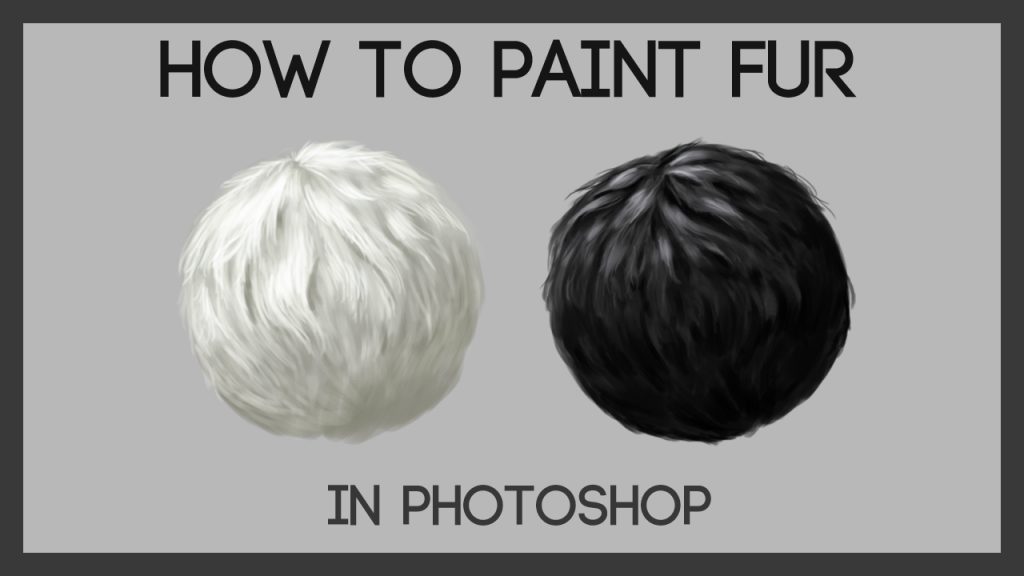
Painting hair and fur in digital art can be fun. It also adds realism to your artwork. In this guide, you will learn how to create stunning hair and fur. Whether you’re a beginner or an advanced artist, these tips will help you.

Credit: m.youtube.com
Materials Needed
- Drawing Tablet
- Digital Art Software (like Photoshop, Procreate, or Krita)
- Stylus Pen
- Reference Images
Step-by-Step Guide to Paint Hair
Step 1: Gather References
First, gather some reference images. These will guide you in creating realistic hair. Look for images with different hair types and styles.
Step 2: Sketch The Outline
Start by sketching the outline of the hair. Use a soft brush and light color for this. Don’t worry about details yet. Just focus on the shape and flow of the hair.
Step 3: Base Color
Choose a base color for the hair. Apply this color to the entire hair area. Use a medium-sized brush for an even coat.
Step 4: Add Shadows
Next, add shadows to the hair. Use a darker shade of the base color. Apply shadows to areas where the hair overlaps or folds.
Step 5: Add Highlights
Now, add highlights to the hair. Use a lighter shade of the base color. Focus on the areas where light hits the hair directly. This will add depth and realism.
Step 6: Detail Strands
Start adding individual hair strands. Use a small brush for this. Vary the thickness and length of the strands for a natural look.
Step 7: Blend And Refine
Blend the hair strands using a soft brush. This will smooth out any harsh lines. Refine the details until you’re happy with the result.
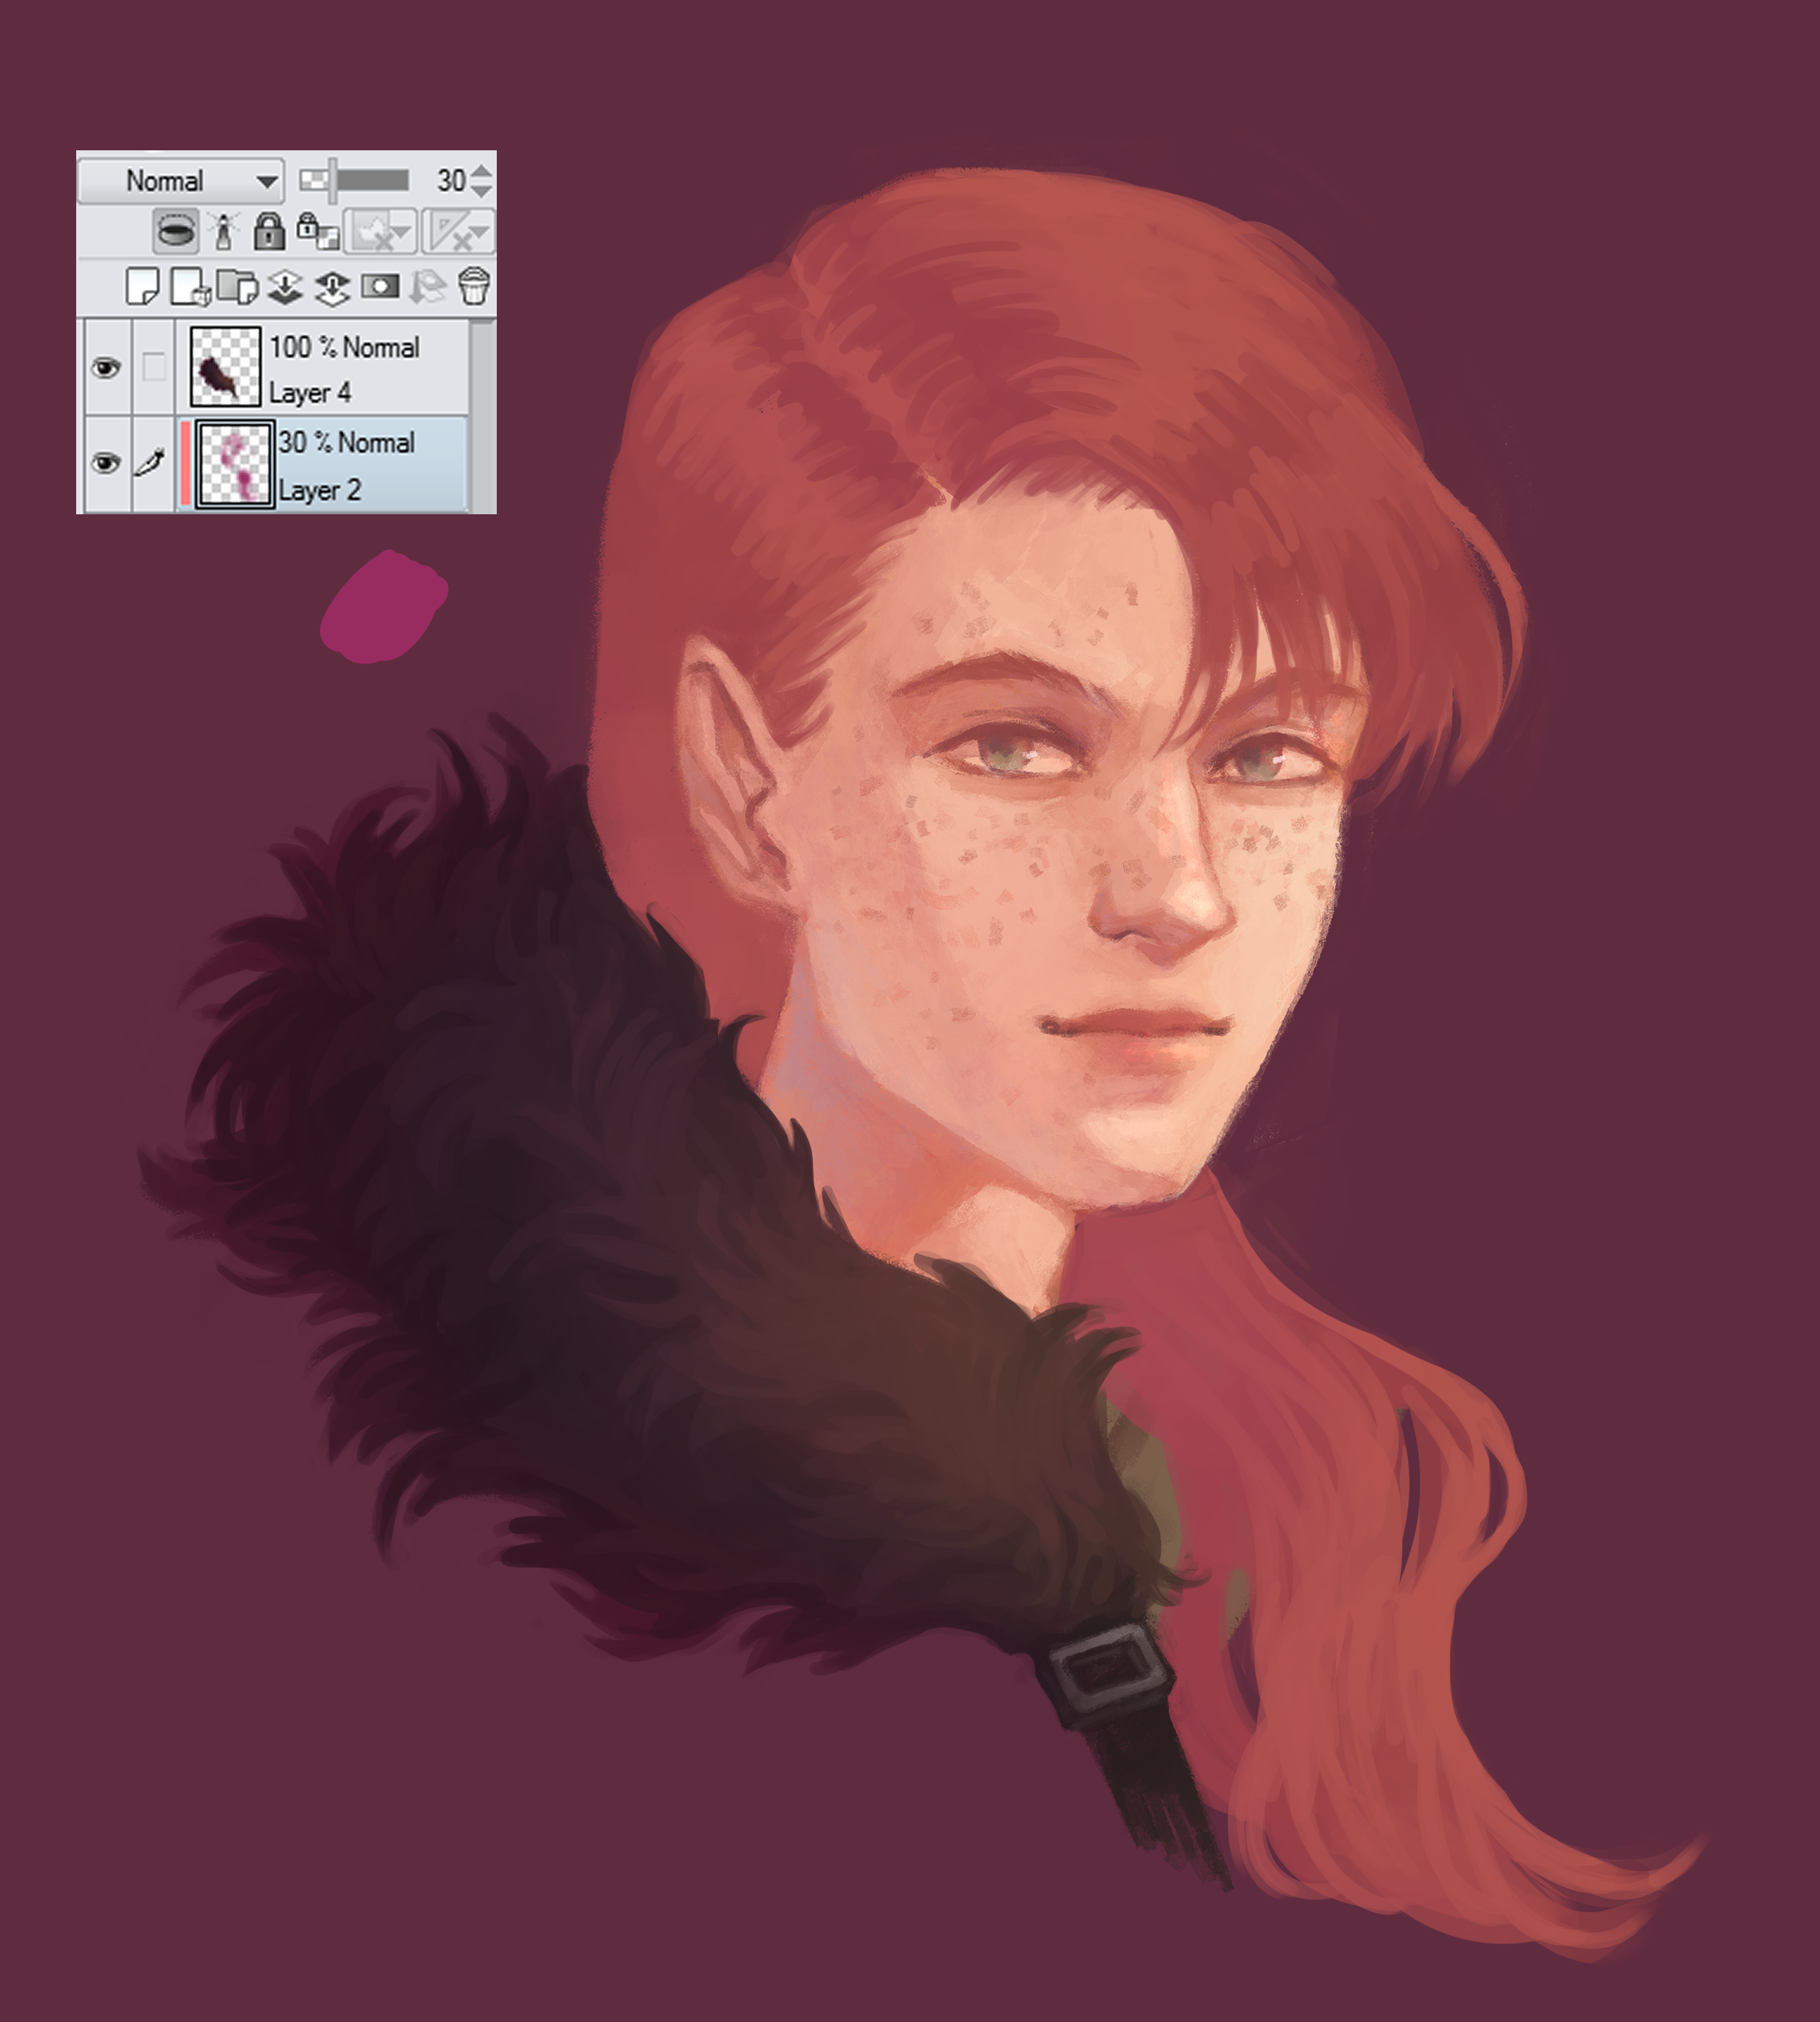
Credit: tips.clip-studio.com
Step-by-Step Guide to Paint Fur
Step 1: Gather References
Just like with hair, start by gathering reference images of fur. Look for different textures and lengths.
Step 2: Sketch The Outline
Sketch the outline of the fur. Use a soft brush and light color. Focus on the overall shape and direction of the fur.
Step 3: Base Color
Choose a base color for the fur. Apply this color to the entire fur area. Use a medium-sized brush for an even coat.
Step 4: Add Shadows
Next, add shadows to the fur. Use a darker shade of the base color. Apply shadows to areas where the fur overlaps or folds.
Step 5: Add Highlights
Now, add highlights to the fur. Use a lighter shade of the base color. Focus on the areas where light hits the fur directly. This will add depth and realism.
Step 6: Detail Strands
Start adding individual fur strands. Use a small brush for this. Vary the thickness and length of the strands for a natural look.
Step 7: Blend And Refine
Blend the fur strands using a soft brush. This will smooth out any harsh lines. Refine the details until you’re happy with the result.
Tips and Tricks
- Use different brushes to create various textures.
- Experiment with layer modes for unique effects.
- Don’t rush; take your time to add details.
- Use reference images to guide you.
- Practice regularly to improve your skills.
Common Mistakes to Avoid
- Avoid using one color for the entire hair or fur.
- Don’t ignore the direction of the hair or fur strands.
- Avoid making the strands too uniform.
- Don’t forget to add shadows and highlights.
- Avoid rushing through the detailing process.
Frequently Asked Questions
How Do You Paint Realistic Hair In Digital Art?
Use textured brushes and layer techniques to create depth and detail.
What Tools Are Best For Painting Fur?
Textured brushes and smudge tools help create realistic fur effects.
How Do You Add Texture To Hair?
Use varied brush strokes and layer opacity to add texture.
What Software Is Recommended For Painting Hair?
Photoshop, Procreate, and Clip Studio Paint are excellent choices.
Conclusion
Painting hair and fur in digital art takes practice. Follow these steps and tips to improve your skills. Always use reference images to guide you. Don’t rush the process; take your time to add details. Happy painting!