Do you have old items you don’t use anymore? You don’t have to throw them away. You can upcycle them with creative painting techniques. This is a fun and eco-friendly activity. Let’s learn how to turn your old items into something new and beautiful.
What is Upcycling?
Upcycling means turning old items into new ones. It gives new life to things you don’t use. Upcycling is good for the environment. It reduces waste and saves resources. Plus, it’s a lot of fun!
Why Use Creative Painting Techniques?
Painting is a simple and affordable way to upcycle. You don’t need many tools or materials. Just some paint and brushes. Creative painting techniques can make old items look new again. They can also add a personal touch to your home.
Materials Needed
Before you start, gather your materials. Here is a list of what you’ll need:
- Old items to upcycle
- Paint (acrylic or spray paint)
- Paintbrushes of different sizes
- Painter’s tape
- Stencils
- Sandpaper
- Primer (optional)
- Drop cloth or newspaper
Step-by-Step Guide to Upcycling with Paint
1. Choose Your Item
Pick an old item you want to upcycle. It could be anything. A chair, a table, a vase, or even old jars. Make sure the item is clean and dry.
2. Prepare The Surface
Preparation is key to a good paint job. Use sandpaper to smooth the surface. This helps the paint stick better. If the item is very shiny, sanding is a must. Wipe away dust with a damp cloth.
3. Apply Primer (optional)
Primer helps paint stick better and last longer. It’s especially useful for dark or shiny surfaces. Apply a thin coat of primer and let it dry completely.
4. Choose Your Paint
Select the type of paint you want to use. Acrylic paint is great for most projects. Spray paint is good for large surfaces. Choose colors that match your style.
5. Start Painting
Now it’s time to paint! Use a drop cloth or newspaper to protect your work area. Start with a thin coat of paint. Let it dry, then add more coats if needed. Thin coats dry faster and look smoother.
6. Add Creative Touches
This is where you can get creative. Use painter’s tape to create patterns. Or use stencils for intricate designs. You can even use a sponge for a textured look.
7. Let It Dry
Patience is important. Let each coat of paint dry completely. This will make your project look better and last longer.
8. Finish With A Sealant (optional)
A sealant can protect your painted item. It makes the paint last longer and adds a nice finish. Spray or brush on a thin coat of sealant. Let it dry completely.
Creative Painting Techniques
1. Ombre Effect
The ombre effect is a gradient of colors. It starts light at one end and gets darker. This technique works well on furniture and vases. Choose three shades of the same color. Start with the lightest shade and blend into the darkest.
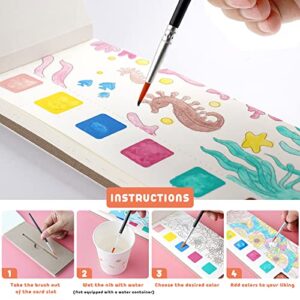
2. Stenciling
Stenciling is easy and fun. You can buy stencils or make your own. Use painter’s tape to hold the stencil in place. Apply paint with a sponge or brush. Remove the stencil carefully while the paint is still wet.
3. Color Blocking
Color blocking is bold and modern. Use painter’s tape to create geometric shapes. Paint each section a different color. Remove the tape while the paint is still wet. This technique is great for furniture and walls.
4. Dry Brushing
Dry brushing gives a rustic look. Dip a dry brush into a small amount of paint. Wipe off excess paint on a paper towel. Lightly brush the surface in long strokes. This technique works well on wood and metal.
5. Splatter Painting
Splatter painting is messy but fun. Dip a brush into paint. Flick the brush to create splatters. You can use one color or many. This technique is great for abstract art and modern decor.
Upcycling Ideas
1. Old Furniture
Old furniture can look new with a coat of paint. Try the ombre effect on a dresser. Or use stencils to add designs to a table. You can even use color blocking for a modern look.
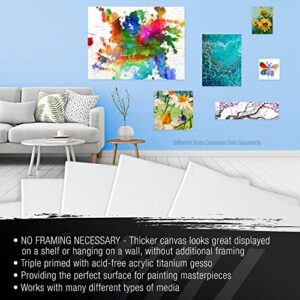
2. Glass Jars
Don’t throw away old jars. Paint them and use them as vases or storage. Try splatter painting for a fun look. Or use stencils to add intricate designs.
3. Picture Frames
Old picture frames can be upcycled too. Use dry brushing for a rustic look. Or try color blocking for something modern. You can also add stenciled designs.
4. Metal Cans
Metal cans can be turned into planters or storage. Use the ombre effect for a stylish look. Or try splatter painting for something fun. You can also use stencils for intricate designs.
5. Fabric Items
You can paint fabric items too. Try stenciling on old pillows. Or use splatter painting on tote bags. Fabric paint works best for these projects.
Benefits of Upcycling
Upcycling has many benefits. It reduces waste and saves resources. It can save you money too. You don’t have to buy new items. Upcycling is also a fun and creative activity. It can give you a sense of accomplishment.

Credit: www.instructables.com
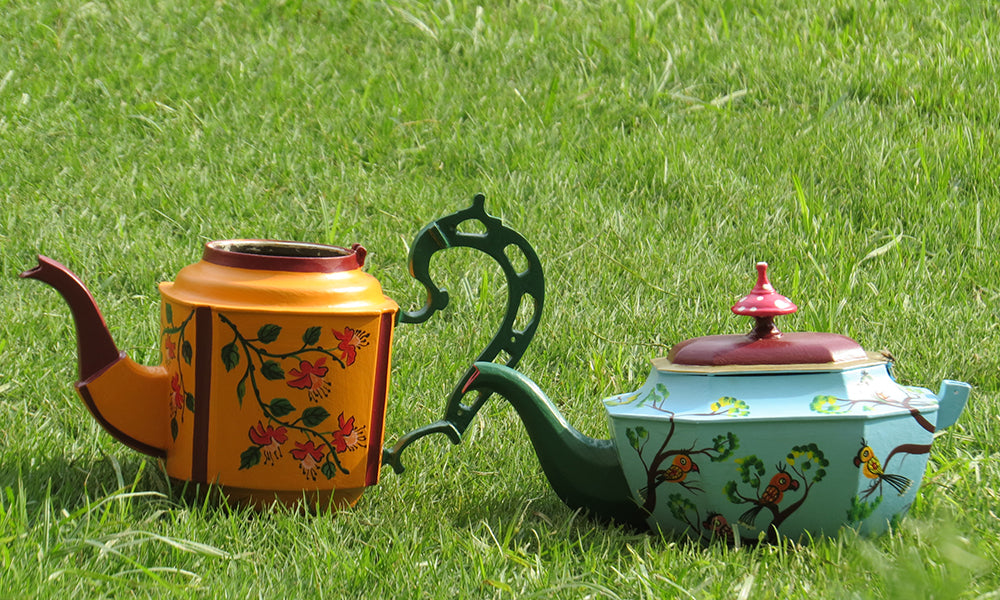
Credit: scrapshala.com
Frequently Asked Questions
What Is Upcycling?
Upcycling involves creatively reusing old items to create something new and functional.
Can You Paint Any Old Item?
Yes, most old items can be painted with the right preparation.
What Paint Is Best For Upcycling?
Acrylic paint is versatile and works on most surfaces.
Do I Need To Prime Before Painting?
Yes, priming helps the paint adhere better and last longer.
Conclusion
Upcycling old items with creative painting techniques is easy and fun. You can turn trash into treasure. You don’t need many materials. Just some paint, brushes, and imagination. Try these techniques and see what you can create. Happy upcycling!