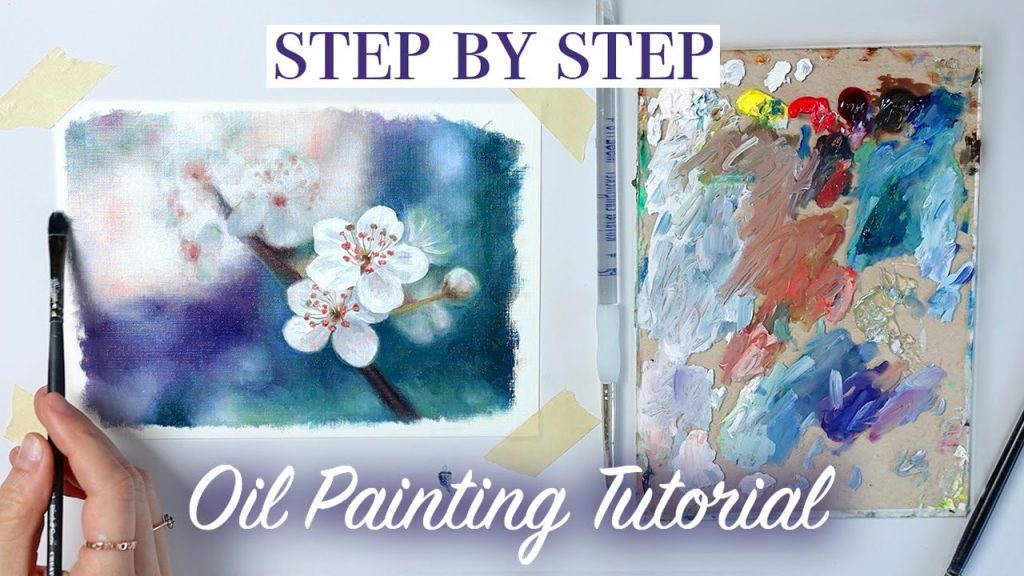
Welcome to our step-by-step oil painting tutorial. This guide is perfect for beginners. If you are new to oil painting, don’t worry. We will explain everything in simple steps.
Materials You Will Need
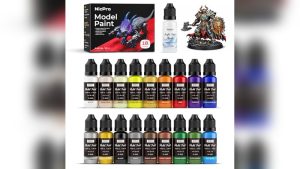
First, gather all the materials. Here is a list of items you will need:
- Oil paints
- Brushes
- Canvas
- Palette
- Palette knife
- Linseed oil
- Turpentine or mineral spirits
- Rags or paper towels
- Apron
Step 1: Set Up Your Workspace
Choose a well-ventilated area. Cover your workspace with old newspapers. This will protect your table from paint spills.
Step 2: Prepare Your Canvas
Before you start painting, prepare your canvas. You can buy a pre-primed canvas. If not, you need to apply a layer of gesso. Let it dry completely.
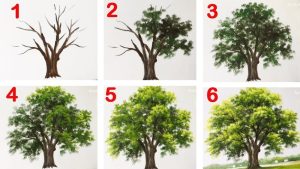
Step 3: Sketch Your Design
Use a pencil to lightly sketch your design on the canvas. Keep it simple. Detailed sketches can be overwhelming for beginners.
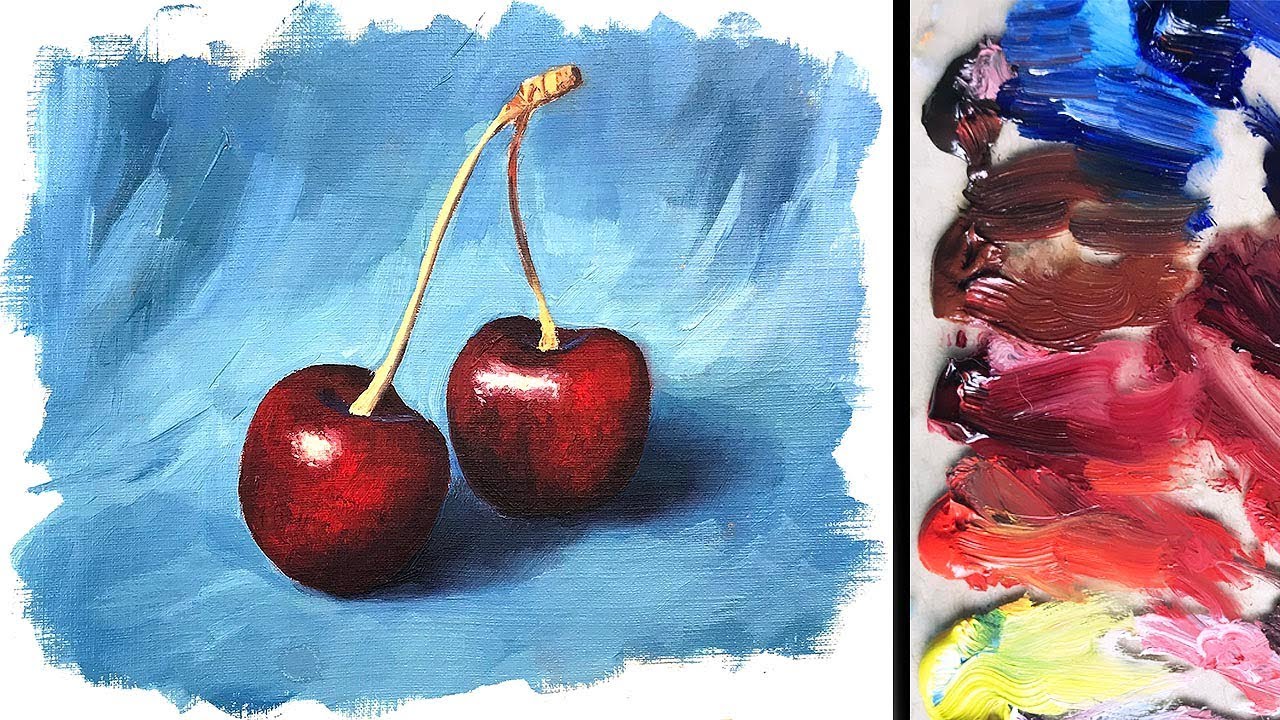
Step 4: Choose Your Colors
Decide on the colors you will use. Squeeze small amounts of paint onto your palette. Remember, oil paints are thick. You don’t need a lot of paint to start with.
Credit: www.courtneymarietaylor.com
Step 5: Mix Your Paints
Use a palette knife to mix your paints. You can create new colors by mixing different paints. Add a few drops of linseed oil. This will make the paint smoother.
Step 6: Start Painting
Begin with the background. Use broad strokes to cover large areas. Don’t worry about details at this stage. Let the paint dry before adding more layers.
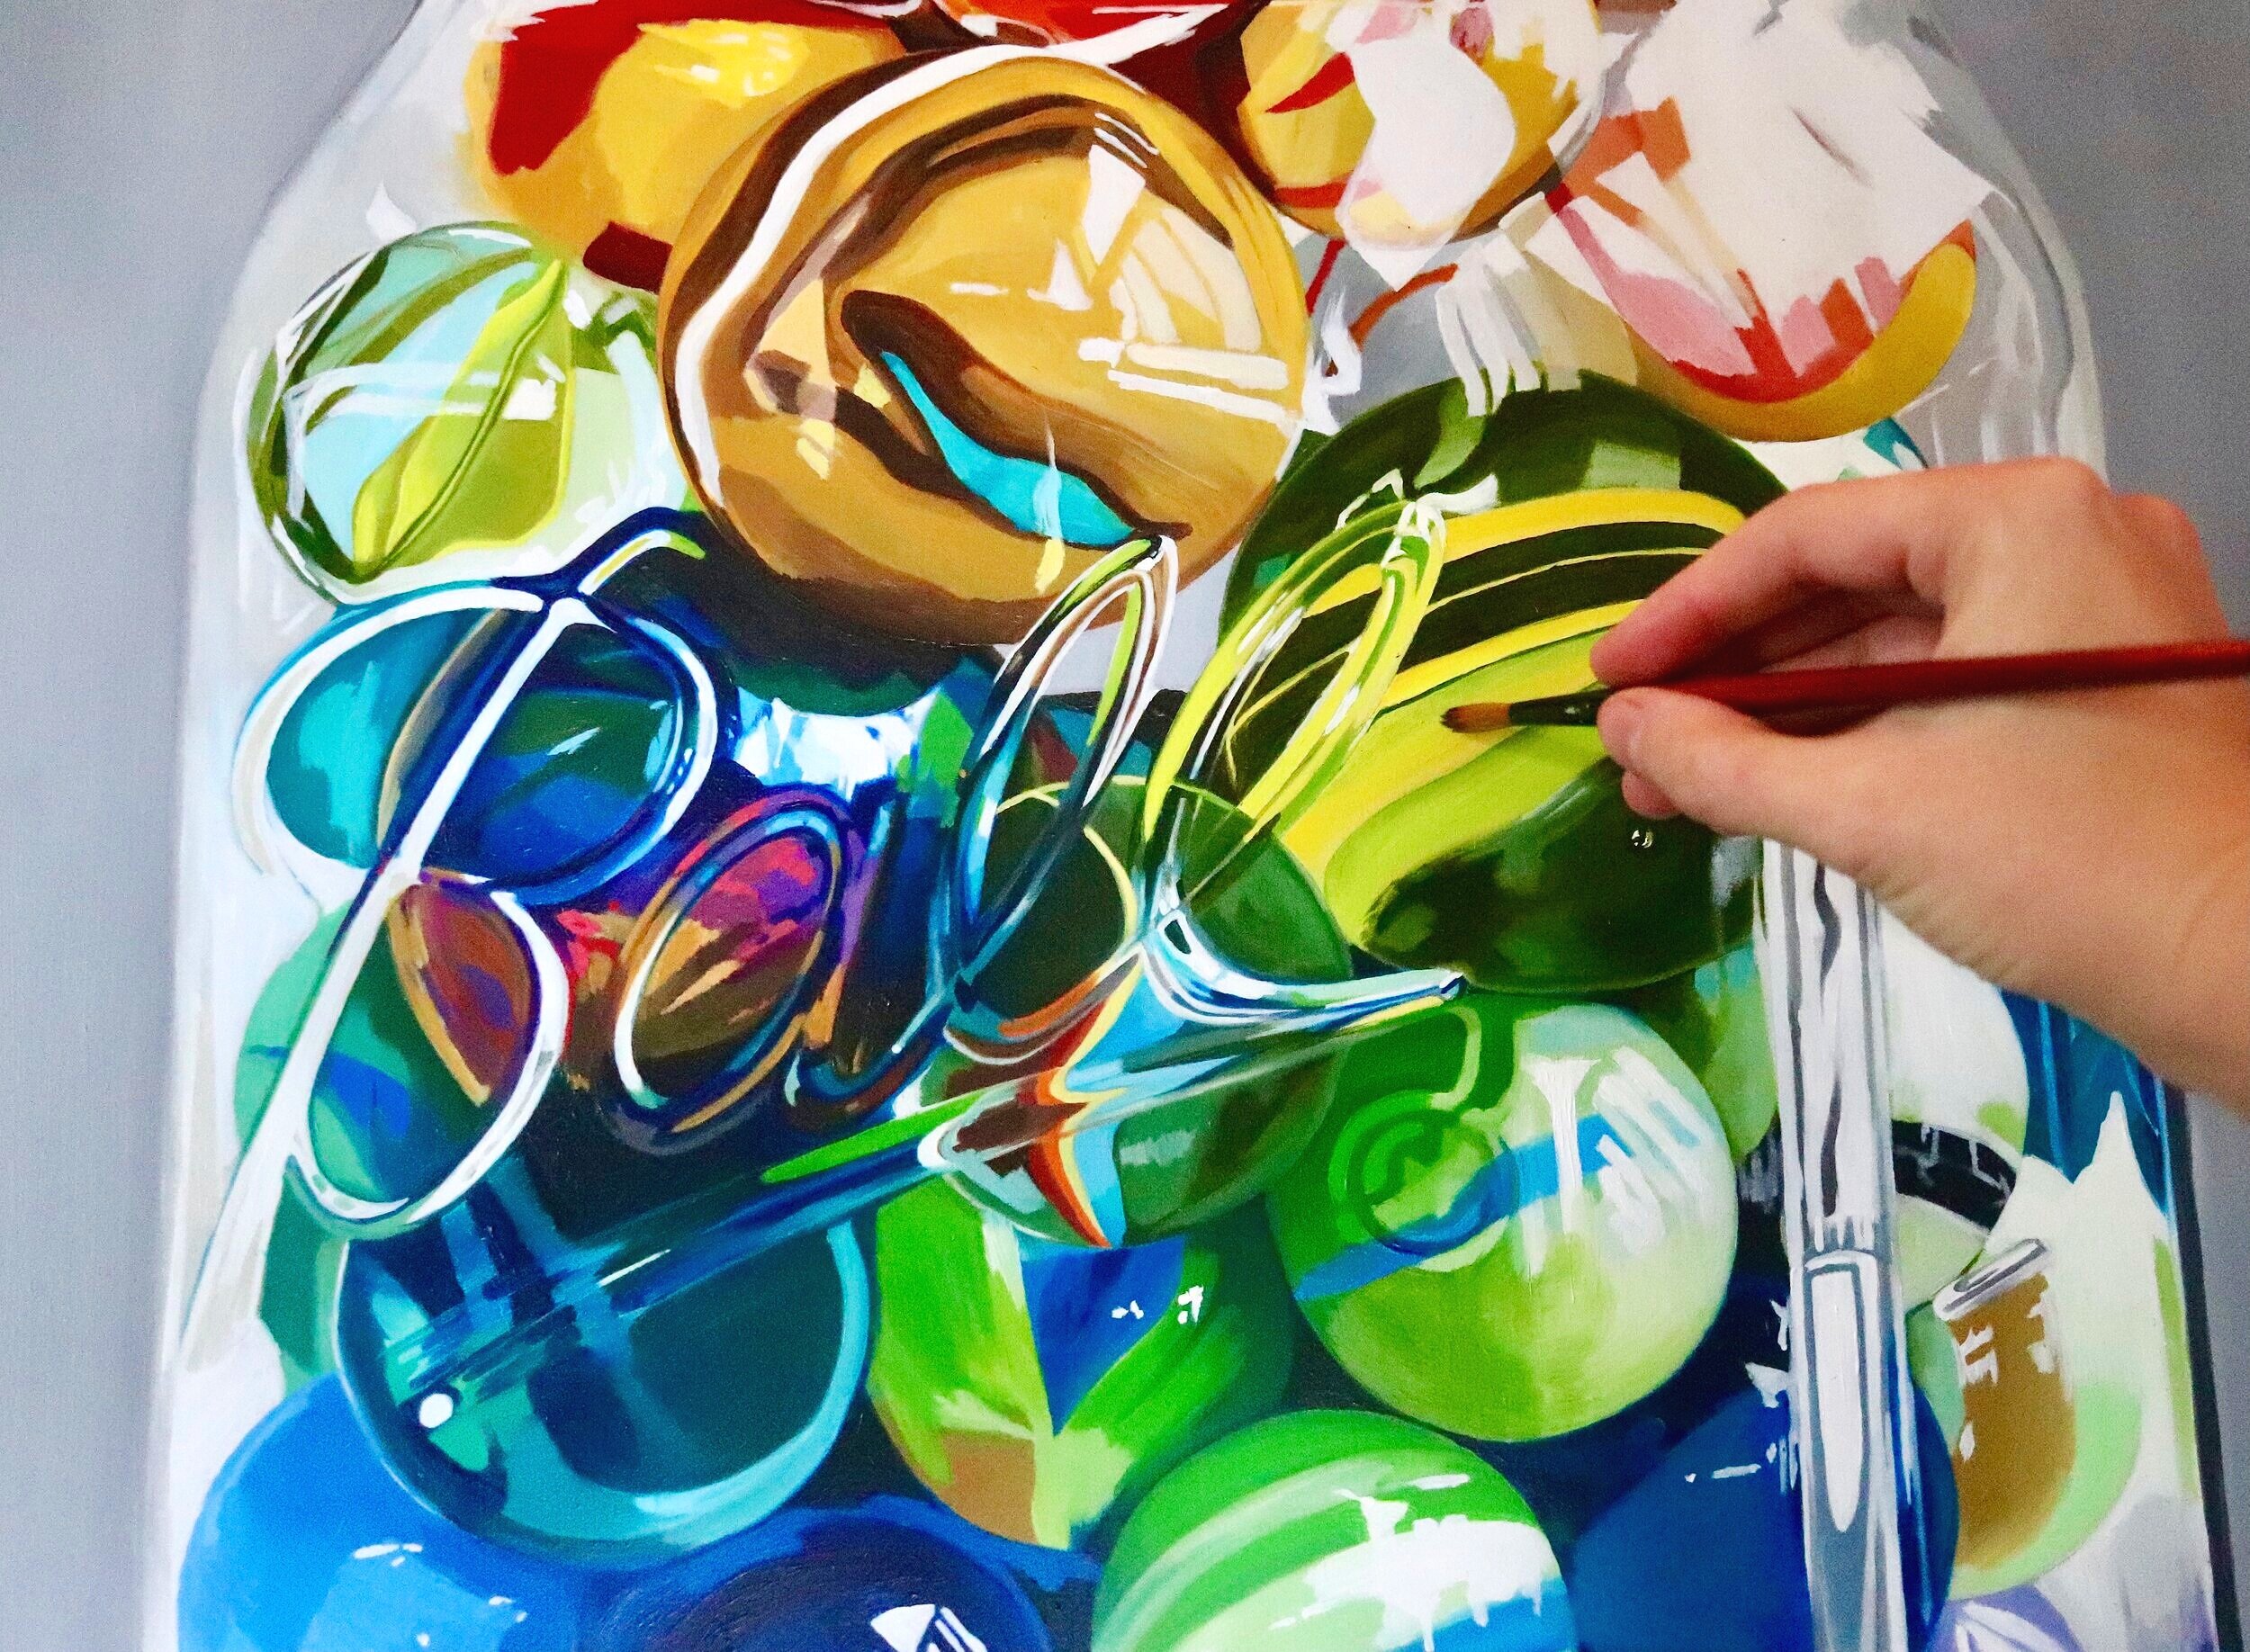
Step 7: Add Details
Once the background is dry, start adding details. Use smaller brushes for this step. Take your time and be patient. Oil paints take time to dry. You can easily correct mistakes.
Credit: www.youtube.com
Step 8: Blend Your Colors
Oil paints blend well. Use a clean brush or your fingers to blend colors. This will create smooth transitions and gradients.
Step 9: Clean Your Brushes
After painting, clean your brushes. Use turpentine or mineral spirits. Dip the brushes in the solution and wipe with a rag. Repeat until the brushes are clean.
Step 10: Let Your Painting Dry
Oil paintings take time to dry. Leave your painting in a safe place. It may take a few days to a week to dry completely.
Step 11: Varnish Your Painting
Once dry, apply a varnish to protect your painting. Use a brush to apply a thin layer. Let it dry for another few days.
Tips for Beginners
Here are some tips to help you get started:
- Start with simple designs.
- Practice blending colors.
- Don’t use too much paint.
- Be patient and take your time.
Common Mistakes to Avoid
Avoid these common mistakes:
- Using too much paint.
- Not letting layers dry.
- Skipping the cleaning of brushes.
- Not preparing the canvas properly.
Frequently Asked Questions
What Materials Do I Need To Start Oil Painting?
You need oil paints, brushes, canvas, and a palette.
How Do I Prepare A Canvas?
Apply a gesso primer to seal and smooth the surface.
What Is The Best Brush For Oil Painting?
Use hog bristle brushes for their durability and texture.
How Do I Mix Oil Paints?
Mix on a palette using a palette knife or brush.
Conclusion
Oil painting is a fun and rewarding hobby. With practice, you will improve. Follow this step-by-step tutorial, and you will create beautiful paintings. Happy painting!