Are you ready to bring your creativity to life on a blank canvas? Painting on canvas might seem tricky at first, but with the right steps, you can create stunning artwork that truly expresses your vision.
Whether you want to dabble in acrylics or explore the rich world of oils, understanding how to prepare your canvas, choose your paints, and apply your brushstrokes will set you up for success. This guide will walk you through everything you need to know to start painting on canvas confidently—so you can turn your ideas into beautiful, lasting pieces.
Keep reading, and soon you’ll be creating art that you’ll be proud to call your own.
Choosing Paint Types
Choosing the right paint type is a key step in painting on canvas. Each paint offers unique qualities that affect your artwork’s look and feel. Your choice depends on your style, drying time preference, and desired finish. Understanding the main paint types helps you pick the best one for your project.
Acrylic Paint Advantages
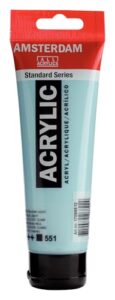
Acrylic paint dries quickly, allowing fast layering. It is water-based, so cleanup is easy with soap and water. Acrylics work well on many surfaces, including canvas. The colors stay bright and do not fade over time. This paint suits beginners and those who like to work fast. You can also mix acrylics easily to get new colors.
Oil Paint Benefits
Oil paint dries slowly, giving more time to blend colors smoothly. It creates rich, deep colors that look vibrant on canvas. Oils have a creamy texture, making brushstrokes smooth and soft. They last a long time and develop a beautiful shine. Use oil paint if you want detailed work and rich color layers.
Other Paint Options
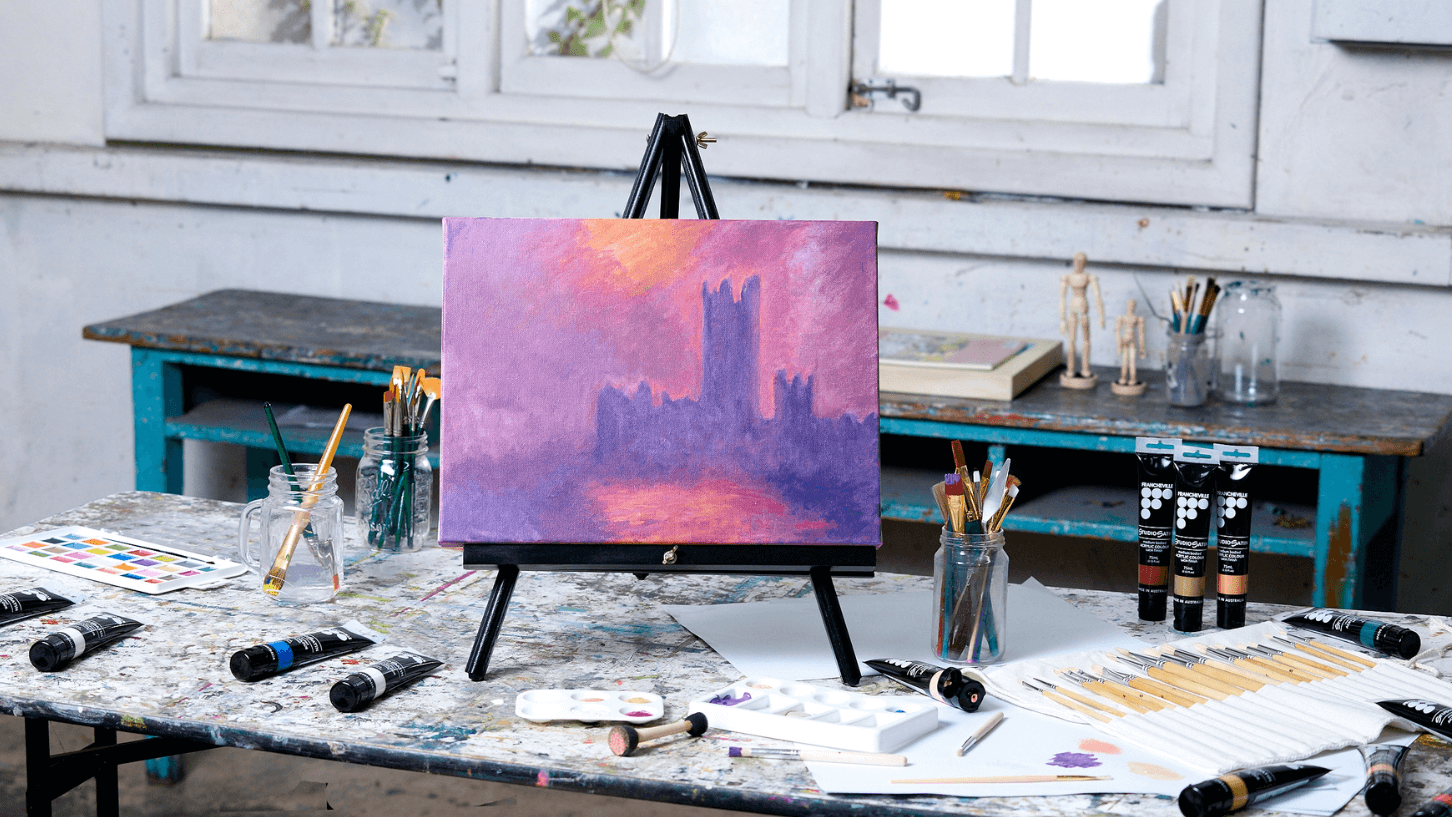
Watercolor can be used on canvas with special preparation. It creates soft, transparent effects but is less common. Gouache offers opaque colors and dries fast but works best on paper. Enamel paint is durable and glossy but less flexible. Chalk paint gives a matte finish and texture. Choose these if you want unique effects or mixed media styles.
Credit: www.spotlightstores.com
Preparing The Canvas
Preparing the canvas is the first step to a successful painting. A well-prepared canvas holds paint better and lasts longer. It creates a smooth and durable surface for your artwork. Taking time to prepare your canvas improves the final result. Here are some key points to consider when preparing your canvas.
Priming The Surface
Priming seals the canvas fibers and prevents paint from soaking in. Use gesso for priming; it creates a white, smooth base. Apply one or two thin coats with a brush or roller. Let each coat dry completely before adding the next. Priming also adds texture that helps paint stick well.
Selecting Canvas Texture
Canvas comes in different textures: smooth, medium, and rough. Smooth canvas suits fine detail work and delicate brush strokes. Medium texture works well for most painting styles. Rough texture adds bold texture and works best with thick paint. Choose a texture that matches your painting technique.
Using Canvas Wedges
Canvas wedges help keep your canvas tight and flat. Insert wedges into the corners of the wooden frame. Gently tap them to stretch the canvas evenly. This prevents sagging as you paint. Check the tension often and adjust wedges if needed.
Setting Up Your Workspace
Creating a good workspace helps you paint better and enjoy the process. A neat, well-lit area keeps you focused. It also protects your supplies and your home from paint spills.
Before starting, gather all your materials and find a comfortable spot. Organize everything so you can reach it easily. This saves time and keeps your mind on painting.
Organizing Supplies
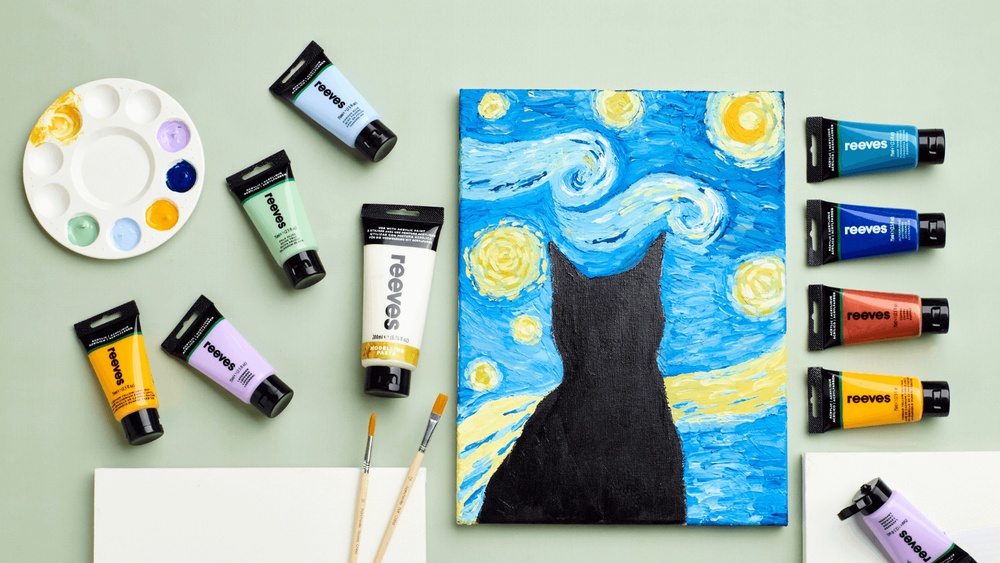
Place your paints, brushes, water, and cloths close together. Use containers or trays to keep colors separate. Clean brushes between colors to avoid mixing and muddy paint.
Have paper towels or rags nearby to wipe brushes or hands. Keep your palette in reach to mix colors smoothly. A clean, tidy setup helps you work faster and neater.
Positioning The Canvas
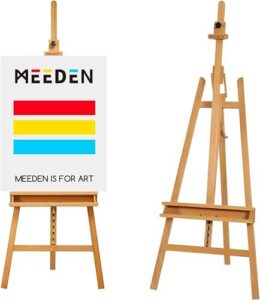
Set your canvas on an easel or flat surface at eye level. This angle helps you see details clearly and paint comfortably. Make sure the canvas is stable and won’t move while painting.
Good lighting is important. Natural daylight is best, but a bright lamp works well too. Avoid shadows on your canvas to see true colors and shapes.
Choosing Brushes
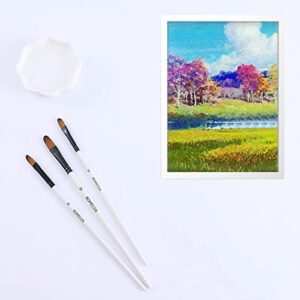
Select brushes based on your painting style and the detail you want. Use flat brushes for wide strokes and round brushes for fine lines. Keep a few sizes handy to switch easily.
Choose brushes with synthetic bristles for acrylics and natural bristles for oils. Clean brushes carefully after each use to keep them in good condition. Well-chosen brushes improve your control and results.
Basic Painting Techniques
Basic painting techniques form the foundation of every great canvas artwork. These methods help artists control paint and create the desired effects. Understanding these techniques makes painting easier and more enjoyable. Beginners can build skills step by step.
Sketching And Underpainting
Start by sketching a light outline on the canvas. Use a pencil or thin paint to mark shapes and composition. This step guides the painting process and avoids mistakes. Underpainting follows, applying a thin layer of paint to set tones. It helps to define shadows and highlights early.
Applying Paint With Brushes
Choose brushes based on the paint type and desired texture. Use firm bristles for bold strokes and soft ones for smooth details. Apply paint with steady, controlled movements. Layer colors to add depth and interest. Clean brushes often to keep colors clear and bright.
Blending Colors Smoothly
Blending creates seamless color transitions on the canvas. Work while the paint is still wet for easy mixing. Use soft brushes or blending tools in gentle circular motions. Add small amounts of paint gradually to avoid harsh lines. Practice patience; smooth blends take time and care.
Advanced Tips For Stunning Results
Painting on canvas can bring joy and creativity. Yet, some common challenges might slow you down. These challenges often affect the quality and durability of your artwork. Knowing how to handle them keeps your painting smooth and lasting.
Below are frequent issues and easy ways to manage them during your painting process.
Preventing Canvas Sagging
Canvas sagging happens when the fabric loosens after painting. This makes your artwork look uneven and weak. To prevent sagging, always use a good quality, tightly stretched canvas. Applying a primer before painting helps stiffen the surface. Keep the canvas away from moisture, which can cause it to stretch or warp. After painting, let the canvas dry flat to keep its shape.
Handling Fast-drying Paint
Fast-drying paints, like acrylics, can dry before you finish blending. This limits smooth color transitions. Work in small sections to avoid drying too soon. Use a spray bottle to lightly mist water on the paint to keep it wet longer. Mixing paint with a slow-drying medium also helps extend drying time. Prepare your colors and brushes before starting to paint.
Avoiding Cracking And Fading
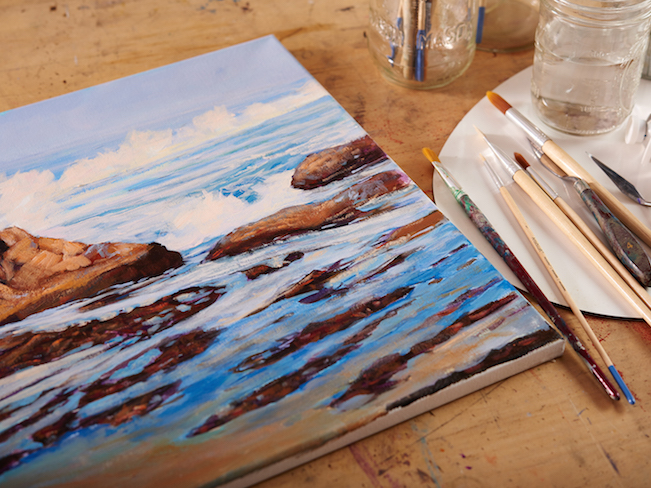
Cracking appears when paint dries unevenly or too thick. Thin your paint with proper mediums for better flow. Avoid heavy layers that take long to dry. Fading happens due to sunlight or poor-quality paint. Use light-resistant paints and keep your artwork out of direct sun. Varnishing your painting protects colors and prevents dust buildup.
Credit: www.craftsy.com
Common Painting Challenges
After completing your painting on canvas, the final steps bring your artwork to life and protect it for years. Finishing touches help preserve colors and enhance the overall look. Proper finishing ensures your painting stays vibrant and safe from damage.
Varnishing For Protection
Varnishing seals the paint and protects it from dust and sunlight. Choose a varnish that suits your paint type—glossy, matte, or satin finishes. Apply varnish with a clean brush in thin, even coats. Let each coat dry fully before adding another. Varnishing also enhances color depth and adds a professional touch.
Framing And Display Tips
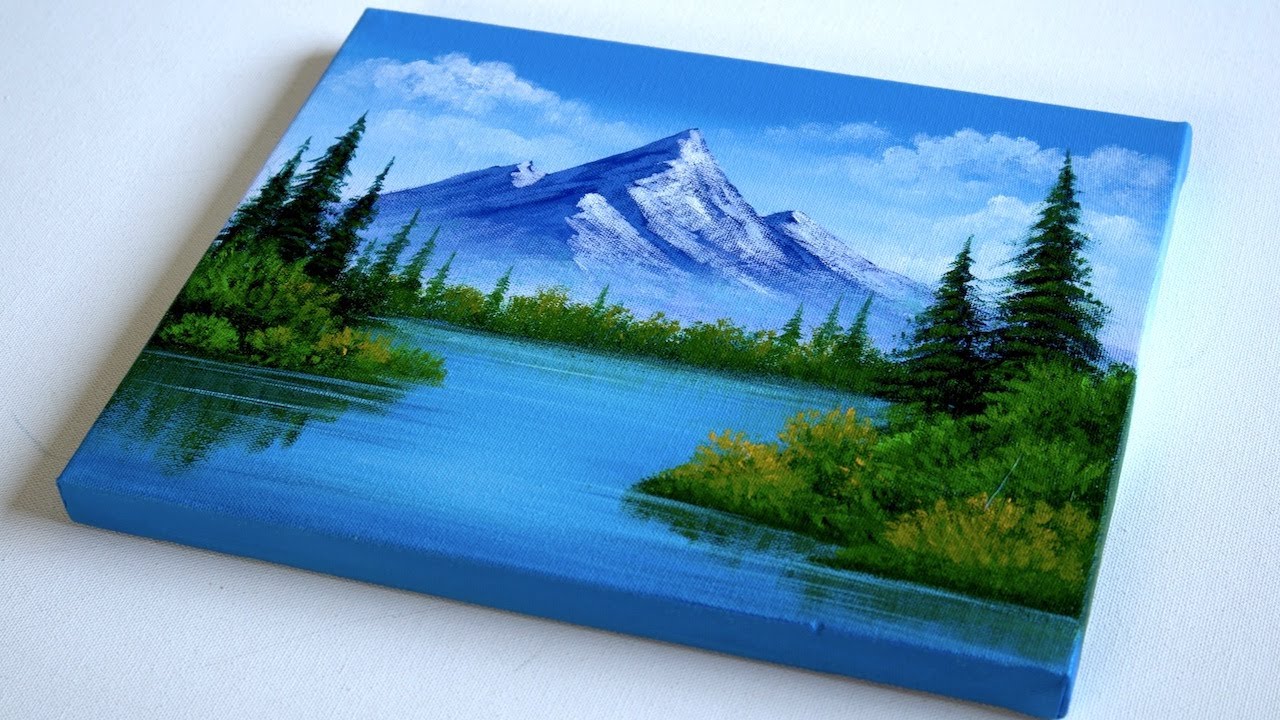
Framing your canvas adds style and support. Use a frame that complements your artwork and room decor. Stretch the canvas tightly on a wooden frame to avoid sagging. Consider using glass if the painting is delicate, but avoid glare with non-reflective glass. Hang your painting away from direct sunlight and moisture to preserve it longer.
Credit: www.youtube.com
Frequently Asked Questions
How To Paint For Beginners On A Canvas?
Start by sketching your design lightly on a primed canvas. Use acrylic paints and firm brushes. Apply paint in thin layers, blending colors gently. Keep your canvas angled for comfort. Clean brushes often and let each layer dry before adding details.
Practice regularly for improvement.
Can You Paint Straight Onto Canvas?
Yes, you can paint directly on canvas. Use a pre-primed canvas or apply gesso first to prevent paint absorption and sagging.
What Kind Of Paint Do You Use On Canvas?
Artists commonly use acrylic and oil paints on canvas. Acrylics dry fast, suit layering, and are beginner-friendly. Oils offer rich colors and smooth blending but dry slowly. Always paint on primed canvas for best results. Heavy body acrylics provide excellent texture and durability on canvas surfaces.
What Are The 7 Rules Of Painting?
The 7 rules of painting are: use quality materials, prepare the surface, plan your composition, apply paint in layers, control light and shadow, blend colors smoothly, and practice regularly to improve skills.
Conclusion
Painting on canvas opens a world of creativity and expression. Start simple, use the right brushes, and practice regularly. Remember to prepare your canvas well for the best results. Enjoy the process, and don’t worry about mistakes—they help you learn.
Each stroke teaches you something new. Keep exploring colors and techniques to find your unique style. Painting on canvas is a fun, rewarding journey anyone can begin today.