If you want your acrylic paintings to look vibrant and professional, mastering the art of layering is key. But layering acrylic paint isn’t just about slapping one color over another—it’s about building depth, texture, and rich color that truly makes your work stand out.
You might have struggled with muddy colors or uneven finishes before. Imagine if you could avoid those mistakes and create smooth, eye-catching layers every time. You’ll discover simple, effective techniques to layer acrylic paint correctly, so your artwork can reach the next level.
Ready to transform your painting skills? Keep reading and unlock the secrets to flawless acrylic layering.
Choosing The Right Acrylics
Choosing the right acrylic paints is key to successful layering. The right paints help colors blend smoothly and dry evenly. This choice impacts your final artwork’s look and durability.
Understanding different types and qualities of acrylics makes painting easier. Knowing paint consistency helps you control each layer better. Let’s explore these important factors.
Types Of Acrylic Paints
Acrylic paints come in several types. Student-grade paints are affordable but less vibrant. Artist-grade paints have stronger pigments and last longer.
Heavy body acrylics are thick and hold brush marks well. Fluid acrylics are thinner, perfect for fine details or washes. Choosing the type fits your style and project needs.
Selecting Quality Brands
Quality brands offer consistent colors and better pigments. They blend well and dry with a smooth finish. Cheaper brands might crack or fade over time.
Trusted brands invest in pigment quality. This means richer colors and longer-lasting paintings. Investing in good paint saves time and frustration.
Understanding Paint Consistency
Paint consistency affects layering and drying time. Thick paints cover better and allow texture. Thin paints flow easily and work well for glazing.
Adjust consistency by mixing with water or acrylic mediums. This control helps create smooth transitions between layers. Correct consistency avoids cracking or peeling later.
Preparing Your Surface
Preparing your surface is the first step for successful acrylic painting. A well-prepared surface helps paint stick better and last longer. It also prevents peeling and cracking. Taking time to prepare ensures smooth layering and vibrant colors.
Priming Techniques
Priming creates a base for acrylic paint. Use a white or clear gesso primer for best results. Apply it evenly with a brush or roller. Allow the primer to dry completely before painting. Multiple thin coats work better than one thick coat. This creates a smooth, stable surface that holds paint well.
Surface Textures To Consider
Different textures affect how paint behaves. Smooth surfaces like canvas or wood give clean lines. Rough surfaces add interesting effects and grip paint well. Sandpaper can make a surface rougher or smoother. Choose texture based on your painting style. Test on a small area first to see the effect.
Avoiding Common Prep Mistakes
Do not paint on dirty or oily surfaces. Clean thoroughly with soap and water before starting. Avoid thick primer layers; they may crack later. Do not rush drying times; wet layers mix and ruin details. Use proper tools for even coverage. Patience during prep saves time and frustration later.
Basic Layering Techniques
Basic layering techniques are essential to create rich and vibrant acrylic paintings. They help build depth and texture. Understanding how to apply layers correctly improves your artwork’s look and feel.
These techniques guide you on when to paint, how thick the paint should be, and ways to blend colors smoothly. Follow these steps to get better results with acrylic paint.
Drying Times Between Layers
Acrylic paint dries quickly but varies by thickness. Thin layers dry in 10 to 20 minutes. Thick layers can take hours to dry fully. Wait until the paint feels dry to touch before adding the next layer. This prevents mixing and muddy colors. Patience is key for clean, sharp layers.
Using Thin Vs. Thick Layers
Thin layers dry faster and allow more control. They work well for details and smooth finishes. Thick layers add texture and boldness. Use a palette knife or thick brush strokes for thick layers. Balance thin and thick layers to create depth and interest in your painting.
Blending Colors Smoothly
Blend colors while the paint is wet for smooth transitions. Use a soft brush and gentle strokes. Work quickly as acrylics dry fast. To blend after drying, use a dry brush or glaze technique. Practice blending to achieve natural color shifts and soft edges.

Credit: koresageart.com
Advanced Layering Methods
Advanced layering methods help create rich, complex paintings. These techniques add depth, texture, and realism. They push your acrylic skills beyond basic layering. Learning these methods improves your artwork’s visual appeal.
Glazing For Depth
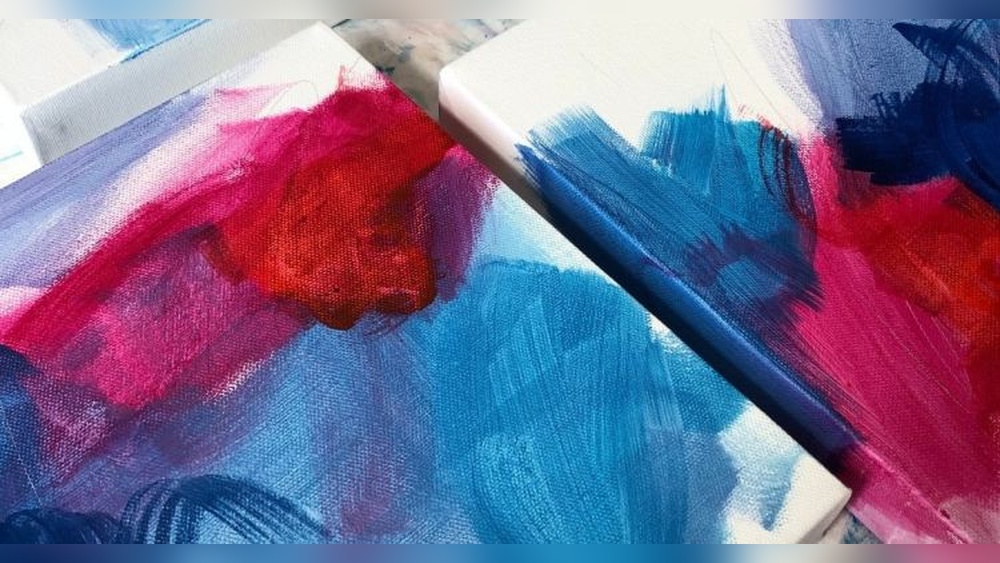
Glazing means applying thin, transparent paint layers. It lets light pass through to layers below. This creates a glowing effect and richer colors. Use a medium to thin your paint for glazing. Apply multiple glaze layers and let each dry. This builds subtle color shifts and depth.
Scumbling For Texture
Scumbling uses a dry brush with little paint. The brush lightly scrapes the surface, leaving broken color patches. This adds texture and visual interest. It works well for rough surfaces like rocks or bark. Use a stiff, dry brush and apply paint gently. Layer different colors for a natural textured effect.
Building Highlights And Shadows
Highlights and shadows create form and dimension. Start with mid-tone base layers. Add shadows with darker paint in shaded areas. Apply highlights with lighter paint on raised parts. Use thin layers and blend edges softly. Layering highlights and shadows gives paintings a 3D look.
Tools To Enhance Layering
Using the right tools can make layering acrylic paint easier and more effective. Each tool plays a special role in creating smooth, rich layers. Choosing the best tools helps improve texture, detail, and overall look. Below are some key tools that help enhance layering in acrylic painting.
Brush Types And Their Uses
Flat brushes spread paint evenly. They work well for big areas and smooth layers.
Round brushes are good for details and fine lines. They help add small touches between layers.
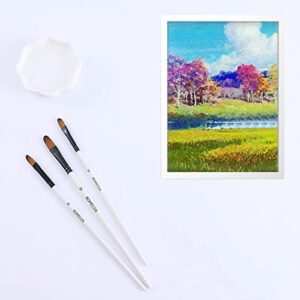
Filbert brushes have a rounded edge. They blend colors smoothly and create soft edges.
Fan brushes are great for texture. They help make natural effects like grass or hair.
Palette Knives And Other Tools
Palette knives apply thick paint and create texture. They add bold strokes and layers quickly.
Sponges can dab paint softly. They help make smooth gradients and textured backgrounds.
Rags and cloths remove or soften paint. They allow for corrections and subtle blending.
Using Mediums For Better Layers
Gloss mediums add shine and increase paint flow. They make layers smooth and bright.
Matte mediums reduce shine. They give a flat finish and help layers dry evenly.
Gel mediums thicken paint. They build texture and hold brush or knife marks.
Retarders slow drying time. They allow more time to blend and adjust layers.

Credit: www.paintingtogogh.com
Common Layering Mistakes
Layering acrylic paint can bring life and depth to your artwork. Yet, many artists face common mistakes that affect the final look. Avoiding these errors helps your layers look clean and vibrant. Understanding these pitfalls improves your painting skills quickly.
Overworking The Paint
Overworking happens when you paint over the same area too many times. This can make the paint look muddy or uneven. The colors may lose brightness and texture. Let each layer settle before adding more paint. This preserves the fresh look of each coat.
Ignoring Drying Times
Drying times vary by paint thickness and humidity. Painting on wet layers causes colors to blend unintentionally. This can blur details and ruin sharp edges. Wait until each layer is fully dry before applying the next. Patience leads to clean, crisp layers.
Color Contamination Issues
Mixing colors directly on the canvas can cause unwanted hues. Dirty brushes carry old colors into new layers, causing contamination. Use a clean brush for each color and clean your palette often. Keeping colors pure maintains the vibrancy of your painting.
Maintaining Your Finished Artwork
Maintaining your finished acrylic painting keeps it looking fresh and vibrant for years. Proper care protects your artwork from damage and fading. Small steps help preserve your creative efforts and investment.
Sealing Layers Properly
Sealing your painting locks in color and texture. Use a clear acrylic varnish after the paint dries completely. Choose a matte or glossy finish based on your preference. Apply thin, even coats with a soft brush or spray. Let each coat dry before adding another. This protects the paint from dust, moisture, and scratches.
Cleaning And Storage Tips
Keep your painting clean by dusting gently with a soft cloth. Avoid water or harsh cleaners that can damage paint layers. Store paintings upright in a dry, cool space. Avoid direct contact with sunlight or humid areas. If you need to cover your artwork, use breathable materials like cotton cloth. Proper storage prevents warping and paint cracking.
Protecting Against Fading
Sunlight causes colors to fade over time. Display your painting away from direct sun. Use UV-protective glass or acrylic if framing your work. Keep paintings in rooms with stable temperatures and low humidity. These steps help maintain the paint’s original brightness and contrast. Protecting your artwork preserves its beauty longer.
Credit: willkempartschool.com
Frequently Asked Questions
How Long Should Acrylic Paint Dry Between Layers?
Acrylic paint usually dries within 20 to 30 minutes between layers. Dry time can vary based on paint thickness and humidity. Waiting ensures each layer adheres well and prevents mixing or peeling. For best results, lightly touch the surface before applying the next layer.
What Is The Best Technique To Layer Acrylic Paint?
Use thin, even coats and allow each layer to dry fully. Start with darker or lighter base layers, then build up details gradually. Avoid thick paint applications to prevent cracking. Using a dry brush or glazing technique improves texture and depth in layers.
Can I Mix Wet Acrylic Layers For Blending?
Yes, wet-on-wet layering allows smooth blending and gradients. Work quickly before the first layer dries. Use a soft brush or sponge to blend edges gently. This method is ideal for creating soft transitions but requires practice for control.
How Do I Prevent Acrylic Paint Layers From Cracking?
Apply thin layers and avoid thick paint build-up. Ensure each layer is dry before adding the next. Use a flexible acrylic medium to improve paint elasticity. Cracking often occurs from rapid drying or heavy, uneven paint layers.
Conclusion
Layering acrylic paint takes patience and practice. Start with thin layers and wait for each to dry. This helps colors stay bright and details clear. Use light brush strokes to avoid mixing colors too much. Remember to clean your brush between layers for the best results.
Keep experimenting with different techniques to find what works for you. Painting is a fun way to express yourself. Enjoy the process and watch your artwork grow with each layer.