Are you ready to bring vibrant flowers to life on your canvas? Painting flowers with acrylics is a fun and rewarding way to express your creativity, even if you’ve never picked up a brush before.
This guide will walk you through simple steps that make painting beautiful blooms easy and enjoyable. By the end, you’ll feel confident to create your own colorful garden with just a few brushstrokes. Let’s dive in and discover how you can transform blank spaces into stunning floral art!
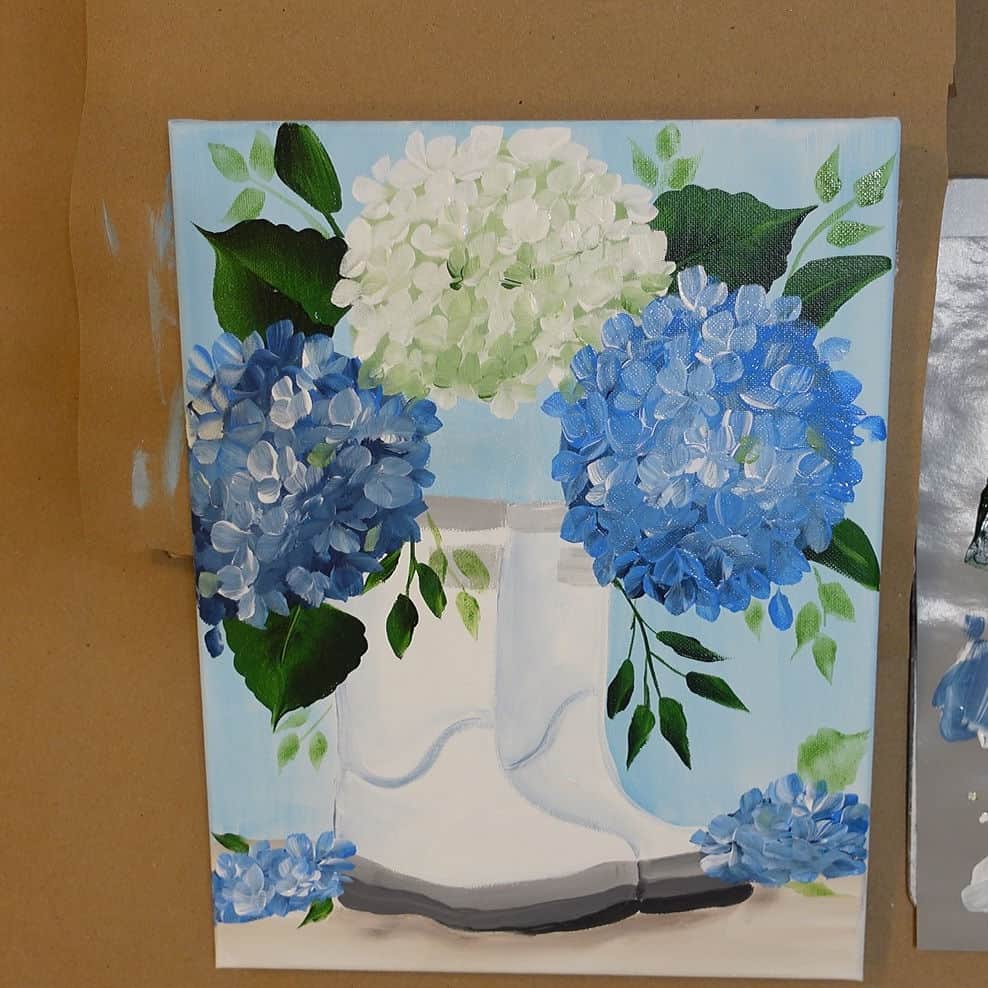
Credit: www.pamelagroppe.com
Choosing Your Materials
Choosing the right materials is the first step in painting flowers with acrylics. Good materials make painting easier and more enjoyable. It helps you get better results and learn faster. Start with basic supplies that fit your budget. Quality matters but you don’t need expensive gear to begin.
Focus on selecting paints, brushes, and surfaces. Each has unique features. Knowing their differences helps you pick what suits your style. This guide explains how to choose these materials for beginners.
Selecting Acrylic Paints
Choose acrylic paints labeled as “student” or “artist” grade. Student grade is cheaper and good for beginners. Artist grade offers stronger colors and lasts longer. Pick basic colors like red, blue, yellow, white, and green. These colors mix to create many shades. Avoid buying too many colors at once. Start small and expand later.
Picking The Right Brushes
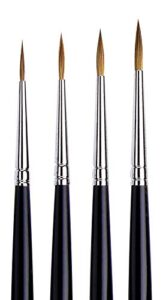
Brushes affect how your flowers look. Use synthetic brushes made for acrylics. They hold paint well and clean easily. Get a few shapes: round, flat, and filbert. Round brushes help with details. Flat brushes fill larger areas. Filbert brushes create soft edges. Choose medium-sized brushes for control. Avoid very small or very large brushes first.
Choosing A Canvas Or Paper
Choose a surface that suits acrylic paint. Canvas boards or stretched canvases are good. They hold paint and don’t warp. Acrylic paper is cheaper and good for practice. Look for paper labeled “acrylic” or “mixed media.” It absorbs paint without curling. Start with small sizes to manage your work easily. A smooth surface helps paint flow better.
Basic Flower Shapes
Starting with basic flower shapes makes painting easier. Simple shapes help you focus on colors and details later. You can break flowers into petals, leaves, and stems. Understanding these parts gives you a strong base for your painting. Practice these shapes before adding complex details. This builds your confidence and improves your skill.
Simple Petal Forms
Petals come in many shapes but start with easy ones. Oval and round petals are common and simple to draw. Use light strokes to sketch petal outlines first. Think of petals as soft, curved shapes. Paint one petal at a time. Overlap petals slightly to show depth. This creates a natural look.
Creating Leaves
Leaves add life and balance to your flower painting. Draw leaves as simple ovals or teardrop shapes. Use a light green color to start. Add veins with a thin brush for detail. Try different leaf sizes for variety. Leaves don’t need to be perfect. They help the flower stand out.
Drawing Flower Stems
Stems connect flowers and leaves. Draw stems as thin, straight or slightly curved lines. Use a darker green or brown for realism. Keep stems simple and avoid thick lines. Stems support the flower shape and add structure. Paint stems last to avoid covering petals or leaves.
Mixing Colors
Mixing colors is a key skill for painting flowers with acrylics. It helps create beautiful, natural shades. Knowing how to mix paints lets you paint petals, leaves, and stems that look real. This section explains simple ways to mix colors for beginners.
Primary And Secondary Colors
Start with primary colors: red, blue, and yellow. These are the base colors. You cannot make these by mixing other colors. Mix two primary colors to get secondary colors. For example, red and yellow make orange. Blue and yellow create green. Red and blue make purple. Use these colors to paint different parts of flowers.
Creating Shades And Tints
Shades are darker versions of colors. Add a little black to your paint to make a shade. Tints are lighter versions. Add white paint to make a tint. Use shades for shadows on petals or leaves. Use tints for highlights where light hits the flower. This adds depth and realism.
Blending Techniques
Blending helps colors change smoothly from one to another. Use a clean, dry brush to mix wet paints on the canvas. Work quickly because acrylics dry fast. Soft, gentle strokes blend colors well. You can also blend on your palette before painting. This gives more control over the final color.
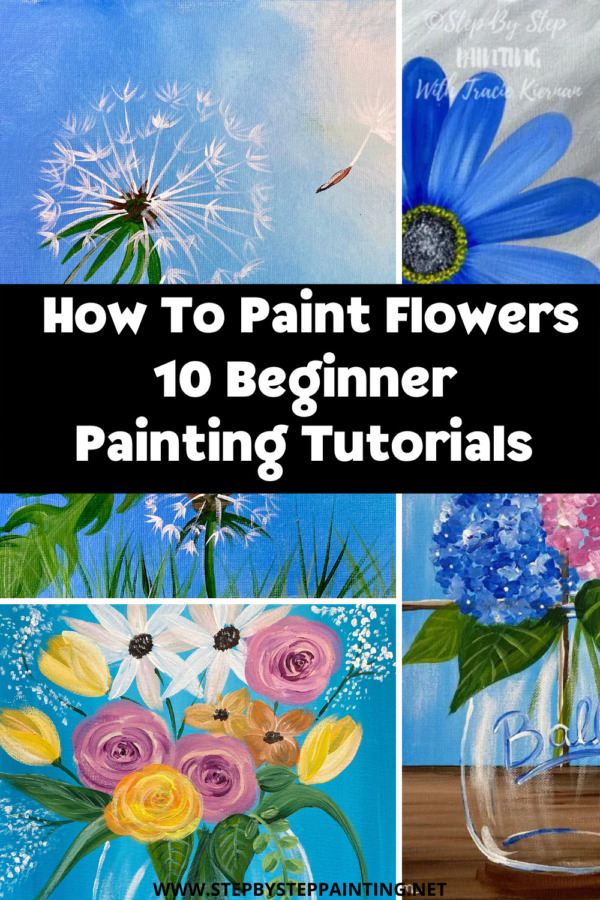
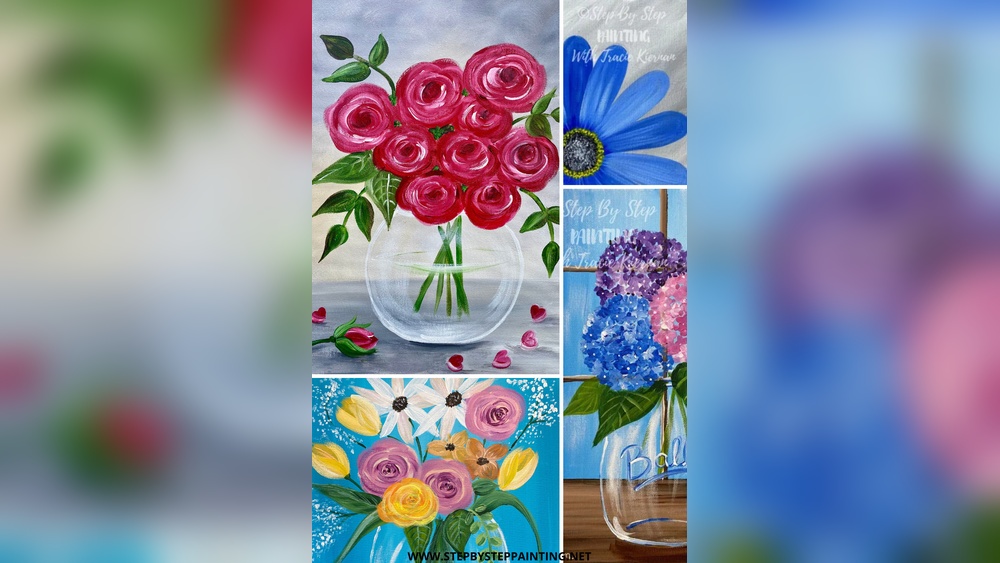
Credit: stepbysteppainting.net
Step-by-step Painting Process
Painting flowers with acrylics can be simple and fun. Following a clear process helps you create beautiful art. This step-by-step guide shows how to paint flowers easily. Each step builds on the last, making the whole process smooth and clear.
Sketching The Outline
Start by drawing a light outline of your flower. Use a pencil and keep lines soft. Focus on the basic shapes of petals and leaves. Do not press hard. This sketch guides your painting and keeps proportions right.
Applying Base Colors
Next, cover the flower with base colors. Use a large brush and paint the main areas. Choose simple colors that match your flower type. Paint petals and leaves separately. Let the paint dry before moving on.
Adding Highlights And Shadows
Add depth with highlights and shadows. Use lighter colors on petal edges for highlights. Darker shades go where petals fold or overlap. This contrast makes the flower look real and lively. Blend gently to avoid harsh lines.
Detailing Petals And Leaves
Finish by adding fine details. Use a small brush to paint veins and petal edges. Add tiny dots or lines to show texture. Paint leaf veins clearly for a natural look. These details bring your flower to life.
Tips For Texture And Depth
Creating texture and depth in your acrylic flower paintings makes them look lively and real. These effects help your flowers stand out and give a feeling of space. Simple techniques can add layers and details that catch the eye. Focus on how paint layers, brush strokes, and backgrounds work together.
Layering Paint
Start with thin, light colors as the base. Let each layer dry before adding the next. Use thicker paint on top to highlight petals or leaves. This builds depth and shows light and shadow clearly. Layering also helps mix colors naturally on the canvas.
Using Brush Strokes
Choose different brush strokes for different parts of the flower. Soft, round strokes work well for petals. Short, quick strokes create texture for leaves or stems. Change the brush angle to vary the paint thickness. This adds detail and makes the flower look more natural.
Incorporating Backgrounds
A simple background can make flowers pop. Use soft, blurred colors to push the background back. This creates space and focuses attention on the flower. Adding light touches of color behind petals gives a glowing effect. Avoid too many details in the background to keep the flower as the main focus.
Common Mistakes To Avoid
Painting flowers with acrylics can be fun and rewarding. Yet, beginners often make simple mistakes that slow progress. Avoiding these errors helps improve your skills faster.
Understanding common pitfalls saves time and frustration. Focus on these key areas to paint beautiful flowers with ease.
Overmixing Colors
Mixing too many colors creates dull, muddy shades. Keep your palette simple. Use fresh colors for vibrant petals. Test small amounts before adding more paint. Let the colors speak clearly in your artwork.
Ignoring Drying Times
Acrylic paint dries quickly but not instantly. Painting over wet layers can cause unwanted smudges. Wait a few minutes before adding new details. Patience improves your flower painting’s sharpness and depth.
Using Incorrect Brush Sizes
Large brushes are good for backgrounds but not fine details. Small brushes help paint delicate petals and lines. Choose brush sizes that match your flower’s parts. This creates a balanced and detailed painting.
Finishing Touches
Finishing touches are key to complete your acrylic flower painting. They protect your work and enhance its look. Taking care of your tools and showing your art properly keeps it beautiful for years. These final steps give your painting a polished, lasting finish.
Sealing Your Painting
Sealing protects your acrylic painting from dust and sunlight. Use a clear acrylic varnish spray or brush-on sealer. Apply it in thin, even layers for best results. Let each layer dry fully before adding the next. This step keeps colors bright and prevents cracking.
Cleaning Your Brushes
Clean brushes right after painting to keep them soft and ready. Use warm water and mild soap to remove paint. Gently rub the bristles with your fingers or a brush cleaner. Rinse well and reshape the brush tips. Dry brushes flat or upright to avoid damage.
Displaying Your Artwork
Choose a spot with good light but no direct sun. Frame your painting under glass or use a protective acrylic cover. Keep it away from damp or dusty places. Displaying your work well shows your effort and brightens any room.
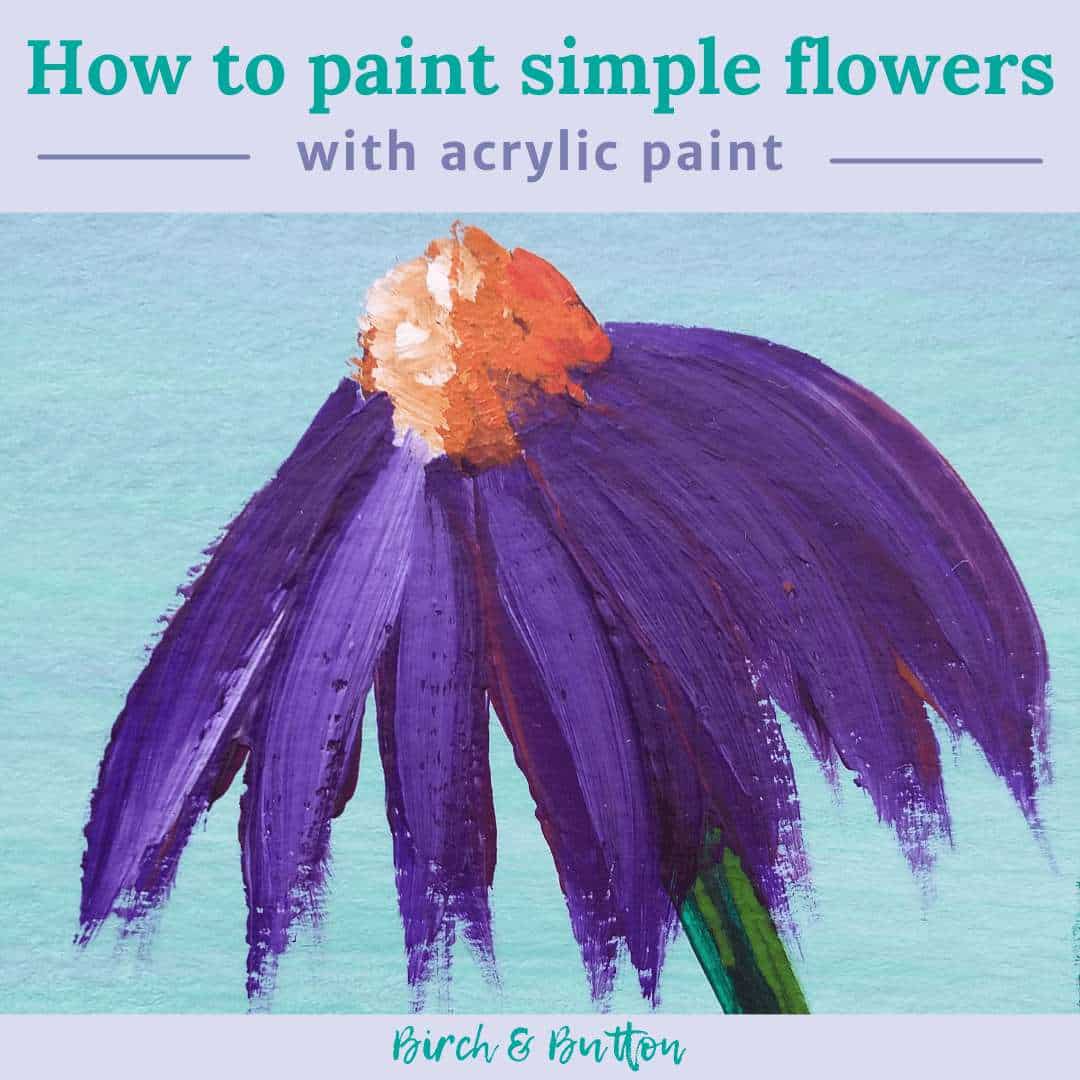
Credit: birchandbutton.com
Frequently Asked Questions
What Materials Do I Need To Paint Flowers With Acrylics?
You need acrylic paints, brushes, canvas, palette, water, and paper towels. Choose various brush sizes for detail and broad strokes. A pencil for sketching helps. Use quality acrylics for vibrant colors and smooth blending.
How Do I Start Painting Flowers With Acrylics?
Begin by sketching the flower outline lightly on the canvas. Apply a base color layer first. Use thin paint layers and build colors gradually. Focus on light and shadow for depth. Let each layer dry before adding details.
Which Brush Types Work Best For Acrylic Flower Painting?
Round brushes are ideal for petals and details. Flat brushes help with background and larger areas. Filbert brushes create soft edges and blending. Use fine liner brushes for delicate lines and veins in petals.
How Can I Blend Acrylic Colors For Realistic Flowers?
Work quickly while paint is wet to blend colors smoothly. Use a clean, damp brush to soften edges. Layer lighter colors over dark to highlight petals. Avoid overmixing colors to keep vibrancy and contrast.
Conclusion
Painting flowers with acrylics can be fun and relaxing. Start with simple shapes and basic colors. Practice blending and layering to create depth. Use small brushes for details and bigger ones for backgrounds. Don’t worry about mistakes; they help you learn.
Keep your strokes light and steady. Enjoy the process and watch your skills grow. Remember, every painting is a step forward. Keep painting flowers and explore your creativity. Soon, your art will look more vibrant and alive. Stay patient and have fun with each brushstroke.