Have you ever wanted to capture the essence of a person on canvas? Painting portraits with acrylic paint can help you do just that.
Whether you’re a beginner or looking to improve your skills, this guide will walk you through simple, clear steps to bring faces to life. By the end, you’ll feel confident picking up your brush and creating portraits that truly speak to your creativity.
Ready to unlock your artistic potential? Let’s dive in.
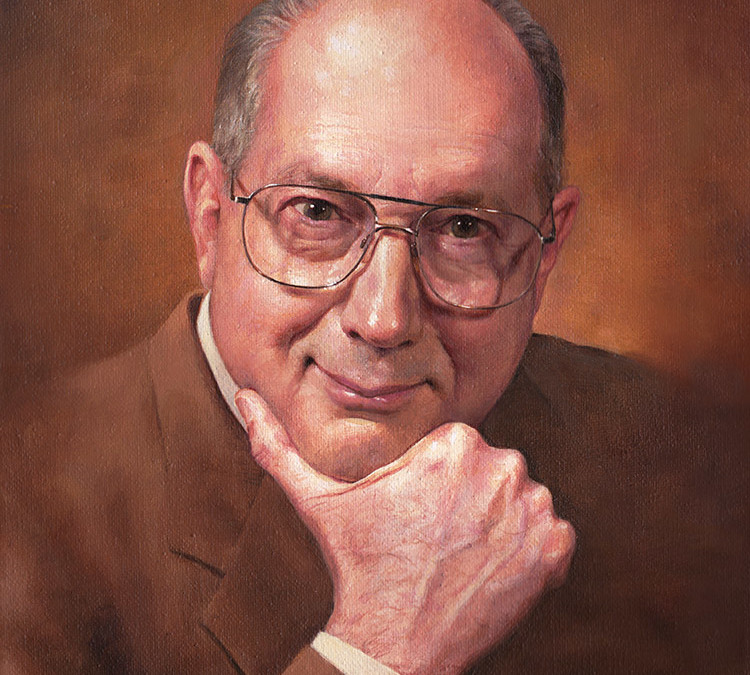
Credit: mattphilleo.com
Choosing The Right Materials
Choosing the right materials is key to painting great portraits with acrylics. Good supplies help you work better and make your art look professional. Knowing what to pick saves time and frustration during painting.
Selecting Acrylic Paints
Choose high-quality acrylic paints for bright, lasting colors. Artist-grade paints have more pigment and cover better. Pick a basic color set with primary colors and white. You can mix many shades from these. Avoid cheap paints that may fade or crack over time.
Picking Suitable Brushes
Use brushes made for acrylic paint. Synthetic brushes work well and hold paint nicely. Get different shapes: round, flat, and detail brushes. Small brushes help with fine facial features. Bigger brushes cover large areas quickly. Clean brushes after each use to keep them soft.
Preparing The Canvas
Start with a primed canvas or acrylic paper. This surface holds paint and prevents damage. You can also apply gesso for better texture. Let the gesso dry fully before painting. Stretch your canvas tight to avoid wrinkles. A smooth, stable surface helps paint flow evenly.
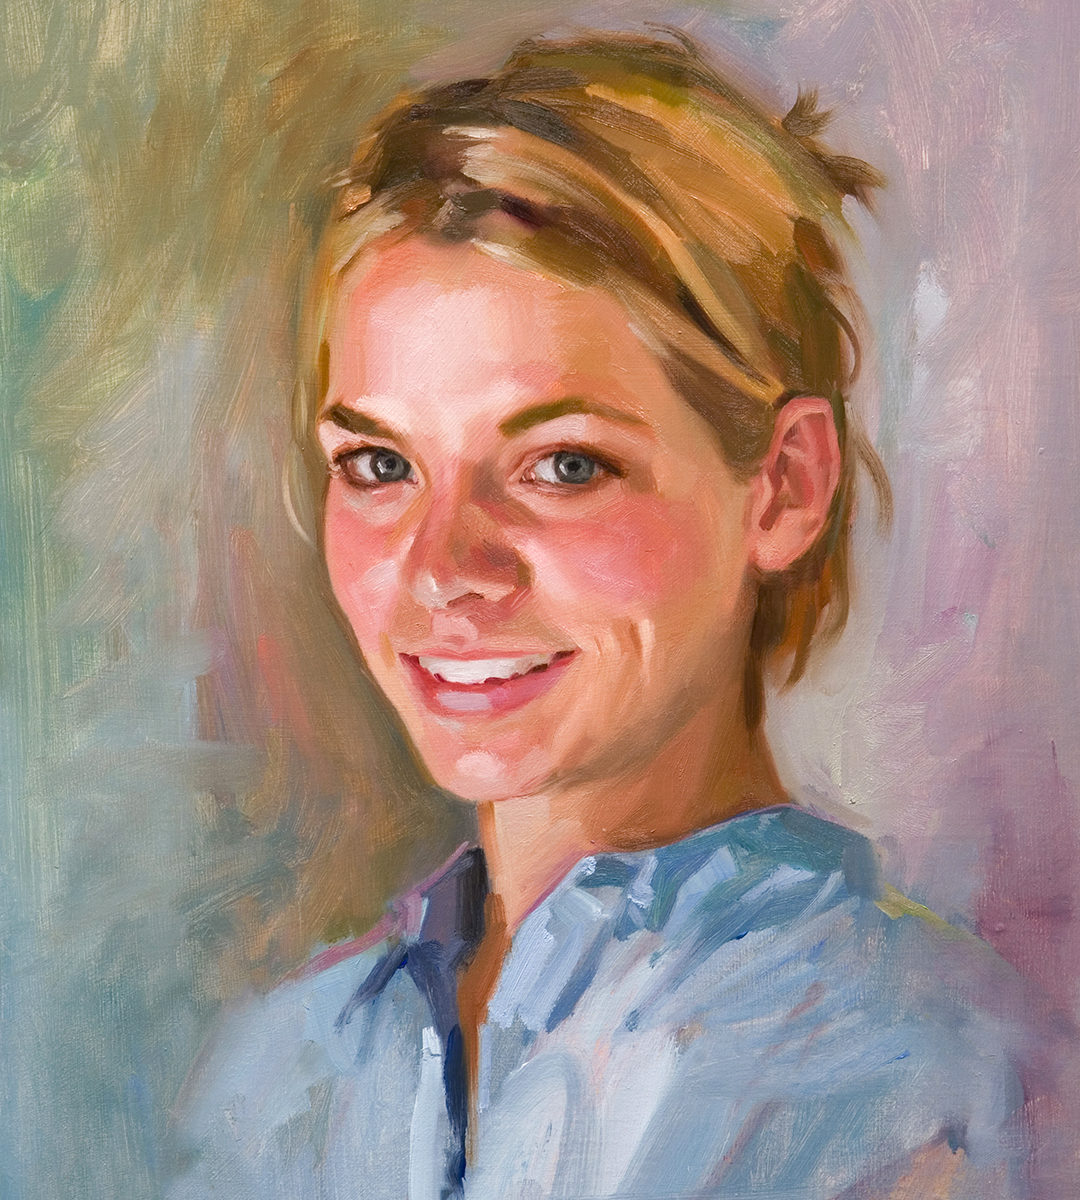
Credit: paintingportraittips.com
Setting Up Your Workspace
Setting up your workspace is the first step in painting portraits with acrylic paint. A good workspace helps you focus and create better art. It needs to be comfortable, organized, and well-lit. This section explains how to prepare your area for painting.
Lighting And Environment
Lighting is very important for painting portraits. Natural light is best because it shows true colors. Position your easel near a window. If natural light is not enough, use bright white lamps.
Keep your workspace quiet and free from distractions. A calm place helps you see details and work longer. Make sure the room temperature is comfortable. Avoid places with strong smells or dust.
Organizing Tools And Supplies
Keep your brushes, paints, and palettes within easy reach. Use containers or small boxes to sort your supplies. This saves time and keeps your area tidy.
Arrange your paint colors in order. It helps to find the color you need fast. Clean your brushes often to keep them in good shape. Have paper towels or cloths ready to wipe your brushes.
Sketching The Portrait
Sketching the portrait is the first step in painting with acrylics. It sets the foundation for the entire artwork. A good sketch helps capture the likeness and expression of the subject. It guides the painting process and keeps proportions correct.
Start with light lines so you can adjust as needed. Use simple shapes to outline the face and key features. This stage is about getting the basic structure right before adding details.
Basic Facial Proportions
Understanding facial proportions helps create a balanced portrait. The face can be divided into three equal parts: forehead to eyebrows, eyebrows to bottom of nose, and nose to chin.
The eyes sit halfway down the head. The space between the eyes equals the width of one eye. The corners of the mouth line up with the pupils of the eyes.
These rules help place features accurately. They work for most faces but adjust for unique shapes.
Transferring The Sketch To Canvas
After the sketch is ready on paper, transfer it to your canvas. Use a light pencil or charcoal for easy correction. Keep lines soft and avoid pressing hard.
One method is to use tracing paper. Trace the sketch, then flip it onto the canvas. Rub gently to leave an outline. Another way is to draw freehand, using your sketch as a reference.
Ensure the sketch fits the canvas size. Adjust proportions if needed. A clean, clear sketch helps paint the portrait with confidence.
Building The Underpainting
Building the underpainting is an important first step in painting portraits with acrylics. It sets the base for the whole artwork. This layer helps create depth and guides the details later on. Starting with a solid underpainting saves time and improves the final look.
Choosing A Color Palette
Pick a few colors for the underpainting. Use warm or cool tones depending on the mood. Earthy colors like burnt sienna or raw umber work well. These colors help show shadows and shapes clearly. Keep the palette simple to avoid confusion during the next steps.
Blocking In Shapes And Tones
Start by painting large shapes first. Focus on the main parts of the face and head. Use light and dark tones to show where shadows fall. Avoid small details at this stage. This step helps you see the basic form and balance of your portrait.
Layering And Blending Techniques
Layering and blending are key techniques to create lifelike portraits with acrylic paint. They help build smooth skin tones and add depth to facial features. Using these methods properly makes your portrait more realistic and vibrant.
These techniques require patience and practice. Acrylic paint dries fast, so working quickly is important. Different methods like glazing and wet-on-wet each bring unique effects to your painting. Understanding how to use them will improve your portrait skills.
Glazing For Depth
Glazing means applying thin, transparent layers of paint over dry layers. Each layer changes the color slightly, making the portrait look richer. This technique works well for shadows and subtle skin tones.
Use a medium to thin your paint and make it see-through. Let each glaze dry before adding the next one. This slow build-up creates a glow and depth that single layers cannot achieve.
Wet-on-wet Vs. Dry Brushing
Wet-on-wet means applying wet paint over wet paint. It helps blend colors smoothly without harsh edges. This method is good for soft transitions on cheeks or lips.
Dry brushing uses a small amount of paint on a dry brush. It creates texture and fine details like hair or wrinkles. Use light strokes and less paint to avoid thick marks.
Both techniques serve different purposes. Wet-on-wet blends colors seamlessly. Dry brushing adds texture and small highlights. Mixing these methods enhances your portrait’s realism.
Capturing Realistic Skin Tones
Capturing realistic skin tones is key to painting lifelike portraits. Skin has many colors, not just one. It changes under different lights and shadows. Mixing the right shades makes your portrait look real and full of life.
Patience and practice help to see subtle color changes. Acrylic paint is great for this because it dries fast and layers easily. Let’s explore how to mix base colors and add highlights and shadows.
Mixing Base Colors
Start with a simple mix of red, yellow, and white. These colors form the base for most skin tones. Add a little blue or green to cool the color. Use small amounts at first. Adjust slowly to avoid making the skin too dark or too light.
Test your mix on a scrap paper. Compare it with your subject’s skin. Change your mix until it matches closely. This base color sets the tone for the whole portrait.
Adding Highlights And Shadows
Highlights show where light hits the skin. Use lighter colors with more white or a touch of yellow. Add highlights to the forehead, nose, and cheeks. Keep them soft and subtle.
Shadows add depth and shape. Mix a darker tone by adding a bit of brown, blue, or purple to your base. Apply shadows under the chin, around the eyes, and near the hairline. Blend edges carefully to avoid harsh lines.
Use thin layers and build up the color slowly. This technique makes the skin look smooth and natural.
Detailing Facial Features
Detailing facial features brings a portrait to life. It adds depth and personality to the face. Acrylic paint lets you work with sharp lines and smooth blends. Focus on the eyes, lips, nose, and hair to create realism.
Painting Eyes With Precision
Start with the whites of the eyes, keeping them clean and bright. Use a small brush for the iris and pupil details. Paint the iris with layers of color to add depth. Add a tiny white dot on the pupil for light reflection. Outline the eyelids softly to avoid harsh lines. Paint eyelashes with short, thin strokes for natural look.
Rendering Lips And Nose
Mix colors to match the natural lip tone. Paint the lips with smooth, curved strokes. Highlight the center of the lips to show moisture. For the nose, use light and shadow to show shape. Paint nostrils carefully with darker shades. Blend edges softly to avoid a flat look.
Texturing Hair
Use a fine brush to paint individual hair strands. Start with a base color, then add highlights and shadows. Paint hair in the direction it flows. Layer colors to create volume and texture. Avoid solid blocks of color to keep hair natural. Add stray hairs for realism and softness.
Final Touches And Refinements
Final touches and refinements bring your portrait to life. This stage adds depth and polish to your acrylic painting. Small changes can improve the overall look and feel. It is the moment to check every detail carefully.
Adjusting Contrast And Color Balance
Check the dark and light areas in your portrait. Increase or decrease contrast to make features stand out. Use a small brush to add highlights or deepen shadows. Adjust colors to keep the skin tone natural and smooth. Mix paints to correct any color that looks off. Step back often to see the whole portrait clearly. These tweaks create a balanced and vibrant image.
Sealing The Painting
Sealing protects your portrait from dust and damage. Choose a varnish made for acrylic paintings. Use a clean brush or spray to apply the varnish evenly. Let the painting dry in a dust-free place. Sealing also enhances the colors and adds a slight shine. It keeps your artwork safe for years to come. Take care with this final step to avoid streaks or bubbles.
Common Challenges And Solutions
Painting portraits with acrylic paint comes with its own set of challenges. These issues can slow down your work or affect the final look. Knowing common problems and how to fix them helps improve your painting skills.
Some mistakes happen often, like wrong colors or uneven lines. Paint cracking is another problem that can ruin a smooth portrait. Understanding these issues lets you prepare and paint better portraits.
Fixing Mistakes
Mistakes are normal in any painting. Acrylic paint dries fast, so you can fix errors quickly. Use a wet brush to soften the paint and wipe it off gently. For dried paint, lightly sand the area with fine sandpaper.
Apply a new layer of paint after sanding. Thin layers work best for corrections. Wait for each layer to dry before adding another. This method keeps your portrait clean and smooth.
Preventing Paint Cracking
Paint cracking happens when layers are too thick or dry too fast. Use thin layers of paint to avoid this. Let each layer dry fully before adding more paint.
Use a good acrylic medium to mix with your paint. It helps the paint stay flexible and less likely to crack. Keep your painting environment at a stable temperature and avoid direct sunlight during drying.
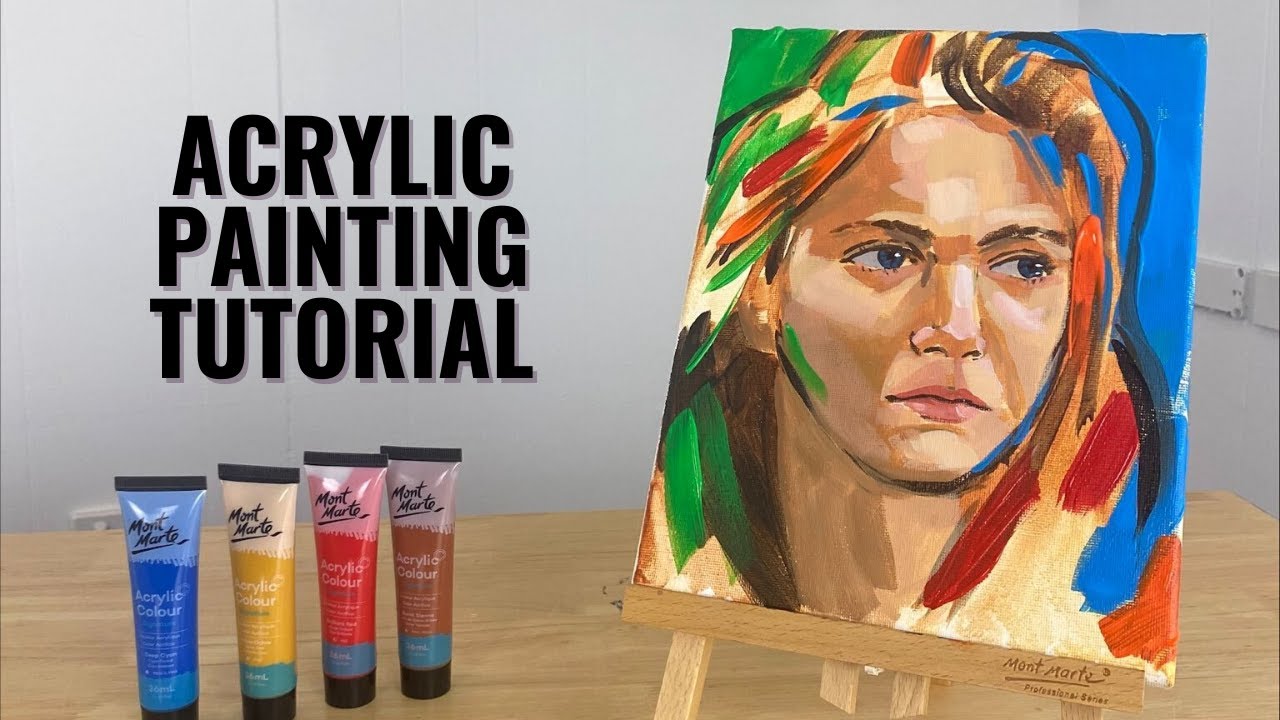
Credit: www.youtube.com
Frequently Asked Questions
What Basic Supplies Do I Need To Paint Portraits With Acrylics?
You need acrylic paints, brushes, a canvas, palette, water, and paper towels. Optional supplies include a palette knife and easel. These basics help you start portrait painting effectively.
How Do I Mix Skin Tones Using Acrylic Paint?
Mix primary colors red, yellow, and blue with white to create skin tones. Adjust ratios for lighter or darker shades. Adding a bit of green or purple can enhance natural skin hues.
What Techniques Improve Acrylic Portrait Painting?
Use layering, glazing, and dry brushing for depth and texture. Start with an underpainting and gradually build color. Blending while wet helps create smooth transitions on skin.
How Long Does Acrylic Paint Take To Dry On Portraits?
Acrylic paint typically dries in 15 to 30 minutes, depending on thickness. Thicker layers take longer to dry. Fast drying allows quick layering and corrections during portrait work.
Conclusion
Painting portraits with acrylics takes practice and patience. Start with simple shapes and build details slowly. Keep your brush strokes light and colors fresh. Remember to step back and see your work clearly. Mistakes are part of learning, so keep trying.
Enjoy the process and watch your skills grow. Portrait painting can bring great joy and pride. Keep exploring different faces and expressions. Your unique style will develop over time. Keep painting, and don’t give up.