Have you ever wanted to create stunning, colorful artwork without needing fancy tools or years of experience? Spin art painting lets you do just that—right in the comfort of your own home.
Imagine watching vibrant paint swirl and splash into unique patterns, each one a masterpiece you made yourself. In this guide, you’ll learn simple steps to turn everyday items into a DIY spin art machine, making creativity fun and easy. Ready to impress yourself with your own dazzling spin art?
Let’s dive in and get those colors spinning!
Credit: babbledabbledo.com
Materials Needed
Gathering the right materials is key to creating vibrant spin art at home. Each item plays a role in ensuring your project turns out fun and colorful. This section covers the essentials you will need before starting your spin art adventure.
Knowing what to prepare helps you avoid interruptions and lets creativity flow smoothly. Let’s explore the materials step-by-step for the best DIY spin art experience.
Choosing The Right Paper Or Canvas
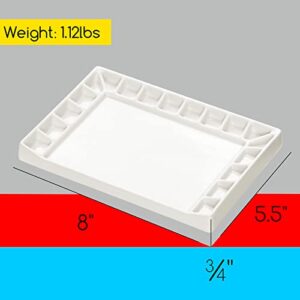
Start with a sturdy surface to hold the paint well. Thick paper, cardstock, or canvas boards work great. Thin paper may tear or warp from the wet paint. White or light-colored backgrounds make colors pop the most. Cut your paper into circles or squares to fit your spinning tool.
Selecting Suitable Paints
Pick paints that flow easily and dry quickly. Acrylic paints are ideal for spin art projects. They come in many bright colors and mix well on the spinning surface. Washable paints suit kids and easier cleanup. Avoid thick or oil-based paints, which do not spin well.
Spinning Tools Options
Choose a device to spin your artwork evenly. A salad spinner is a popular, simple choice for beginners. Lazy Susans or turntables also work well for larger pieces. Electric spin art machines offer control but are optional. Make sure the tool holds your paper flat while spinning.
Protective Gear And Setup
Spin art can get messy, so protect your space and clothes. Cover your work area with old newspapers or a plastic sheet. Wear an apron or old shirt to avoid paint stains. Have paper towels or wipes ready for quick cleanup. Keep water nearby for rinsing brushes or spills.
Preparing Your Workspace
Preparing your workspace is the first step to successful DIY spin art painting. A well-organized area helps keep the process smooth and fun. It also prevents mess and damage to your home. Follow simple steps to get ready before you start spinning paint.
Setting Up A Spin Area
Choose a flat, stable surface for your spin art machine or salad spinner. This spot should be easy to clean and free of clutter. Make sure there is enough room to move around safely. Good lighting helps you see the colors and patterns clearly.
Protecting Surfaces And Clothing
Cover your work table with a plastic sheet or old newspapers. This protects your furniture from paint spills. Wear an apron or old clothes to avoid stains. Keep paper towels or wipes nearby to clean up drips quickly. Protecting your space saves time and stress later.
Organizing Paint And Tools
Place all your paints, brushes, and droppers within reach. Use small containers for each color to avoid mixing. Keep extra paper or canvas ready for new art pieces. Organizing your tools helps you work faster and stay focused. It also makes the painting process more enjoyable.
Making A Diy Spin Art Machine
Making a DIY spin art machine at home is simple and fun. It lets you create colorful art with a spinning motion. You can use everyday items to build your own spinner. This saves money and adds a creative touch to your project. Choose a method that fits your materials and skills. Here are three easy ways to make a spin art machine.
Using A Salad Spinner
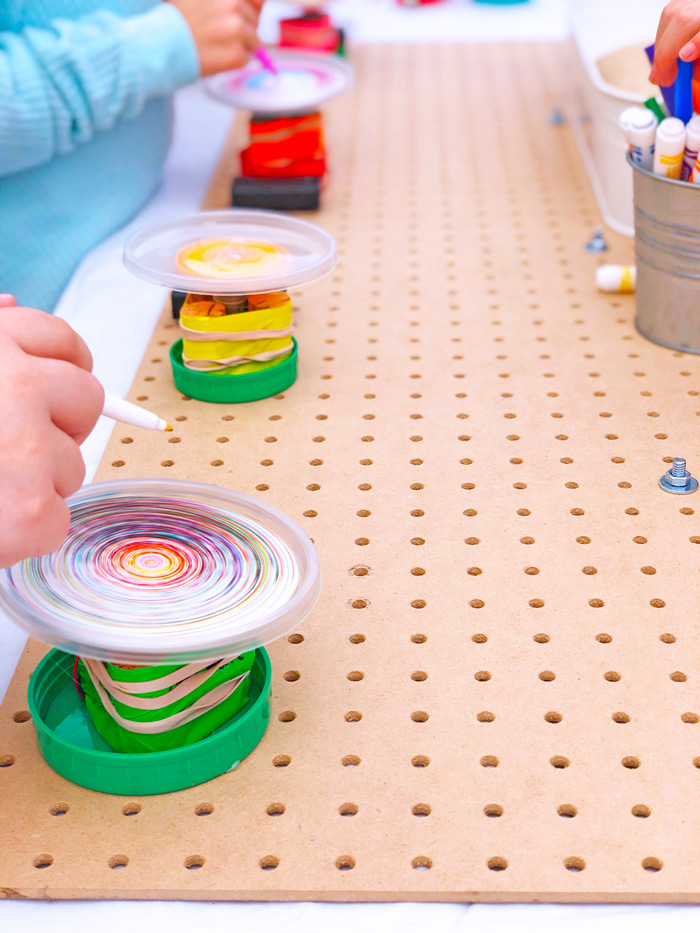
A salad spinner is a great tool for spin art. It spins smoothly and is easy to use. Start by placing a piece of paper or cardstock inside the spinner basket. Add drops of acrylic paint onto the paper. Close the lid tightly. Spin the handle or press the button to start spinning. Watch the paint spread and create unique designs. This method is quick and safe for kids.
Creating A Lazy Susan Spinner
A lazy Susan makes a simple spin art machine. You need a flat lazy Susan turntable and a small container. Tape the container to the center of the turntable. Place a paper circle inside the container. Add watered-down paint to the paper. Spin the lazy Susan by hand or with a motor. The paint will swirl into beautiful patterns. This DIY spinner works well for larger artwork.
Building A Drill-powered Spinner
A drill-powered spinner offers fast and controlled spinning. Attach a round platform to the drill’s chuck securely. Place your paper or canvas on the platform. Add paint drops in the center. Hold the drill steady and turn it on at low speed. The rapid spinning spreads paint into stunning designs. Make sure to protect surfaces and wear old clothes. This method creates professional-looking spin art.

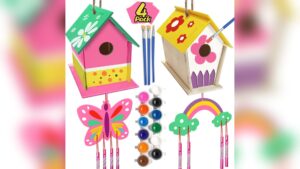
Credit: www.amazon.com
Step-by-step Spin Art Process
The step-by-step spin art process is simple and fun. It lets you create colorful, unique designs quickly. Follow these clear steps to make your own spin art at home. You will need a canvas, paint, and a spinning device.
Placing The Canvas
Start by choosing your canvas. Paper, cardboard, or a stretched canvas works well. Place it securely in the center of your spinner. Make sure it is flat and stable to avoid slipping during spinning.
Applying Paint Drops
Use small brushes or droppers to add paint. Place drops of different colors on the center of the canvas. Use bright, contrasting colors for the best effect. Avoid using too much paint to prevent dripping.
Operating The Spinner
Close the spinner lid or hold the canvas steady. Turn on the spinner or spin by hand gently. Let the canvas spin fast enough to spread the paint outward. Spin for about 10 to 20 seconds depending on your spinner.
Drying And Handling
Carefully remove the canvas from the spinner. Place it on a flat surface to dry completely. Avoid touching the wet paint to keep your design intact. Drying time depends on the paint type and thickness.
Creative Techniques
Creative techniques can transform your DIY spin art painting into a unique masterpiece. They let you explore different styles and effects. Experimenting with these methods makes the process fun and exciting. You get to see surprising results every time you spin the paint.
Layering Colors
Start by applying one color and let it spin for a few seconds. Then add another color on top. Layering colors creates depth and interesting patterns. Use contrasting colors for bold effects or similar tones for subtle blends. Let each layer partially dry before adding the next for sharper designs.
Using Different Paint Consistencies
Try mixing your paint with water to change its thickness. Thinner paint spreads quickly and creates softer lines. Thicker paint stays where you put it, making sharper shapes. Mixing consistencies adds texture and variety to your art. Play with how much water you add to find your favorite look.
Adding Glitter And Metallics
Glitter and metallic paints add sparkle and shine to your spin art. Sprinkle glitter on wet paint for a sparkling effect. Use metallic paints to highlight certain areas or create glowing swirls. These elements catch light and make your artwork stand out. Use them sparingly for the best results.

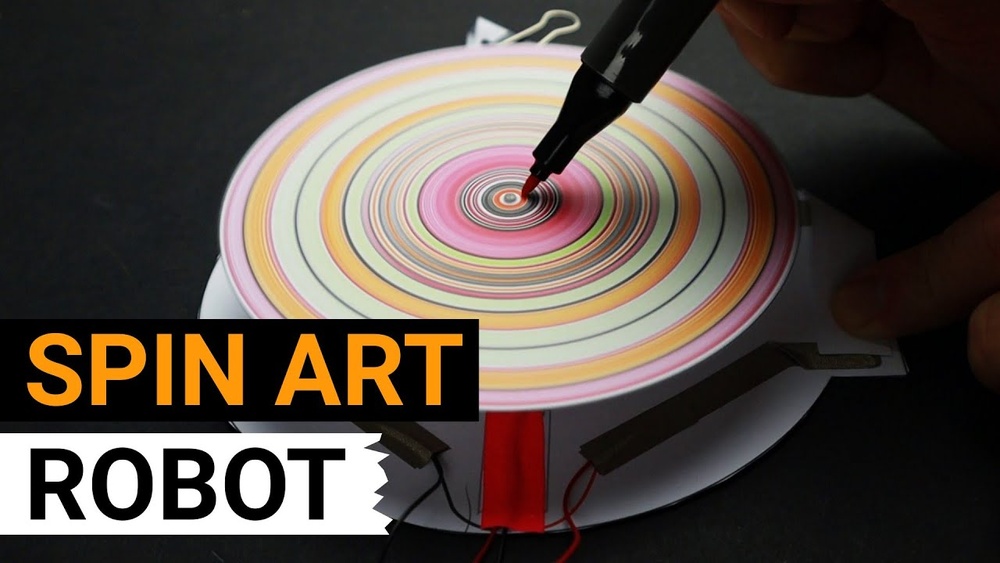
Credit: www.youtube.com
Troubleshooting Common Issues
Troubleshooting common issues helps make your DIY spin art painting fun. Problems like paint overload, uneven spins, or smudges can affect your final piece. Fixing these issues ensures clean, vibrant results every time.
Preventing Paint Overload
Too much paint causes messy splatters and dull colors. Use small drops of paint for better control. Thin the paint slightly with water for smooth spreading. Add paint little by little while spinning to avoid overloading.
Avoiding Uneven Spins
Uneven spinning creates lopsided patterns and blurred lines. Place your paper or canvas firmly in the spinner’s center. Check that the spinner’s lid is secure before spinning. Spin at a steady speed for balanced designs.
Fixing Paint Smudges
Smudges happen when paint moves after spinning stops. Let the paint dry completely before touching the artwork. Use a clean brush to gently fix small smudges after drying. Avoid touching the paint while wet to keep patterns sharp.
Displaying And Preserving Art
Displaying and preserving your DIY spin art painting keeps its beauty alive. Proper care protects the colors and texture. It also makes your artwork a proud part of your home or gift collection. Simple steps can make your spin art last longer and look great.
Framing Ideas
Choose a frame that matches the size of your spin art. Simple wooden frames work well for colorful paintings. Clear glass or acrylic covers protect the surface from dust and damage. Use a mat board to add space between the painting and glass. This prevents the paint from sticking to the cover. Hang your artwork where light shows its colors best.
Sealing The Paint
Apply a clear sealant to protect the paint. Use spray varnish or brush-on acrylic sealers. They guard against fading and smudging. Make sure the paint is completely dry before sealing. Work in a well-ventilated area for safety. Seal both sides if possible, especially on thin paper. Let the sealant dry fully before handling the art.
Gift And Decor Uses
Spin art makes unique gifts and home decor. Frame small pieces as colorful wall hangings. Attach magnets to the back for fridge art. Use sealed spin art to decorate notebooks or boxes. Cards with spin art add a personal touch to any occasion. Display multiple pieces together for a fun gallery wall.
Tips For Kids And Beginners
Spin art painting is a fun and exciting activity for kids and beginners. It allows them to explore colors and patterns in a playful way. This art form is simple to start at home with easy-to-find materials. Below are useful tips to make the experience safe and enjoyable. These tips also help boost creativity and suggest simple project ideas to try.
Safety Precautions
Always cover the work area with newspaper or plastic. Use washable paints to avoid stains on clothes and furniture. Wear old clothes or an apron to keep clean. Keep paint containers closed when not in use to prevent spills. Supervise children closely while they handle paint and tools. Avoid using sharp objects or anything that can hurt. Wash hands thoroughly after the activity.
Encouraging Creativity
Let kids choose their favorite paint colors. Encourage mixing colors to see new shades. Allow free expression without worrying about mistakes. Suggest adding glitter or stickers for extra fun. Play music to create a lively atmosphere. Ask questions about their art to inspire imagination. Celebrate every creation to build confidence.
Simple Project Ideas
Start with basic spin art on paper or cardstock. Use a salad spinner to create colorful circles. Try making greeting cards with spin art designs. Create bookmarks by cutting painted paper into strips. Make gift tags with small spin art pieces. Use old CDs as a spinning base for a unique look. Experiment with different paint drops and spinning speeds.
Frequently Asked Questions
How To Make Spinning Paint Art?
Cut a paper circle and place it in a salad spinner. Add paint drops on the paper. Close the lid and spin. Watch colorful patterns form.
What Kind Of Paint Is Used For Spin Art?
Acrylic or washable paints work best for spin art. They spread easily and dry quickly on paper or canvas.
What Is The 70 30 Rule In Art?
The 70 30 rule in art means 70% of the artwork should be balanced and harmonious. The remaining 30% adds contrast and interest. This rule helps create visually appealing compositions by combining unity with variety.
What Do You Need To Do Spin Art?
To do spin art, you need paper or canvas, acrylic or washable paint, a spinning surface like a salad spinner, and protective coverings.
Conclusion
DIY spin art painting at home offers fun and creativity for everyone. You only need simple materials and a little patience. Experiment with colors and spinning speeds to find your favorite style. This activity suits all ages and helps improve artistic skills.
Enjoy the process and proudly display your unique artwork. Try different techniques next time to keep it exciting. Spin art brings joy and colorful results with minimal effort. Give it a go and watch your creativity flow!