Imagine bringing the delicate beauty of cherry blossoms right onto your canvas with vibrant acrylics. You don’t need to be a professional artist to capture those soft pink petals and graceful branches that make cherry blossom trees so enchanting. With this guide, you will learn how to paint cherry blossoms acrylics style, capturing their essence beautifully.
In this guide, you’ll discover simple, step-by-step techniques that help you paint cherry blossoms with ease and confidence. From mixing the perfect shades of pink to using everyday tools like cotton swabs and sponges, you’ll learn how to create stunning depth and texture that make your artwork come alive.
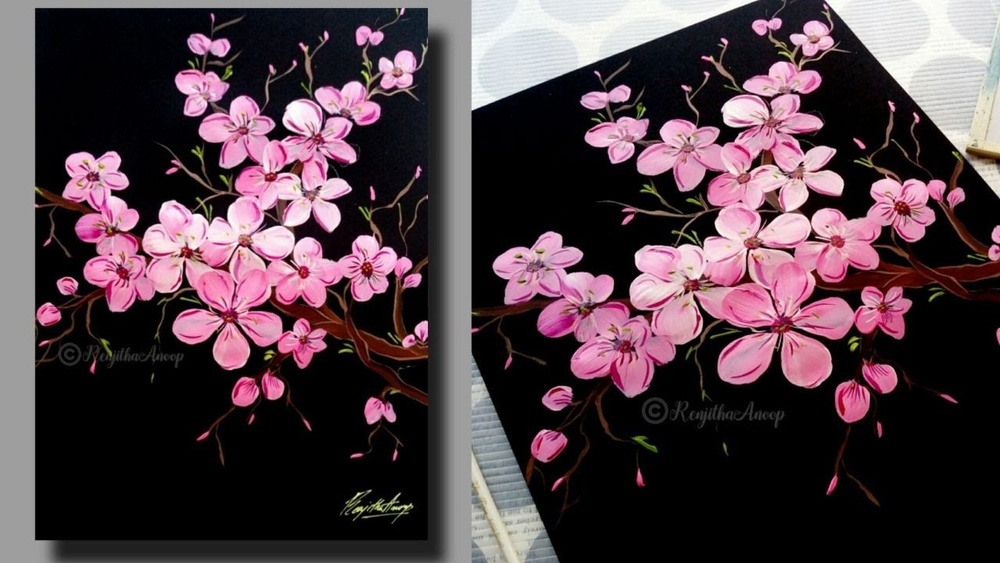
Ready to transform your acrylic painting skills and create your own springtime masterpiece? Keep reading and let’s get started!

Credit: fineartamerica.com
Materials Needed
Gathering the right materials is key to painting beautiful cherry blossoms with acrylics. Each item helps create the soft, delicate look of the flowers. Using the correct paints, brushes, and tools makes the painting process easier and more enjoyable.
Start by preparing your workspace and selecting quality supplies. The right colors and brushes allow you to capture the details of cherry blossoms. Extra tools add texture and depth to your artwork.
Paint Colors
Choose titanium white for highlights and petal details. Use bright red or magenta to mix various pink shades. Brown paint works well for branches and trunk. Mixing your own colors with blue, yellow, and red offers more options. Select paints with good opacity and smooth coverage for best results.
Brush Types
A small round brush is perfect for painting thin branches and fine details. Use a stiff flat brush or filbert brush to dab petals. These brushes help create soft edges and natural shapes. Choose brushes with firm bristles that hold paint well. Keep sizes small to medium for better control.
Additional Tools
Q-tips bundled together create textured clusters of blossoms. A sea sponge adds random, natural patterns to the flower areas. Use a skewer or stylus for fine dots and delicate petal touches. These tools help build layers and depth in your painting. They are easy to handle and improve the overall effect.
Preparing The Canvas
Preparing the canvas is the first step in painting cherry blossoms with acrylics. A well-prepared canvas sets the stage for your artwork. It helps colors stand out and gives your painting a professional finish. Taking time to prepare ensures better results and a smoother painting process.
Choosing Background Colors
Pick background colors that complement cherry blossoms. Soft blues, light greens, or gentle beige tones work well. These colors help the pinks and whites of the blossoms pop. Avoid dark or harsh colors that can overshadow delicate flowers. Apply the background evenly using a large brush or roller. Let it dry fully before adding details. A smooth background lets your blossoms shine clearly.
Setting The Light Source
Decide the direction of light early on. Light affects where shadows fall and how colors appear. Choose if light comes from the left, right, above, or below. This choice adds depth and realism to the painting. Mark the light source on the canvas lightly with a pencil. Keep this consistent while painting branches and petals. Shadows and highlights follow the light source, enhancing the 3D look of blossoms.
Painting The Branches
Painting the branches of cherry blossoms with acrylics sets the foundation for your artwork. The branches carry the blossoms, giving structure and flow. A natural look requires careful color mixing and brush control. Focus on shapes and shades to bring the branches to life. Follow these steps to create realistic, beautiful branches.
Mixing Brown Shades
Start by mixing your browns. Use basic colors like red, yellow, and blue to create a rich brown. Try different ratios to get warm or cool tones. Warmer browns have more red or yellow. Cooler browns ha