Are you ready to bring vibrant colors and unique textures into your artwork? DIY sand art painting is a fun and creative way to express yourself, even if you’ve never tried it before.
Imagine turning simple sand and glue into stunning designs that brighten up any room. In this guide, you’ll discover easy steps to create your own sand art paintings at home, with tips that save time and make the process enjoyable.
Whether you want a relaxing craft or a colorful gift idea, this guide will help you master the art of DIY sand painting quickly and confidently. Let’s dive in and transform your creativity into a beautiful masterpiece!
Materials Needed
Gathering the right materials is the first step in creating beautiful DIY sand art paintings. Having quality supplies makes the process easier and more enjoyable. Prepare all items before starting your project for a smooth workflow.
Types Of Sand
Choose clean, dry sand for bright colors and easy handling. Colored sand adds vibrant shades without extra work. Natural sand provides a subtle, earthy look. Fine sand works best for detailed designs. Coarser sand gives texture and dimension to your art.
Adhesives And Tools
Use strong glue that dries clear to hold sand firmly in place. White craft glue or spray adhesive works well. A small paintbrush helps spread glue precisely. Tweezers assist in placing sand in tight spots. Paper or cardboard protects your workspace from spills.
Optional Supplies
Clear sealant spray protects finished artwork and prevents sand loss. Stencils guide your design for sharp edges. Mixing bowls help blend sand colors evenly. Funnels and spoons make pouring sand simpler and neater. Colored pencils or markers add details before gluing.
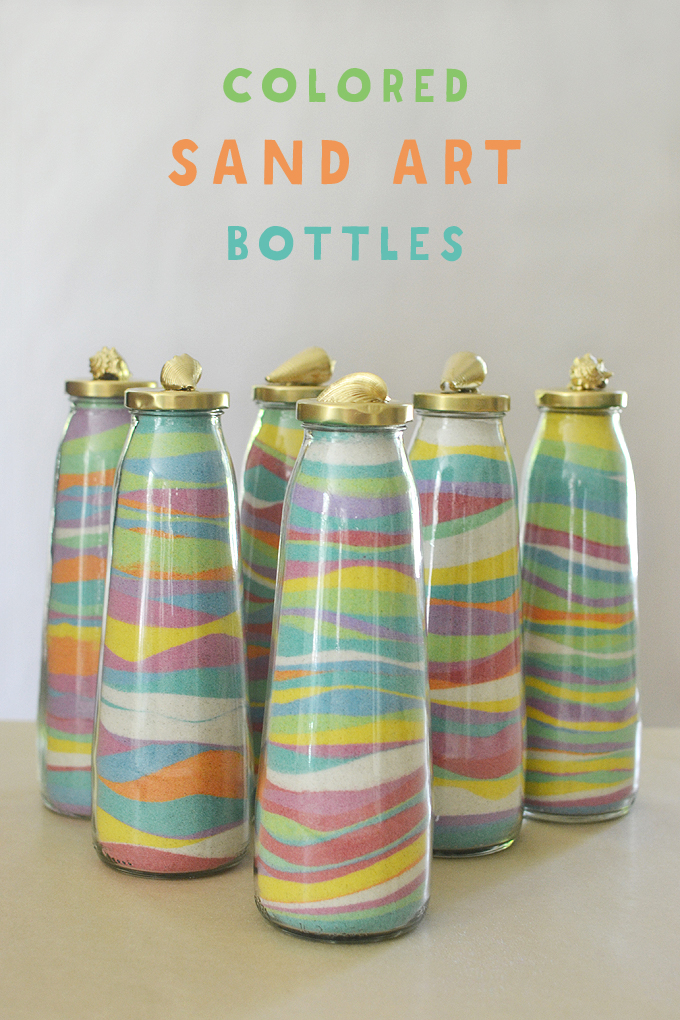
Credit: www.artbarblog.com
Preparing Colored Sand
Preparing colored sand is a key step in creating beautiful DIY sand art paintings. The right colors bring your designs to life. Making your own colored sand is simple and fun. It lets you choose shades that match your project perfectly. This section explains how to color sand at home using easy methods.
Using Food Coloring
Food coloring is an easy way to dye sand. Start with dry, clean sand in a bowl. Add a few drops of food coloring. Stir well to spread the color evenly. Add more drops for a deeper shade. Mix until all sand grains are coated.
Use gloves to keep your hands clean. Spread the sand on a tray lined with paper towels. Let it dry completely before use. This method creates vibrant, safe colors perfect for kids’ projects.
Mixing Techniques
Mixing colored sand well is important. Use a spoon or spatula to stir the sand gently. Avoid clumps for smooth color distribution. You can mix different colors for unique effects. Try layering colors for a striped look.
Shake the bowl lightly to settle the sand. Mix slowly to keep the texture fluffy. Proper mixing helps the sand stick evenly in your artwork.
Drying And Storing
Dry the colored sand thoroughly to prevent clumping. Spread it thin on a flat surface. Leave it to air dry for several hours or overnight. Avoid direct sunlight to keep colors bright.
Store dry sand in airtight containers. Keep containers in a cool, dry place. Label each container with the sand color. This keeps your supplies organized and ready for your next sand art painting.
Design Planning
Planning your design is the first step in DIY sand art painting. It helps you create a clear vision before starting. Careful planning makes the process smooth and enjoyable.
Spend time thinking about the shapes and colors you want. This stage sets the foundation for your artwork.
Choosing A Template
Select a simple template that fits your skill level. Templates can be printed or drawn by hand. Using a clear outline helps guide your sand placement. Pick themes like animals, flowers, or geometric shapes. Keep the design bold for better color contrast.
Drawing Your Design
Draw your design lightly on the base paper or canvas. Use a pencil to make changes easily. Make sure lines are clear but not too dark. Divide large areas into sections for different colors. This helps keep the sand colors neat and separated.
Using Stickers And Stencils
Stickers and stencils simplify the design process. Place stickers on the canvas to block off sections. Pour sand over exposed areas only. Stencils offer precise shapes and patterns. They are perfect for repeating designs or small details. Remove stickers or stencils carefully after the sand dries.
Applying Adhesive
Applying adhesive is a key step in DIY sand art painting. It holds the sand in place and shapes your design. The right glue and technique make your artwork last longer. Take care to apply glue evenly for the best results.
Working carefully helps avoid mess and keeps your patterns sharp. Patience and attention to detail bring your sand art to life.
Glue Types
Choose glue that dries clear and stays sticky for a while. White craft glue works well and is easy to find. Spray adhesive offers quick coverage but needs careful use. Gel glue is thicker and good for raised patterns. Avoid watery glue that lets sand slip off.
Creating Patterns
Draw your design lightly on the surface before applying glue. Apply glue only where you want the sand to stick. Use a small brush or stick for precise lines. Create different sections for each color or texture. This method keeps your sand art clean and neat.
Working In Sections
Divide your artwork into small areas to work on at a time. Apply glue to one section, then add sand immediately. Let each section dry before moving to the next. This prevents glue from mixing and colors from blending. Working in parts helps control the mess and improves accuracy.
Adding Sand To Canvas
Adding sand to your canvas is the key step in creating vibrant sand art paintings. This process requires patience and care. Each grain of sand contributes to the texture and color of your artwork. Proper techniques make your design clear and long-lasting. Follow these steps to apply sand effectively and beautifully.
Layering Colors
Start with a small amount of glue on the canvas. Sprinkle the first color of sand gently over the glued area. Let it settle before adding the next color. Layer different colors carefully to avoid mixing. Use light pressure to keep the layers distinct. This builds depth and makes your art stand out.
Shaking Off Excess
After adding sand, hold the canvas upside down. Gently tap it to shake off loose grains. This removes extra sand that is not stuck to the glue. Use a soft brush to clean edges and fine details. Removing excess sand keeps your painting neat. It also helps the glue dry faster and stronger.
Using Funnels For Precision
Funnels help control where the sand falls on the canvas. Use small funnels for detailed parts of your design. This reduces waste and prevents colors from mixing. You can make a funnel from paper or buy plastic ones. Hold the funnel close to the canvas. Slowly pour sand through it for better accuracy.
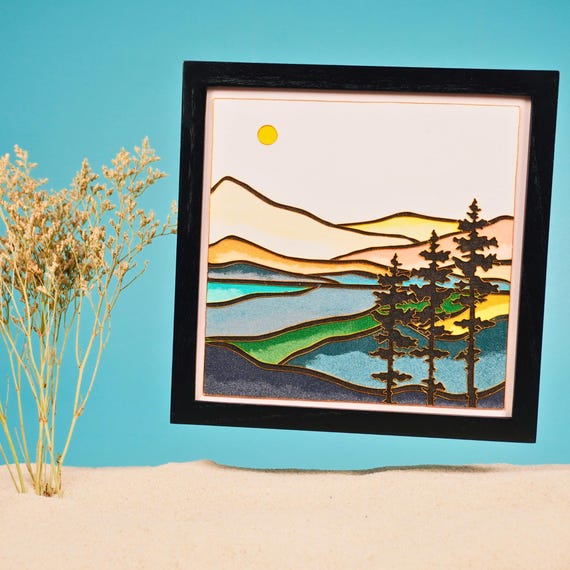
Credit: www.etsy.com
Drying And Sealing
Drying and sealing are crucial steps in DIY sand art painting. They help keep your artwork intact and vibrant for a long time. Proper drying ensures the sand sticks well to the surface. Sealing protects the sand from falling off or fading. Follow these simple tips to preserve your sand art beautifully.
Drying Times
Allow your sand art to dry fully before moving it. Drying time varies with glue type and thickness. Usually, it takes 12 to 24 hours to dry completely. Place your art in a dry, well-ventilated area. Avoid direct sunlight to prevent colors from fading.
Sealing Techniques
Use a clear spray sealant for best results. Spray gently and evenly over the sand art surface. Hold the spray about 8 to 12 inches away. Let the first coat dry before applying a second one. Some prefer brush-on sealers for more control. Choose a non-yellowing, water-based sealer for safety.
Preventing Sand Loss
Sealing stops loose sand from falling off your art. Press the sand gently into the glue before drying. Avoid touching the sand surface too much. Store your sand art in a dust-free place. Frame the artwork under glass for extra protection.
Advanced Techniques
Advanced techniques in DIY sand art painting help elevate your artwork. These methods create depth, texture, and unique visual effects. They allow you to push creative boundaries beyond basic sand layering. Experiment with these ideas to make your sand art truly stand out.
Creating 3d Effects
To create 3D effects, build up layers of sand on your surface. Use thicker glue in certain areas to hold more sand. Shape the sand carefully to form raised patterns or objects. Try adding small sand mounds or ridges for a tactile feel. Light shadows on these raised parts enhance the three-dimensional look.
Using Mixed Media
Combine sand with other materials for a rich texture. Use beads, shells, or small stones along with sand. Paint can add color highlights or backgrounds. Glue metal pieces or fabric for contrast. Mixed media adds variety and interest to your sand art. Always ensure all materials stick well to your base.
Working On Angles
Tilting your canvas changes how the sand settles and looks. Work on angled surfaces to create dynamic designs. Pour sand slowly so it flows and layers naturally. Use angles to create patterns that catch light differently. This technique adds movement and depth to your artwork.
Tips For Beginners
Starting with DIY sand art painting can be exciting and fun. Beginners should focus on simple steps to avoid frustration. Understanding the basics helps create beautiful art with less effort. Small tips make a big difference in the final result. Below are important tips for beginners to follow.
Common Mistakes To Avoid
Using too much glue can cause the sand to clump and ruin the design. Avoid shaking the excess sand off too quickly; let the glue set a little first. Mixing different sand colors without care may create muddy or dull colors. Working in a dusty or windy area can spoil your artwork. Always plan your design before starting to save time and materials.
Maintaining Your Tools
Clean your brushes and containers after each use to prevent color mixing. Store glue in a cool, dry place to keep it from drying out. Use a soft cloth to wipe off excess sand from tools regularly. Avoid using old or dried glue as it will not hold the sand properly. Regular maintenance helps your tools last longer and work better.
Storage Suggestions
Keep your sand in airtight containers to avoid moisture and clumping. Label containers by color to find them easily during your project. Store finished art in a dry place to prevent damage. Use plastic bags or boxes to separate different project supplies. Organizing your materials saves time and protects your artwork.
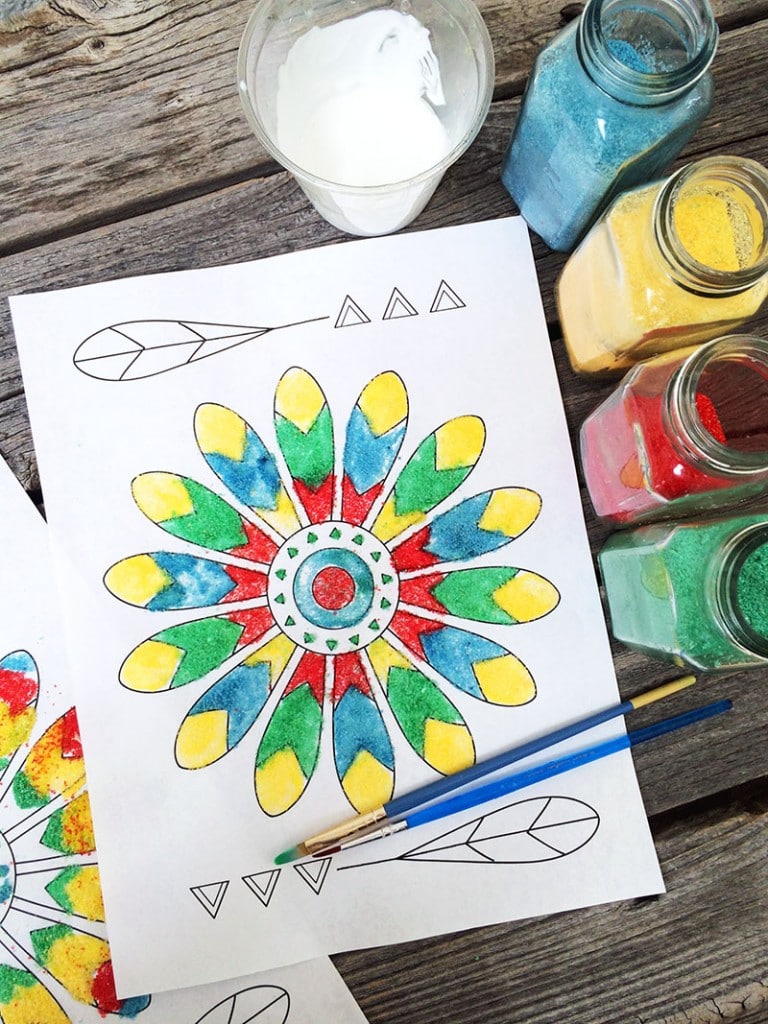
Credit: www.100directions.com
Frequently Asked Questions
How To Make Your Own Sand Art Picture?
Draw your design on paper, apply glue on it, then sprinkle colored sand over the glue. Shake off excess sand carefully. Let dry and display your unique sand art picture.
What Liquid Goes In Sand Art?
Use clear water or a mix of water and glue in sand art to help colored sand stick and create vibrant designs.
How To Do A Sand Painting?
Draw your design on paper. Apply glue on the drawing or canvas. Sprinkle colored sand over glue. Shake off excess sand. Let dry completely before displaying.
How To Make Your Own Sand Paint?
Mix equal parts of white glue and acrylic paint, then stir in fine sand until you achieve desired texture and color. Use immediately.
Conclusion
Creating your own sand art painting brings joy and creativity together. Use simple supplies and follow easy steps for best results. Experiment with colors and designs to express yourself freely. Take your time and enjoy the calming process of crafting.
Share your unique artwork with friends and family. Keep practicing to improve your skills and have fun. Sand art painting is a relaxing and rewarding hobby anyone can try. Start today and watch your imagination come to life!