
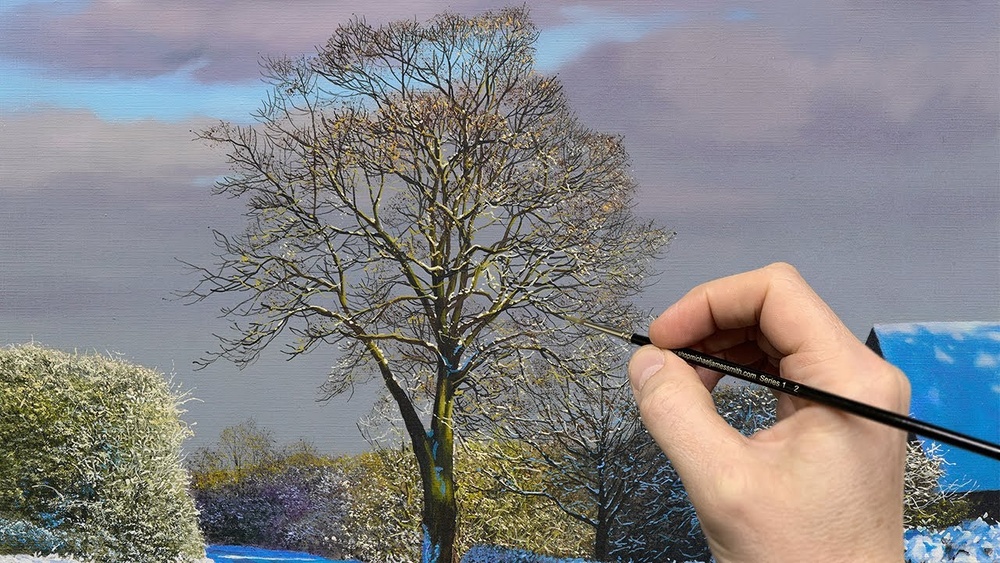
Painting a winter tree with oil paints is a rewarding way to capture the quiet beauty of the season. Many artists are drawn to the unique colors, shapes, and light of winter landscapes. Bare branches, soft snow, and the subtle changes of daylight offer a chance to work with new techniques and express a different side of nature.
If you have ever wanted to paint a tree in winter oil, this guide will walk you through every step, from choosing materials to adding the final details. Even if you are a beginner, you will learn how to avoid common mistakes and create a painting you can be proud of.
Choosing The Right Materials For Winter Oil Painting
Before you start painting, it’s important to have the right materials. Oil painting requires a few specific tools and choosing them carefully will make your experience smoother.
Essential Supplies
- Oil Paints: For winter scenes, you’ll need a range of cool colors—titanium white, ultramarine blue, burnt umber, Payne’s gray, and a touch of yellow ochre for warmth.
- Brushes: Use a mix of flat, round, and fan brushes. Flats are good for blocking in shapes, rounds for detail, and fans for blending.
- Canvas or Panel: A stretched canvas or primed panel works best. An 11”x14” size is good for beginners.
- Mediums: Linseed oil or odorless mineral spirits help thin the paint and speed drying.
- Palette: A wooden or glass palette gives you space to mix colors.
- Palette Knife: Useful for mixing and applying thick paint.
- Rags or Paper Towels: For cleaning brushes and correcting mistakes.
- Easel: Keeps your work at a comfortable angle.
Helpful Extras
- Reference photo: Choose a clear image of a winter tree or take your own photo.
- Gloves: Protect your hands from paint and solvents.
- Apron: Keeps your clothes clean.
Comparison: Oil Paint Vs. Acrylic For Winter Trees
| Feature | Oil Paint | Acrylic Paint |
|---|---|---|
| Drying Time | Slow (hours to days) | Fast (minutes) |
| Blending | Easy and smooth | Harder, dries quickly |
| Texture | Rich, thick layers possible | Usually thinner layers |
| Best For | Realistic, detailed work | Quick studies, bold color |
Oil paint’s slow drying time is a big advantage for winter trees, since it lets you blend soft skies, snow, and bark textures.
Understanding Winter Tree Structure And Composition
Painting a tree in winter is very different from painting one in summer. The leaves are gone, so the branch structure is exposed. This means you need to pay attention to the way branches move and how they divide.
Observing Branch Patterns
Study your reference photo or observe real trees. Notice how:
- The trunk splits into large branches, then into smaller and finer twigs.
- Branches are not straight—they curve and twist.
- Thickest branches are at the base, thinning out toward the ends.
Planning Your Composition
Decide where to place your tree on the canvas. Placing the main trunk slightly off-center often creates a more natural look. Consider where the horizon line will go. For winter scenes, a low horizon can give a feeling of open space and cold air.
Example: Classic Winter Tree Layout
- Trunk starts at the lower third of the canvas.
- Main branches reach upward and outward.
- A few small, broken branches add realism.
- Snow covers the ground and may rest on some larger branches.
Sketching Your Winter Tree
Start with a light sketch using a thin brush and diluted burnt umber or gray paint. Avoid using pencil, as graphite can show through oil paint.
Steps For Sketching
- Mark the horizon line lightly.
- Draw the trunk as a single strong line.
- Add main branches—think about how they fork and split.
- Indicate ground shapes (snow mounds, rocks, shadows).
- Adjust proportions before adding paint.
Keep your lines loose and avoid overworking the sketch. This is just a guide.
Blocking In Main Shapes And Colors
Now it’s time to lay down the first layers of paint. This is called blocking in. Use a larger brush and focus on big shapes, not details.
Background First
Start with the sky. Winter skies are often pale blue, gray, or even pink at sunset. Mix titanium white with a small amount of ultramarine blue and a touch of burnt umber for a soft, cold sky.
- Paint from top to bottom, blending as you go.
- Add faint clouds or a glow near the horizon.
Ground And Snow
Snow is not just white—it reflects colors from the sky and surrounding objects. Mix white with hints of blue, gray, and violet for realistic snow. Block in the snow areas with a flat brush, leaving space for the tree trunk.
Blocking The Tree
Mix a neutral grayish-brown for the trunk and main branches. Use a flat or round brush to paint these shapes over the background.
- Work from thick to thin: Trunk first, then main branches, then smaller branches.
- Don’t worry about details yet.

Credit: www.youtube.com
Building Up Details And Texture
This is where your painting comes alive. Let the first layers dry slightly (about an hour, depending on your medium) before adding details.
Painting Bark Texture
Use a smaller round or liner brush. Mix a darker brown or gray and lightly drag the brush along the trunk to create bark lines.
- Vary pressure for rough and smooth areas.
- Add patches of lighter color for highlights where the light hits the bark.
Adding Fine Branches
Switch to a thin brush. Use slightly thinned paint for smooth lines. Remember, branches get thinner as they split. Overlap some branches to show depth.
Painting Snow On Branches
Snow gathers on the tops of branches. With a small brush, use thick white paint (impasto) to dab snow onto branch tops. Add a touch of blue or lavender for shadowed snow.
Shadows And Light
Winter light is often soft and cool. Use pale blue or purple to paint shadows on snow and the shaded side of the trunk.
- Place shadows under branches and to one side of the trunk.
- Keep shadow edges soft for a cold, misty effect.
Example: Creating Snow Shadows
If your light is from the left, paint shadows on the right side of the trunk and snow. Mix ultramarine blue, a touch of alizarin crimson, and plenty of white for a realistic shadow.
Tips For Painting Realistic Winter Effects
A few small techniques can make your winter scene look much more convincing.
Suggesting Frost And Ice
- Add small dabs of pure white with a palette knife for icy highlights.
- Dry brush a little white paint across parts of the trunk for a frosted look.
Painting Distant Trees Or Backgrounds
Use lighter, softer colors and less detail for trees far away. This creates atmospheric perspective—a sense of space and cold air.
Making The Scene Feel Cold
Use more cool colors (blues, grays, purples) and avoid too much yellow or bright green. The right color balance will make your painting feel chilly and fresh.
Comparison: Warm Vs. Cool Color Use In Winter Scenes
| Area | Warm Colors | Cool Colors |
|---|---|---|
| Sky | Soft pink, pale yellow (sunset) | Blue, lavender, gray |
| Snow Shadows | Muted brown, ochre | Blue, purple, gray |
| Bark Highlights | Light brown, beige | Gray, off-white |
Common Mistakes And How To Avoid Them
Even experienced artists make mistakes. Here are some pitfalls and how to fix them:
- Making all branches too straight or even. Real branches twist and vary in thickness.
- Using only pure white for snow. Add blue and violet for realism.
- Not overlapping branches. Overlap creates depth and a natural look.
- Forgetting about shadows. Without shadows, snow and trees look flat.
- Over-detailing distant trees. Keep them soft and lighter.
A non-obvious insight: when painting snow, avoid using too much paint thinner. Thick paint gives snow a soft, fluffy texture, while thin paint can look hard and cold.
Another tip: step back often. Looking at your painting from a distance helps spot mistakes in shape, balance, and color.
Adding Final Touches
Once the main painting is dry to the touch (usually 1-2 days), add any highlights or extra details.
- Use a palette knife for crisp snow highlights.
- Add a few broken twigs or leaves for realism.
- Check the overall balance of light and dark.
Don’t overwork your painting. Too many details can make a winter scene look crowded. Sometimes, less is more.
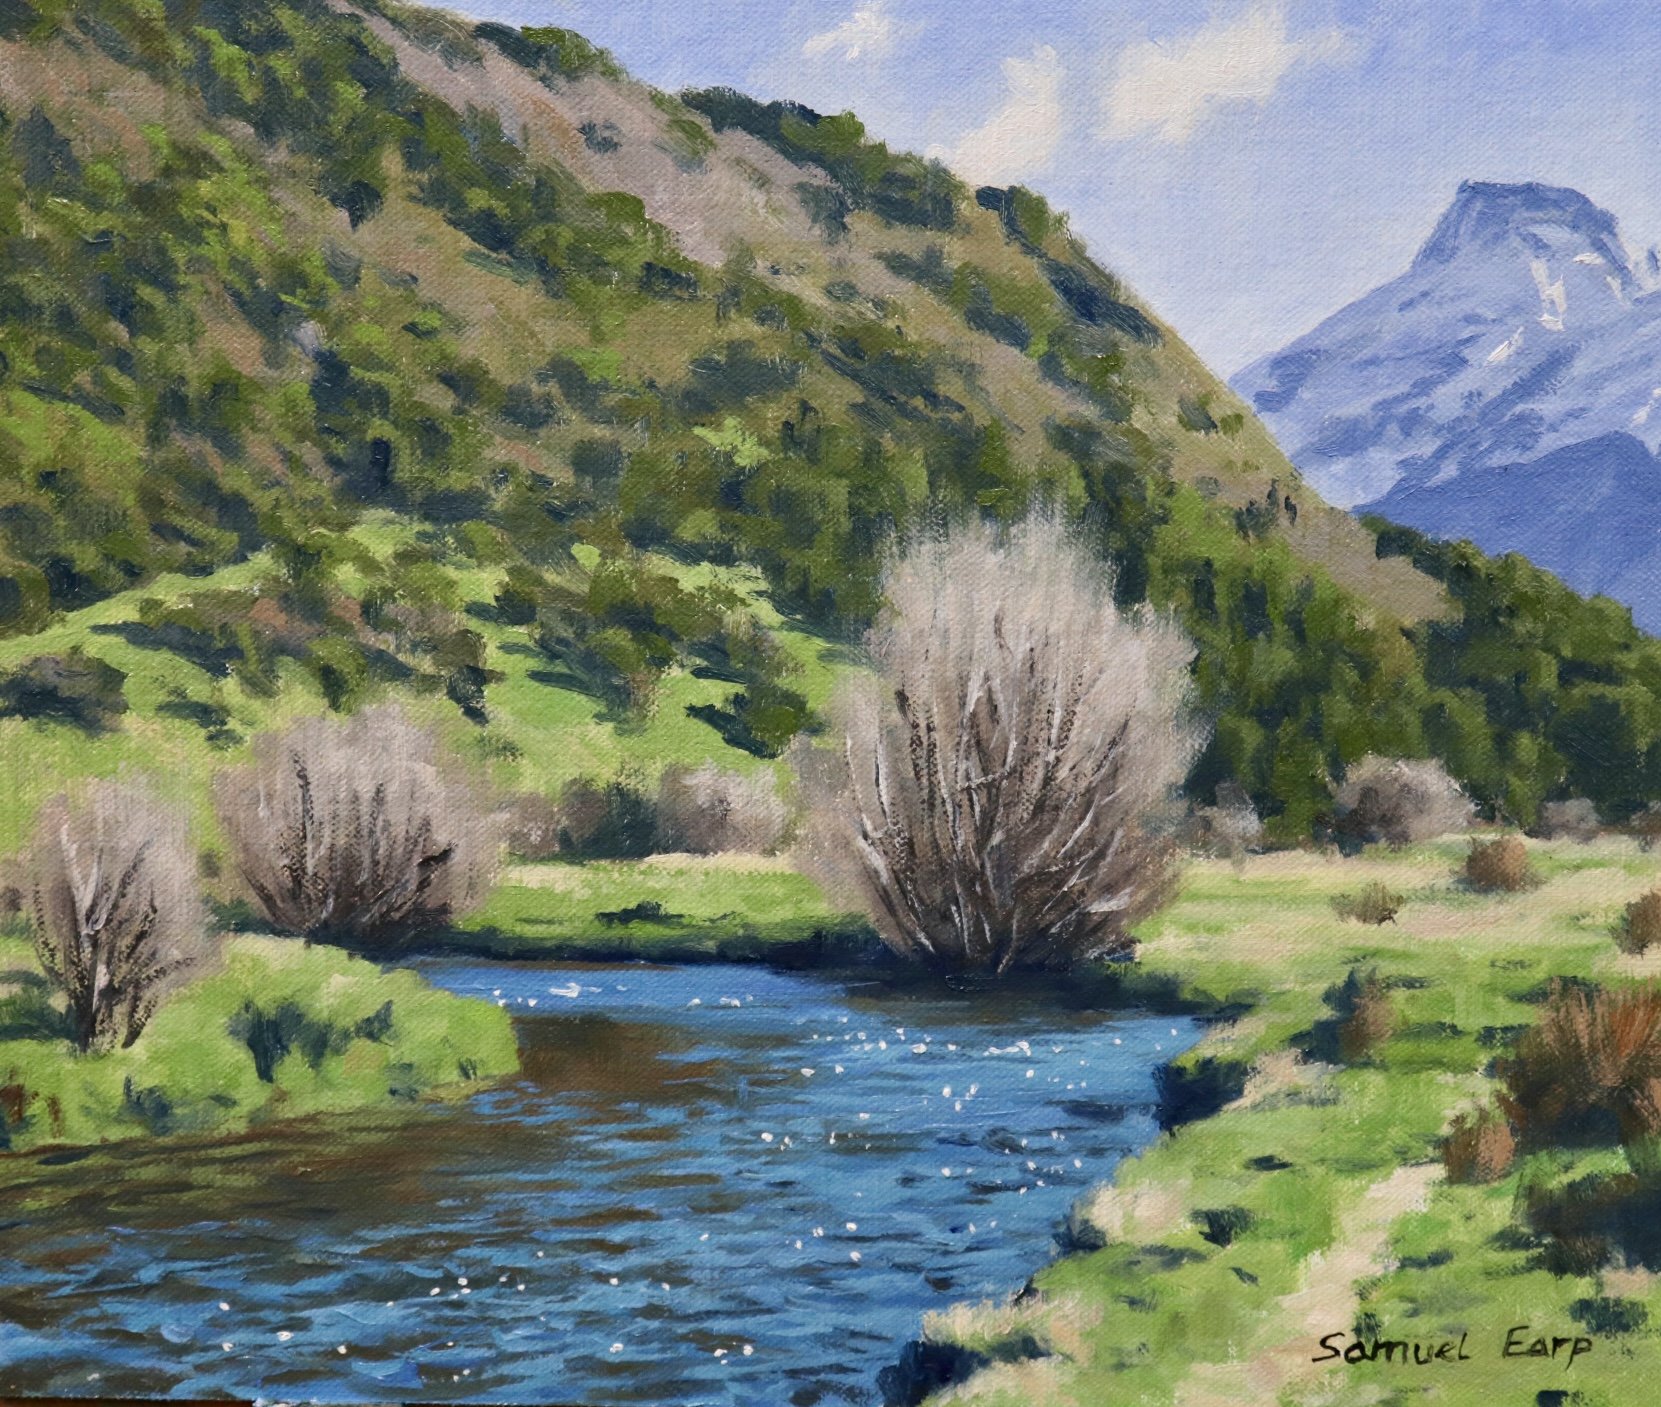
Credit: samuelearp.com
Caring For Your Finished Oil Painting
Oil paintings take weeks to dry completely. Place your painting in a dust-free area and avoid touching the surface.
- After 6-12 months, you can varnish the painting for protection.
- Frame your art behind glass only if fully dry.
- Store upright to prevent smudging.
If you want detailed guidance on oil painting safety and drying times, the Winsor & Newton Oil Colour Basics is a reliable resource.
Frequently Asked Questions
How Long Does It Take For Oil Paint To Dry On A Winter Tree Painting?
Oil paint can take anywhere from a few days to several weeks to dry, depending on the thickness of the paint and the temperature of your room. Thin layers may feel dry after 2-3 days, but thicker parts, like snow highlights, can take up to a week or more.
Full curing takes several months.
What Brush Is Best For Painting Fine Branches?
A small round or liner brush works best for fine branches. Thin your paint slightly with medium so it flows smoothly. Practice on scrap canvas to get steady, natural lines.
Can I Paint Snow Using Just White Paint?
It’s better to mix white with a little blue, purple, or gray. Pure white can look unnatural and flat. Shadows and reflected colors make snow look real and three-dimensional.
How Do I Create A Sense Of Depth In My Winter Tree Oil Painting?
Use lighter, less detailed colors for background trees and darker, more detailed colors for the main tree. Overlapping branches and softening edges in the distance also help create depth.
Is It Okay To Use A Photo As A Reference For My Painting?
Yes, using a photo reference is very helpful, especially for winter trees. Choose a clear image with good contrast and interesting branches. Try to interpret the photo, not just copy it.
Painting a tree in winter oil is both challenging and fun. With careful observation, the right materials, and a little patience, you can capture the magic of a cold, silent day on canvas. Remember to experiment, step back often, and enjoy the process.
Each painting will teach you something new and bring you closer to mastering oil painting’s unique beauty.
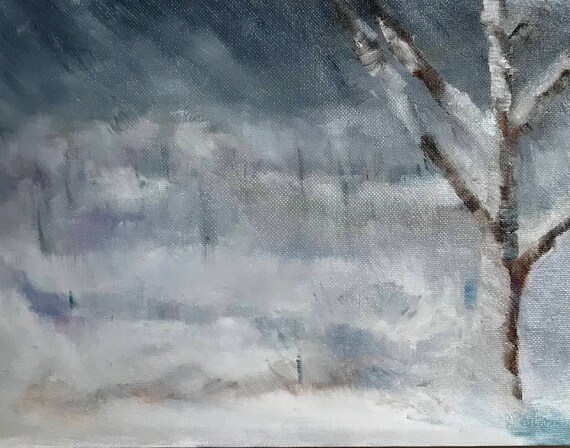
Credit: www.etsy.com


