Watercolor painting is a fun and relaxing hobby. It’s great for beginners. You don’t need many supplies. You can start with basic techniques. This guide will help you learn the best watercolor techniques for beginners.
Credit: blog.mojarto.com
Why Choose Watercolor Painting?
Watercolor painting is easy to start. You need just a few tools. It allows for creative expression. The colors are vibrant and beautiful. Plus, it’s affordable. Let’s explore the best watercolor techniques for beginners.
Essential Supplies
Before you start, gather your supplies. Here’s a list of what you’ll need:
- Watercolor paints
- Brushes
- Watercolor paper
- Water container
- Palette
- Paper towels

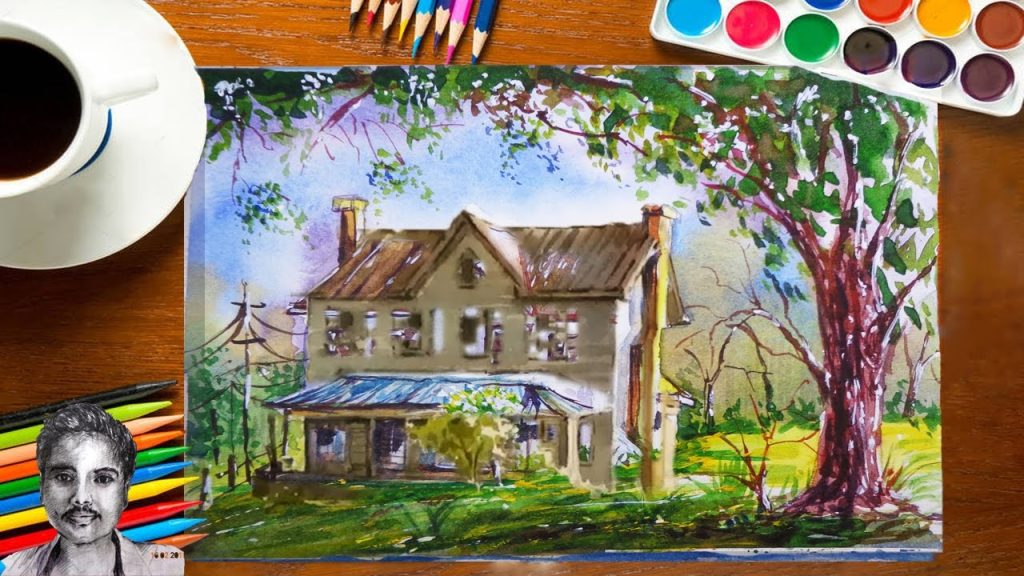
Credit: m.youtube.com
Basic Techniques
There are several basic techniques. These will help you start your journey.
Wet-on-wet
This is a simple technique. First, wet your paper with clean water. Then, apply watercolor paint. The paint will spread and blend. This creates soft and beautiful effects.
Steps:
- Wet your paper with clean water.
- Load your brush with paint.
- Apply the paint to the wet paper.
- Watch the colors blend and spread.
Wet-on-dry
This technique creates more defined edges. Apply paint to dry paper. The colors stay where you put them. It’s great for details.
Steps:
- Start with dry watercolor paper.
- Load your brush with paint.
- Apply the paint to the dry paper.
- Observe the sharp edges and vibrant colors.
Dry Brush
This technique creates texture. Use a dry brush with little paint. Drag it across dry paper. It leaves a scratchy, textured effect.
Steps:
- Use a dry brush.
- Load it with a small amount of paint.
- Drag it across dry paper.
- Notice the textured, scratchy effect.
Glazing
Glazing involves layering colors. Let each layer dry before adding the next. This technique builds depth and richness.
Steps:
- Paint a layer of color.
- Let it dry completely.
- Apply another layer of color.
- Repeat to build depth.
Graduated Wash
This technique creates a gradient effect. Start with a strong color. Gradually add water to lighten it. This creates a smooth transition.
Steps:
- Load your brush with paint.
- Start at the top of the paper.
- Gradually add water to your brush.
- Move down the paper, creating a gradient.
Blooms
Blooms create a beautiful effect. Drop water onto wet paint. The water pushes the paint away. This creates a blooming pattern.
Steps:
- Apply wet paint to your paper.
- Drop clean water onto the paint.
- Watch the paint bloom and spread.
Salt Texture
This technique uses salt to create texture. Sprinkle salt on wet paint. The salt absorbs the water. This creates a unique, textured effect.
Steps:
- Apply wet paint to your paper.
- Sprinkle salt onto the wet paint.
- Let it dry completely.
- Brush off the salt to reveal the texture.
Common Mistakes and Tips
Beginners often make mistakes. Here are some tips to avoid them:
- Don’t use too much water: It can make your colors dull.
- Don’t overwork your painting: Let the colors blend naturally.
- Practice patience: Let layers dry before adding more.
- Experiment with techniques: Find what works best for you.
Frequently Asked Questions
What Are Basic Watercolor Techniques?
Start with wet-on-wet, dry brush, and layering. Practice these for a strong foundation.
How To Blend Watercolors Effectively?
Use a wet brush to soften edges. Practice smooth transitions between colors for best results.
What Supplies Do Beginners Need?
You need watercolor paper, brushes, and paints. Start with a basic set of each.
How To Avoid Muddy Colors?
Limit your color palette. Clean your brush between colors to prevent mixing.
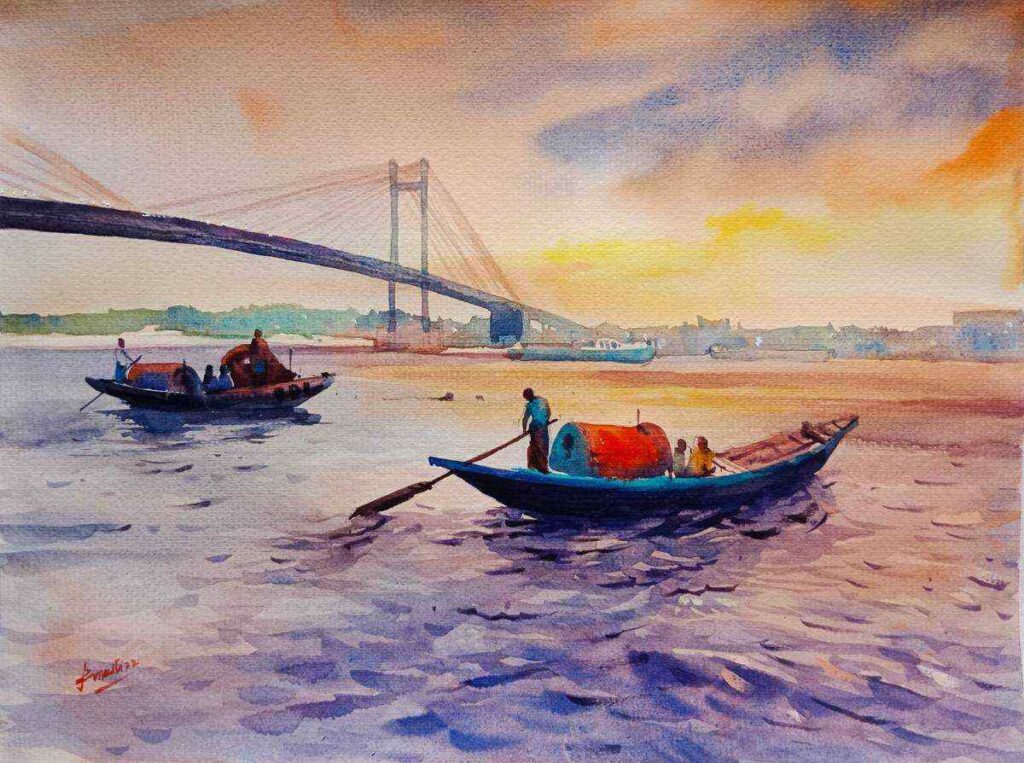
Conclusion
Watercolor painting is fun and rewarding. With these techniques, you can create beautiful art. Remember to practice and be patient. Enjoy your watercolor journey!
Further Reading
Check out these resources for more tips: