Acrylic pouring is a fun and creative art form. It involves pouring acrylic paint onto a surface. The paint moves and blends to form beautiful patterns.
Materials You Need
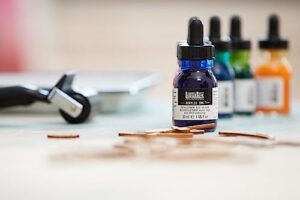
- Acrylic Paint
- Pouring Medium
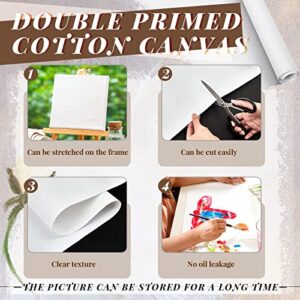
- Canvas or Surface
- Plastic Cups
- Mixing Sticks
- Gloves
- Drop Cloth
- Level

Credit: www.amazon.com

Credit: www.youtube.com
Step-by-Step Guide
Step 1: Prepare Your Workspace
Choose a flat surface to work on. Cover it with a drop cloth. Make sure your canvas is level.
Step 2: Mix Your Paint
Pour acrylic paint into a cup. Add pouring medium to the paint. Use a mixing stick to stir them together. The mixture should flow like honey.
Step 3: Layer Your Paint
Pour different colors of paint into one cup. Do not stir them. This will create layers of color.
Step 4: Pour The Paint
Hold the cup over the canvas. Pour the paint slowly. Let it spread and blend on its own.
Step 5: Tilt The Canvas
Tilt the canvas to move the paint. This helps to cover the entire surface. It also creates interesting patterns.
Step 6: Let It Dry
Leave the canvas to dry in a safe place. It may take several days to dry completely.
Tips for Success
- Use gloves to keep your hands clean.
- Work in a well-ventilated area.
- Experiment with different color combinations.
- Practice makes perfect!
Popular Acrylic Pouring Techniques
Dirty Pour
This technique involves layering multiple colors in one cup. Then, you pour the entire cup onto the canvas.
Flip Cup
In this technique, you place the cup upside down on the canvas. Lift the cup to let the paint spread.
Swipe
Pour paint onto the canvas. Use a tool to swipe the paint across the surface.
Puddle Pour
Pour each color onto the canvas separately. Let the colors blend naturally.
Getting Paint Consistency Right
Consistency is the single most important factor in acrylic pouring. Paint mixed with pouring medium should flow like warm honey or single cream. Too thick and it will not spread or form cells; too thin and colours muddy together and the paint runs off the canvas. Mix each colour in its own cup and check that a stir stick lifted from the cup leaves a trail that settles back into the surface within a second or two.
Pouring medium is essential. It keeps the paint binder strong, prevents cracking and crazing, and helps colours stay separate. Thinning with water alone weakens the paint film and often causes cracks as it dries.
Troubleshooting Common Problems
Cracking or crazing
Usually paint too thick in places, too much water, or drying too fast in heat or a draught. Use pouring medium and dry the piece level in a stable, moderate room.
Muddy colours
Too many colours, complementary colours mixed together, or overworking the tilt. Limit the palette and stop tilting sooner.
No cells
Paint too thick or no additive. A few drops of silicone oil in some colours, and slightly thinner paint, encourage cells. A brief pass of a heat gun or torch brings them up.
Paint sliding off
Paint too thin, or too much paint. Measure roughly how much you need for the canvas size.
Dust and bubbles
Pop bubbles with a quick pass of heat, and cover the drying piece with a box to keep dust off.
Finishing a Pour
Let the pour dry flat and level for at least a day or two, longer for thick pours. If silicone oil was used, clean the surface gently with a mild soap and water before varnishing, otherwise the varnish may bead. A gloss varnish or resin coat brings back the wet look and protects the surface.
Frequently Asked Questions
What Is Acrylic Pouring?
Acrylic pouring is a fluid art technique using acrylic paint and a pouring medium.
How To Mix Acrylic Paint For Pouring?
Combine acrylic paint with a pouring medium until smooth and runny.
What Supplies Are Needed For Acrylic Pouring?
You’ll need acrylic paint, pouring medium, canvas, and mixing cups.
How To Create Cells In Acrylic Pouring?
Add silicone oil to your paint mix to create cells.
Conclusion
Acrylic pouring is a wonderful way to express creativity. With practice, you can create stunning fluid art. Gather your materials and start pouring today!