You’ve just finished a project with oil-based paint, and now you’re staring at your paintbrush, wondering how to get it clean without ruining those bristles or making a big mess. Cleaning oil-based paint brushes can seem tricky, but with the right steps, you can keep your brushes in great shape for your next masterpiece.
In this guide, you’ll discover simple, effective methods to clean your brushes safely and thoroughly—without harming the environment or your plumbing. Keep reading, and you’ll learn how to save time, protect your tools, and make cleanup a breeze every time.
Credit: justpaint.org
Choosing The Right Solvent
Choosing the right solvent is key to cleaning oil-based paint brushes effectively. The solvent breaks down the paint, making it easier to remove from the bristles. Different solvents offer varying strength, smell, and safety levels. Selecting one depends on your needs and comfort with chemicals. Below are common solvent choices for cleaning oil paint brushes.
Mineral Spirits And Odorless Options
Mineral spirits are a popular choice for cleaning oil paint brushes. They dissolve paint well and evaporate quickly. Odorless mineral spirits (OMS) have less smell, making them better for indoor use. Both types work well to soften and remove paint from brush bristles. Use a container to dip and swirl your brush. Avoid skin contact and keep the area ventilated.
Turpentine And Citrus-based Cleaners
Turpentine is a traditional solvent with strong paint-dissolving power. It has a sharp smell and requires good ventilation. Citrus-based cleaners offer a natural alternative with a pleasant scent. They are less toxic but may take longer to remove paint. Both options can clean brushes effectively but need careful handling. Use gloves and avoid open flames near these solvents.
Purpose-made Brush Cleaners
Purpose-made brush cleaners are designed specifically for paintbrush care. They combine solvents and conditioners to clean and protect bristles. These cleaners often reduce drying time and keep brushes soft. Some are water-based and safer to use indoors. Read product instructions to match the cleaner with your paint type. These products offer convenience and gentle cleaning for your brushes.

Credit: www.osons-a-stmalo.com
Step-by-step Brush Cleaning
Cleaning oil-based paint brushes properly keeps them in good shape for many uses. The process needs care and the right steps to remove paint fully. Follow these simple steps to clean your brushes well and extend their life.
Preparing Your Workspace
Choose a well-ventilated area to work safely. Use a container for the cleaning solvent. Wear gloves to protect your skin. Lay down old newspapers or cloth to catch spills. Keep paper towels or rags nearby for wiping.
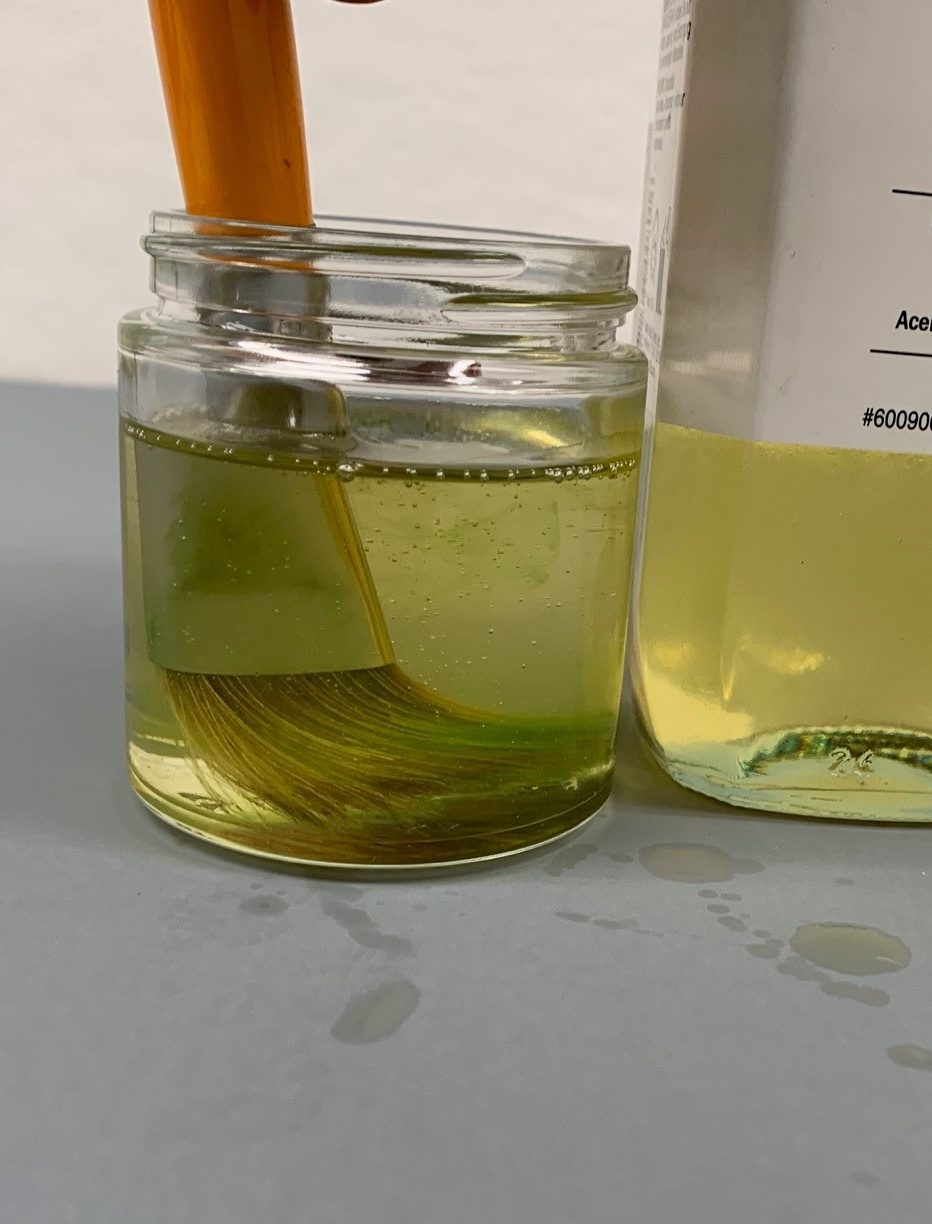
Swirling And Pressing The Brush
Pour a small amount of solvent into the container. Dip the brush into the solvent. Swirl it gently to loosen paint. Press the bristles against the container’s side. This helps push paint out from the brush fibers.
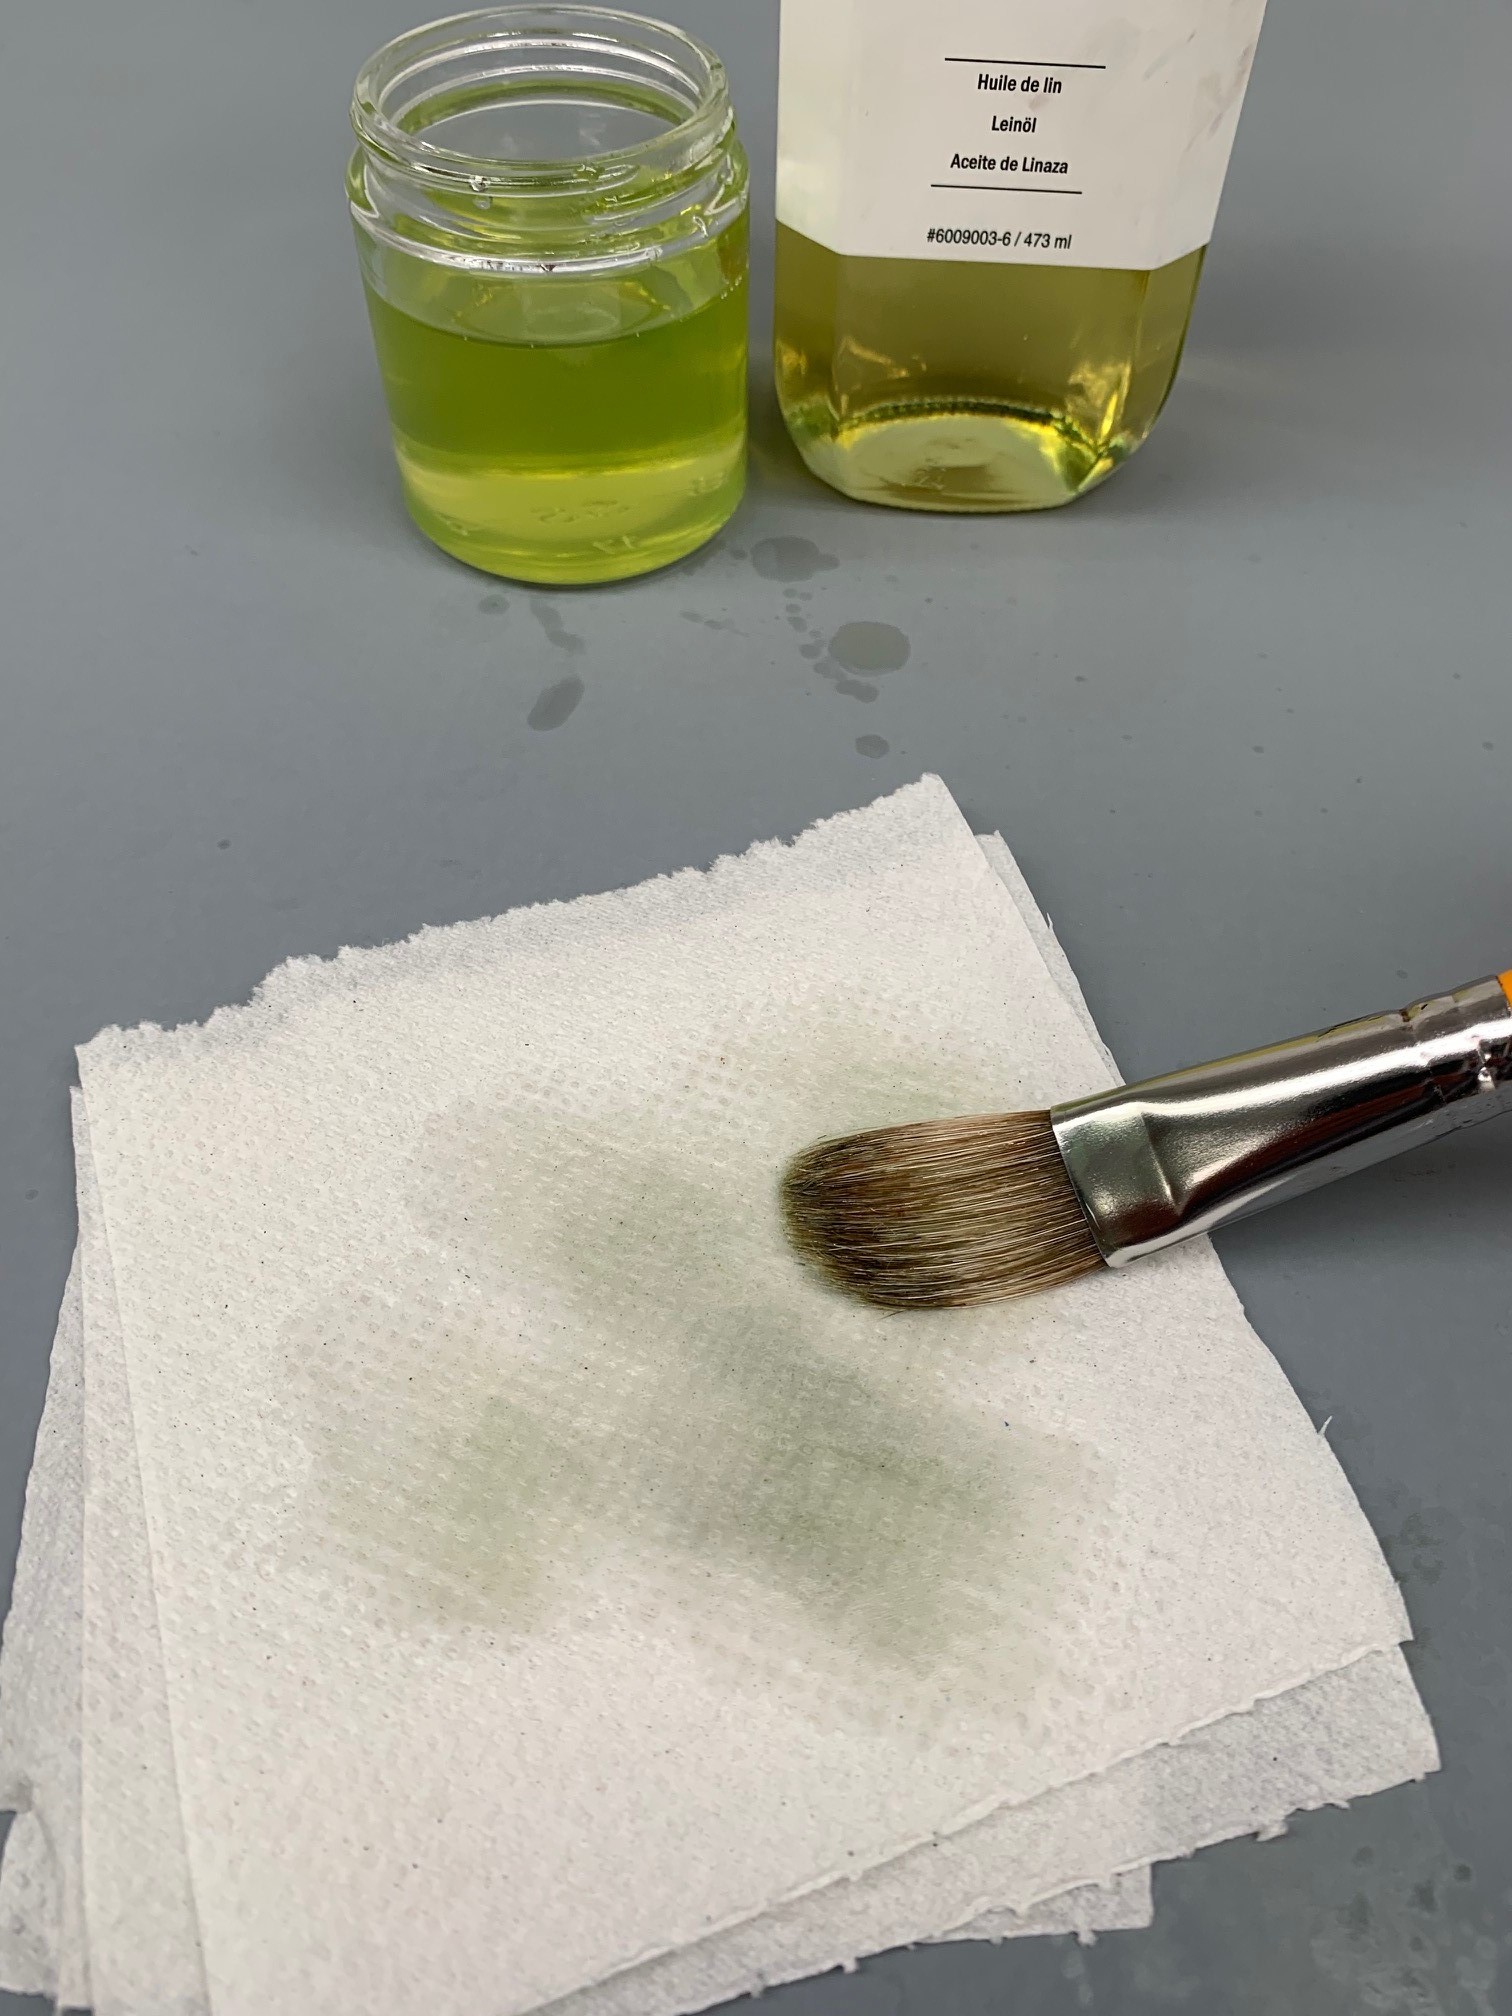
Wiping Excess Paint
Remove the brush from the solvent. Wipe it on a clean cloth or paper towel. This removes loosened paint and solvent. Be gentle to avoid damaging the brush. Repeat wiping until the brush looks cleaner.
Repeating Until Clean
Repeat the swirling, pressing, and wiping steps. Use fresh solvent if the first becomes too dirty. Check the brush tips for any paint left. Continue until the brush is free of paint. Finish by washing with warm, soapy water. Rinse and reshape the bristles. Let the brush dry flat or hanging.
Safe Disposal Of Paint And Solvents
Safe disposal of paint and solvents protects the environment and keeps your home safe. Oil-based paints and their solvents contain harmful chemicals. These chemicals can pollute water and soil if not handled correctly. Proper disposal prevents damage to plumbing and reduces health risks. Follow these steps to dispose of paint and solvents safely.
Avoiding Sink And Drain Disposal
Never pour paint or solvents down sinks or drains. Pipes can clog or corrode from paint residue. Toxic chemicals can enter waterways and harm wildlife. Use a separate container to collect used solvents. This keeps harmful substances out of the water system.
Settling And Filtering Solvent
Let paint solids settle at the bottom of the solvent container. Pour off the clear solvent on top into a clean jar for reuse. This reduces waste and saves money. Dispose of the thick paint sludge safely with other solid waste.
Disposing Of Hardened Paint And Rags
Allow leftover paint to dry completely before disposal. Dry paint becomes solid and safe to throw in the trash. Soak used rags in water or store them in a sealed metal container. This prevents spontaneous fires from oily rags.
Using Hazardous Waste Facilities
Take leftover paint and solvents to a local hazardous waste facility. These centers handle toxic materials safely. They follow rules to protect the environment and public health. Check your community for collection days or permanent drop-off locations.
Optional Final Rinse Techniques
After removing most paint with solvents, consider an optional final rinse. This step refreshes the brush and removes leftover residue. It also helps maintain the bristles and keeps the brush soft for future use.
Using Soap And Water Safely
Use warm water and mild soap for the final rinse. Gently work the soap into the bristles with your fingers. Rinse thoroughly until the water runs clear. Avoid hot water as it can damage bristles and loosen glue.
Choose a gentle soap like dish soap or brush cleaner. Harsh detergents may dry out the bristles. Pat the brush dry with a clean cloth. Reshape the bristles before storing to keep their form.
Avoiding Pipe And Water Contamination
Never rinse oil-based paint brushes directly in the sink. Oil paint and solvents harm plumbing and pollute water sources. Instead, use a container to catch rinse water and soap.
Let paint particles settle at the bottom of the container. Pour off the clear water to avoid clogging pipes. Dispose of paint sludge and rags with household hazardous waste. This protects your home and the environment from damage.
Maintaining Brushes After Cleaning
After cleaning oil-based paint brushes, proper maintenance keeps them in good shape. Clean brushes last longer and perform better. Taking time to dry and store them correctly protects the bristles and handle. This simple care prevents damage and saves money on replacements.
Drying And Reshaping Bristles
Start by shaking excess solvent from the brush. Use a clean cloth to blot the bristles gently. Avoid squeezing too hard to prevent bending the bristles. Next, reshape the bristles with your fingers to their original form. Lay the brush flat or hang it with bristles pointing down. This prevents water or solvent from seeping into the handle, which can cause swelling or loosen the glue. Let the brush dry completely before storing. Drying may take several hours depending on humidity and brush size.
Storage Tips For Longevity
Store brushes in a dry, dust-free place. Keep brushes upright with bristles facing up or hang them by the handle. Avoid crushing the bristles against surfaces or other brushes. Use brush covers or keep them in a container to protect the shape. Separate oil-based paint brushes from water-based ones to avoid mixing residues. Regularly check brushes for hardened paint and clean again if needed. Proper storage helps brushes stay soft, flexible, and ready for the next project.
Credit: justpaint.org
Eco-friendly Cleaning Alternatives
Cleaning oil-based paint brushes often involves harsh chemicals. These can harm the environment and your health. Eco-friendly cleaning alternatives offer safer, greener options. They reduce toxic waste and protect water sources. Using natural methods keeps your brushes clean without pollution.
Low-voc And Natural Solvents
Low-VOC solvents release fewer harmful fumes. They are less toxic than traditional paint thinners. Natural solvents like citrus-based cleaners work well. These break down oil paint without strong chemicals. They are biodegradable and safer for indoor use. Choose products labeled “low-VOC” or “natural” for better air quality.
Reuse And Recycling Of Cleaning Materials
Reuse solvents to reduce waste and save money. After cleaning, let paint particles settle in the container. Pour clear solvent into a new jar for next use. Dispose of leftover paint solids properly. Use old rags and brushes in creative projects or dispose of them safely. Recycling cleaning materials lowers environmental impact and conserves resources.
Frequently Asked Questions
How To Clean A Paint Brush After Oil-based Paint?
Pour odorless mineral spirits or turpentine into a container. Swirl and press the brush to remove paint. Wipe with a rag. Let paint settle, reuse solvent, and dispose of solids properly. Avoid washing brushes in sinks to protect plumbing and the environment.
Can I Wash Oil Paint Down The Sink?
Never wash oil paint down the sink. It clogs pipes, harms the environment, and contaminates water. Use solvents in a separate container. Let paint solids settle, then dispose of waste properly.
What Is Best For Cleaning Oil-based Paint?
Use odorless mineral spirits, turpentine, or citrus solvents to clean oil-based paint. Swirl the brush in solvent and wipe off paint. Avoid washing brushes with water alone, as oil paint requires solvents for effective cleaning. Dispose of used solvent properly to protect plumbing and the environment.
Can You Clean Oil Paint Brushes With Dawn?
Dawn can remove some oil paint residue but does not effectively clean oil-based paint brushes. Use mineral spirits or specialized solvents instead.
Conclusion
Cleaning oil-based paint brushes takes patience and the right tools. Use a good solvent like mineral spirits or turpentine. Swirl the brush gently to remove paint from the bristles. Avoid washing brushes in the sink to protect pipes and the environment.
After cleaning, dry your brushes well before storing them. Regular cleaning keeps brushes soft and ready for your next project. Follow these simple steps to keep your brushes in great shape every time.