
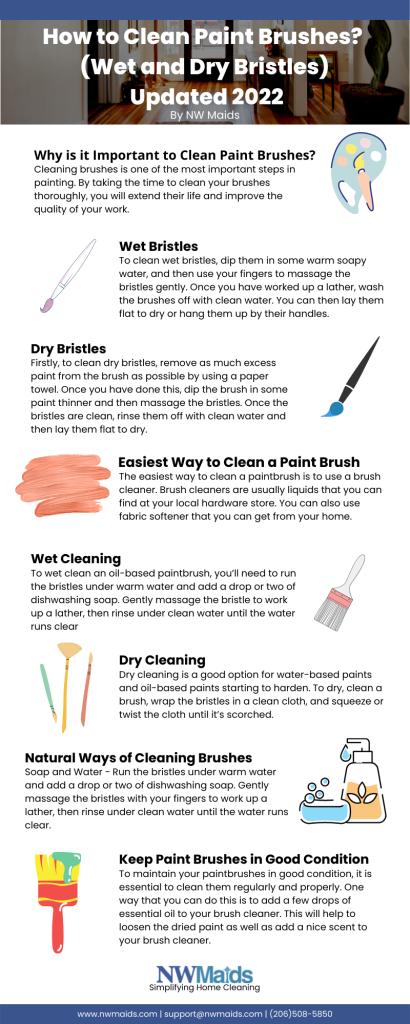
Cleaning oil paint brushes can be tricky. But with the right steps, it’s easy. This guide will teach you how to clean oil paint brushes effectively.
Why Cleaning Oil Paint Brushes is Important
Cleaning your brushes is very important. It keeps them in good shape. Clean brushes last longer and paint better. If you don’t clean them, they can get hard and unusable.

Credit: blog.daisie.com
Materials You Will Need
To clean your brushes, you will need:
- Paper towels or rags
- Container for cleaning solution
- Mineral spirits or turpentine
- Soap
- Water
- Comb or brush cleaner
Steps to Clean Oil Paint Brushes
1. Wipe Off Excess Paint
First, remove excess paint. Use a paper towel or rag. Wipe the brush gently. Do not press too hard. This helps to remove most of the paint.
2. Use Mineral Spirits Or Turpentine
Next, pour mineral spirits or turpentine into a container. Dip the brush into the container. Swirl it around gently. This helps to dissolve the remaining paint.
3. Rinse With Soap And Water
After the paint is dissolved, use soap and water. Put a small amount of soap on the brush. Rub the brush gently in your hand. Then rinse with water. Repeat until the water runs clear.
4. Use A Comb Or Brush Cleaner
Sometimes paint can get stuck in the bristles. Use a comb or brush cleaner to remove it. Gently comb through the bristles. This helps to remove any leftover paint.
5. Dry The Brushes
After cleaning, dry the brushes. Use a clean towel. Gently press the brush to remove water. Then let it air dry. Do not leave the brush standing on its bristles. This can damage the shape.
Tips for Keeping Brushes in Good Shape
Here are some tips to keep your brushes in good shape:
- Clean them right after use.
- Store them properly.
- Do not let paint dry on the brushes.
- Use the right cleaning solution.
- Handle brushes gently.
Common Mistakes to Avoid
Here are some common mistakes to avoid:
- Using hot water. Hot water can damage the bristles.
- Leaving brushes in water. This can bend the bristles.
- Using too much force. Be gentle when cleaning.
- Not cleaning thoroughly. Make sure all paint is removed.

Credit: www.amazon.com
A Step by Step Cleaning Routine for Oil Brushes
Wipe first
Squeeze and wipe as much paint as possible onto a rag or paper towel before any liquid.
Rinse in solvent or oil
Swish the brush in odourless mineral spirits, or in safflower or walnut oil for a solvent free approach, then wipe again.
Wash with soap
Work a bar of brush soap or mild dish soap into the bristles, especially at the base near the ferrule where paint hides. Rinse in lukewarm water and repeat until the lather is clean.
Reshape and dry
Reshape the head with your fingers and dry flat or with bristles pointing down.
Dispose responsibly
Let used solvent settle, reuse the clear part, and dispose of sludge at a hazardous waste point. Dry oily rags flat outdoors or store them in a sealed metal container, because they can self ignite.
Frequently Asked Questions
What Materials Do I Need To Clean Brushes?
You’ll need mild soap, water, and a brush cleaner. These ensure thorough removal of oil paint residue.
How Often Should I Clean Oil Paint Brushes?
Clean your brushes after every painting session. This prevents paint from hardening and prolongs brush life.
Can I Use Turpentine For Cleaning Brushes?
Yes, turpentine is effective. However, ensure proper ventilation. It can be harsh on your brushes and health.
What Is The Best Soap For Brush Cleaning?
Mild dish soap works great. It effectively removes oil paint without damaging the bristles.
Conclusion
Cleaning oil paint brushes is easy with the right steps. Always clean them after use. Use the right materials. Follow the steps carefully. This will keep your brushes in top condition. Happy painting!




