Are you ready to bring your words to life with stunning digital lettering but don’t know where to start? Digital lettering is a fun and creative way to express yourself, even if you’re a complete beginner.
Imagine turning simple letters into beautiful art that you can share, print, or use in your projects. In this guide, you’ll discover easy, step-by-step tips to help you master the basics of digital lettering quickly. No complicated jargon or overwhelming tools—just simple advice that puts you in control.
Keep reading, and by the end, you’ll feel confident enough to create your own eye-catching digital designs!

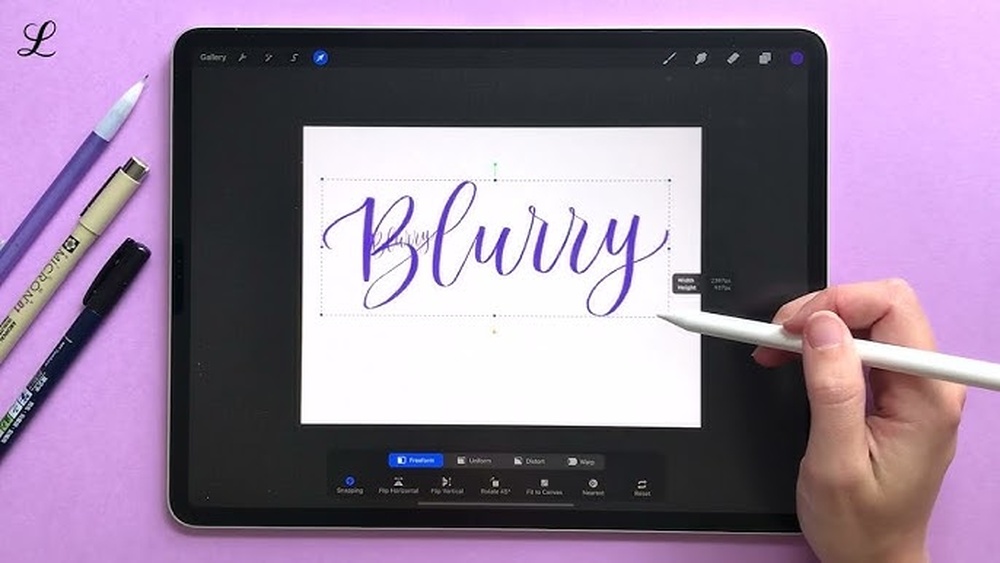
Credit: www.youtube.com
Digital Lettering Tools
Basic strokes and shapes form the foundation of digital lettering. They help create consistent and beautiful letters. Learning these strokes first improves control and style. Practice each stroke slowly and focus on pressure. Light pressure creates thin lines, heavy pressure creates thick lines. These strokes combine to make all letters and words.
Upstrokes And Downstrokes
Upstrokes are thin lines made with light pressure. Move your pen or stylus upward gently. Downstrokes are thick lines made with heavy pressure. Push down firmly while moving your pen downward. Practice smooth transitions between these strokes. This contrast gives lettering its unique look.
Overturns And Underturns
Overturns start with a thin upstroke, then curve down into a thick downstroke. Think of an arch shape. Underturns begin with a thick downstroke, curve up into a thin upstroke. They look like a bowl shape. These strokes add flow and style to letters. Practice controlling pressure while curving.
Ovals And Loops
Ovals are rounded shapes used in many letters. Draw them with a mix of thick and thin lines. Loops are oval shapes with a tail or extension. They often appear in letters like “l” and “g.” Practice drawing smooth, even ovals and loops. Keep your pen pressure steady for balance.
Compound Curves
Compound curves combine overturns and underturns. They flow smoothly with thick and thin parts. These curves create elegant letter forms. Practice by drawing S-like shapes slowly. Focus on smooth pressure changes and flowing lines. This stroke adds complexity to your lettering style.
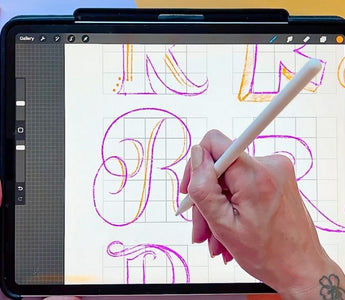
Credit: www.thepigeonletters.com
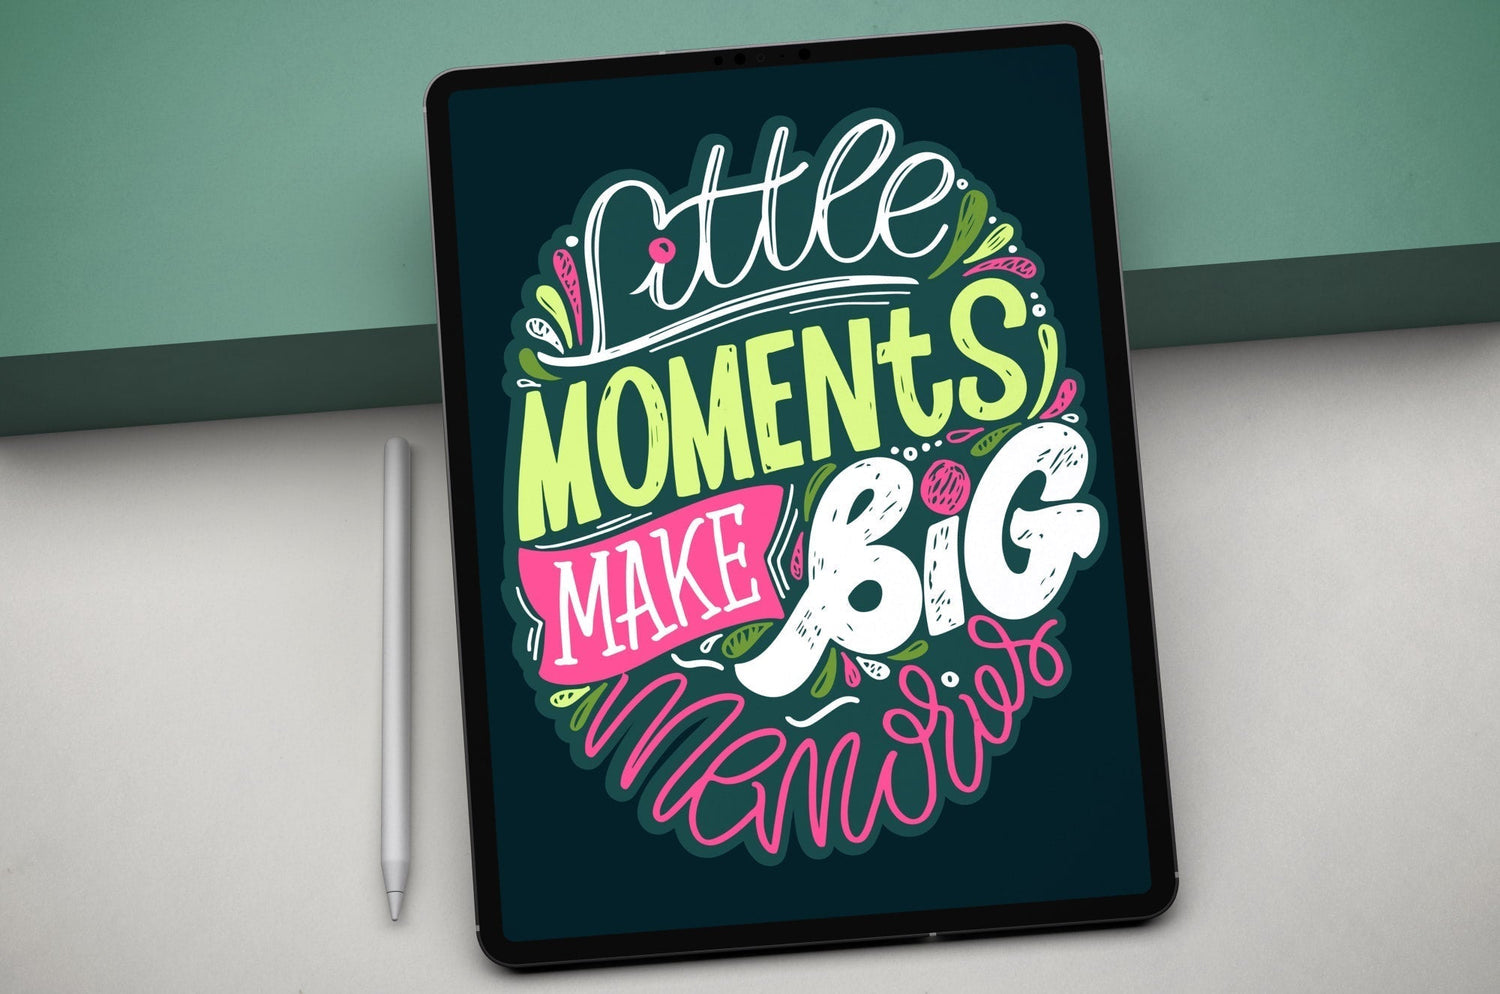
Credit: paperlike.com
Frequently Asked Questions
How To Do Lettering Step By Step For Beginners?
Start with beginner-friendly brush pens and smooth paper. Practice basic strokes: light upstrokes, heavy downstrokes, overturns, underturns. Use guidelines for consistent size and slant. Combine strokes to form letters slowly. Focus on smooth transitions and maintain steady pressure. Build muscle memory through daily, patient practice.
What Are The 7 Basic Strokes Of Calligraphy?
The 7 basic calligraphy strokes are: upstroke, downstroke, overturn, underturn, compound curve, ascending loop, and descending loop. Mastering these forms the foundation for beautiful lettering.
How To Make Hand Lettering Digital?
Scan or photograph your hand lettering. Import the image into Adobe Illustrator. Use the Pen tool or Image Trace to digitize it. Refine and color your design digitally.
How Do I Start Calligraphy For Beginners?
Start calligraphy by using beginner-friendly brush pens and smooth paper. Practice basic strokes like light upstrokes and heavy downstrokes. Use guidelines to keep letters consistent. Combine strokes slowly, focusing on smooth transitions. Build muscle memory with daily, patient practice before advancing to complex scripts.
Conclusion
Digital lettering takes practice and patience to improve skills. Begin with simple strokes and shapes, then build letters step-by-step. Use basic tools like a tablet or software to create your designs. Practice daily to gain control and confidence in your work.
Enjoy the creative process and keep experimenting with styles. Your progress will grow with time and effort. Digital lettering opens many possibilities for personal and professional projects. Keep learning and have fun creating your own digital letters.