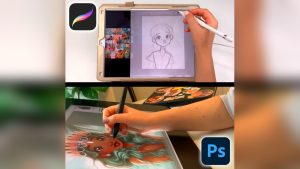
Are you ready to bring your artistic ideas to life with digital painting? Clip Studio Paint is a powerful and user-friendly tool that makes creating stunning digital artwork easier than ever.
Whether you’re a beginner or looking to sharpen your skills, this guide will walk you through the essential steps to get started and improve your digital painting techniques. By the end, you’ll feel confident using Clip Studio Paint to turn your imagination into vibrant, professional-quality art.
Let’s dive in and unlock your creative potential!
Credit: tips.clip-studio.com
Getting Started With Clip Studio Paint
Starting digital painting in Clip Studio Paint is simple and rewarding. This software offers tools for beginners and pros alike. Before creating art, you need to set up the program properly. Understanding the basics of installation, interface, and workspace customization helps you work faster.
Let’s explore the initial steps to get you ready for your digital art journey.
Installing And Setting Up
First, download Clip Studio Paint from the official website. Choose the version that fits your computer system. After downloading, open the installer and follow the instructions. You may need to create an account or sign in. Once installed, launch the program to start setting preferences.
Set your language, canvas size, and default tools. These choices affect your first drawing experience. You can always change them later, so keep it simple at first.
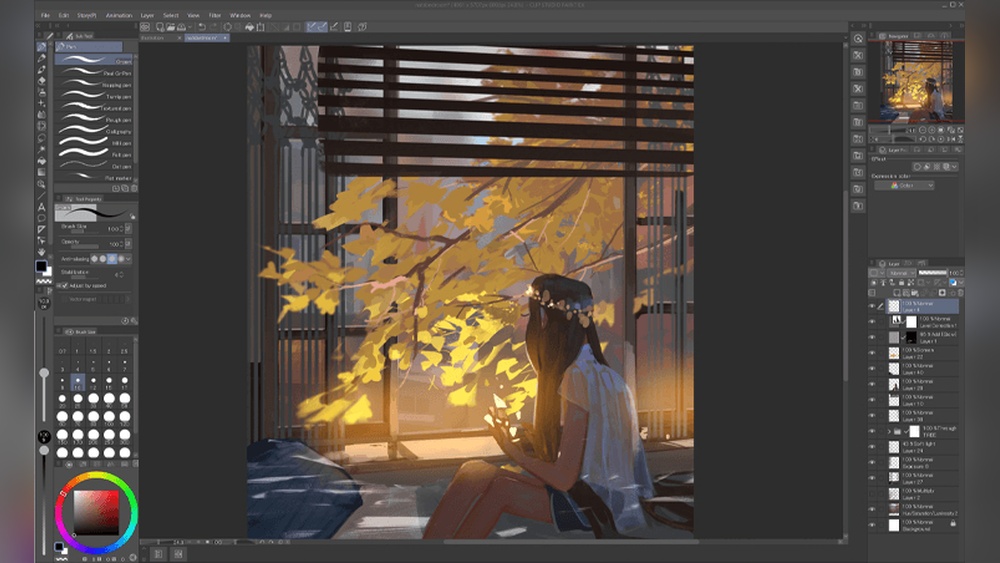
Interface Overview
The interface has many parts but is easy to learn. The main area is the canvas, where you draw. Around it, find toolbars with brushes, colors, layers, and more. Menus at the top give access to file options and settings.
Panels on the side help manage layers and materials. You can open or close panels as needed. Knowing where tools are saves time and keeps you focused on painting.
Customizing Your Workspace
Clip Studio Paint lets you adjust the workspace to fit your style. Drag panels to new places or close those you don’t use. Save your layout so you can return to it anytime. This makes your workspace neat and personal.
You can also set keyboard shortcuts for quick actions. Custom brushes and tool presets help speed up your painting. A clean workspace reduces distractions and improves your workflow.
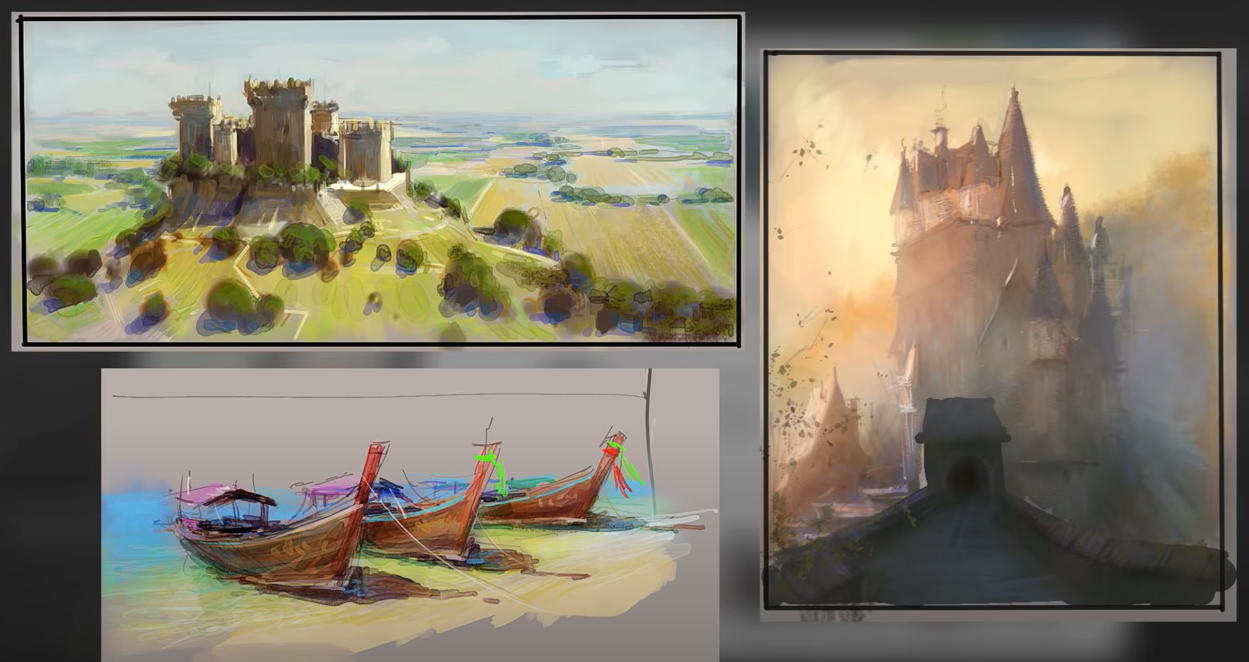
Credit: www.clipstudio.net
Essential Tools For Digital Painting
Digital painting in Clip Studio Paint requires the right set of tools. These tools help you create smooth strokes, manage your artwork efficiently, and pick colors easily. Understanding these essentials makes your painting process faster and more enjoyable.
Brushes And Pens
Brushes and pens are the heart of digital painting. Clip Studio Paint offers many brush types. Each brush mimics real art tools like pencils, watercolors, and oils. You can adjust size, opacity, and texture. Custom brushes let you create unique effects. Experiment with pressure sensitivity for natural strokes. Using the right brush changes the look and feel of your art.
Layer Management
Layers help you separate parts of your painting. You can work on the background, characters, and details independently. Clip Studio Paint allows unlimited layers. Use layers to add shadows, highlights, or textures without affecting other parts. Naming and grouping layers keep your work organized. Lock layers to avoid accidental changes. This system makes editing simple and clean.
Color Selection And Palettes
Choosing colors is vital for digital painting. Clip Studio Paint has a color wheel, sliders, and eyedropper tools. Palettes store your favorite colors for quick access. You can create custom palettes for each project. Use harmony rules to find matching colors easily. Good color choices bring your painting to life and set the mood.
Basic Techniques For Digital Painting
Digital painting in Clip Studio Paint starts with mastering a few basic techniques. These techniques build a strong foundation for your artwork. Understanding these steps helps you create clean, vibrant, and dynamic digital paintings. Each step focuses on a key part of the painting process.
Sketching Your Composition
Begin by sketching a rough outline of your idea. Use the pencil tool to draw simple shapes and lines. Keep your strokes light and loose to allow easy adjustments. This sketch acts as a guide for the whole painting. Focus on the composition and placement of elements. Avoid details at this stage. Make sure the main shapes and proportions look balanced.
Applying Base Colors
Fill in your sketch with flat base colors. Choose colors that match the mood or theme of your artwork. Use the fill tool or paintbrush to cover large areas quickly. Keep colors separate on different layers for easier editing. Base colors give your painting structure and help define each part. Do not worry about shading yet. This step sets the stage for adding depth later.
Adding Shadows And Highlights
Add shadows to create depth and form. Use a darker color with a soft brush on areas that are less exposed to light. Highlights bring out the brightest spots. Apply a lighter color where light hits the surface directly. Blend shadows and highlights smoothly for a natural look. Use layers to keep these effects adjustable. This step brings life and dimension to your painting.
Advanced Painting Methods
Advanced painting methods in Clip Studio Paint help artists create detailed and dynamic artwork. These techniques go beyond basic brushwork. They allow more control and depth in your digital paintings.
Using these methods, you can add realism and texture. You can also improve color blending and layer management. These skills are essential for creating professional-quality art.
Blending And Smudging
Blending colors smoothly creates soft transitions and natural shading. Use the blending brush or smudge tool to mix colors directly on the canvas. Adjust the brush strength for subtle or strong blending effects.
Try layering colors and gently smudging edges to avoid harsh lines. This method works well for skin, clouds, and fabric textures. Practice blending to achieve a polished, realistic look.
Texture Creation
Textures add depth and interest to your paintings. Clip Studio Paint offers various brushes designed for textures like rough surfaces, hair, and foliage. Customize brush settings to create unique effects.
Use overlay layers or texture stamps to add details without painting every stroke. Experiment with patterns and grain to make your artwork more engaging. Texture helps bring your digital painting to life.
Using Masks And Clipping Layers
Masks and clipping layers control where paint appears without altering the base layer. Masks hide parts of a layer, allowing for non-destructive editing. Clipping layers apply effects only within the boundaries of the layer below.
These tools help in adding shadows, highlights, or textures precisely. They keep your work neat and editable. Learning to use masks and clipping layers improves workflow and creative freedom.
Working With References
Using references is important for digital painting in Clip Studio Paint. References help you create accurate shapes, colors, and details. They make your artwork look realistic and well-planned.
Clip Studio Paint offers tools to work easily with reference images. You can import, place, and use them without interrupting your workflow. This section explains how to use references effectively.
Importing Images
Start by importing your reference images into Clip Studio Paint. Click on File > Import > Image. Choose the picture you want to use from your computer. The image appears on your canvas as a new layer.
You can resize and move the image to a comfortable spot. Keep it visible while you paint. Use the Transform tool to adjust the size or angle. This helps you study the image closely.
Using Reference Layers
Use reference layers to keep your artwork organized. Create a new layer and set it as a Reference Layer by right-clicking the layer and selecting Set as Reference Layer. This layer will not be painted over by mistake.
Reference layers allow you to select colors easily. Use the Eyedropper tool on the reference layer to pick colors. This saves time and keeps colors accurate. Lock the layer to avoid accidental changes.
Tracing And Adjusting
Tracing helps you learn shapes and proportions. Lower the opacity of the reference image layer. Create a new layer above it for tracing. Draw over the reference to capture its form.
After tracing, hide the reference layer to see your drawing clearly. Adjust lines and shapes as needed. Use the Transform tool to move or resize parts. This method builds confidence and improves skills.
Optimizing Workflow
Optimizing your workflow in Clip Studio Paint saves time and boosts creativity. It helps you focus on painting without unnecessary interruptions. Small adjustments can make a big difference in how smoothly your work progresses.
Keyboard Shortcuts
Keyboard shortcuts speed up your tasks in Clip Studio Paint. Assign keys to tools you use often. Switching brushes or undoing actions becomes instant. Learning a few shortcuts reduces mouse clicks and saves time. Customize shortcuts that fit your style. Practice them regularly to build muscle memory.
Custom Brush Settings
Creating custom brushes tailors your tools to your needs. Adjust size, opacity, and texture for unique effects. Save these brushes for later use. Custom brushes help you paint faster and more naturally. Experiment with settings to find what feels best. This keeps your workflow smooth and enjoyable.
Saving And Exporting Artworks
Regularly save your work to avoid data loss. Use different file formats for different purposes. Save in Clip Studio’s native format for editing. Export in JPEG or PNG for sharing online. Adjust resolution and quality settings before exporting. This ensures your artwork looks great everywhere.
Troubleshooting Common Issues
Digital painting in Clip Studio Paint can sometimes present challenges that interrupt your creative flow. Troubleshooting common issues helps you work smoothly and enjoy your art process. This section covers simple fixes for frequent problems with brushes, layers, and colors.
Fixing Brush Lag
Brush lag slows down your drawing and feels unresponsive. Reduce lag by lowering your brush size or opacity settings. Close other programs to free up your computer’s memory. Update your graphics tablet driver and Clip Studio Paint to the latest versions. Also, try turning off unnecessary brush effects or stabilizers to improve speed.
Layer Glitches
Layer glitches cause unexpected changes or missing parts in your artwork. Restart Clip Studio Paint and reload your file to reset layers. Check if the layer is locked or set to a different blend mode that hides content. Use the “Merge Layers” option carefully to avoid losing details. Organize layers in groups to keep your project tidy and reduce errors.
Color Management Problems
Colors may look different on your screen or print than expected. Adjust your color profile settings inside Clip Studio Paint for better accuracy. Use the RGB color mode for digital work and CMYK for print projects. Calibrate your monitor regularly to see true colors. Avoid using too many color adjustments that can cause banding or color shifts.
Tips For Improving Digital Painting Skills
Improving your digital painting skills takes time and focus. Simple, steady steps help build strong habits. Focus on key areas to see real progress. Practice, study, and learn regularly. These tips guide your journey in Clip Studio Paint.
Practicing Daily Exercises
Set aside time each day for small painting tasks. Try quick sketches or color studies. These exercises build muscle memory and speed. Use Clip Studio Paint’s brushes to explore textures. Keep your sessions short but consistent. Daily practice sharpens your control and creativity.
Studying Light And Shadow
Light shapes every painting. Observe how light hits objects around you. Notice shadows and highlights carefully. Practice painting simple shapes with different lighting. Use Clip Studio Paint layers to test light effects. Understanding light helps add depth and realism. This skill improves every digital painting you create.
Learning From Tutorials
Find tutorials made for Clip Studio Paint users. Follow step-by-step guides to learn new tools and techniques. Watch video tutorials to see the process clearly. Pause and try each step yourself. Tutorials save time by showing tested methods. Keep practicing what you learn to make it your own.
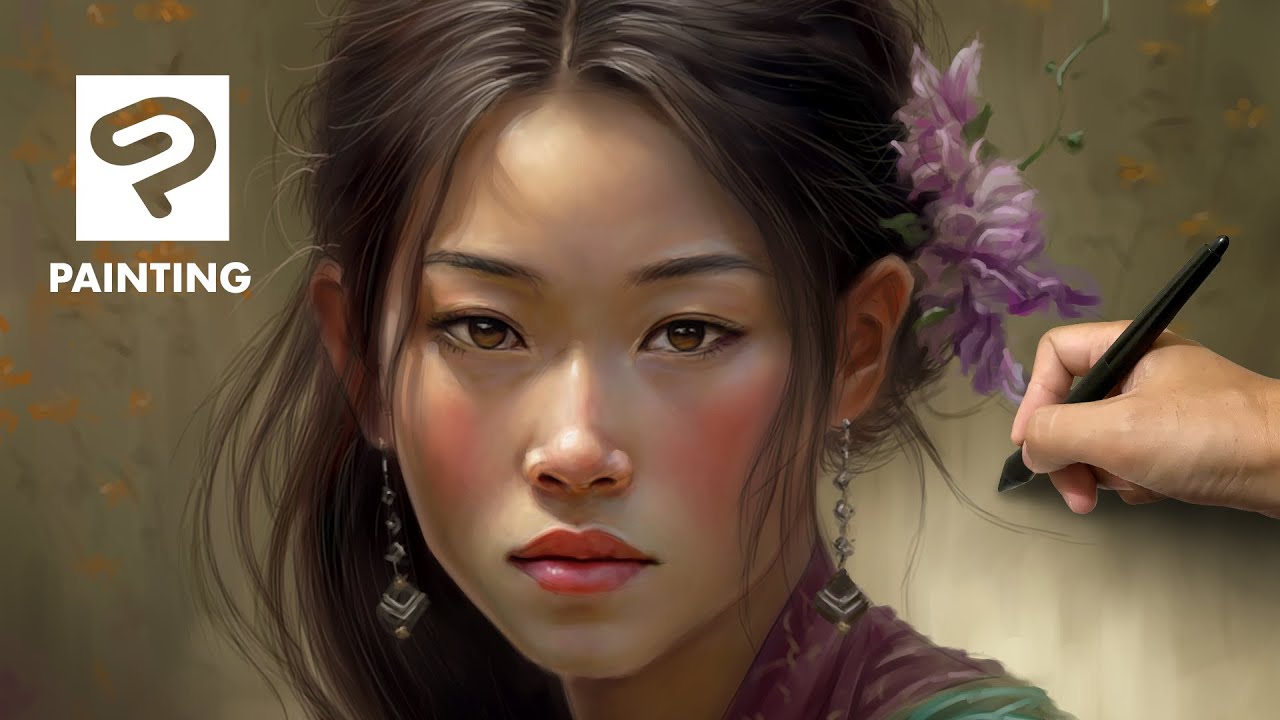
Credit: www.youtube.com
Frequently Asked Questions
Is Clip Studio Paint Good For Digital Painting?
Clip Studio Paint excels in digital painting with versatile brushes, smooth performance, and affordable pricing. It suits beginners and professionals alike.
How Do I Make My Painting Digital?
Scan your painting with a high-quality scanner to capture details. Then, use digital software like Clip Studio Paint to edit and enhance it.
What Is The 80/20 Rule In Painting?
The 80/20 rule in painting means 80% of your results come from 20% of your efforts. Focus on key elements for impact.
Is There A Pen Tool In Clip Studio Paint?
Yes, Clip Studio Paint includes a versatile pen tool with customizable settings for digital drawing and painting.
Conclusion
Digital painting in Clip Studio Paint becomes easier with practice. Start simple and explore the tools step by step. Keep experimenting with brushes, colors, and layers to find your style. Remember, patience helps improve your skills over time. Use tutorials and community tips to learn new techniques.
Most importantly, enjoy the creative process and have fun with your art. Your digital paintings will grow better with every attempt. Keep creating and sharing your work with others for feedback. This journey makes digital art rewarding and exciting.