Are you ready to bring the wild beauty of a fox to life with your own brush? Painting a fox with acrylics can be a rewarding experience, even if you’re new to painting.
You’ll discover how to capture the rich colors, soft fur, and playful spirit of this clever creature step by step. In this guide, you’ll learn simple techniques to mix the perfect shades, create realistic textures, and build your painting from basic shapes to stunning details.
Keep reading, and soon you’ll have a vibrant fox artwork that you’ll be proud to display or share. Let’s get started and turn your creativity into a masterpiece!
Credit: stepbysteppainting.net
Materials Needed
Gathering the right materials is the first step to paint a fox with acrylic paint. Using quality supplies helps create a smooth painting process. It also improves the final look of your artwork.
Prepare your workspace with all needed items before starting. This saves time and keeps you focused on painting. Below are the main materials required for this project.
Essential Acrylic Paints
Choose acrylic paints with vibrant colors. You need shades of orange, white, black, and brown for a natural fox look. A small amount of red can add warmth. Include a palette for mixing colors. This lets you create different tones easily.
Brush Types And Sizes
Use various brushes to achieve details and broad strokes. A fine detail brush works well for the fox’s eyes and fur texture. Medium flat brushes cover larger areas like the body. Round brushes help paint curved lines and shapes. Keep brushes clean to avoid muddy colors.
Additional Tools
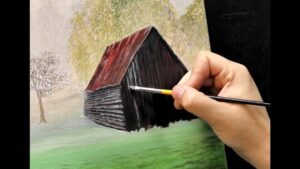
A canvas or acrylic paper provides a sturdy surface for painting. Use a palette knife to mix paint smoothly. Keep a cup of water nearby to rinse brushes. Paper towels help wipe off excess paint. An easel can hold your canvas steady while you work.

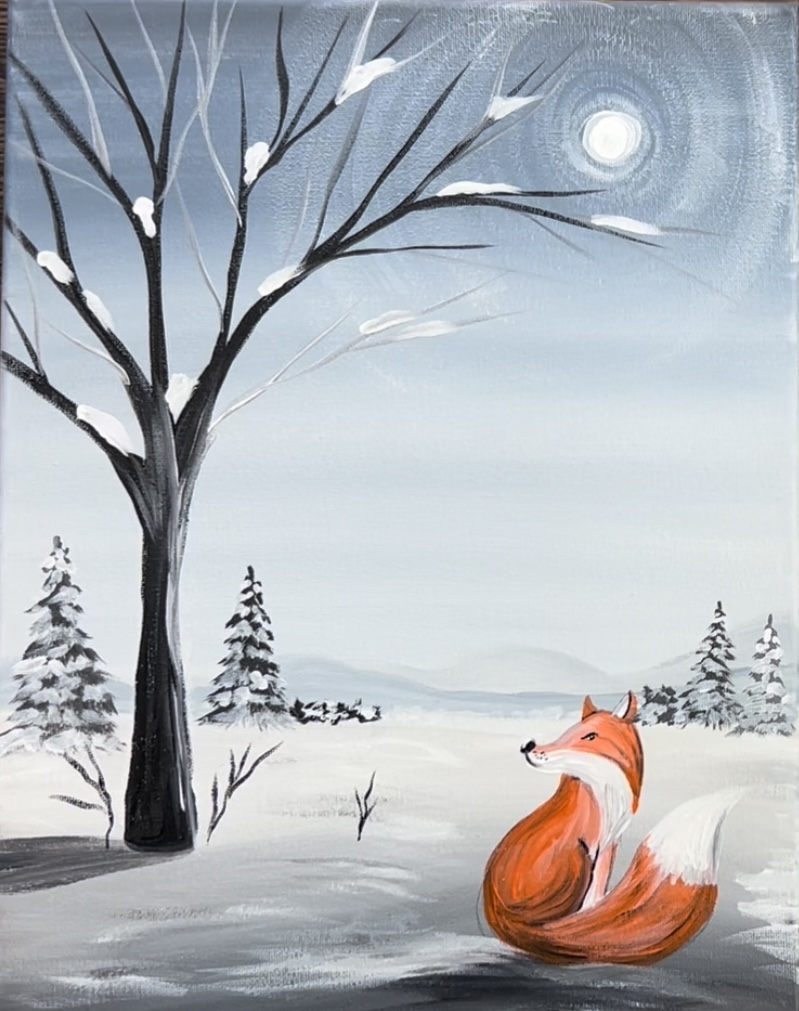
Credit: www.paintingtogogh.com

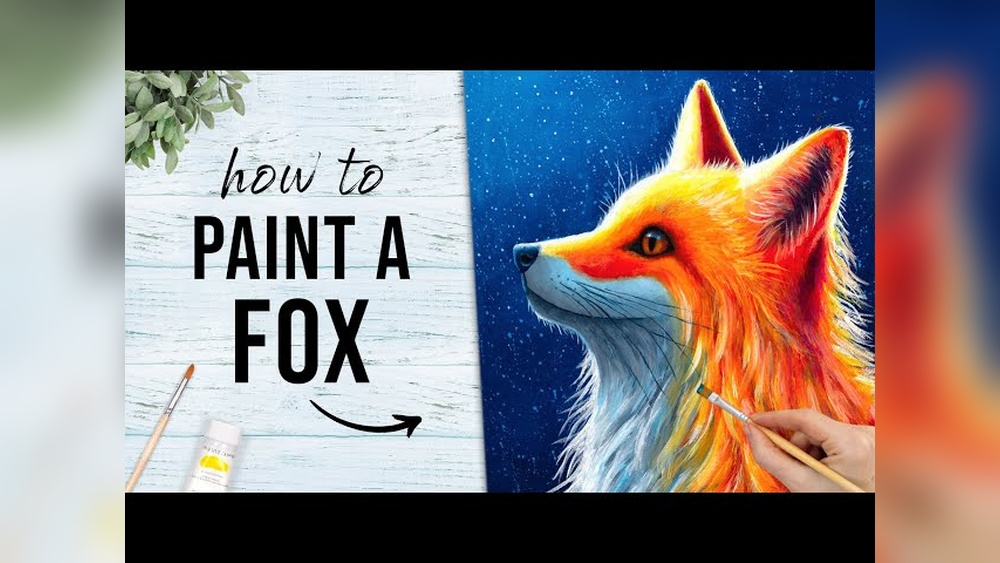
Credit: www.youtube.com
Frequently Asked Questions
What Colors Do You Paint A Fox With?
Paint a fox using burnt sienna, burnt umber, white, orange, and black for realistic fur and shading. Blend for softness.
How Do You Draw A Fox For Beginners?
Start with a large oval for the body and a smaller circle for the head. Add pointed ears and a bushy tail. Sketch simple legs and a snout. Refine shapes with smooth curves. Finish by adding eyes, nose, and fur details for a cute, beginner-friendly fox drawing.
How To Make Paint Look Like Fur With Acrylic Paint?
Use a fine brush to create short, directional strokes mimicking hair strands. Layer colors from dark to light for depth. Blend edges softly for a realistic fur texture. Add highlights last to enhance dimension and shine.
How To Draw A Fox Simply Draw?
Start with a triangle for the head and an oval for the body. Add ears, eyes, and a bushy tail. Draw simple paws using small ovals. Connect shapes with smooth lines. Color with orange, white, and black for a classic fox look.
Conclusion
Painting a fox with acrylics can bring great joy and creativity. Start with simple shapes and build your colors layer by layer. Focus on capturing the fox’s unique fur texture and bright eyes. Take your time to blend colors smoothly for a natural look.
Practice helps improve your skills and confidence. Keep your brush strokes light and controlled to add detail. Enjoy the process as much as the final painting. Your acrylic fox will become a charming artwork to display or gift. Try different techniques and have fun with each new painting!