Have you ever wanted to capture the magic of bubbles in your paintings? Painting bubbles with acrylic paint might seem tricky, but with the right techniques, you can create stunning, realistic effects that will amaze everyone.
In this guide, you’ll learn simple steps and insider tips to make your bubbles look light, shiny, and full of life. Get ready to transform your artwork and impress yourself with how easy and fun it can be! Keep reading, and you’ll discover everything you need to bring those shimmering bubbles to life on your canvas.
Materials Needed
To paint bubbles with acrylic paint, gathering the right materials is key. The quality of your supplies affects the final look. Using proper tools helps create smooth, shiny bubbles that appear real. Prepare your workspace with care to get the best results. Here is a list of materials you will need.
Choosing The Right Acrylic Paints
Select paints that are bright and have good coverage. Use colors like white, blue, pink, and green for bubble effects. Choose paints with a smooth texture to blend easily. Avoid thick or matte paints as they hide shine. Opt for acrylics that dry quickly to save time.
Brushes And Tools
Pick soft, round brushes for smooth strokes. Small detail brushes work well for highlights and reflections. Use a sponge or a small round foam for soft edges. Keep a clean water cup and paper towels nearby. A palette or mixing tray helps blend your colors.
Surface Preparation
Start with a clean, dry surface like canvas or thick paper. Lightly sand rough areas for better paint grip. Apply a thin layer of gesso to create a smooth base. Let it dry completely before you begin painting. Good preparation helps the paint stick and last longer.

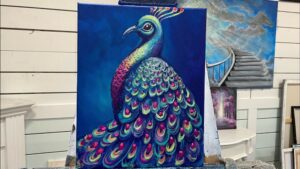
Credit: stepbysteppainting.net
Basic Bubble Shapes
Basic bubble shapes form the foundation of painting realistic bubbles with acrylics. Simple circles and clusters create the look of floating bubbles. Start with clean, round shapes to build your bubble art.
Focus on size and spacing. Vary the circle sizes for a natural effect. Overlapping circles add depth and interest. These basic shapes guide your painting process.
Sketching Circles
Begin by drawing light circles with a pencil. Use different sizes for variety. Avoid perfect circles; slight imperfections make bubbles look real. Keep lines thin and faint to erase easily later.
Place circles randomly on your canvas. Leave space between some bubbles. This spacing helps show bubbles floating freely. Practice sketching circles quickly and loosely.
Creating Bubble Clusters
Group several circles close together to form clusters. Overlap some bubbles to show depth. Clusters make your painting lively and dynamic. Try grouping small and large bubbles together.
Balance the cluster shapes. Avoid tight packing all over the canvas. Let some bubbles float alone for contrast. This mix adds natural flow to your artwork.
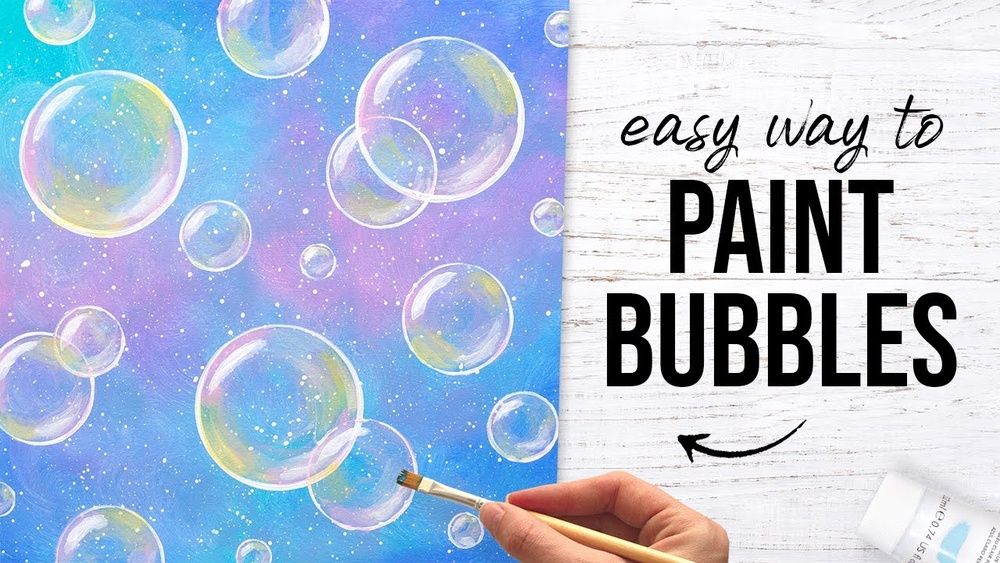
Layering Colors
Layering colors is key to painting realistic bubbles with acrylic paint. It helps create depth and shine on the bubble’s surface. Each layer adds a new element that makes the bubble look round and floating. This process takes patience but results in beautiful, lifelike bubbles.
Base Colors
Start with soft base colors to shape the bubble. Use light blues, pinks, or purples for a subtle look. Apply thin layers so the colors blend smoothly. These colors set the mood and give the bubble its basic form.
Adding Highlights
Add white or very light colors for highlights. Paint small, bright spots where light hits the bubble. These highlights make the bubble appear shiny and wet. Use a fine brush and gentle strokes for natural-looking reflections.
Shadows And Reflections
Use darker shades to paint shadows on the bubble. Shadows create a round, three-dimensional effect. Add faint reflections of the surroundings for realism. Blend shadows softly to keep the bubble smooth and delicate.
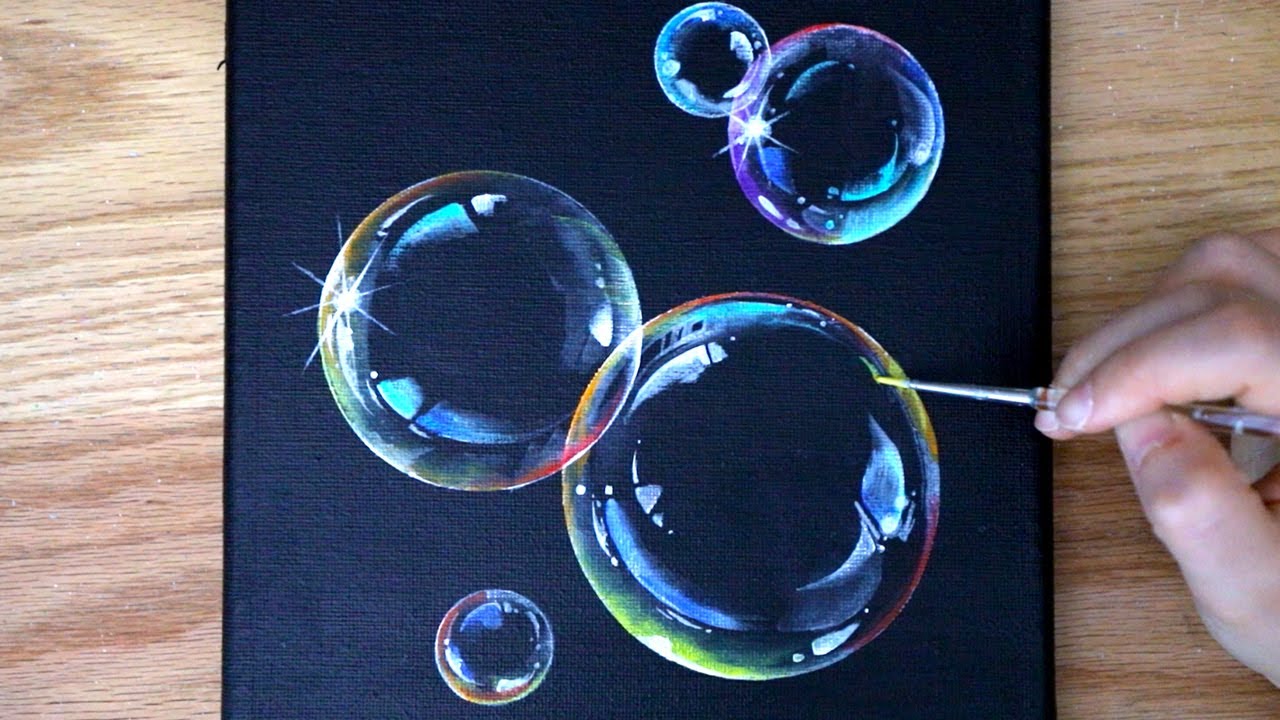
Credit: www.youtube.com
Special Effects
Creating special effects in bubble painting adds depth and realism. These effects make your bubbles look light, shiny, and transparent. Acrylic paint is perfect for this. It allows layering and blending to mimic real bubbles. Here are some simple techniques to try.
Glazing Techniques
Glazing means applying thin layers of paint over dried paint. Use a small amount of acrylic paint mixed with a glazing medium. Paint a light color over the bubble to create depth. Each layer adds softness and glow. Let each layer dry before adding the next. This builds a smooth, shiny surface that looks like glass.
Using White Paint For Shine
White paint shows where light hits the bubble. Use a small brush and paint tiny white spots or lines. These highlights make bubbles look round and shiny. Place highlights on the edges or where light would naturally hit. Use pure white or mix with a little blue for a soft glow. Keep highlights small and bright for the best effect.
Adding Transparency
Bubbles are mostly clear. To show this, use very thin paint layers. Mix paint with water or glazing medium to make it see-through. Paint the bubble lightly, leaving parts of the background visible. Use soft colors like pale blues, pinks, or greens. This adds a delicate tint and keeps the bubble looking transparent and light.
Common Mistakes To Avoid
Painting bubbles with acrylic paint can be tricky. Many beginners make common mistakes that affect the final look. Avoiding these errors helps create realistic and beautiful bubbles. Here are some key mistakes to watch out for.
Overworking The Paint
Applying too much paint or blending too long can ruin the bubble’s smoothness. Overworking the paint causes muddy colors and rough textures. Stop blending once the colors look soft and natural.
Use light, quick strokes. Let layers dry before adding details. This keeps the bubble translucent and shiny.
Ignoring Light Source
Bubbles reflect and refract light. Ignoring the light source makes bubbles look flat and fake. Always decide where the light comes from before painting.
Highlight the bubble edges facing the light. Add subtle shadows opposite the light. This gives the bubble depth and roundness.
Color Mixing Errors
Using incorrect colors can make bubbles look dull or unnatural. Avoid mixing too many colors at once. Stick to soft blues, pinks, purples, and whites.
Mix colors gently to keep transparency. Use clean water and brushes to avoid muddy mixes. Bright, clear colors make bubbles pop on your canvas.

Credit: stepbysteppainting.net
Final Touches
Final touches bring your bubble painting to life. They add realism and protect your work. Spend time refining details and finishing the surface. These steps make your acrylic bubbles pop off the canvas.
Enhancing Depth
Use a thin brush to add soft shadows around each bubble. Shadows create a sense of depth and roundness. Light gray or blue tones work well for shadows. Add tiny white highlights on bubble edges for shine. Highlights mimic light reflection and make bubbles look wet. Blend shadows and highlights gently to keep the look natural. Avoid harsh lines that can flatten the bubbles.
Sealing The Painting
Seal your artwork with a clear acrylic varnish. This protects the paint from dust and fading. Choose matte or glossy varnish depending on your style. Apply thin, even coats using a clean brush or spray. Let each coat dry before adding the next. Sealing also enhances colors and adds a professional finish. Store your painting away from direct sunlight for long-lasting beauty.
Frequently Asked Questions
How Do You Create Realistic Bubbles With Acrylic Paint?
To paint realistic bubbles, use transparent layers and soft highlights. Blend white and light colors for reflections. Add subtle shadows for depth. Use a fine brush for delicate edges. This technique mimics the bubble’s light refraction and shine.
What Colors Work Best For Painting Acrylic Bubbles?
Use soft blues, pinks, purples, and whites for bubbles. These colors capture the iridescent quality of bubbles. Mix transparent layers to create depth. Avoid solid or opaque colors, which reduce realism. Light pastel tones enhance the bubble’s delicate appearance.
Can I Paint Bubbles On Any Surface With Acrylics?
Yes, acrylic paint works well on canvas, wood, and paper. Ensure the surface is smooth and primed for best results. Acrylics dry fast and adhere strongly. This versatility allows you to paint bubbles on various art projects.
How Do I Add Highlights To Acrylic Bubbles?
Add highlights using pure white or light pastel tones. Apply them with a small, fine brush. Focus on where light naturally hits the bubble. Highlights create the illusion of shine and transparency. This step is crucial for a realistic bubble effect.
Conclusion
Painting bubbles with acrylic paint can be fun and relaxing. Use soft brush strokes and light colors to create a realistic look. Remember to add highlights and shadows for depth. Practice helps you improve your technique over time. Enjoy the process and don’t rush.
Your bubbles will look bright and lively. Keep experimenting with shapes and colors. Soon, you will feel more confident with your art. Painting bubbles is a simple way to add charm to your artwork. Try it today and see how your skills grow!