Introduction
Removing paint can be tricky. But don’t worry! This guide will help you. Follow the steps, and you will do great.

Credit: www.nipponpaint.co.in
Why Remove Paint?
Sometimes, you need to remove old paint. It could be peeling or cracking. New paint won’t stick to old, damaged paint. Removing paint helps the new paint look better.
Credit: www.wood-finishes-direct.com
Tools and Materials You Need
Before you start, gather your tools. Here is a list:
- Paint scraper
- Sandpaper
- Paint stripper
- Brushes
- Safety glasses
- Gloves
- Drop cloths
- Water
- Soap
Step-by-Step Guide to Remove Paint
Step 1: Prepare The Area
First, you need to prepare your work area. Lay down drop cloths to catch paint chips. Wear safety glasses and gloves.
Step 2: Choose The Right Method
There are different ways to remove paint. You can use a scraper, sandpaper, or a paint stripper. Choose the best method for your project.
Step 3: Scraping Paint
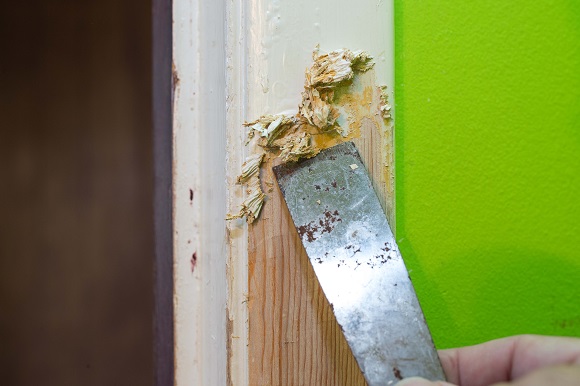
Use a paint scraper to remove loose paint. Hold the scraper at an angle. Push it under the paint to lift it off.
Step 4: Sanding Paint
Sandpaper can smooth rough spots. Rub the sandpaper on the paint. Use gentle, even strokes. This will make the surface smooth.
Step 5: Using Paint Stripper
Paint stripper is a strong chemical. Apply it with a brush. Follow the instructions on the label. Wait for the paint to bubble. Then, scrape it off.
Step 6: Clean Up
Wash the area with soap and water. Remove any leftover paint stripper. Dry the surface with a clean cloth.
Tips for Safe Paint Removal
- Always wear safety gear.
- Work in a well-ventilated area.
- Follow the instructions on the paint stripper label.
- Dispose of paint chips properly.
Test for Lead Before You Touch Old Paint
This step comes before everything else. Paint applied before the late 1970s may contain lead, and sanding, scraping dry or heating it releases lead dust and fumes that are genuinely dangerous, particularly to children and pregnant women. Inexpensive swab tests are sold in hardware shops, and laboratory testing is available if you want certainty. If the test is positive, stop and look up the rules where you live: most places require wet methods, containment and specific disposal, and some require a certified contractor. Do not dry sand it and do not put a heat gun on it.
Choosing a Removal Method for Your Surface
Chemical strippers
Strippers come in three broad families. Caustic strippers based on sodium hydroxide are cheap and effective on oil paint, but they darken wood and must be neutralised afterwards. Solvent strippers cut through almost anything including polyurethane and epoxy, work quickly, and demand serious ventilation and gloves rated for the solvent. Biochemical or soy and citrus based strippers are far gentler to work with and much slower, often needing several hours or an overnight dwell under plastic film.
Heat
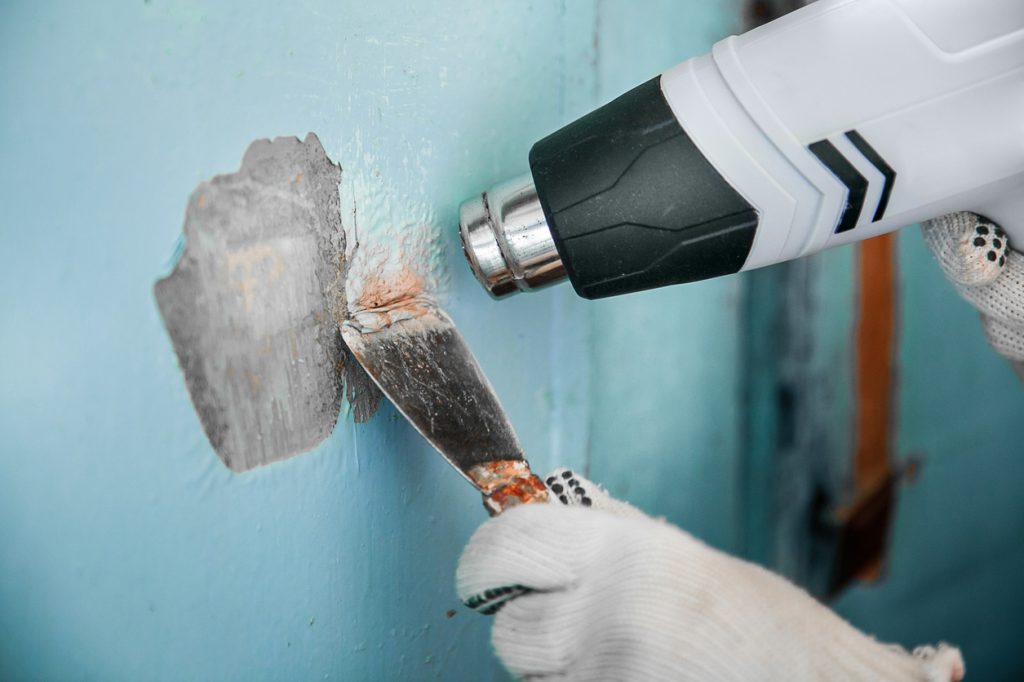
A heat gun softens paint so it lifts with a scraper, with no chemicals and no dust. It is excellent on thick layers over solid timber, and risky near glass, which cracks, and near old framing timber, which can smoulder inside a wall cavity for hours. Keep the gun moving, never let paint smoke, and keep a bucket of water nearby. Infrared strippers run cooler than hot air guns and are the safer choice for period joinery.
Sanding and scraping
Mechanical removal suits flat, sound surfaces and small jobs. Work up through the grits rather than starting coarse: 80 grit to remove, 120 to level, 180 or finer to prepare for paint. Always use a vacuum sander or wet sanding on interior work; the fine dust is the part that harms lungs. Carbide pull scrapers remove a surprising amount from flat timber with no dust and no heat.
Matching the method to the material
Softwood and detailed mouldings take chemical stripping best, because scraping tears the grain. Hardwood you intend to leave bare should see the gentlest method you can tolerate, since caustic strippers stain oak and chestnut black. Metal takes almost anything, including wire brushing and chemical dip. Masonry and render need specialist poultice strippers rather than sanding, which grinds the face off the brick.
Working Safely and Cleaning Up
Protective equipment is not optional. Chemical stripping calls for nitrile or butyl gloves, eye protection and cross ventilation, and a respirator with organic vapour cartridges for solvent products. Sanding calls for a P2 or N95 mask at minimum. Cover the floor, and cover it with something you are willing to throw away.
Stripping sludge is hazardous waste almost everywhere and should not go in a household bin or down a drain. Scrape the residue into a metal container, let it dry out if your local rules allow, and take it to a household hazardous waste point. Neutralise caustic stripper with the manufacturer recommended wash, let the timber dry for at least a couple of days, and only then prime. Painting over a surface that is still damp or still alkaline is the most common reason a carefully stripped job fails within a year.
Frequently Asked Questions
How To Remove Paint From Wood?
Use a paint stripper and a scraper. Sand the wood for a smooth finish.
Best Way To Remove Paint From Metal?
Apply a paint remover, then scrub with a wire brush. Rinse thoroughly.
Can Vinegar Remove Paint?
Yes, vinegar can help soften paint for easier removal. Apply and let it sit before scraping.
Is It Safe To Use Paint Thinner?
Yes, but ensure good ventilation and use gloves. Follow safety instructions on the label.
Conclusion
Removing paint takes time and patience. But with the right tools and steps, you can do it. Now you know how to remove paint. Good luck with your project!