
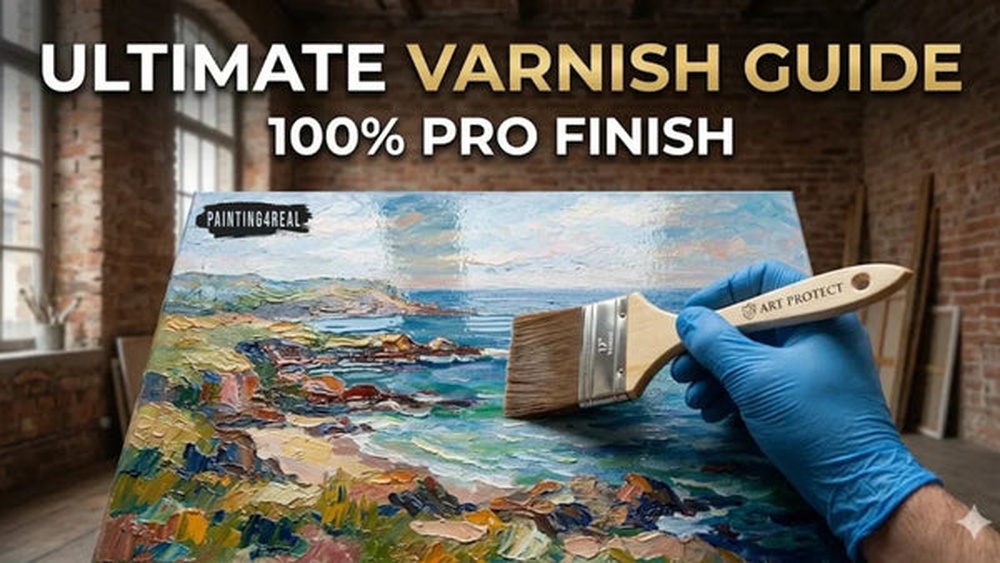
Quick answer: To varnish an acrylic painting, let it cure for at least 72 hours (longer for thick paint), clean off dust, and optionally brush on an isolation coat of thinned gloss gel medium. Then lay the painting flat and apply two or three thin coats of a removable acrylic varnish with a wide, soft brush, working in one direction and letting each coat dry before the next. Choose gloss, satin, or matte to suit the look, and work in a dust-free room with moderate humidity.
Varnish is the last decision you make about an acrylic painting, and the one that people tend to rush. Done well, it evens out patchy sheen, deepens darks, and protects the surface from dust, grime, and UV light for decades. Done badly, it leaves cloudy streaks, trapped lint, or bubbles that are hard to fix. This guide explains how to varnish an acrylic painting step by step, which varnish type to choose, why an isolation coat matters, and how to troubleshoot the problems that show up most often.
Should I Varnish My Acrylic Painting?
Not every acrylic painting needs varnish, but most finished works intended for display or sale benefit from it. Dried acrylic paint stays slightly soft and porous, especially in warm rooms. Over time, that surface can attract dust and airborne grime that gets embedded and is difficult to clean off. A removable varnish acts as a sacrificial layer: when it gets dirty or yellowed, a conservator can remove and replace it without touching the paint.
Varnish also solves a visual problem. Acrylic paints dry with uneven sheen, so glossy areas sit beside matte patches, particularly where you used different mediums or thinned paint with water. A uniform varnish coat unifies the surface so the painting reads as one piece under gallery lights.
| Varnish it | You might skip it |
|---|---|
| Paintings for sale, gallery shows, or commissions | Practice studies and sketches |
| Work that will hang unframed (no glass) | Works on paper framed behind glass |
| Paintings with uneven sheen or dull darks | Deliberately matte, chalky surfaces you want to keep |
| Pieces in bright rooms or kitchens | Mixed media with collage or pastel that varnish could disturb (test first) |
Types of Varnish for Acrylic Paintings
The two main families of fine-art varnish for acrylics differ in their solvent and how they are removed. Both are designed to be removable, which separates them from household polyurethanes.
| Type | Base and cleanup | Strengths | Watch-outs |
|---|---|---|---|
| Water-based polymer varnish | Water cleanup; removed with dilute ammonia solution | Low odor, easy to use indoors, beginner-friendly | Can turn cloudy if applied thick or in high humidity; more brush marks |
| Solvent-based acrylic resin (often called MSA) | Mineral spirits; removed with mineral spirits | Very clear, levels well, resists clouding | Strong fumes; needs ventilation and a respirator for spraying |
| Spray (aerosol) acrylic varnish | Either base in a can | No brush marks; good for textured or impasto work | Overspray, needs outdoor or ventilated space, uneven if rushed |
| Household polyurethane | Oil or water based | Very durable | Not removable and can yellow; not suitable for fine art |
Many artists also look for UV-light filters or stabilizers in a varnish, which can help slow fading of less lightfast colors. If you want help comparing specific formulas, sheen options, and removability, our guide to the best varnish for acrylic paintings lays out the options side by side.
Gloss, Satin, or Matte: Choosing a Finish
- Gloss gives the deepest, richest darks and the most saturated color, but it reflects light and can create glare.
- Satin sits in the middle with a soft sheen and is a popular all-round choice.
- Matte reduces glare and suits a flat, contemporary look, but matting agents can dull dark colors and may appear cloudy if applied too thick.
A useful trick: apply gloss varnish for your first coat or two to lock in clarity, then finish with a single thin coat of satin or matte to set the final sheen. Many varnishes can also be mixed with each other within the same product line to create custom sheens; check the maker’s instructions.
What Is an Isolation Coat, and Do You Need One?
An isolation coat is a permanent, clear layer of acrylic medium applied between the paint and the varnish. It is not technically a varnish because it cannot be removed. Its job is to separate the paint from the removable varnish so that, if the varnish ever has to be removed, the solvent or ammonia never touches the paint layer.
The isolation coat also seals absorbent areas so the varnish goes on evenly, which reduces patchy sheen and the milky haze that can happen when matte varnish sinks into porous spots. A common approach is to mix a gloss soft gel medium with water at about 2 parts gel to 1 part water, then brush it on in a single smooth layer. Let it dry for at least 24 hours before varnishing.
It is optional for casual work, but strongly recommended for paintings you plan to sell or keep long term.
How to Varnish an Acrylic Painting: Step by Step
What You Need
- Removable acrylic varnish in your chosen sheen
- Wide, soft synthetic brush (2–3 inches) reserved only for varnish, or a soft foam brush for small pieces
- Clean, wide container for pouring varnish
- Lint-free cloth or soft, clean brush for dusting
- Painter’s tape (to protect the sides if you want them unvarnished)
- Something to raise the painting off the table, such as small cups or blocks
- Gloves and good ventilation; a respirator for solvent-based varnish or sprays
Step 1: Let the Painting Cure Fully
Acrylic feels dry within minutes to hours, but the film keeps releasing water and curing underneath. As a general guide, wait at least 72 hours for thin, ordinary paint layers. Thick impasto areas, heavy gel, or paste can take one to two weeks or longer. Varnishing too early traps moisture and can cause clouding.
Step 2: Clean the Surface
Brush away dust and pet hair with a soft, dry brush or wipe gently with a lint-free cloth. Check in raking light, holding a lamp low to the side, which reveals specks you would otherwise miss.
Step 3: Prepare a Dust-Free Workspace
Choose a room with little foot traffic. Avoid sanding, sweeping, or running fans right before you start, since it stirs up dust. Aim for room temperature of roughly 65–75°F and moderate humidity; very humid conditions can cause water-based varnish to dry cloudy.
Step 4: Apply the Isolation Coat (Optional)
Brush on the thinned gel medium in one even layer, watch for bubbles, and let it dry for 24 hours or more.
Step 5: Lay the Painting Flat
Set the painting horizontally on supports so the edges are raised. Working flat prevents drips and sags and lets the varnish level itself.
Step 6: Pour, Don’t Dip
Pour a small amount of varnish into a clean container. Do not shake the can, as shaking creates bubbles; stir gently instead. Pouring keeps dust from your brush out of the main supply.
Step 7: Apply the First Thin Coat
Load the brush moderately, then work in long, parallel strokes from one edge to the other, slightly overlapping each pass. Work quickly and avoid going back over areas that have started to set, which causes drag marks. Thin coats are always better than one heavy coat.
Step 8: Check and Let Dry
Look across the surface at a low angle to spot missed patches or bubbles, and fix them immediately while the varnish is still wet. Remove any stray hairs with the tip of a clean brush or tweezers. Let the coat dry according to the label; for many water-based varnishes this is around 3–6 hours, while some solvent-based products need longer.
Step 9: Apply the Second Coat at a Right Angle
Brush the next coat perpendicular to the first, horizontal if the first was vertical. This cross-hatching evens out brush marks and coverage. Add a third coat if you want more protection or a deeper finish.
Step 10: Cure Before Handling or Wrapping
Let the painting sit flat and undisturbed for at least 24 hours, and ideally longer before wrapping it for shipping. Fresh varnish can stick to plastic or bubble wrap.
How to Apply Spray Acrylic Varnish
Spray varnish is useful for heavily textured or impasto paintings, where a brush would leave pools in crevices. It also avoids brush marks.
- Work outdoors on a calm, dry day or in a well-ventilated space, wearing a respirator rated for organic vapors.
- Stand the painting upright or at a slight angle against a protected backdrop.
- Shake the can as directed, usually for a minute or two.
- Hold the can about 8–12 inches from the surface.
- Start spraying off the edge of the canvas and sweep across in a steady line, releasing past the other edge. Overlap each pass by about half.
- Apply several light coats rather than one wet one, rotating the painting 90 degrees between coats.
Varnishing Acrylic Gouache and Other Special Cases
Acrylic gouache dries matte and opaque, and many artists love that velvety finish. A gloss varnish will change its character significantly. If you want protection without losing the look, test a matte varnish on a scrap first, ideally a spray, since brushing can sometimes lift or streak thin, matte layers. Paintings on paper are often better protected behind glass instead.
For acrylic paintings on wood panels, the same process applies. Seal the back and sides of raw wood separately to help reduce warping, and do not use the painting varnish as a wood sealer for bare surfaces. Craft items like painted wooden signs are a different case from fine art and may call for a more durable, non-removable clear coat.
Troubleshooting Varnish Problems
| Problem | Likely cause | Prevention or fix |
|---|---|---|
| Cloudy or milky patches | Thick coats, high humidity, matte varnish over darks, uncured paint | Apply thinner coats, work in moderate humidity, use an isolation coat; cloudy removable varnish can be removed and reapplied |
| Bubbles | Shaking the can, overworking, brush too dry | Stir, don’t shake; use fewer strokes; pop bubbles with a light brush pass while wet |
| Brush marks | Varnish too thick, brush too stiff, overbrushing | Use a soft wide brush, thin coats, cross-direction second coat, or switch to spray |
| Dust or lint trapped | Dusty room or unclean brush | Clean workspace, dedicated varnish brush, cover with a box tent while drying |
| Uneven sheen | Missed spots or porous areas | Use an isolation coat, check at a low angle, add another thin coat |
| Tacky surface days later | Coats too thick or cool, damp conditions | Allow more time in a warm, dry room before adding layers |
Common Varnishing Mistakes
- Varnishing too soon. Patience prevents most clouding.
- Using a paintbrush that has seen paint. Residual pigment can streak into the varnish.
- Working vertically with brush-on varnish, which leads to runs.
- Applying matte varnish thickly over dark colors, which can look foggy.
- Using household polyurethane or resin on a painting meant to last; it cannot be removed safely.
- Skipping a test. Try the varnish on a scrap painting or the edge of a test canvas first.
FAQs
How long should acrylic paint dry before varnishing?
Wait at least 72 hours for thin layers, and one to two weeks or longer for thick impasto or heavy gel. Varnishing before the paint has cured can trap moisture and cause cloudiness.
Should I varnish my acrylic painting?
Varnishing is recommended for finished paintings you plan to display, sell, or keep long term. It protects against dust and UV light, evens out sheen, and can be removed later for cleaning.
What varnish to use on acrylic paintings?
Use a removable fine-art acrylic varnish, either water-based polymer or solvent-based acrylic resin, ideally with UV protection. Avoid household polyurethane, which is not removable and may yellow over time.
How do you apply acrylic varnish without streaks?
Work flat, use a wide, soft brush, apply thin coats in long parallel strokes, avoid going back over drying areas, and brush the second coat at a right angle to the first. Spray varnish is another option for streak-free results.
Can you use matte varnish on acrylic paintings?
Yes, but apply it thinly, because thick matte varnish can look cloudy over dark colors. Many artists use gloss for the first coats and finish with one thin matte or satin coat.
How many coats of varnish should an acrylic painting have?
Two to three thin coats is typical. Thin layers dry clearer and more evenly than one thick coat.
Final Thoughts
Varnishing an acrylic painting comes down to patience and thin layers: let the paint cure, isolate it if the work matters, work flat in a clean room, and build up two or three even coats. Test on scrap first and you avoid nearly every common problem. When you are ready to choose a finish, our comparison of top acrylic varnishes for a flawless, protective finish will help you match sheen, base, and UV protection to your painting.




