Painting is a fun and creative way to give your home a fresh look. But before you start, you need to prepare. Good preparation makes your painting project easier and more successful. Here are some important tips to help you get ready.
Clean the Surface
The first step is to clean the surface you plan to paint. Dirt and dust can make the paint stick poorly. Use a damp cloth to wipe down walls. For tough stains, use a mild soap and water. Let the surface dry completely before you start painting.
Repair Any Damage
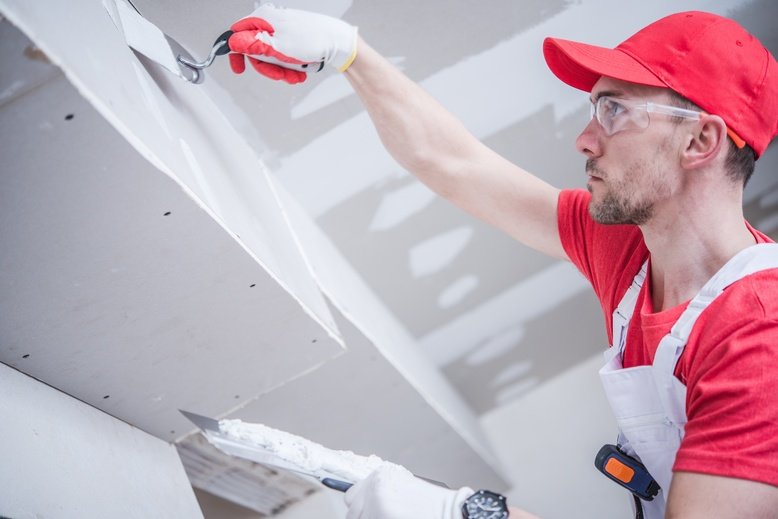
Check the surface for any holes or cracks. Use spackle to fill in small holes. For larger holes, you might need a patch. Sand the area smooth after it dries. This will help your paint look smooth and even.
Remove or Cover Fixtures
Remove light switch covers and outlet plates. Take down curtains and wall decorations. If you can’t remove something, cover it with painter’s tape. This will protect them from paint splatters.
Use Painter’s Tape
Use painter’s tape to cover edges and trim. This helps you paint clean, straight lines. Press the tape down firmly to prevent paint from seeping underneath. Remove the tape while the paint is still wet for best results.

Credit: www.nortonabrasives.com
Lay Down Drop Cloths
Place drop cloths on the floor and over furniture. This will catch any paint drips and keep your room clean. Use canvas drop cloths for better protection. Plastic sheets can be slippery and might not stay in place.
Prime the Surface
Primer helps paint stick better and last longer. It also covers up old stains and dark colors. Apply a coat of primer and let it dry completely. Then, you are ready to start painting.
Choose the Right Paint
Different surfaces need different types of paint. Make sure you choose the right one for your project. Ask for advice at your local paint store if you are unsure.
Gather Your Tools
Having the right tools makes painting easier. Here are some tools you might need:
- Paintbrushes
- Rollers
- Paint tray
- Stir sticks
- Painter’s tape
- Drop cloths
- Sandpaper
- Spackle and putty knife
- Primer
Mix Your Paint
Before you start painting, mix your paint well. Use a stir stick to blend the paint evenly. If you have more than one can of the same color, mix them together. This ensures a consistent color throughout your project.
Test Your Paint Color
Paint a small section of the wall and let it dry. This helps you see how the color looks in the room. If you don’t like it, you can choose another color before painting the whole wall.
Plan Your Painting
Think about the order you will paint in. Start with the ceiling, then the walls, and finish with the trim. This helps you avoid drips and keeps your work neat.
Use Proper Painting Techniques
Use long, even strokes when painting. Don’t overload your brush or roller with paint. Apply thin coats and let them dry before adding more. This helps you get a smooth, even finish.
Clean Up Properly
Clean your brushes and rollers with water or paint thinner, depending on the type of paint you used. Remove painter’s tape carefully to avoid peeling the paint. Store leftover paint properly for future touch-ups.
Enjoy Your New Look
Stand back and admire your work! A fresh coat of paint can make a big difference in your home. Enjoy the new look and feel proud of your hard work.
Credit: www.majorpaintingco.com
Frequently Asked Questions
How To Prepare Walls For Painting?
Clean walls, fill cracks, and sand surfaces. Ensure they’re dry before applying primer for best results.
What Tools Do I Need?
Use sandpaper, putty knife, painter’s tape, drop cloths, brushes, and rollers for effective preparation.
Should I Sand Before Painting?
Yes, sanding smooths the surface, ensuring better paint adhesion and a professional finish.
How To Choose The Right Primer?
Select a primer based on the wall type and paint color. Consult a paint expert if unsure.
Conclusion
Proper preparation is key to a successful painting project. Follow these tips to ensure a smooth and professional finish. Happy painting!