Feathering with a paint brush is a skill that can transform an average paint job into a professional-looking finish. Many people struggle with brush marks, uneven edges, or visible lines when they paint. Feathering is a simple but powerful technique that helps blend paint smoothly, especially when working with large surfaces, corners, or different paint sections. Whether you are painting walls, furniture, or trim, learning how to feather paint with a brush will give your work a soft, seamless look.
If you have never tried feathering before, you might think it is only for experts. The good news is that anyone can learn it with the right guidance and a bit of practice. This article will break down the process step by step, explain what tools you need, and show you how to avoid common mistakes.
You will also find extra tips that most beginners miss, and answers to frequent questions. By the end, you will have the confidence and knowledge to get a perfect, streak-free finish every time.
What Is Feathering In Painting?
Feathering means softening the edges of wet paint so there is no hard line where one area ends and another begins. Instead of seeing obvious brush strokes or color differences, the paint gently fades out. This is especially important when you:
- Paint large surfaces in sections (like walls)
- Blend different shades or touch up areas
- Want to avoid “lap marks” (visible lines where wet and dry paint overlap)
Feathering is not just for walls. It works on woodwork, doors, cabinets, and even art projects. The main idea is to keep the paint edges soft and smooth.
Tools And Materials You Need
Before you start, gather the right tools. Quality makes a difference in feathering. Cheap brushes shed bristles and leave marks.
| Tool/Material | Why It’s Important | Recommended Example |
|---|---|---|
| Paint Brush (2″-3″ angled or flat) | Gives control for soft edges | Purdy XL Glide, Wooster Silver Tip |
| Quality Paint | Levels out smoothly, fewer brush marks | Benjamin Moore, Sherwin-Williams |
| Paint Tray/Bucket | Easy loading and offloading excess paint | Any sturdy tray or container |
| Clean Cloth/Rag | Wipe off extra paint | Lint-free cotton cloth |
| Painters Tape (optional) | Sharp lines, easy blending at edges | 3M Blue Tape |
Pro tip: A high-quality brush is worth the investment. It holds paint better and lets you control the feathering motion more easily.
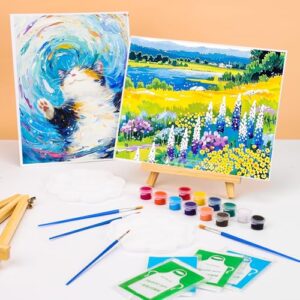
Credit: urartstudio.com
Preparing For Feathering
Like any paint job, preparation is half the work. If you skip these steps, even the best feathering technique will not look good.
- Clean the Surface: Dust, grease, or old paint flakes can ruin your finish. Wipe down with a damp cloth and let dry.
- Sand Rough Areas: Smooth out bumps or old brush marks. Use fine sandpaper (220 grit) for best results.
- Apply Painter’s Tape: If you need a sharp line (like where two colors meet), tape the edges carefully.
- Mix and Stir Paint: Evenly mixed paint prevents color shifts and helps blending.
- Load Your Brush Properly: Dip only 1/3 of the brush into paint, then tap off extra paint on the tray’s edge. Never overload the brush.
Non-obvious insight: Many beginners forget to “offload” paint by gently touching the brush against the tray before painting. This simple step prevents drips and lets you control the feathering motion.
Step-by-step Feathering Technique
Now you are ready to feather paint like a pro. Follow these steps for the best results.
1. Apply Paint In Short, Even Strokes
Start in the middle of your area and brush outwards. Use short strokes (6-12 inches) to spread the paint evenly. Do not worry about making the edge perfect yet.
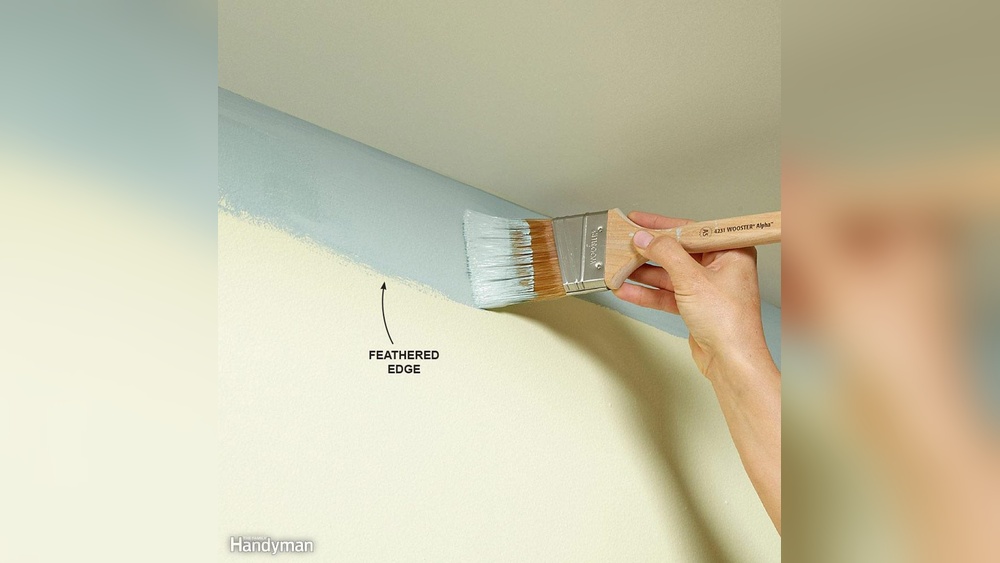
2. Soften The Edges
While the paint is still wet, use the “dry” part of your brush (the part with less paint) to gently brush the edge of the painted section. Use a light, sweeping motion—like flicking crumbs off a table.
- Hold the brush at a slight angle.
- Use just the tips of the bristles.
- Feather away from the wet edge into the unpainted area.
This motion blends the paint edge, making it thinner and less noticeable.
3. Work In Small Sections
Never try to paint a whole wall at once. Paint one section, feather the edge, then move to the next. Always keep a “wet edge” so the paint blends smoothly.
Expert tip: Overlap each new section slightly with the feathered edge of the last one. This prevents visible lines (“lap marks”).
4. Repeat As Needed
Continue painting and feathering section by section. If you see any thick lines or marks, go back with a clean, dry brush and gently feather the area again.
5. Final Check
Step back and look at your work from different angles. If any spots look uneven, lightly feather again before the paint dries.
Common Mistakes And How To Avoid Them
Even experienced painters can make mistakes when feathering. Here’s how to fix or prevent them.
- Using Too Much Paint: Overloaded brushes leave thick edges. Always offload excess paint before feathering.
- Letting Paint Dry: If the edge dries before you feather, you will see lines. Work quickly and in small sections.
- Wrong Brush Type: Hard, cheap brushes make marks. Always use a soft, quality brush for feathering.
- Wrong Direction: Feather away from the wet edge, not toward it.
- Painting in Poor Light: Shadows can hide brush marks. Good lighting helps you spot problems before they dry.
Non-obvious insight: If you see “flashing”—uneven sheen or shine after drying—it often means you did not feather enough or used different paint thicknesses. Feathering helps avoid this problem.
When And Where To Use Feathering
Feathering is useful in many painting situations. Here are some common examples:
- Cutting in corners: When painting corners or edges, feather the cut-in area so it blends with the roller section.
- Touch-ups: For small repairs, feather around the patch to blend with old paint.
- Color transitions: When changing colors on a wall, feather the transition for a soft gradient.
- Large surfaces: Any time you paint a big area in sections, feathering prevents lines.
Feathering Vs. Other Blending Techniques
Many people confuse feathering with other paint blending methods. Here is a comparison to make it clear:
| Technique | Main Use | Tools Needed | Skill Level |
|---|---|---|---|
| Feathering | Softening edges, blending sections | Brush | Beginner to advanced |
| Rolling | Large, flat areas | Roller | Beginner |
| Wet-on-Wet Blending | Art projects, gradients | Brush, sponge, rag | Intermediate |
| Dry Brushing | Textured effects, highlights | Dry brush, minimal paint | Advanced |
Feathering is the easiest and most versatile for home painting, but knowing when to use other techniques can help you get different effects.
Tips For Perfect Feathering
- Keep a Wet Edge: Always feather while the paint is still wet.
- Use Long, Light Strokes: Let the bristles do the work—no need to press hard.
- Practice on Scrap Wood: Try feathering on a test board before your real project.
- Clean Your Brush Often: Dried paint on the brush can make lines and marks.
- Use the Right Paint: Some paints level out better than others. Ask at your paint store for brands that are good for brushing and blending.
- Work With the Light: Angle yourself so you can see the surface clearly as you feather.
- Feather in Both Directions: For large areas, feather edges in both horizontal and vertical motions for a softer look.
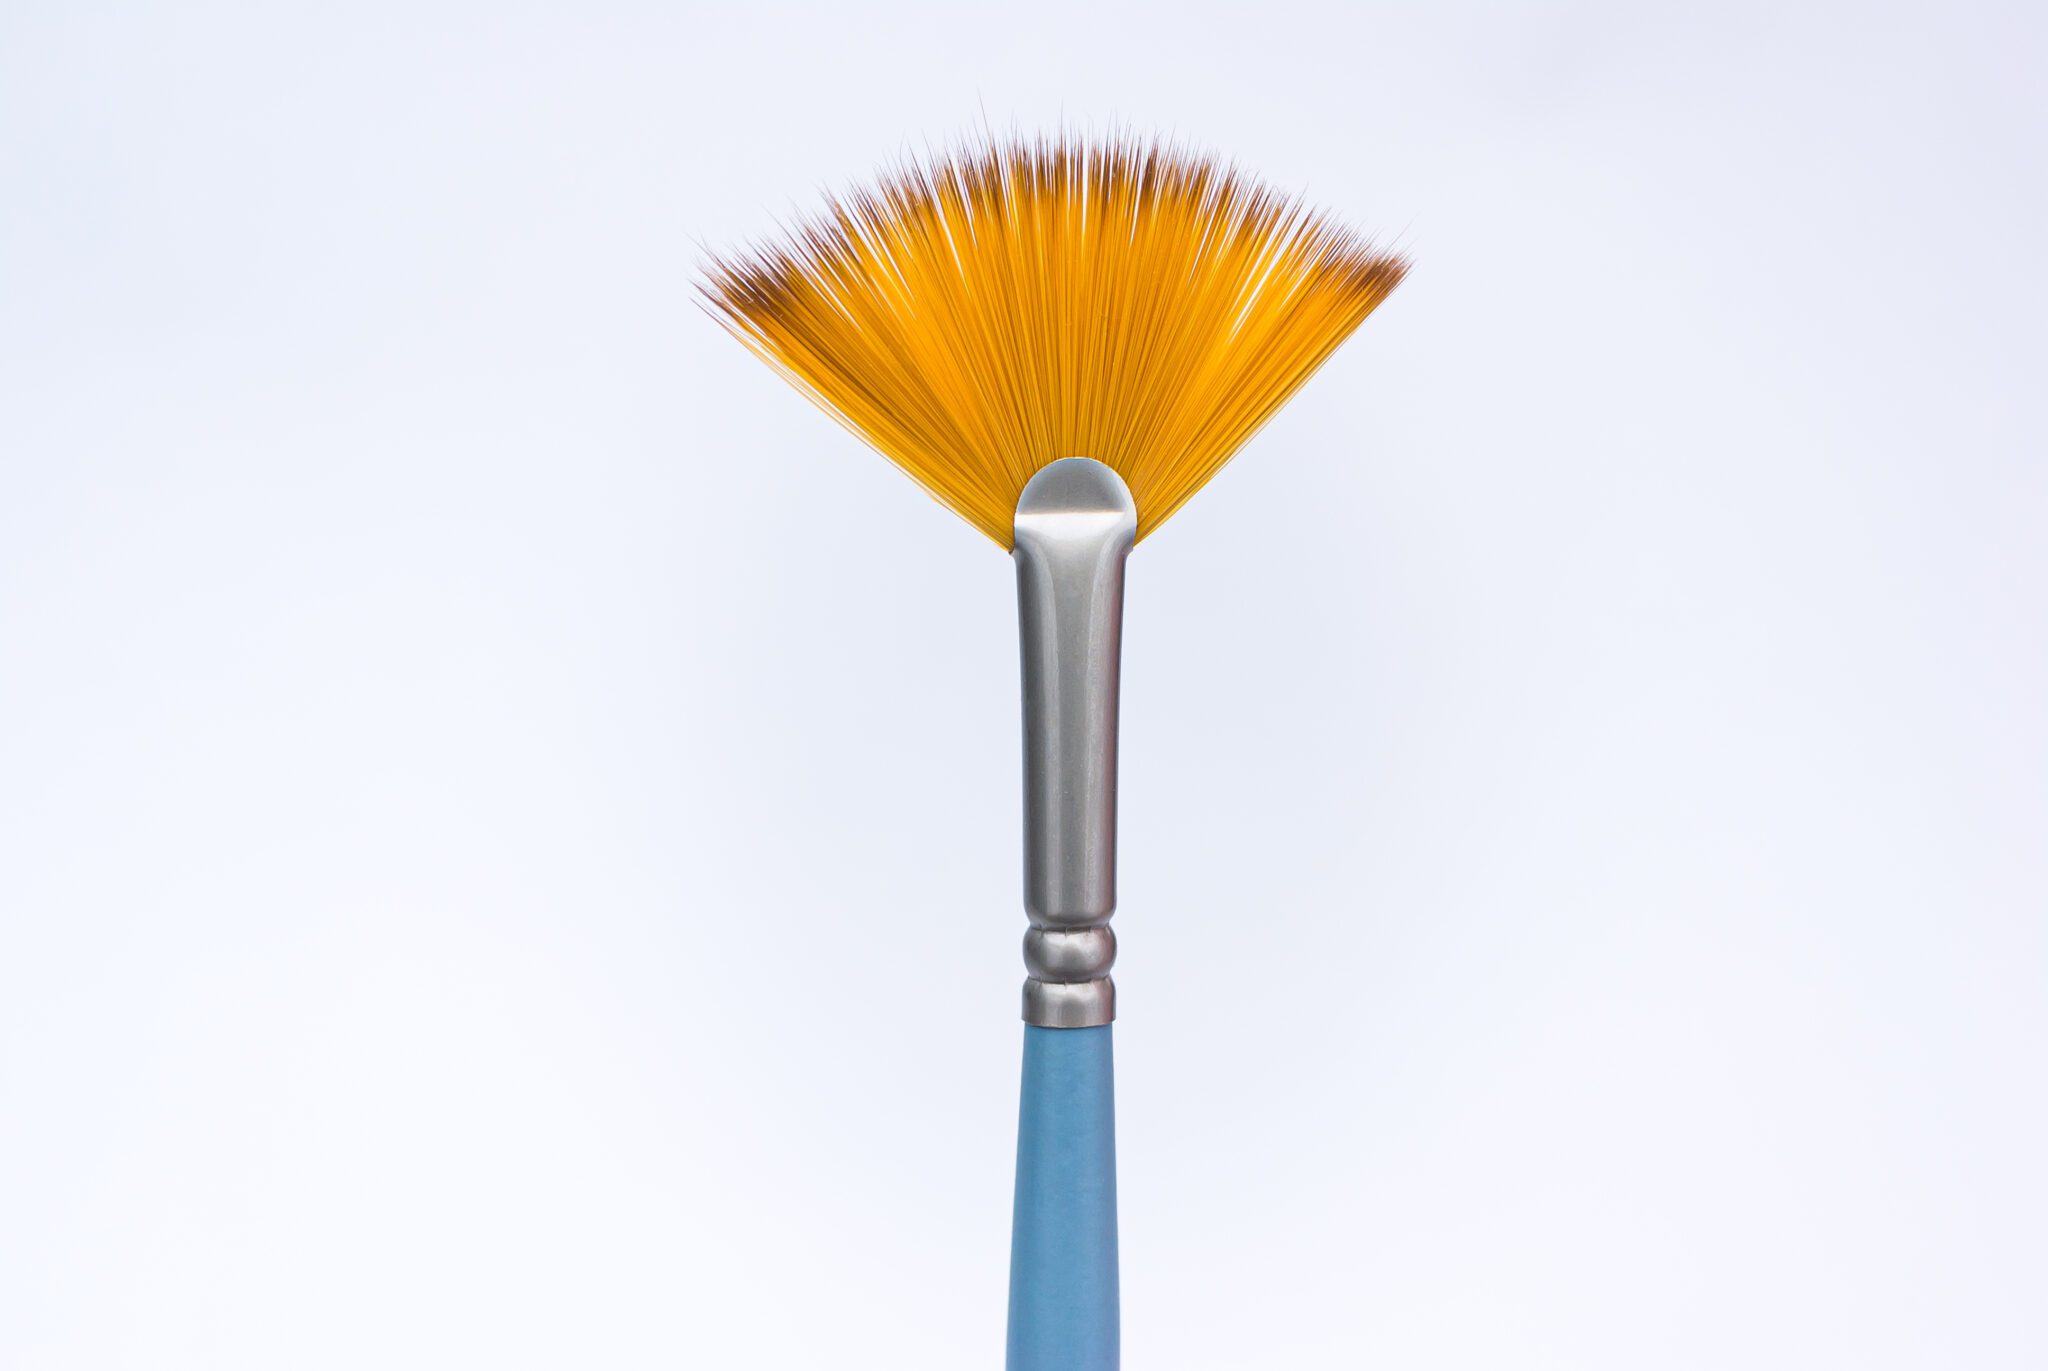
Credit: www.featherfolio.com
Real-world Example: Feathering On A Door Frame
Suppose you want to repaint a door frame that meets a wall painted a different color. Here’s how to feather for a seamless look:
- Tape off the wall edge with painter’s tape.
- Paint the door frame using a 2” angled brush.
- As you get close to the tape, use the dry part of the brush to feather the paint right up to the edge.
- Before the paint dries, gently pull off the tape at a 45-degree angle.
- If the edge looks too sharp, use a clean, dry brush to lightly feather the edge while it’s still wet.
This method helps blend the new paint with the old, so the transition looks natural.
Feathering For Different Paint Types
Not all paints behave the same. Here is how feathering works with different products:
| Paint Type | Feathering Difficulty | Dry Time | Best Practices |
|---|---|---|---|
| Latex (Water-Based) | Easy | 30-60 min touch dry | Work in small sections, keep wet edge |
| Oil-Based | Moderate | 6-8 hours touch dry | More time to feather, use quality brush |
| Enamel | Challenging | Varies | Thin coats, feather quickly |
Extra tip: If you use fast-drying paint, work quickly and keep your brush clean. For slow-drying oil paint, you have more time to perfect the feathering.

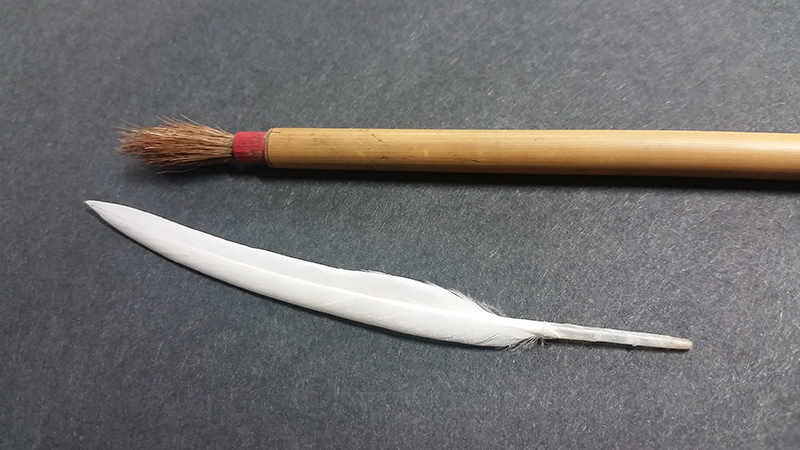
Credit: www.youtube.com
How Feathering Improves Paint Durability
Feathering is not just about looks. It also helps the paint last longer. Hard edges and thick lines can peel or chip over time. Feathered edges are thinner and bond better to the surface, reducing the risk of peeling. This means your paint job stays beautiful for years.
Cleaning Up After Feathering
Good results start and end with clean tools. After feathering:
- Wash your brush with warm, soapy water (for water-based paint) or paint thinner (for oil-based).
- Reshape the bristles and let the brush dry flat.
- Store brushes in a dust-free place.
Well-maintained brushes make feathering easier every time.
Frequently Asked Questions
How Do I Prevent Brush Marks When Feathering?
Use a high-quality, soft-bristled brush and do not overload it with paint. Always feather edges while the paint is wet, using light, quick strokes. Good lighting helps you spot marks before they dry.
Can I Feather Paint With A Roller Instead Of A Brush?
A roller is better for large, flat surfaces, but it is hard to control edges. For corners, trim, or blending two colors, a brush gives more control. Some advanced rollers have “feathering edges,” but they do not work as precisely as a brush.
Why Do I Still See Lines After Feathering?
Lines or “lap marks” can happen if you let the paint dry too much between sections, or use too much paint on your brush. Always keep a wet edge and overlap each new section slightly with the previous one.
Is Feathering Possible With All Paint Types?
Most paints can be feathered, but some dry too fast to blend well. Latex and oil-based paints are best for feathering. Specialty paints like chalk paint or high-gloss enamel may require more practice or special brushes.
Where Can I Learn More About Professional Paint Techniques?
You can find more detailed guides and expert advice at Family Handyman, a trusted resource for DIY painters.
With these tips and techniques, feathering with a paint brush becomes easy and effective. Whether you are touching up a wall or giving furniture a new look, this skill will help you achieve a flawless, professional finish every time.