Glazing with a soft brush is a painting technique that brings depth, color richness, and luminous effects to your artwork. Whether you work with oils, acrylics, or watercolors, mastering glazing can elevate your skills and open creative possibilities. Many artists are drawn to glazing because it allows for subtle changes, gentle transitions, and professional finishes that are hard to achieve with direct painting alone.
But what exactly is glazing, and why does a soft brush matter? Glazing is the process of applying thin, transparent layers of paint over a dried layer. Each glaze subtly tints the underlying colors, creating complex optical effects. Using a soft brush helps distribute the glaze evenly and prevents visible brush marks, resulting in smoother transitions and a more polished look.
In this article, you’ll discover everything you need to know about glazing with a soft brush. From tools and materials to preparation, technique, troubleshooting, and advanced tips, you’ll get a complete guide—even if you’re new to the world of glazing.
Understanding Glazing: The Basics
Glazing is not just about adding a transparent color. It’s about controlling light on the painting’s surface. When you apply a glaze, light travels through the transparent layer, bounces off the opaque layer below, and returns to the viewer’s eye. This makes colors look deeper and more vibrant.
While glazing is often linked to oil painting, it can also be used with acrylics, watercolors, and even some mixed media. The effect is always about building color and depth without covering what is beneath.
A common mistake beginners make is confusing glazing with simply thinning paint. A true glaze must be transparent or semi-transparent and must not be too watery, as this can cause streaks or runny areas.
Why Use A Soft Brush For Glazing?
A soft brush is essential for successful glazing. Hard or stiff brushes can leave marks, disturb the paint underneath, and make the glaze patchy. Soft brushes:
- Spread thin paint films smoothly
- Minimize brush marks
- Help blend edges naturally
- Give a uniform sheen
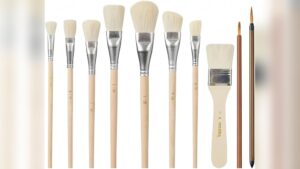
Synthetic or natural hair brushes can both work, but the brush should feel gentle on the hand and flexible at the tip. Popular choices include mop brushes, filberts, and soft rounds.
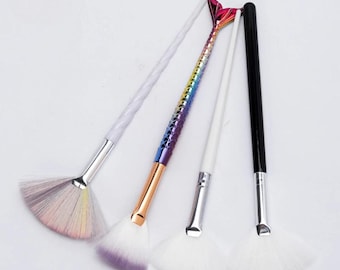
Credit: www.etsy.com
Choosing The Right Materials For Glazing
The right tools and materials make glazing much easier and more effective. Here’s what you need:
Paints
- High-quality, transparent pigments are best. Check the label for transparency ratings.
- Avoid using opaque paints as glazes; they cover instead of tint.
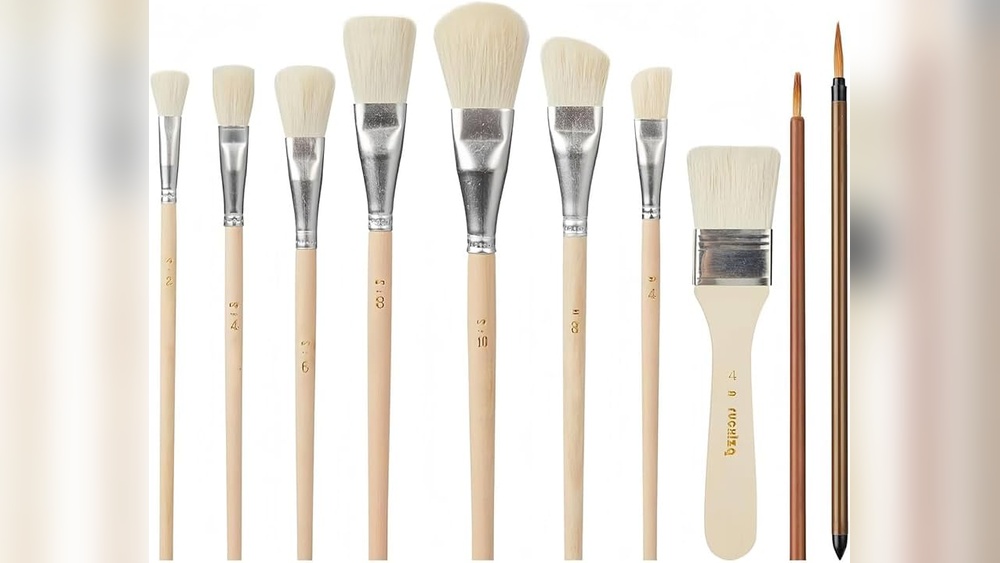
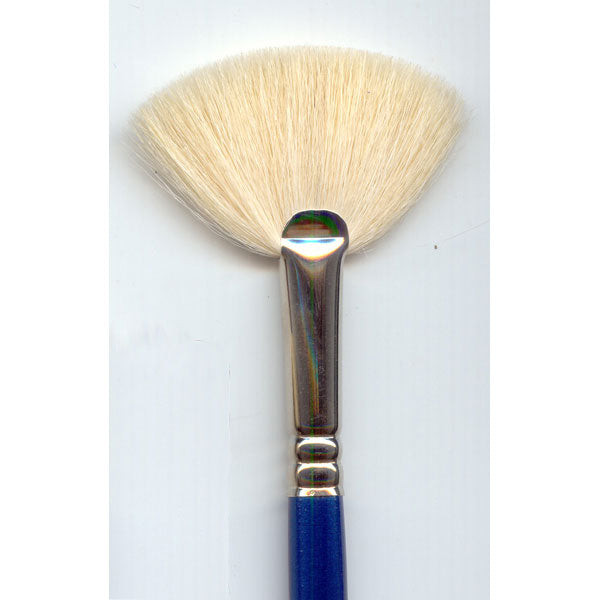
Brushes
- Soft synthetic or natural hair brushes (sable, goat, or squirrel for watercolor)
- Mop, filbert, or oval shapes for wide, gentle strokes
Mediums
- For oils: Glazing medium (often a mix of oil and solvent or alkyd)
- For acrylics: Acrylic glazing medium
- For watercolors: Just water, but use minimal
Surface
- A well-prepared, dry painting layer. Glazes work best over smooth surfaces.
Palette And Mixing Tools
- Glass or ceramic palette for easy mixing
- Palette knife for blending glazes
Cleaning Supplies
- Lint-free rags
- Clean water or brush cleaner
Comparison: Brush Types For Glazing
| Brush Type | Best For | Common Problems |
|---|---|---|
| Soft Mop Brush | Large, even areas | Can hold too much medium if overloaded |
| Soft Filbert | Blending and curves | Edges may get fuzzy if overused |
| Stiff Flat | Blocking in shapes (not glazing) | Leaves streaks, not ideal for glazing |
Preparing For Glazing
Good preparation is key to a successful glaze. Never rush this step, as it impacts the quality and stability of your final work.
Ensure The Underpainting Is Dry
- For oil: Wait until the previous layer is completely dry to the touch.
- For acrylic: Usually safe after a few hours, but overnight is better.
- For watercolor: The area must be bone dry.
Clean The Surface
- Remove dust or debris with a soft cloth.
- Make sure there’s no grease or fingerprints.
Test The Glaze
- Mix a small amount of glaze and test it on a scrap surface.
- Check for transparency, flow, and color intensity.
Protect Unwanted Areas
- Use masking tape or frisket to protect areas you don’t want glazed.
How To Mix A Glaze
Mixing the right glaze is an art in itself. Here’s how to do it:
- Choose a transparent pigment (e.g., Alizarin Crimson, Phthalo Blue, Quinacridone Gold).
- Add glazing medium to thin the paint and increase transparency. For oils, mix 1 part paint to 3-4 parts medium. For acrylics, follow the manufacturer’s instructions for ratios.
- Mix thoroughly with a palette knife until smooth and even.
- Test the mixture by spreading a thin layer on a white paper. You should see the color but also see through it.
- Adjust as needed by adding more medium (for more transparency) or more paint (for more color).
Common Glazing Mediums And Their Effects
| Medium Type | Paint Type | Main Effect |
|---|---|---|
| Alkyd-based | Oil | Speeds drying, high gloss |
| Traditional oil/resin | Oil | Rich gloss, slow drying |
| Acrylic glazing medium | Acrylic | Quick drying, flexible, low odor |
| Water (minimal) | Watercolor | Soft effect, easy blending |
Step-by-step Glazing Technique With A Soft Brush
Now you’re ready to glaze. Here’s how to do it confidently and effectively:
- Prepare your work area: Lay out brushes, palette, and glazing medium. Make sure you have good lighting.
- Load the soft brush: Dip your brush lightly into the glaze mixture. Tap off excess. The brush should not drip.
- Apply the glaze: Start at one edge and gently drag the brush across the surface in long, even strokes.
- Feather the edges: Use the clean, dry tip of your brush to soften edges. This prevents harsh lines and blends the glaze.
- Work quickly: Most glazing mediums dry fast. Don’t overwork the same area, or you’ll lift the layer below.
- Let it dry: Wait until the glaze is fully dry before applying another layer. This may take a few hours (acrylic) or overnight (oil).
- Repeat if needed: Multiple thin glazes build color gradually. Don’t try to achieve the final effect in one layer.
Practical Example
Imagine you want to deepen the shadows on a portrait. Mix a transparent blue-brown glaze. Apply it softly in shadow areas. The skin tone below will show through, but the area will look cooler and deeper without becoming muddy.
Advanced Glazing Tips
Even experienced artists can improve their glazing technique with a few advanced insights:
- Work from light to dark: It’s safer to darken areas gradually than to lighten them later.
- Test on scraps: Always check your glaze color and transparency before applying to the main piece.
- Use a “charge and blend” method: Load the brush, apply to canvas, then immediately blend with a clean, dry brush.
- Glaze in layers: Allow each glaze to dry before adding the next. Rushing leads to cloudy or muddy colors.
- Watch out for “beading”: If glaze forms droplets instead of spreading, the surface may be too oily or slick. Wipe lightly with a clean rag before glazing.
- Keep brushes clean: Wash your brush between colors to avoid accidental mixing.
Mistakes To Avoid When Glazing
Glazing seems simple, but there are some pitfalls to avoid:
- Using too much medium: This can cause the glaze to bead up or look streaky.
- Applying glaze to a wet surface: This lifts the paint below and creates muddy effects.
- Skipping drying time: Impatience can ruin the depth and clarity of your glazes.
- Overloading the brush: Too much glaze on the brush creates drips and uneven layers.
- Not checking transparency: If the glaze is too opaque, it will cover rather than enhance.
When And Where To Use Glazing
Glazing is not for every part of every painting. Use it to:
- Deepen shadows without losing detail
- Warm up or cool down color temperature
- Unify colors across an area
- Add subtle tints to whites or highlights
- Create atmospheric effects like mist, light, or water reflections
For example, landscape artists often glaze blue over distant hills to create a sense of atmospheric perspective.
Comparing Glazing With Other Techniques
It helps to see how glazing differs from other ways of applying paint.
| Technique | Transparency | Best Used For | Brush Type |
|---|---|---|---|
| Glazing | High | Depth, luminosity, color shifts | Soft brush |
| Scumbling | Semi-transparent | Softening, misty effects | Bristle brush |
| Direct painting | Opaque | Solid color, texture | Any brush |
Credit: kruegerpottery.com
Non-obvious Insights For Better Glazing
Many beginners miss these key points:
- Glaze color changes with light: Because glazes are transparent, their final look depends on the light source and viewing angle. Always check your painting in daylight.
- Layer order matters: If you glaze blue over yellow, you get green. But if you glaze yellow over blue, the effect is different. Plan your layer order for the result you want.
- Temperature shifts: Cool color glazes can push areas back in space, while warm glazes bring them forward.
Caring For Your Glazed Painting
After glazing, protect your work:
- Allow the final glaze to dry completely.
- For oil paintings, consider a final varnish after several months to unify the sheen and protect the surface.
- For acrylics, a clear acrylic varnish adds durability.
- Store paintings in a dust-free, dry place.
Frequently Asked Questions
What Is The Difference Between Glazing And Scumbling?
Glazing uses transparent paint layers to build depth and color. Scumbling uses semi-opaque paint, often lighter than the layer below, to create soft, misty effects. Glazing is applied with a soft brush, scumbling with a dry, stiffer brush.
Can You Glaze With Any Type Of Paint?
You can glaze with oils, acrylics, and watercolors. The key is to use a transparent pigment and the right medium. Some paints are too opaque or matte for good glazing.
How Many Glaze Layers Can I Apply?
There is no fixed limit, but 3-5 thin layers are common. Too many layers can cause cloudiness, especially if each layer is not dry.
Why Does My Glaze Look Streaky?
Streaks can be caused by too little medium, a stiff brush, or not blending edges. Use a soft brush, apply even pressure, and feather the edges for smooth results.
What Is A Good Source For More Glazing Techniques?
For more in-depth techniques and artist examples, check the Tate Museum’s guide to glazing.
Mastering glazing with a soft brush takes patience and practice, but the results are worth the effort. With the right materials, careful technique, and a willingness to experiment, you’ll soon create paintings with glowing color and depth that stand out.
Credit: www.amazon.com