Hanging art on your wall brings a personal touch to any room. But what if you have a canvas without a frame? Many people think you must spend extra on framing, but that’s not true. You can hang a canvas without a frame and still make it look professional and stylish.
Whether you just bought a new canvas painting, created your own artwork, or want to refresh your home decor, understanding the best ways to hang a frameless canvas will give you the confidence to display your art.
This article guides you step by step through several reliable methods. You’ll discover what tools you need, how to avoid common mistakes, and which approach works best for your wall type. Plus, you’ll get tips on keeping your canvas straight and secure over time.
Whether you’re a beginner or have some DIY experience, you’ll find clear instructions and practical advice here.
Why Hang A Canvas Without A Frame?
Choosing to hang a canvas without a frame is more than just a budget decision. Frameless canvases, also called gallery-wrapped canvases, have a modern look. The image often continues around the edges, giving a clean, three-dimensional style. This method puts the focus on the art itself, not on a decorative border.
Another benefit is flexibility. Without a frame, the canvas is lighter and easier to handle. You can move it, adjust it, or even swap it with other pieces without much effort. For renters or those who like to update their decor often, this is a big advantage.
Finally, skipping a frame saves money and time. Custom frames can be expensive and take weeks to order. Hanging the canvas as-is lets you enjoy your art right away.
Choosing The Right Method For Your Wall
Not all walls are the same. The best way to hang your canvas depends on the wall material, the size of your canvas, and whether you want to avoid making holes. Here’s a quick comparison to help you decide:
| Wall Type | Best Hanging Method | Common Issues |
|---|---|---|
| Drywall | Hooks, nails, or adhesive strips | Holes, paint damage |
| Brick/Concrete | Brick clips, masonry nails, adhesive hooks | Hard to drill, may need special tools |
| Tile/Glass | Adhesive hooks or strips | Adhesion issues, surface cracks |
Non-obvious tip: Always check the weight of your canvas before choosing a method. Most adhesive strips only support up to 16 pounds. For large or heavy canvases, traditional hooks are safer.
Tools And Materials You’ll Need
Before you start, gather these common supplies:
- Measuring tape
- Pencil
- Level (bubble or digital)
- Hammer (if using nails)
- Screwdriver (for some hooks)
- Wall hooks or nails
- Adhesive strips (like Command Strips)
- Sawtooth hangers or D-rings (if not already attached)
- Painter’s tape (optional, for alignment)
Many canvases come with hanging hardware attached. If not, you’ll need to attach it yourself. Don’t forget to check the back of your canvas before buying extra supplies.
Beginner’s mistake to avoid: Don’t use double-sided tape or masking tape. These can fail over time, especially with textured or painted walls.
Method 1: Using Sawtooth Hangers
Sawtooth hangers are small metal brackets with a zigzag edge. They’re simple, affordable, and often included with canvases.
How To Attach And Hang With Sawtooth Hangers
- Position the hanger: Find the top center of your canvas. Mark a spot about 2 inches from the top edge on the wooden stretcher bar.
- Attach the hanger: Use a small hammer to nail the sawtooth hanger in place. Make sure it’s straight.
- Mark the wall: Hold the canvas where you want to hang it. Use a pencil to mark the top center.
- Install a nail or hook: Hammer a small nail or picture hook into the wall at your mark.
- Hang the canvas: Rest the sawtooth hanger on the nail. Use a level to check if it’s straight.
Pro tip: If your walls are uneven, use two sawtooth hangers—one on each side of the canvas. This adds stability and prevents tilting.
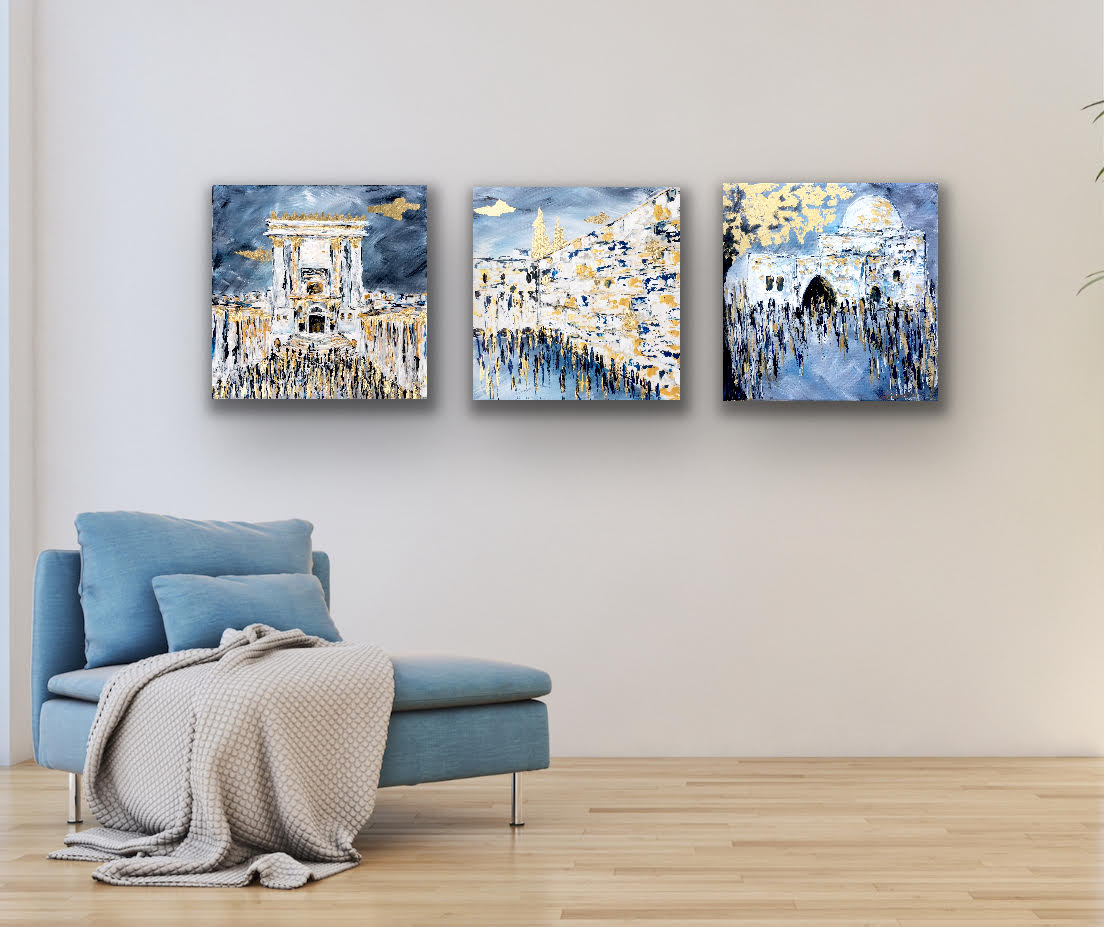
Credit: nechamafineart.com
Method 2: Using D-rings And Picture Wire
D-Rings are small metal loops attached to the back of the canvas. This method is best for larger or heavier canvases.
Step-by-step Instructions
- Attach D-rings: On the back of the canvas, measure about one-third down from the top on each side. Mark and screw in the D-rings.
- Add picture wire: Cut a piece of picture wire about 6 inches wider than your canvas. Thread it through both D-rings and twist the ends securely.
- Mark your wall: Decide where you want the canvas. Mark a spot where the wire will rest.
- Install a hook: Place a picture hook or nail in the wall at your mark.
- Hang the canvas: Hang the wire over the hook and adjust until level.
Insight: For wide canvases, a single wire can cause sagging over time. To prevent this, use two hooks spaced apart, or use thicker wire for extra support.
Method 3: Hanging With Adhesive Strips
Adhesive strips are perfect for renters or anyone who wants to avoid holes. Brands like Command Strips can hold canvases up to a certain weight.
How To Use Adhesive Strips
- Clean the wall and canvas: Use rubbing alcohol to clean both surfaces. Wait until dry.
- Attach strips: Stick one side of the strip to the canvas frame and the other to the wall. Press firmly for 30 seconds.
- Wait: Most strips need an hour before you hang the canvas.
- Hang the canvas: Press the canvas onto the wall, making sure it’s straight.
Non-obvious insight: For textured walls or heavy canvases, adhesive strips may not hold well. Check the strip’s package for weight limits and wall compatibility.
Method 4: Floating Canvas With Offset Clips
Offset clips allow your canvas to “float” a bit away from the wall, creating a modern look. They’re small, L-shaped brackets.
How To Install Offset Clips
- Attach clips to canvas: Screw 2-4 clips onto the back of the canvas stretcher bars.
- Mark wall positions: Hold the canvas where you want it. Mark the wall through the open holes of the clips.
- Install screws: Screw into the wall at each mark.
- Mount the canvas: Slide the clips over the screws. The canvas will sit slightly off the wall.
Tip: This method works best for canvases with thick stretcher bars (1.5 inches or more).
Method 5: Using Push Pins Or Tacks
If you want a casual display or are decorating a dorm room, push pins or decorative tacks can work for small, light canvases.
Steps For Hanging With Push Pins
- Plan your layout: Hold the canvas against the wall to decide where it will go.
- Insert pins: Place a push pin into each corner of the canvas frame (not the canvas fabric).
- Adjust: Push the pins in until the canvas sits flat against the wall.
Warning: This method may leave small holes in your wall and stretcher bars. It’s best for temporary setups or lightweight canvases.

Credit: www.picturehangsolutions.com
Method 6: Using Brick Clips For Masonry Walls
Brick walls need a different approach. Brick clips are made to grip onto the edge of bricks without drilling.
How To Hang With Brick Clips
- Choose the right clip size: Measure your brick’s height. Buy clips that match.
- Attach the clips: Hook the top of the clip over the brick and press the bottom in until it grips.
- Hang the canvas: Use the built-in hook to hang the canvas by its stretcher bar or attached hardware.
Example: Brick clips are ideal for lofts or patios where drilling is not allowed.
How To Keep Your Canvas Level And Secure
Nothing ruins a display faster than a crooked or fallen canvas. Here are smart ways to keep your art straight and safe.
- Use a level every time you hang or adjust your canvas.
- For wire-hung canvases, mark the exact wire position on the wall before hanging.
- If your canvas tilts, add a small piece of felt or rubber bumper to the bottom corners.
- For high-traffic areas, use earthquake putty or museum gel on the back corners for extra grip.
How To Avoid Common Mistakes
Even simple projects can go wrong. Here are mistakes beginners often make and how to prevent them:
- Hanging too high or low: The center of the canvas should be about 57-60 inches from the floor, which is eye level for most people.
- Skipping wall prep: Dirty or oily walls make adhesive strips fail. Always clean surfaces first.
- Using the wrong hardware: Lightweight hooks or strips can’t hold heavy canvases. Check weight limits.
- Attaching hangers off-center: Measure carefully. Off-center hangers make the canvas crooked.
- Over-tightening screws: This can split the stretcher bar. Tighten just enough to hold.
Creative Arrangements Without Frames
Hanging a single canvas is classic, but you can get creative with groups. Try these ideas:
- Grid arrangement: Hang several canvases in a neat grid for a modern gallery effect.
- Salon style: Mix sizes and shapes for a casual, artistic wall.
- Linear row: Line up canvases horizontally or vertically for a bold statement.
For multi-canvas displays, lay them out on the floor first. Adjust spacing until you like the look, then transfer the layout to the wall.
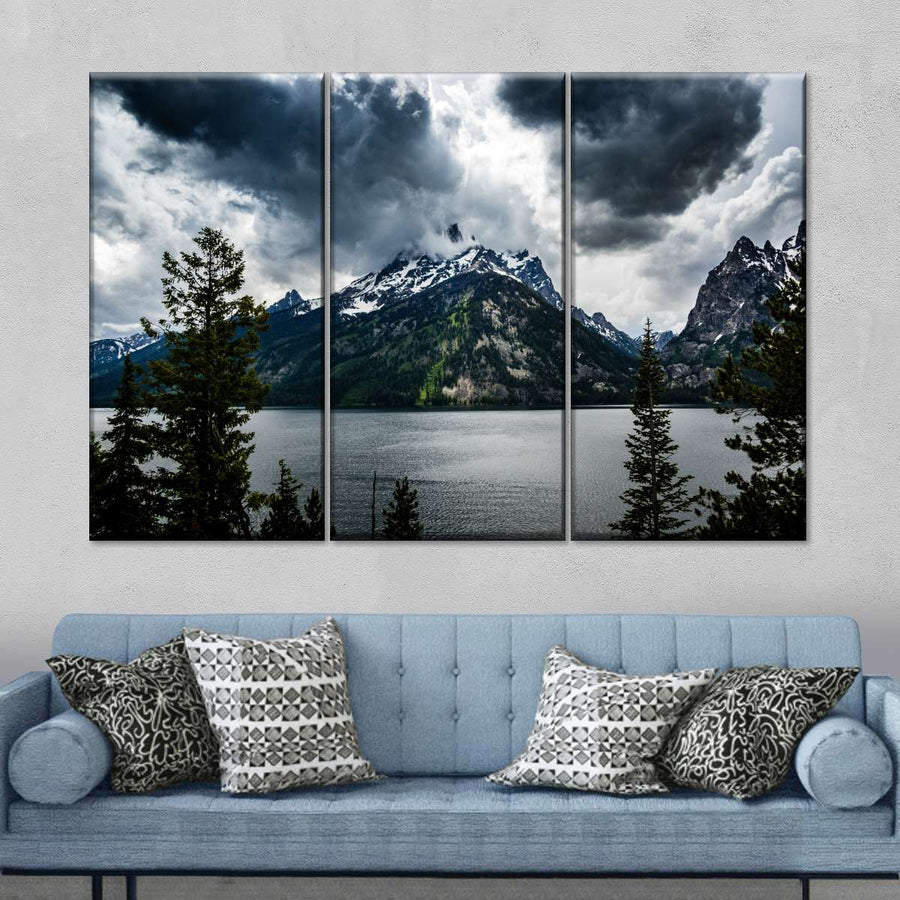
Credit: www.elephantstock.com
Comparing Hanging Methods
To help you choose, here’s a quick overview of the main methods and their ideal uses:
| Method | Best For | Pros | Cons |
|---|---|---|---|
| Sawtooth Hangers | Small to medium canvases | Easy, cheap, quick | May tilt, not for heavy art |
| D-Rings & Wire | Large/heavy canvases | Strong, adjustable | Needs wall hook/nail |
| Adhesive Strips | Rented walls, no holes | No damage, fast | Weight limits, may fail on textured walls |
| Offset Clips | Thick, modern canvases | “Floating” look, secure | Requires tools, more steps |
| Push Pins | Dorms, light canvases | Quick, no tools | Not permanent, may damage |
| Brick Clips | Brick/masonry walls | No drilling, reusable | Brick size must match |
Tips For Displaying And Caring For Your Canvas
Once your canvas is on the wall, a little care goes a long way.
- Avoid direct sunlight, which can fade colors.
- Dust the canvas gently with a soft brush or microfiber cloth.
- Don’t hang art above heat sources like radiators or fireplaces.
- For kitchen or bathroom, check for humidity, which can warp the canvas.
- If moving, carry the canvas by the sides, not the front.
Frequently Asked Questions
How Much Weight Can Adhesive Strips Really Hold?
Most adhesive strips support between 4 to 16 pounds, depending on the brand and size. Always check the package for the exact weight limit. For large or valuable canvases, consider using traditional hooks or wires.
Is It Safe To Hang A Canvas With Just One Nail?
For small canvases (under 12×16 inches), a single nail or hook is usually enough if placed in a wall stud. For larger or wider canvases, two hooks prevent tilting and add stability.
Can I Reuse Adhesive Strips If I Move The Canvas?
No. Adhesive strips are usually single-use. Removing them often destroys the adhesive. For a new spot, use fresh strips to ensure a strong hold. For more details, see Command’s official instructions.
What Do I Do If My Canvas Keeps Tilting?
Check that your hardware is centered and that the wall is flat. For wire-hung canvases, try two hooks spaced apart. Add small rubber bumpers to the bottom corners to help keep the canvas in place.
Will Hanging Without A Frame Damage My Canvas?
If you use proper hardware and avoid piercing the canvas fabric, there’s no risk of damage. Always attach hangers to the wooden stretcher bars, not the canvas itself.
Hanging a canvas without a frame is easier than most people think. With the right method for your wall and canvas type, you can create a beautiful display that reflects your style. Remember to measure carefully, choose strong hardware, and check your work with a level.
Soon, your walls will showcase your art with confidence and style.