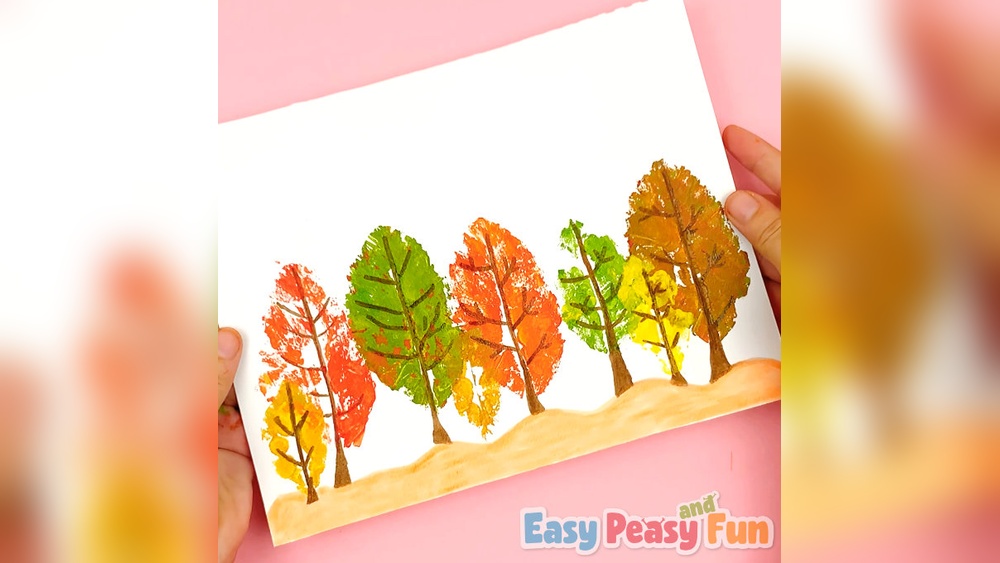
Leaf print painting is a simple yet magical art activity that brings nature and creativity together. It’s especially wonderful for kids because it’s hands-on, colorful, and doesn’t need expensive materials. Children get to explore different leaves, learn about shapes and textures, and make stunning artwork in minutes.
If you’re searching for a fresh way to spark your child’s imagination or bring a little nature into your home, leaf print painting is a perfect choice.
This guide will walk you through everything you need to know about how to do leaf print painting for kids. You’ll discover how to choose the best leaves, prepare materials, master the painting process, and avoid common mistakes. You’ll also find fun ideas, tips to keep things clean, and answers to questions parents often ask. Whether you’re a teacher, a parent, or a curious child, you’ll finish with all the knowledge and confidence you need for a successful leaf printing experience.
Why Try Leaf Print Painting With Kids?
Leaf print painting is more than just a craft. Here’s why it stands out as an activity for children:
- Connects Kids to Nature: Kids handle real leaves, notice details, and learn about trees and plants.
- Boosts Creativity: Each leaf print is unique. Children can play with colors, patterns, and arrangements.
- Develops Fine Motor Skills: Painting, pressing, and lifting leaves helps strengthen small hand muscles.
- Affordable and Accessible: Most materials are already at home or easy to collect outdoors.
- Encourages Mindfulness: The process is calm, focused, and rewarding.
Many parents are surprised how engaged kids become—especially those who might not enjoy regular painting or drawing.
What You Need: Materials And Preparation
Before you begin, gather all the materials. Having everything ready makes the process smooth and enjoyable.
Essential Materials
- Fresh leaves (various shapes and sizes)
- Thick paper or cardstock (printer paper works, but thicker is better)
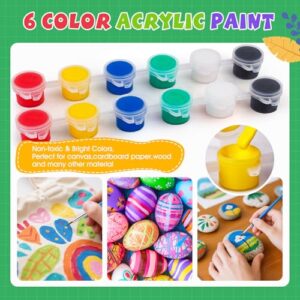
- Washable paint (poster paint, tempera, or acrylic)
- Paintbrushes or sponges
- Old newspapers or a plastic sheet (to protect your table)
- Aprons or old shirts (to protect clothes)
- Paper towels or wipes (for quick clean-ups)
- Shallow plates or trays (for paint)
- A rolling pin or a clean bottle (optional, for even prints)
Optional Extras
- Markers or colored pencils (for adding details)
- Glitter or stickers (for decoration)
- White glue (to attach finished prints to cards or gifts)
Choosing The Best Leaves
Not all leaves work the same way. For the clearest prints, pick leaves that are:
- Fresh and flexible (not dry or brittle)
- Have visible veins (maple, oak, ferns, and ivy are excellent)
- Clean and free of bugs or holes
Take a short walk with your child to collect leaves. This step is fun and educational in itself.
Credit: www.thebestideasforkids.com
Step-by-step Guide: How To Do Leaf Print Painting
Now, let’s get creative. Here’s how to make beautiful leaf prints:
1. Prepare The Workspace
Cover your table with newspaper or a plastic cloth. Set out all your materials so kids can see and reach them easily. If possible, work near a sink or keep a bowl of water for washing hands.
2. Clean And Dry The Leaves
Wipe leaves gently with a damp cloth to remove dirt. Pat them dry with a paper towel. Clean leaves give sharper prints.
3. Arrange Paints
Pour a small amount of each color into shallow plates or trays. Spread the paint so it’s not too thick.
4. Apply Paint To The Leaf
Use a paintbrush or sponge to cover the underside of the leaf (the side with the most veins) with a thin, even layer of paint. Too much paint makes prints smudgy.
5. Press The Leaf Onto Paper
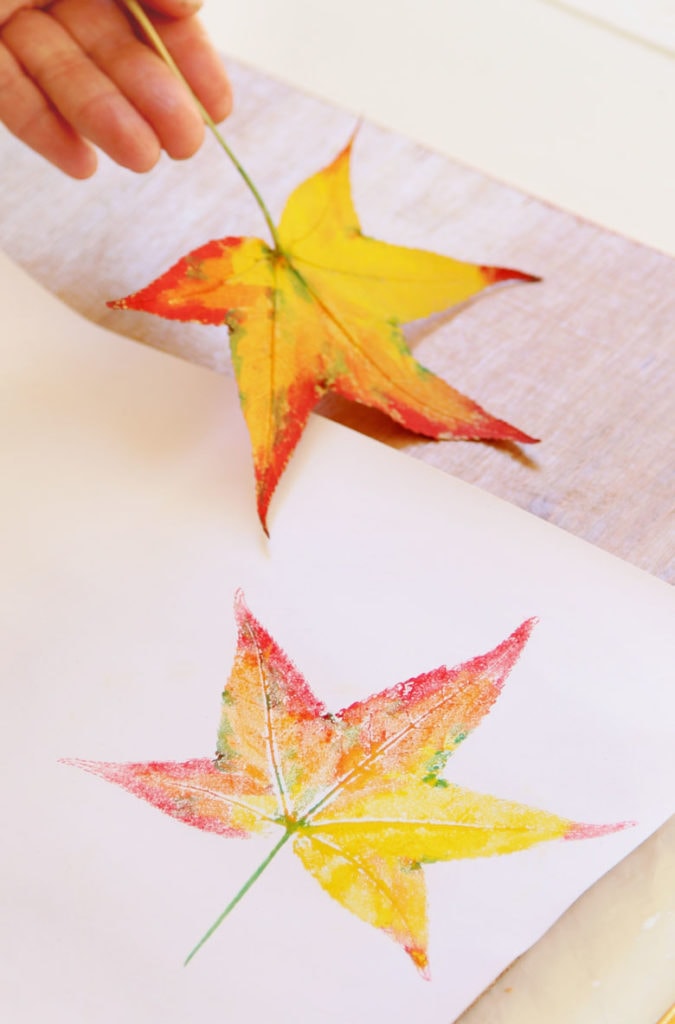
Place the painted side down on your paper. Cover with another piece of scrap paper, then press gently with your hand or a rolling pin. Pressing evenly helps all the details show.
6. Lift The Leaf Carefully
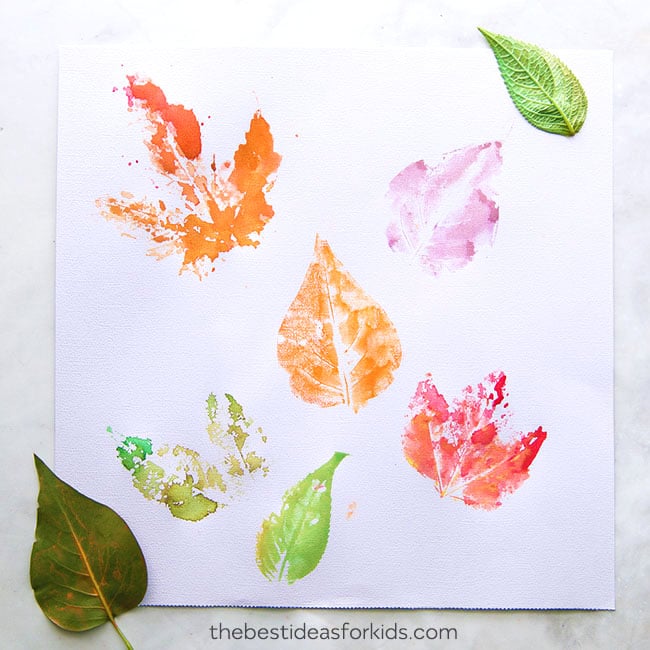
Peel the leaf away slowly. You’ll see the shape and vein patterns transferred to the paper.
7. Let It Dry
Set the print aside to dry. Most paints dry within 20–30 minutes.
8. Add Details
Once dry, kids can decorate prints with markers, draw backgrounds, or add glitter for extra sparkle.
9. Display Or Gift
Finished prints can be framed, turned into cards, or used for school projects.
Comparing Paints, Papers, And Tools
Choosing the right supplies can make a big difference. Here’s a quick comparison:
| Material | Pros | Cons | Best For |
|---|---|---|---|
| Poster Paint | Bright, easy to wash off | Can be watery | Young kids, classrooms |
| Acrylic Paint | Vivid, makes crisp prints | Harder to clean | Older kids, gifts |
| Printer Paper | Cheap, easy to find | May wrinkle with paint | Practice, quick art |
| Cardstock | Sturdy, holds paint well | Costs more | Final prints, cards |
| Paintbrush | Precise, good for details | May leave streaks | Older kids, detailed prints |
| Sponge | Fast, covers area quickly | Less control | Younger kids, large leaves |
Fun Variations And Creative Ideas
Once you’ve mastered basic leaf printing, try these ideas to keep things exciting:
Rainbow Leaf Prints
Paint different colors on one leaf for a rainbow effect. Kids love seeing how the colors mix.
Leaf Print Cards
Fold thick paper in half and print leaves on the front. Add a message inside—perfect for birthdays or holidays.
Nature Collage
Combine leaf prints with real leaves, flowers, and drawings. This is great for group projects.
Repeating Patterns
Use the same leaf to make a pattern—like a border or a background. This teaches kids about symmetry and design.
Leaf Print Animals
Arrange different shapes to look like animals—an oval leaf for a fish, a long one for a bird’s wing. Add eyes or legs with markers.
Seasonal Themes
Use warm colors for autumn, bright greens for spring, or even metallic paint for a winter look.
Common Mistakes And How To Avoid Them
Even simple crafts have pitfalls. Here’s what often goes wrong—and how to fix it:
| Mistake | Why It Happens | How to Fix |
|---|---|---|
| Prints are Blurry | Too much paint or uneven pressing | Use less paint, press gently and evenly |
| Leaf Sticks to Paper | Paint too thick or paper is too thin | Use thicker paper, apply a thin paint layer |
| Details Don’t Show | Leaf veins are flat or paint is too watery | Pick leaves with clear veins, use thicker paint |
| Messy Hands and Table | No protection or cleaning supplies | Cover surfaces, keep wipes handy |
Credit: www.apieceofrainbow.com
Practical Tips For A Great Leaf Print Experience
- Test Leaves First: Some leaves work better than others. Try a few before starting the main project.
- Use Small Amounts of Paint: Less is more. A thin layer gives the best details.
- Press Evenly: Kids sometimes press too hard or too light. Show them how to press with their whole palm.
- Mix Colors: Let kids blend two or three colors on a single leaf.
- Save Extra Leaves: If a child wants to try again, having extra leaves ready avoids delays.
- Clean Up Quickly: Wash leaves, brushes, and hands soon after painting to keep things tidy.
Educational Benefits Of Leaf Print Painting
Leaf printing isn’t just fun—it’s educational. Here’s how:
- Science Learning: Kids observe how leaves are different, learn plant names, and talk about why leaves have veins.
- Art Skills: Children explore color mixing, patterns, and printmaking.
- Sensory Play: The textures, smells, and sights stimulate multiple senses.
- Language Development: Talking about the process builds vocabulary and communication skills.
Some teachers use leaf printing as part of a lesson on seasons, nature, or the environment. For more ideas, the Wikipedia page on nature printing offers background on the history and science of printmaking with natural objects.
Cleaning Up And Safety
Parents often worry about mess. Here’s how to keep things safe and tidy:
- Use washable paint: It’s easy to clean from hands and clothes.
- Set clear rules: “Paint stays on the paper and leaves” is a good reminder for younger kids.
- Supervise: Stay nearby, especially with younger children.
- Wash hands after: Some leaves or paints can irritate sensitive skin.
- Dispose of paint water safely: Pour painty water down a drain, not outside.
Leaf Print Painting For Different Ages
Leaf printing is flexible for any age group. Here’s how to adjust the activity:
Toddlers (ages 2–3)
- Use large leaves and thick paper.
- Let them dab paint with sponges.
- Focus on the process, not the result.
Preschoolers (ages 4–5)
- Offer more colors and leaf shapes.
- Help with pressing and lifting the leaves.
- Encourage naming the types of leaves.
School-age Kids (ages 6+)
- Teach them to arrange prints in patterns or scenes.
- Let them add marker details or backgrounds.
- Introduce basic plant science concepts.
Mixed Groups
Set up a “print station” with different leaves, paints, and papers. Kids can work together or on their own.
Displaying And Using Leaf Prints
Show off your child’s art in creative ways:
- Frame favorite prints and hang them at home.
- Make greeting cards or bookmarks as gifts.
- Use prints for school projects or science journals.
- Create a “leaf print wall” for seasonal displays.
Kids feel proud when their work is valued—displaying it boosts confidence and encourages future creativity.
Frequently Asked Questions
What Types Of Leaves Make The Best Prints?
Leaves with strong veins and a flexible structure work best. Examples are maple, oak, ferns, ivy, and even some weeds. Avoid dry or very thin leaves—they break or don’t show details well.
Can You Use Other Objects For Print Painting?
Yes! Flowers, twigs, or even vegetables like celery can be used. Each object gives a unique pattern. Start with leaves, then let kids experiment with other natural items.
How Do I Remove Paint Stains From Clothes Or Tables?
If you use washable paint, most stains wash out with soap and water. For stubborn spots, soak clothes in warm water with detergent before washing. For tables, wipes or a damp cloth usually work. Act quickly for best results.
Is Leaf Print Painting Safe For All Ages?
With adult supervision and safe materials, leaf printing is suitable for toddlers and older kids. Watch for allergies—some children may react to certain plants. Always wash hands after the activity.
How Can I Make Leaf Print Painting More Educational?
Ask kids questions during the process, such as “What shape is this leaf? ” or “Why do you think leaves have veins? ” You can add a science twist by talking about plant life or the changing seasons. Turn the prints into a nature journal for extra learning.
Leaf print painting is a joyful, open-ended activity that brings families and classrooms together. With a little preparation and creativity, you’ll help your child see nature in a new way—and maybe create a masterpiece you’ll want to keep forever.

Credit: growingfamily.co.uk