Painting kitchen cabinets can transform your kitchen. It’s a fun and rewarding DIY project. Follow these easy steps to get a fresh, new look.
Materials You Will Need
Before you start, gather all the materials you will need. Here’s a list:
- Paint (latex or oil-based)
- Primer
- Sandpaper (120 and 220 grit)
- Painter’s tape
- Drop cloths
- Screwdriver
- Cleaning solution
- Paintbrushes and rollers
- Paint tray
- Wood filler
- Putty knife
- Gloves
- Mask
Step 1: Remove Cabinet Doors and Hardware
First, remove all the cabinet doors. Use a screwdriver to take off the hinges and handles. Put the screws and hardware in a safe place. This will make painting easier.
Step 2: Clean the Cabinets
Next, clean the cabinet surfaces. Use a cleaning solution to remove grease and grime. This will help the paint stick better. Let the cabinets dry completely.
Step 3: Sand the Surfaces
Sand the cabinet doors and frames. Start with 120-grit sandpaper. This will remove the old finish. Then, use 220-grit sandpaper to smooth the surfaces. Wipe off any dust with a damp cloth.
Step 4: Fill Any Holes or Cracks
Look for holes or cracks in the wood. Use wood filler to fix them. Apply the filler with a putty knife. Let it dry, then sand it smooth.
Step 5: Apply Painter’s Tape
Use painter’s tape to protect areas you don’t want to paint. This includes walls, countertops, and floors. Place drop cloths to catch any drips.
Step 6: Prime the Cabinets
Apply a coat of primer to the cabinets. This will help the paint stick. Use a brush for edges and a roller for flat surfaces. Let the primer dry completely.
:max_bytes(150000):strip_icc()/kitchen-cabinet-painting-mistakes-2000-70d96e5b20d34d9f983816d1c06c88db.jpg)
Credit: www.realsimple.com
Step 7: Paint the Cabinets
Now it’s time to paint. Use a high-quality paint for the best results. Apply the paint in thin, even coats. Use a brush for edges and a roller for flat areas. Let each coat dry before adding another. Usually, two coats are enough.
Step 8: Reattach the Doors and Hardware
Once the paint is dry, reattach the cabinet doors. Use the screws and hardware you saved earlier. Make sure everything is aligned properly.
Tips for a Professional Finish
Here are some tips to get a professional finish:
- Work in a well-ventilated area.
- Wear gloves and a mask for safety.
- Take your time and don’t rush.
- Use high-quality materials.
- Keep a wet edge to avoid brush marks.
Common Mistakes to Avoid
Avoid these common mistakes:
- Skipping the primer.
- Using cheap paint.
- Not sanding properly.
- Painting in a dusty area.
- Rushing the drying time.
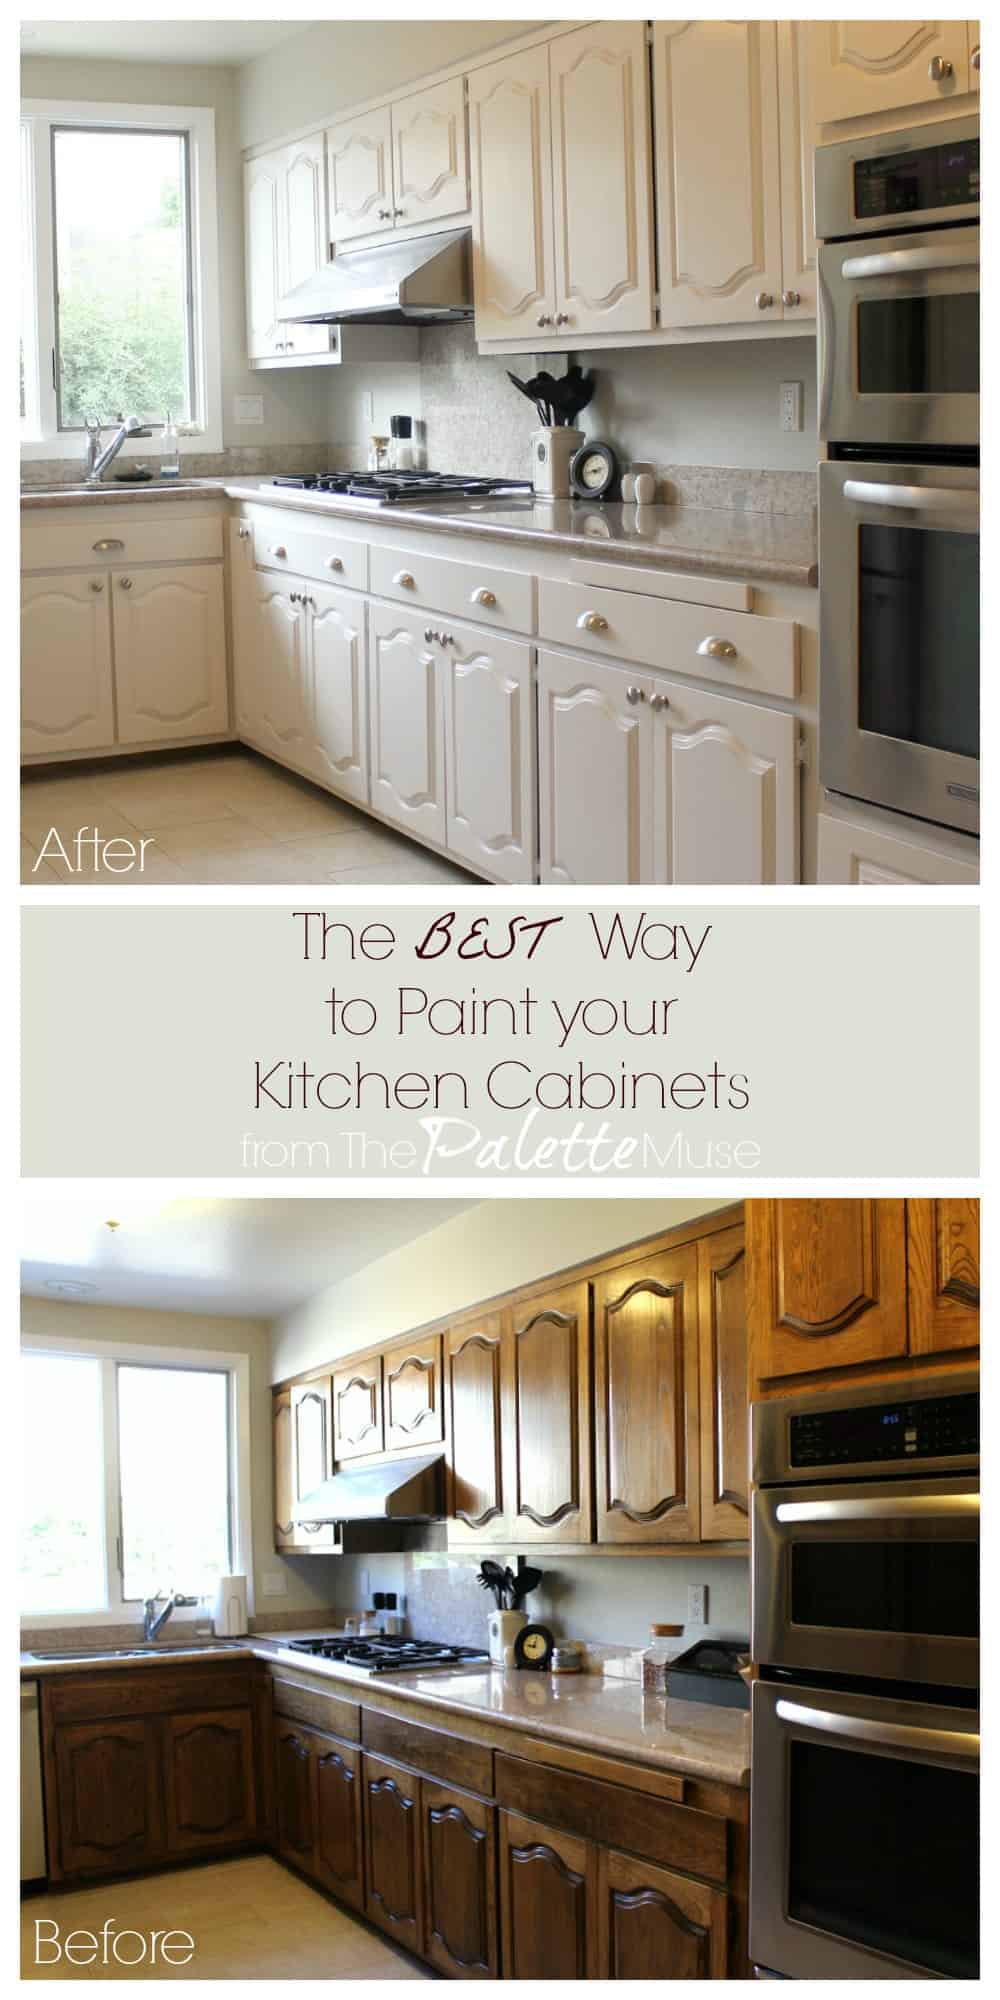
Credit: thepalettemuse.com
Frequently Asked Questions
How To Prep Kitchen Cabinets For Painting?
Clean, sand, and prime the surfaces. Ensure they’re free of grease and dust for best results.
What Type Of Paint To Use On Cabinets?
Use high-quality, durable paint. Semi-gloss or satin finishes are ideal for kitchen cabinets.
How Many Coats Of Paint Needed?
Typically, two coats of paint provide good coverage. Ensure each coat dries properly before applying the next.
How To Avoid Brush Marks On Cabinets?
Use a high-quality brush or roller. Apply thin, even coats and avoid over-brushing.
Conclusion
Painting kitchen cabinets is a great way to update your kitchen. Follow these steps for a beautiful, professional finish. Enjoy your fresh, new kitchen look!