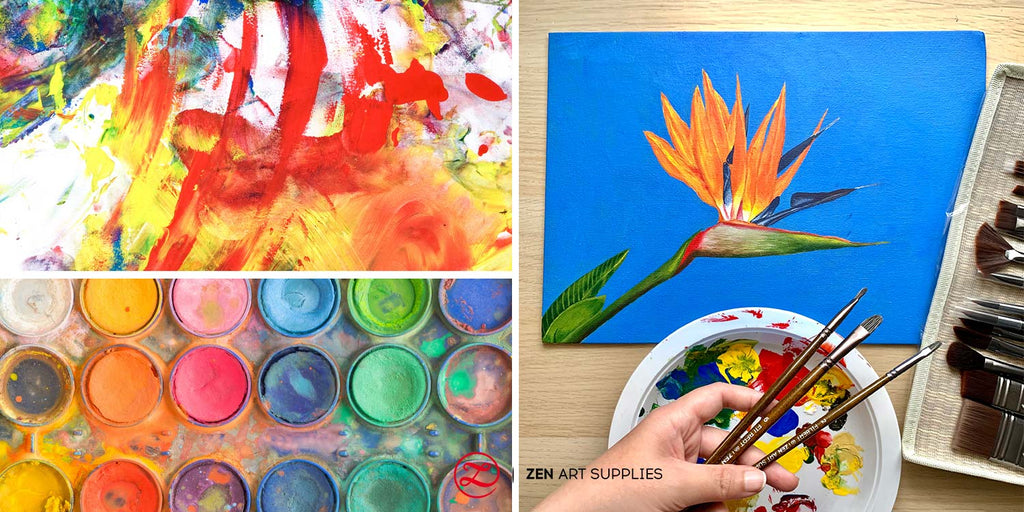
Oil paint offers richer color, smoother blending, flexible layers, and slower, forgiving drying.
If you have ever asked what was the benefit of using oil versus tempera paint, this deep dive will give you a clear, practical answer. I’ve worked with both in studio and on restorations, and I’ll show you how oil changed art by allowing depth, glow, and easy corrections, while tempera kept speed, precision, and a quiet matte look. Read on to learn how to choose the right medium for your style, budget, and workflow.

Oil vs tempera at a glance: core benefits
Oil paint’s slow drying lets you push and pull color. You can blend edges, glaze thin layers, and build rich depth. It also forms a flexible film on canvas, which helps large works last longer without cracking. Tempera dries fast, stays matte, and holds sharp detail, but it is brittle and less forgiving.
If you want a quick answer to what was the benefit of using oil versus tempera paint, think about control. Oil gives more time, more depth, and more options for change. Tempera gives speed and precision with a clean, dry finish.
Key takeaways:
- Oil allows subtle blending, soft edges, and seamless gradients.
- Oil supports glazing for luminous color and depth.
- Oil can handle impasto texture and bold brushwork.
- Tempera excels at fine detail and crisp lines.
- Tempera dries fast, so it suits tight, layered hatching.
- Tempera stays matte and resists yellowing, but needs rigid panels.
This big picture helps explain what was the benefit of using oil versus tempera paint to artists across centuries, from Northern Renaissance workshops to modern studios.

Why drying time matters: blending, glazing, and corrections
Drying time is the biggest practical difference. Oil stays open for hours or days. That gives you time to adjust shapes, soften transitions, and fix mistakes. You can glaze transparent layers over dry paint to build a glow that almost looks lit from within.
Tempera dries within minutes. It forces a plan and quick execution. You can layer small strokes and crosshatching, but you cannot blend wet into wet.
When students ask what was the benefit of using oil versus tempera paint, I show them a cheek or a sky. In oil, you can blend skin tones or clouds in one pass. In tempera, you build them with many short, thin marks.
Practical tips:
- Keep a mist sprayer away from oil; water will not help. Work with mediums instead.
- Use a lean first layer and add oil as you go. This is the fat over lean rule.
- For tempera, plan small sessions and work in sections.
Source: zenartsupplies.co
Color, light, and surface: saturation, gloss, and luminosity
Oil has a higher refractive index than water-based binders. Light enters the glaze, bounces off pigment, and reflects back. That creates deep saturation and a sense of inner light. You can choose matte, satin, or glossy varnishes to tune the final look.
Tempera dries to a matte surface. Colors feel clear but not deep. The surface scatters light, which can be lovely for delicate, quiet scenes.
What was the benefit of using oil versus tempera paint in color work? Oil lets you stack transparent layers that shift hue and value with control. It is ideal for skin, fabric, and atmosphere. Tempera gives bright, even color and sharp edges that suit icons, pattern, and fine line art.
Studio note:
- For glowing reds and blues, oil glazes with transparent pigments do wonders.
- For flat, graphic fields, tempera gives a stable, glare-free finish.
Source: naturalpigments.com
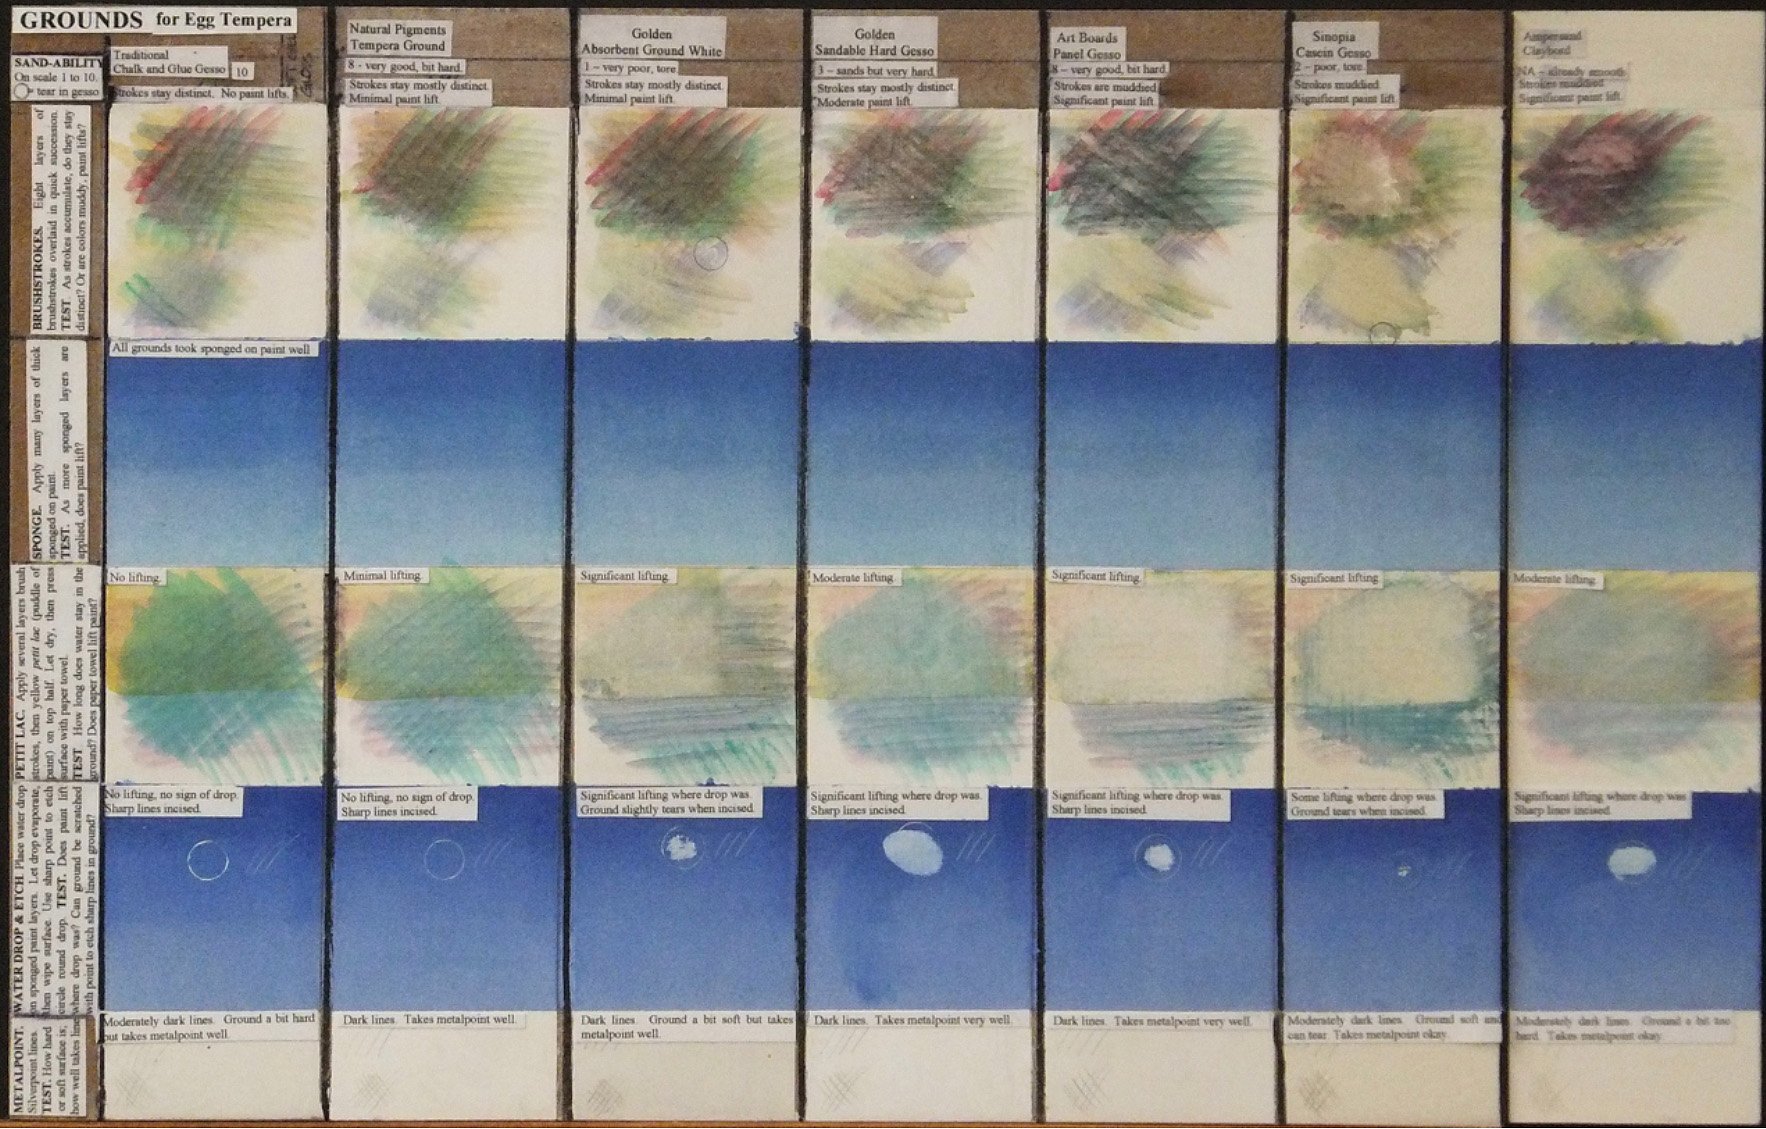
Durability and supports: canvas vs panel, flexibility, cracking
Oil forms a flexible film when cured. That pairs well with canvas, which moves with climate changes. Larger works are safer in oil because the support and paint can flex together.
Tempera is an egg emulsion that dries hard and brittle. It needs rigid panels with good priming and sizing. On flexible supports, it can crack.
When museums studied early works, they found many tempera panels in great shape, but cracks appear if the wood warps. With oil, the main risks are darkening varnish, soft layers, or brittle underpaint if rules were ignored. This is why painters still ask what was the benefit of using oil versus tempera paint for large formats and choose oil on canvas.
Best practices:
- For oil on canvas, stretch and prime well. Keep humidity stable.
- For tempera, use sealed wood panels and very thin layers.

Source: covecollective.org
Technique and workflow: layering, impasto, and detail
Oil supports almost every technique. You can paint alla prima in one session. You can layer for weeks. You can scrape back, glaze, scumble, and build thick impasto. It invites revision.
Tempera loves tiny brushes and controlled strokes. It shines in crosshatching and fine lines. You can reach jewel-like detail that stays crisp, even at close range.
So, what was the benefit of using oil versus tempera paint for expressive styles? Oil is more flexible. It lets you change your mind as the image grows. Tempera is best when the design is set and you want speed and clarity.
Workflow tips:
- Use a limited palette in oil to keep mixes clean.
- Keep tempera mixtures fresh. Egg spoils. Mix small batches daily.
- Label layers and mediums so you follow fat over lean without guesswork.

Source: kremer-pigmente.com
Conservation and longevity: what lasts, what changes
Both media can last centuries with good care. Tempera resists yellowing. Colors stay steady. The surface is matte and easy to light without glare.
Oil can yellow due to certain oils or old varnish. It can crack if thick lean layers sit over fat ones. But with proper layering and varnish care, oil paintings keep their depth and color for a very long time.
Conservation labs report that glazing in oil, when done thin and stable, holds up well. This supports what artists long knew about what was the benefit of using oil versus tempera paint for luminous effects that endure.
Care advice:
- Choose refined linseed or walnut oil to reduce yellowing.
- Let oil cure fully before varnish. Follow product times.
- For tempera, avoid flexing the panel and control humidity.
Source: tinkerlab.com
Cost, setup, and safety: choosing what fits you
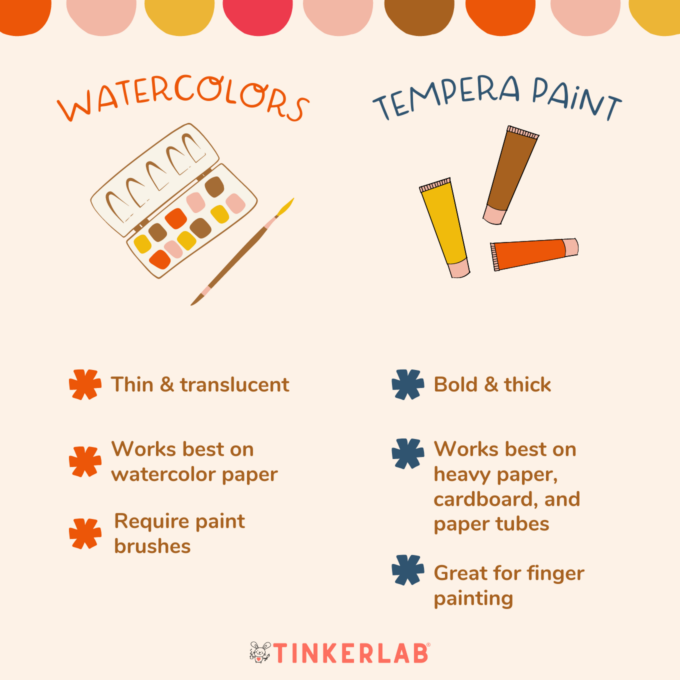
Tempera is simple to set up. Pigment and fresh egg make a quick binder. Clean-up uses water. The catch is time, since you must mix small batches and work on panels.
Oil needs more tools. You need mediums, rags, and good airflow if you use solvents. You can skip solvents with water-mixable oils or solvent-free gels.
From a budget view, both can be cost-effective. Panels cost more than canvas. Oil paints last a long time because a little goes far. Many artists weigh these trade-offs when deciding what was the benefit of using oil versus tempera paint for their space and needs.
Safety tips:
- Ventilate if you use mineral spirits. Or go solvent-free.
- Store oily rags in a sealed metal container to prevent fires.
- Keep egg and food away from pigments. Some pigments are toxic.

Source: youtube.com
Personal experience: lessons from the studio
On a portrait project, I blocked in with oil and kept the face wet for two days. I blended tiny hue shifts around the eyes and mouth with ease. The soft edges looked natural and calm.
On a gold-ground icon study in tempera, I planned tight layers. I worked fast, used thin strokes, and let each pass dry for a few minutes. The final image was crisp, matte, and precise. These two cases show what was the benefit of using oil versus tempera paint based on goals: lifelike softness in oil, clear line and quiet light in tempera.
What I learned:
- Plan more when using tempera. It rewards order.
- Relax and explore with oil. It forgives and invites change.
- Keep notes on mixes, mediums, and drying so you can repeat success.
How to choose the right medium for your project
Use this short checklist to match your goal with a medium. It will clarify what was the benefit of using oil versus tempera paint for your next piece.
Choose oil if:
- You want smooth blending and soft edges.
- You plan glazes and deep, luminous color.
- You need a flexible film on canvas or a large format.
- You want time to revise or paint alla prima.
- You like texture, scumbling, or impasto.
Choose tempera if:
- You need fast drying and tight control.
- You love detail, hatching, and matte surfaces.
- You work on rigid panels and want high color stability.
- You prefer water clean-up and simple setups.
- You need clean, graphic shapes without glare.
If you still wonder what was the benefit of using oil versus tempera paint for your style, test both on small studies. Track your time, mistakes, and results. Your notes will point the way.
Frequently Asked Questions of what was the benefit of using oil versus tempera paint
Is oil paint harder to learn than tempera?
Oil has more steps and rules, like fat over lean, but it is forgiving. Tempera is simpler to mix, yet it demands careful planning because it dries fast.
Which medium gives richer color and depth?
Oil gives deeper saturation and glow through glazing. Tempera is bright and clear but remains matte and less deep.
Can I use oil over tempera?
Yes, you can apply oil over a fully dry tempera underpainting on a rigid support. Do not put tempera over oil.
Which lasts longer in museums?
Both can last centuries with proper care. Oil may yellow or crack if misused, while tempera stays matte and stable but needs rigid panels.
Is solvent-free oil a good option?
Yes, modern solvent-free oils and gels reduce fumes and still blend well. They keep many benefits of oil without harsh solvents.
What supports should I use for each medium?
Use canvas or panel for oil, with proper priming. Use rigid, sealed panels for tempera to avoid cracking.
What was the benefit of using oil versus tempera paint for portraits?
Oil lets you blend skin tones smoothly and build lifelike depth. Tempera can work for portraits but leans toward crisp, graphic detail.
Conclusion
Oil paint expands your range with time to blend, glaze, and revise. Tempera rewards planning with fast layers, clean detail, and a calm matte look. If you want to feel the difference, make two small studies of the same subject, one in each medium, and compare drying, color, and edges.
Use this guide to decide what was the benefit of using oil versus tempera paint for your goals, space, and budget. Try a solvent-free oil setup or a simple egg tempera kit, and share your results. Subscribe for more practical art guides, or leave a comment with your questions and wins.