Painting trim can make your room look fresh and new. It’s a simple task that anyone can do. Follow our step-by-step guide to get the best results.
Materials You Will Need
Before you start, gather all the necessary materials. Here is a list of what you will need:
- Paint
- Primer
- Painter’s tape
- Drop cloths
- Sandpaper
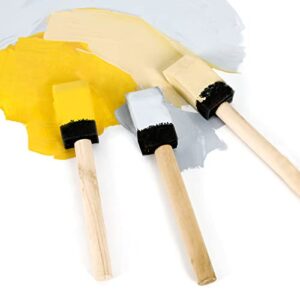
- Paintbrushes
- Putty knife
- Wood filler
- Caulk
- Cleaning cloths
Step 1: Prepare the Area
First, prepare the area where you will be painting. Move furniture away from the trim. Cover the floor with drop cloths to protect it from paint spills.
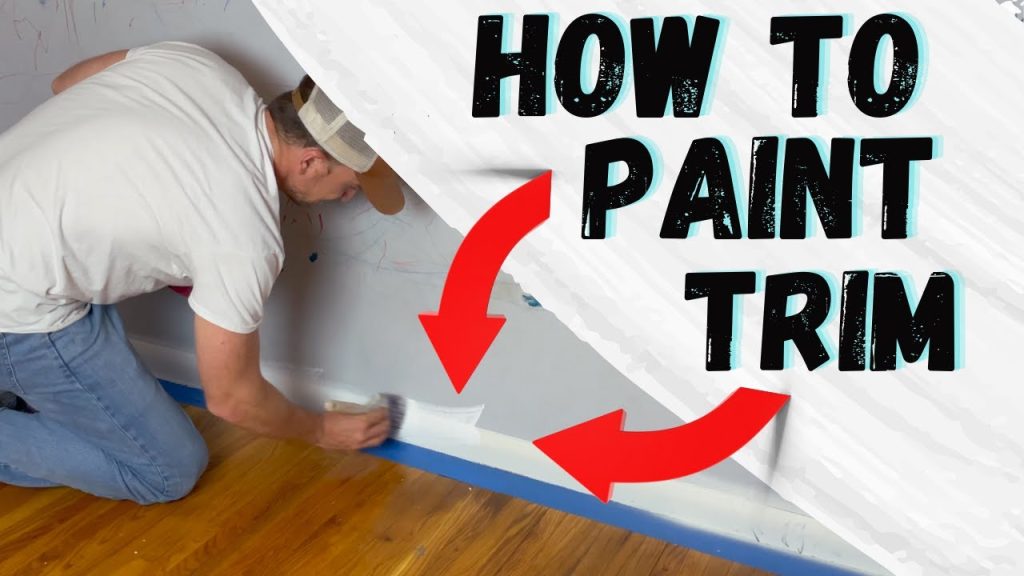
Step 2: Clean the Trim
Clean the trim to remove dust and dirt. Use a damp cloth to wipe it down. Make sure the trim is completely dry before moving on to the next step.
Credit: www.youtube.com
Step 3: Sand the Trim
Sand the trim to create a smooth surface. Use fine-grit sandpaper. Sanding helps the paint adhere better. Wipe away the dust with a clean cloth.
Step 4: Fill Holes and Cracks
Inspect the trim for any holes or cracks. Use wood filler to fill them in. Apply the filler with a putty knife. Let it dry completely. Sand the filled areas smooth.
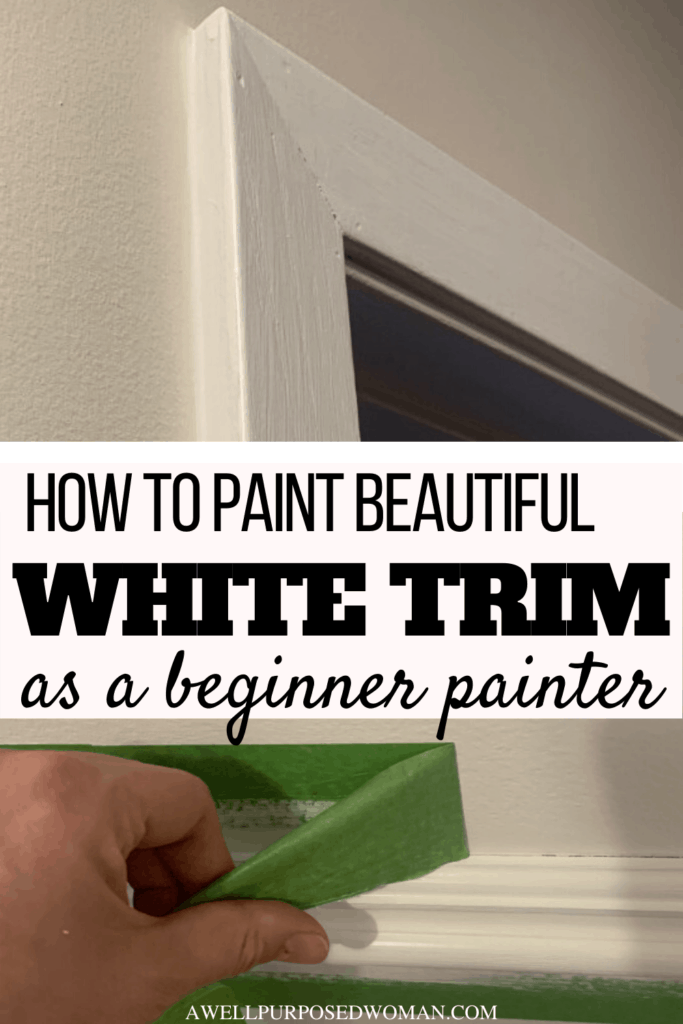
Credit: awellpurposedwoman.com
Step 5: Apply Caulk
Apply caulk to gaps between the trim and the wall. Use a caulk gun for this step. Smooth the caulk with a wet finger. This will create a seamless look.
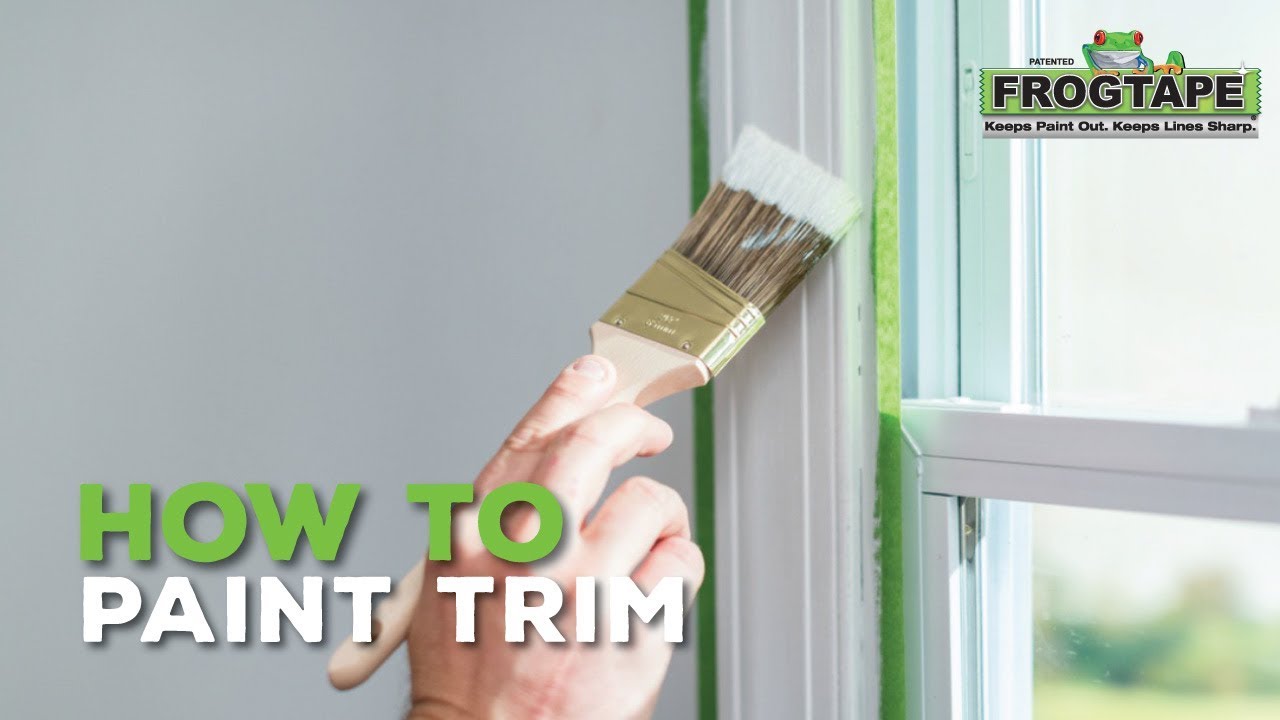
Step 6: Tape Off the Area
Use painter’s tape to mask off areas you don’t want to paint. Carefully apply the tape along the edges of the trim. Press the tape down firmly to prevent paint from seeping under it.
Step 7: Prime the Trim
Apply a coat of primer to the trim. Primer helps the paint stick better and provides a uniform surface. Let the primer dry completely before moving on to painting.
Step 8: Paint the Trim
Now it’s time to paint the trim. Use a high-quality paintbrush. Apply the paint in smooth, even strokes. Be sure to cover the entire surface. Let the first coat dry, then apply a second coat if needed.
Step 9: Remove the Tape
Once the paint is dry, carefully remove the painter’s tape. Pull the tape off slowly at a 45-degree angle. This will help prevent the paint from peeling.
Step 10: Clean Up
Clean up your workspace. Remove the drop cloths and put away your tools. Clean your paintbrushes with soap and water. Store any leftover paint for future touch-ups.
Tips for Success
Here are some tips to ensure your trim painting project goes smoothly:
- Always use high-quality paint and brushes.
- Work in a well-ventilated area.
- Take your time and don’t rush the job.
- Wear old clothes or a painting apron.
- Keep a damp cloth nearby to wipe away any mistakes.
Frequently Asked Questions
What Tools Do I Need To Paint Trim?
You’ll need a brush, painter’s tape, primer, and paint.
How Do I Prepare Trim For Painting?
Clean the trim, fill holes, sand, and apply primer.
Should I Use Primer On Trim?
Yes, primer helps paint adhere and improves durability.
What Type Of Paint Is Best For Trim?
Use semi-gloss or high-gloss paint for durability and easy cleaning.
Conclusion
Painting trim can make a big difference in your home. With our easy-to-follow guide, you can achieve professional-looking results. Gather your materials, follow the steps, and enjoy your freshly painted trim!
If you found this guide helpful, please share it with your friends. Happy painting!