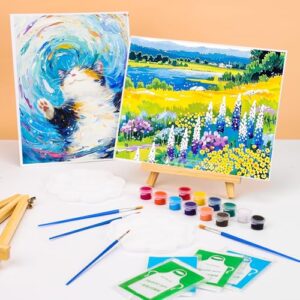
Have you ever wanted to capture the beauty of water in your paintings but didn’t know where to start? Painting water with acrylics can seem tricky, but with the right techniques, you can create stunning, realistic effects that bring your artwork to life.
In this guide, you’ll discover simple steps and insider tips to help you master the flow, reflections, and colors of water using acrylic paint. By the end, you’ll feel confident and excited to add sparkling rivers, calm lakes, or crashing waves to your next masterpiece.
Keep reading, and let’s unlock your full creative potential!
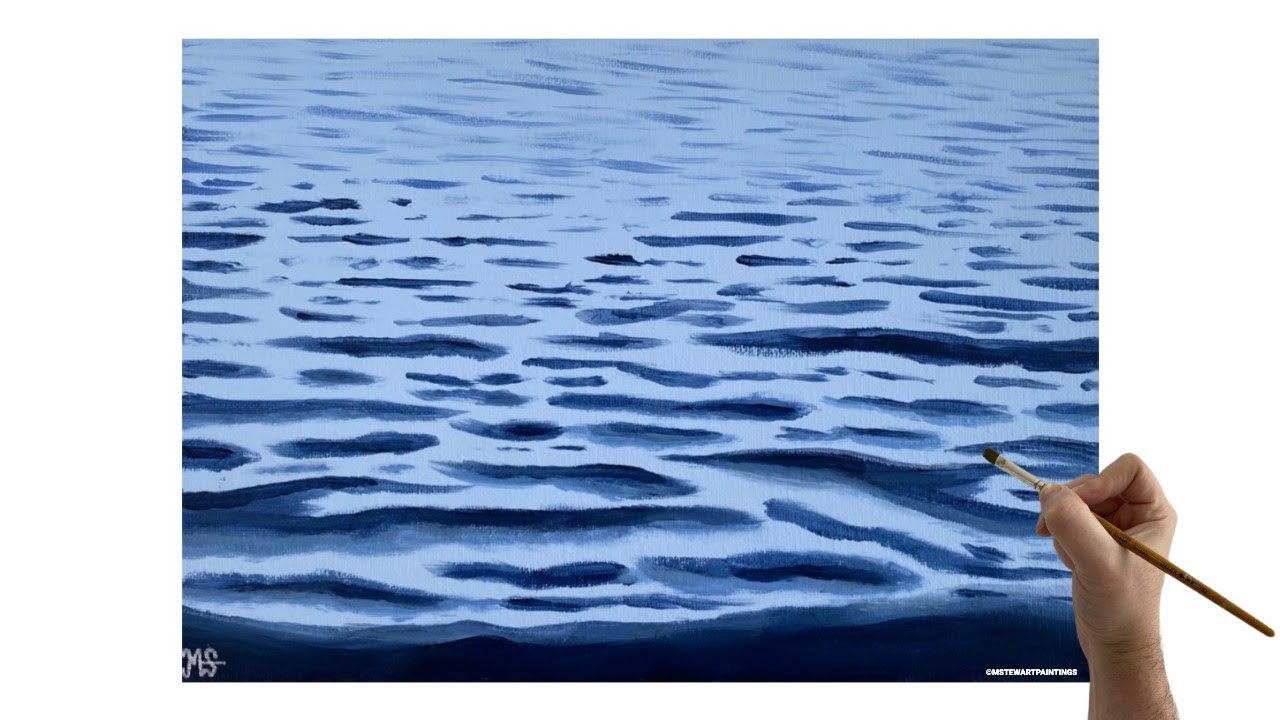
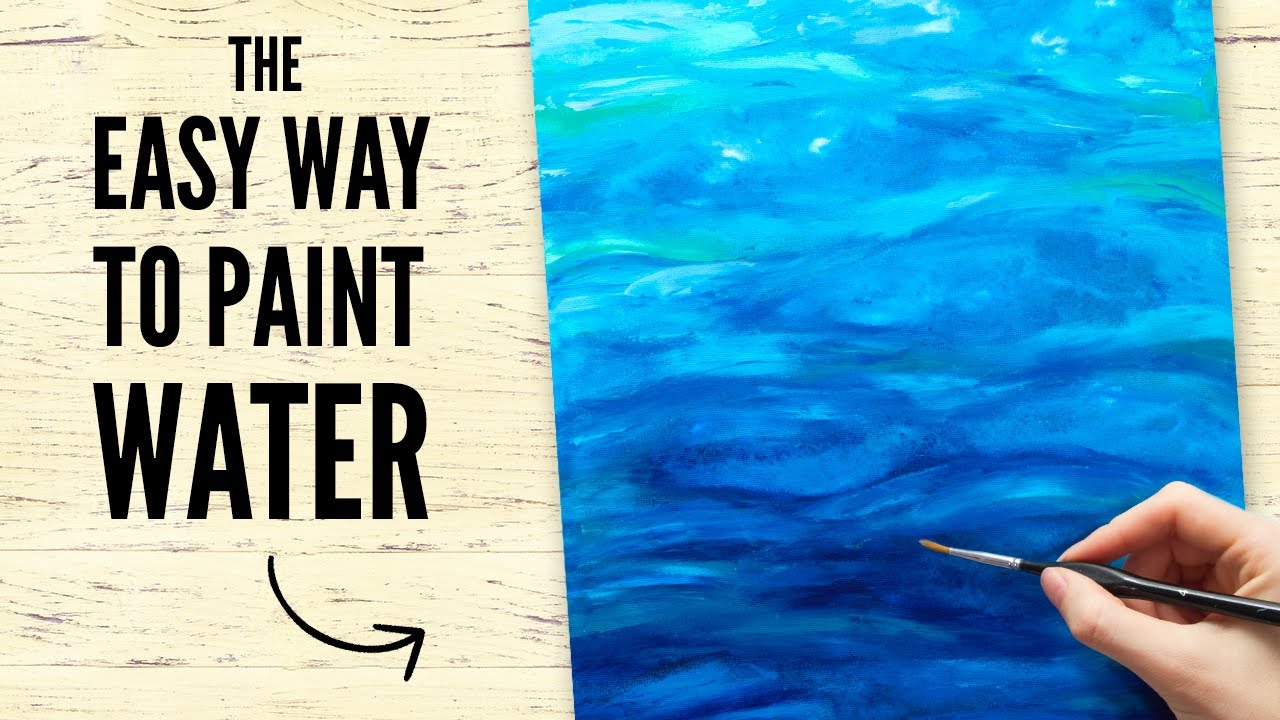
Credit: www.youtube.com
Choosing The Right Acrylics
Choosing the right acrylic paints is important to paint water effectively. Acrylics vary in texture, drying time, and finish. Picking the right type helps create realistic water effects. It also makes painting easier and more enjoyable. Understanding your tools and materials sets a strong base for your artwork.
Types Of Acrylic Paints
Acrylic paints come in heavy body, fluid, and soft body forms. Heavy body paints are thick and hold brush strokes well. They work best for textured water surfaces. Fluid acrylics are thin and flow smoothly. They are ideal for smooth, transparent water layers. Soft body paints have medium thickness. They offer good control and blend easily. Choose the type that matches your water style and technique.
Selecting Brushes And Tools
Brush choice affects how water looks in your painting. Flat brushes create sharp edges and reflections. Round brushes help paint soft ripples and waves. Fan brushes are useful for blending and creating texture. Use sponges or palette knives for special effects. Clean brushes often to keep colors pure and bright. Select tools that suit your painting method and desired water details.
Preparing Your Palette
Arrange your colors carefully for smooth mixing. Include blues, greens, white, and a touch of brown. Keep your palette clean to avoid muddy colors. Mix small amounts to test shades before applying. Use water or acrylic medium to thin paints for transparent water layers. A well-prepared palette helps achieve lifelike water reflections and depth.
Setting Up Your Workspace
Setting up your workspace is the first step to paint water with acrylics. A clean and organized area helps you focus. It also makes painting easier and more fun. Proper lighting, surface preparation, and materials all play a big role in your success. Let’s explore how to prepare your space for painting water effects.
Lighting And Surface Preparation
Good lighting shows true colors and details. Natural light is best. Position your workspace near a window if possible. Use bright white bulbs if natural light is limited. Avoid harsh shadows on your canvas.
Prepare your painting surface by cleaning it well. Remove dust and grease from your canvas or paper. This helps paint stick better. Stretch your canvas tightly to avoid wrinkles. A smooth surface is key to smooth water effects.
Mixing Water Effects Colors
Water has many colors. Mix blues, greens, and a touch of white for waves and reflections. Use small containers to mix paint. Thin your acrylic paint with water or medium for transparency. Test your colors on scrap paper before painting.
Try layering light colors first. Add darker shades later to create depth. Keep your color palette simple to avoid muddy colors. Remember, less is often more in water painting.
Organizing Materials
Keep brushes, paints, and water jars close. Use a palette to arrange your colors neatly. Have paper towels or rags ready for cleaning brushes. Organize your workspace to avoid spills and mess.
Label your paint tubes if needed. This saves time mixing the same colors. A tidy area helps you paint with focus and calm. Preparation leads to better results.
Basic Water Painting Techniques
Painting water with acrylics involves special techniques that help show its flow and shine. Understanding these basics helps create realistic and lively water scenes. Use these simple methods to start your water painting journey with confidence.
Creating Smooth Washes
Begin with a clean, wet brush and thin paint. Spread the color evenly across the paper. This technique mimics the smooth look of calm water. Work quickly before the paint dries. Avoid harsh lines to keep the wash natural.
Layering Transparent Glazes
Thin layers of paint add depth and color variation. Let each layer dry fully before adding the next. This builds a sense of water’s transparency. Use light colors first, then darker shades on top. Glazing creates the illusion of water’s movement.
Using Dry Brush For Texture
Use a brush with little paint and no water. Drag it gently over the dry surface. This adds roughness and highlights to the water. Dry brushing works well for waves or ripples. It gives your painting a lively, textured feel.
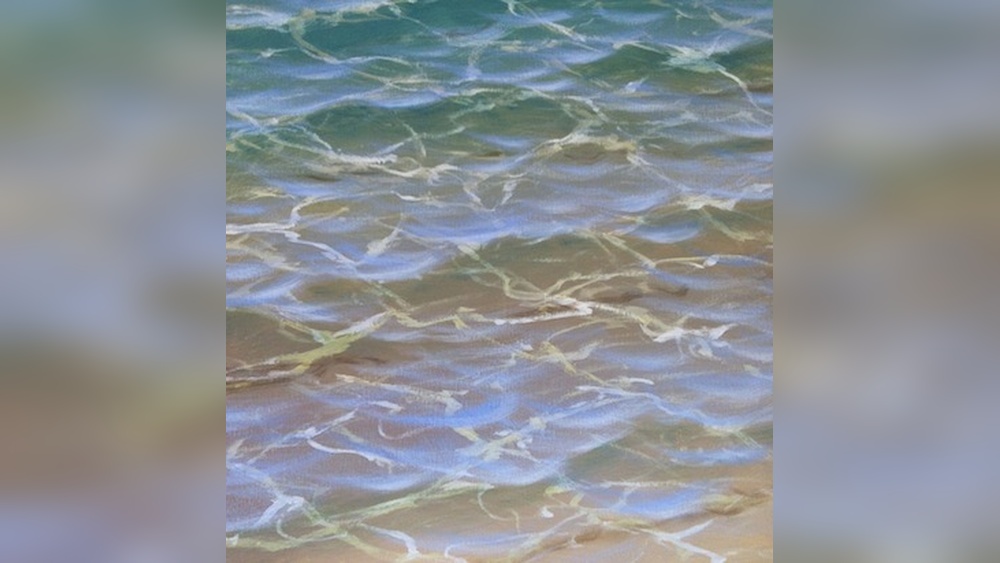
Capturing Water Movement
Capturing the movement of water in acrylic painting brings your artwork to life. Water is never still. It flows, ripples, and reflects light. Showing this motion helps create a natural and realistic scene. You can paint water that feels alive and dynamic.
Painting Ripples And Waves
Start with a base color that matches the water’s depth. Use short, curved brush strokes to create ripples. Vary the size and direction of waves for a natural look. Lightly blend edges to show soft water movement. Small white or lighter color lines highlight wave crests.
Highlighting Reflections
Water often reflects the sky, trees, or objects nearby. Paint reflections with softer shapes and colors. Use horizontal strokes to mimic water surface. Bright spots show sunlight or light sources. Blend reflections gently into the water color for smooth effect.
Depicting Shadows Underwater
Shadows add depth and realism under the water. Use darker shades of the water color below objects or waves. Soft edges make shadows look natural. Shadows follow the shape of the water and objects above. This shows the water’s transparency and movement beneath the surface.
Adding Realistic Details
Adding realistic details brings your acrylic water painting to life. These small touches create depth and movement. They help the water look natural and believable. Focus on light, texture, and surroundings to improve your work.
Painting Light Refractions
Water bends and splits light in many ways. Paint small, bright highlights on waves and ripples. Use white or pale yellow for these spots. Softly blend edges to avoid harsh lines. This shows how light changes as it passes through water.
Use thin, curved strokes to mimic light bending. Place highlights near the wave crests or shallow areas. This technique makes water look clear and shiny.
Creating Foam And Splashes
Foam adds energy and texture to water scenes. Use a small brush or sponge to dab white paint lightly. Focus on edges where water hits rocks or objects. This creates natural foamy patterns.
Paint tiny dots and short lines for splashes. Let some overlap the water surface. This adds motion and realism. Avoid making foam too uniform or smooth. Real foam looks random and rough.
Incorporating Surrounding Elements
Reflect nearby objects on the water surface. Paint soft, blurred shapes of trees, sky, or stones. Use horizontal strokes to mimic reflections. Keep colors lighter and less detailed than actual objects.
Add shadows under floating leaves or boats. Use darker tones with soft edges. These small details connect water with its environment. They make your painting feel complete and natural.
Troubleshooting Common Issues
Painting water with acrylic can sometimes be tricky. Mistakes happen. Layers may look too thick. Colors might not blend well. Textures may seem odd. These problems can make your painting less realistic. Fixing them takes practice and the right techniques. This section helps you solve common issues fast.
Fixing Overly Opaque Layers
Water looks clear and light. Thick paint hides this effect. To fix heavy layers, add water or acrylic medium. Thin the paint before applying. Use a soft brush for smooth strokes. Let each layer dry before adding more. Thin layers build depth and shine. Avoid thick paint that blocks light.
Correcting Color Mistakes
Colors may look wrong or muddy. To correct, wait for paint to dry. Use a damp brush to lift some color. Dab gently, do not scrub. Apply a new layer with the right color. Mix colors carefully on a palette first. Test colors on paper before painting. Bright blues and greens work best for water.
Avoiding Unnatural Textures
Water should look smooth or gently rippled. Rough brush strokes can look strange. Use soft, even strokes for calm water. For waves, use short, curved strokes. Avoid heavy texture on flat water areas. Use a fan brush or sponge for soft effects. Blend edges softly to mimic water movement.
Finishing Touches
After completing your acrylic water painting, focus on the finishing touches. These steps help protect your work and improve its look. Small details can make your painting shine and last longer.
Sealing And Protecting Your Artwork
Use a clear acrylic sealer to protect your painting. Sealers prevent dust, dirt, and moisture damage. Spray or brush on the sealer in thin, even layers. Let each layer dry fully before adding another. This process keeps colors bright and sharp for years.
Enhancing Depth With Varnishes
Varnish adds shine and depth to your water painting. Choose between matte, satin, or gloss finishes. Gloss varnish makes colors look rich and vibrant. Matte varnish reduces glare for a soft look. Apply varnish carefully to avoid streaks or bubbles. This step brings out the water’s texture and reflection.
Displaying Your Painting
Display your artwork in a place with indirect light. Avoid direct sunlight to stop fading. Frame your painting with a simple frame for focus. Use glass or acrylic glazing to protect the surface. Proper display keeps your painting safe and beautiful.
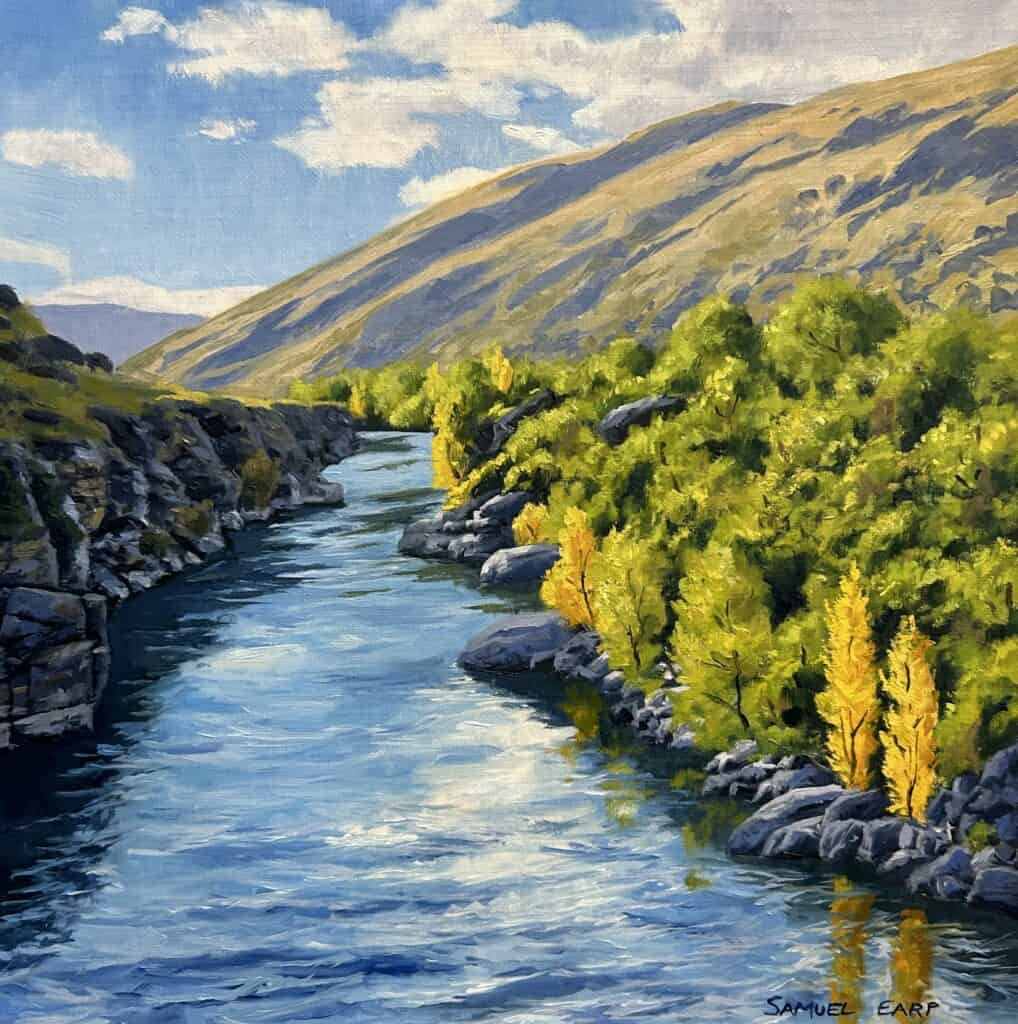
Credit: samuelearp.com
Credit: www.youtube.com
Frequently Asked Questions
How Do I Mix Colors To Paint Realistic Water?
Mix blue, green, and white acrylic paints to create natural water tones. Adjust ratios for depth and reflections. Use transparent layers to mimic water’s translucency and movement.
What Brush Types Work Best For Painting Water?
Flat and fan brushes are ideal for painting water. Flat brushes create smooth strokes, while fan brushes help blend and add texture. Use soft bristles to achieve fluid, natural water effects.
How Can I Add Reflections In Acrylic Water Paintings?
Paint reflections by mirroring objects with softer, blurred strokes. Use diluted paint for transparency and blend edges gently. Reflections should be slightly darker or lighter than the original objects.
What Techniques Create Water Movement With Acrylics?
Use layering and glazing techniques for water movement. Apply quick, horizontal brushstrokes and vary paint opacity. Adding highlights with white paint enhances the sense of ripples and waves.
Conclusion
Painting water with acrylics takes patience and practice. Start with light colors and build layers slowly. Watch how light and shadows play on water’s surface. Use soft brush strokes to create smooth reflections. Don’t rush; enjoy each step of the process.
Over time, your water scenes will look more real. Keep experimenting with colors and techniques. Every painting helps you improve your skills. Try to capture the movement and shine of water. Remember, simple tools can create beautiful effects. Keep painting, and your water art will grow better.