
Are you ready to transform your plain ceramic tiles into stunning works of art without spending a fortune? Painting DIY ceramic tile patterns is easier than you think, and you don’t need to be an expert artist to get beautiful results.
Whether you want to refresh your kitchen backsplash, add charm to your bathroom, or create a unique floor design, this guide will show you exactly how to do it step-by-step. By the end, you’ll have the confidence and know-how to turn your tiles into personalized patterns that reflect your style.
Let’s dive in and unlock the secrets to painting ceramic tiles that last and impress!
Materials And Tools
Gathering the right materials and tools sets the stage for your DIY ceramic tile painting project. Choosing quality supplies ensures your patterns look sharp and last long. Preparation is key for smooth application and lasting results.
Below are the essentials to have ready before you start painting your ceramic tiles.
Choosing The Right Paint
Pick paint made for ceramic or tile surfaces. Acrylic enamel paint works well for durability and color retention. Look for paint that resists moisture and is easy to clean. Avoid regular wall paint; it won’t hold up on tiles. Gloss or semi-gloss finishes highlight your patterns nicely.
Essential Brushes And Rollers
Use fine-tipped brushes for detailed designs and small patterns. Flat brushes help cover larger tile areas smoothly. A small foam roller works best for even coats on flat surfaces. Avoid thick rollers as they create uneven texture. Keep brushes clean to maintain crisp lines.
Additional Supplies Needed
Prepare painter’s tape to mask tile edges and create clean lines. Use a tile cleaner and degreaser to prep surfaces before painting. Sandpaper or a sanding block helps roughen tiles for better paint adhesion. Have a sealant or clear coat to protect finished designs from wear. Rags and water are handy for quick cleanups.

Credit: thebeautyrevival.com
Preparing Ceramic Tiles
Preparing ceramic tiles properly is essential for a lasting paint job. The tiles need a clean, rough, and primed surface. This helps the paint stick well and prevents peeling. Take time with each step for the best results.
Cleaning And Degreasing
Start by cleaning the tiles thoroughly. Use warm water and a mild detergent. Remove all dirt, dust, and grease spots. Grease or oil can stop paint from sticking. Rinse well and dry the tiles completely before moving on.
Sanding For Better Adhesion
Lightly sand the tile surface with fine-grit sandpaper. This creates tiny scratches that help paint grip better. Be gentle to avoid damaging the tile. After sanding, wipe away the dust with a damp cloth. Let the tiles dry fully before priming.
Priming The Surface
Apply a high-quality primer designed for ceramic tiles. Primer seals the surface and improves paint adhesion. Use a brush or roller for even coverage. Allow the primer to dry according to the instructions. This step sets a solid base for your painted patterns.
Design Ideas
Choosing the right design can make your DIY ceramic tile project stand out. Patterns give personality and style to plain tiles. They can match any room’s mood or theme. Below are some popular design ideas to inspire your creativity.
Classic Patterns
Classic patterns have a timeless appeal. Think of simple checkerboards or stripes. These designs fit well in kitchens and bathrooms. They bring elegance without being too busy. Use two or three colors for a neat look. Classic patterns work well with any décor style.
Geometric Shapes
Geometric shapes are bold and modern. Triangles, hexagons, and diamonds create interesting effects. Repeat shapes to form a continuous pattern. This style adds a fresh and clean vibe. Use contrasting colors to highlight the shapes. Geometric patterns suit contemporary spaces perfectly.
Floral And Nature Motifs
Floral and nature motifs bring life to tiles. Leaves, flowers, and vines add a soft touch. These designs create a cozy and natural feel. Choose delicate lines or bold blossoms. Use earthy or pastel tones for a soothing effect. Nature-inspired patterns work great in living areas or patios.
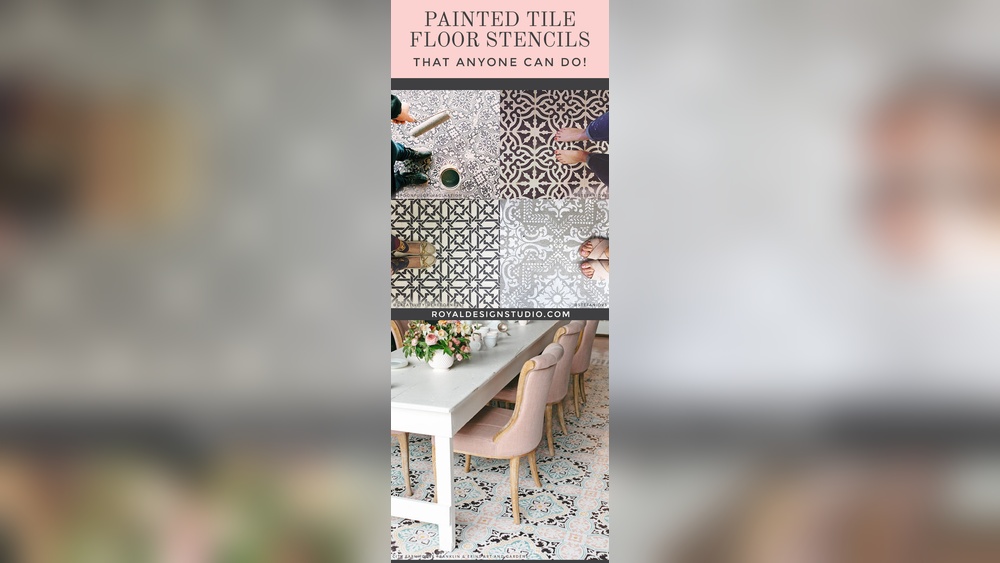
Modern Abstract Designs
Modern abstract designs offer freedom and creativity. Swirls, splashes, and asymmetrical shapes catch the eye. These patterns break traditional rules for a unique look. Use bright colors or muted shades to suit your style. Abstract designs add an artistic flair to any tile surface.

Credit: www.royaldesignstudio.com
Painting Techniques
Painting ceramic tiles offers a fun way to customize your space. Using the right painting techniques makes your design stand out and last longer. This section covers easy methods to create beautiful tile patterns with confidence and style.
Freehand Painting Tips
Freehand painting lets you add personal touches without limits. Use a small brush for details and a steady hand. Practice your design on paper before painting tiles. Keep paint layers thin to avoid drips. Allow each layer to dry before adding more color.
Using Stencils For Precision
Stencils help create clean and repeatable patterns. Secure the stencil firmly on the tile with tape. Use a sponge or stencil brush to apply paint gently. Dab paint lightly to prevent bleeding under the stencil edges. Remove the stencil carefully before the paint dries.
Blending And Layering Colors
Blending colors adds depth and interest to your design. Work quickly while the paint is still wet for smooth transitions. Layer lighter colors first, then add darker shades on top. Use a dry brush to soften edges between colors. Experiment with color mixing on a test tile.
Painting Tile Edges And Corners
Edges and corners need special attention for a polished look. Use a small angled brush for tight spaces. Paint edges slowly to avoid smudges on the tile face. Apply multiple thin coats for full coverage. Let paint dry completely before handling the tiles.
Sealing And Finishing
Sealing and finishing your DIY painted ceramic tiles is vital for protecting your artwork. This step guards the paint from scratches, moisture, and everyday wear. Proper sealing keeps your tile patterns vibrant and beautiful for years. It also makes cleaning easier and prevents fading.
Choosing The Right Sealant
Select a sealant designed for ceramic and painted surfaces. Look for a clear, non-yellowing formula. Water-based polyurethane or acrylic sealants work well. Ensure the sealant is durable and suitable for the tile’s location. For floors, pick a heavy-duty, high-traffic sealant. For walls or backsplashes, a lighter sealant may be enough.
Applying Protective Coats
Apply sealant in thin, even layers for best results. Use a clean brush or foam applicator to avoid streaks. Let each coat dry completely before adding the next. Two or three coats usually provide strong protection. Avoid rushing this step to prevent peeling or bubbling. Finish with a final smooth coat for a polished look.
Ensuring Durability And Longevity
Keep the tiles dry during the sealing process to improve adhesion. Avoid heavy cleaning for at least a week after sealing. Use mild cleaners to maintain the sealant’s integrity. Reapply sealant every few years to refresh protection. Proper sealing extends the life of your painted tile patterns and keeps them looking fresh.
Common Mistakes To Avoid
Painting ceramic tiles is a fun way to refresh any room. Avoid common mistakes to get the best results. These errors can ruin your work and waste your effort. Focus on three main areas to keep your project smooth and successful.
Skipping Surface Preparation
Clean tiles thoroughly before painting. Dirt, grease, and grime prevent paint from sticking. Use a strong cleaner and let tiles dry completely. Sand the surface lightly to create texture for better adhesion. Skipping this step leads to peeling and chipping paint.
Using Incompatible Paints
Choose paint made for ceramic or tile surfaces. Regular wall paint will not hold well on tiles. Use epoxy or enamel paints for durability. Check product labels to ensure they suit ceramic tiles. Wrong paint types cause fading and flaking over time.
Rushing Drying Times
Allow each coat to dry fully before applying the next. Wet paint layers mix and create uneven patterns. Follow manufacturer drying instructions carefully. Patience helps avoid smudges and bubbles. Rushing this step can ruin your design.
Maintenance Tips
Maintaining your painted ceramic tiles keeps them looking fresh and vibrant. Simple care habits extend the life of your DIY tile patterns. Protect your work with regular attention and gentle cleaning.
Cleaning Painted Tiles
Use a soft cloth or sponge with mild soap and water. Avoid harsh chemicals or abrasive scrubbers that can damage paint. Wipe spills quickly to prevent stains. Dry tiles with a soft towel to avoid water spots.
Touching Up Damaged Areas
Keep some extra paint for touch-ups. Clean the damaged spot well before painting. Apply thin layers of paint and let it dry completely. Seal the touched-up area with a clear sealer for protection.
Preserving Colors Over Time
Keep tiles out of direct sunlight to prevent fading. Use a clear, UV-resistant sealant on top of painted tiles. Reapply sealant every year to maintain color brightness. Avoid heavy impact or dragging sharp objects on tiles.
Creative Project Ideas
Creative project ideas inspire unique ways to paint DIY ceramic tile patterns. These projects add personality and charm to your home. They also offer fun, hands-on experiences for all skill levels. Explore simple yet stylish ways to transform tiles into art.
Diy Tile Coasters
Create custom tile coasters with painted patterns. Choose small ceramic tiles as your base. Use waterproof paint to add geometric or floral designs. Seal with a clear coat for durability. These coasters protect surfaces and brighten any room.
Decorative Backsplashes
Paint ceramic tiles to refresh kitchen or bathroom backsplashes. Select patterns that match your décor style. Use stencils or freehand painting for unique looks. Painted backsplashes add color and personality without major renovation. Easy to clean and maintain too.
Upgrading Old Floors
Transform worn ceramic tile floors with painted patterns. Choose bold shapes or subtle designs to complement your space. Use floor-grade paint for lasting results. This project saves money while giving floors a fresh, stylish update. Perfect for renters and homeowners alike.
Personalized Wall Art
Turn ceramic tiles into personalized wall art pieces. Paint abstract patterns, quotes, or images on each tile. Arrange them in creative layouts on walls or shelves. This project brings color and meaning to any room. A simple way to showcase your creativity.
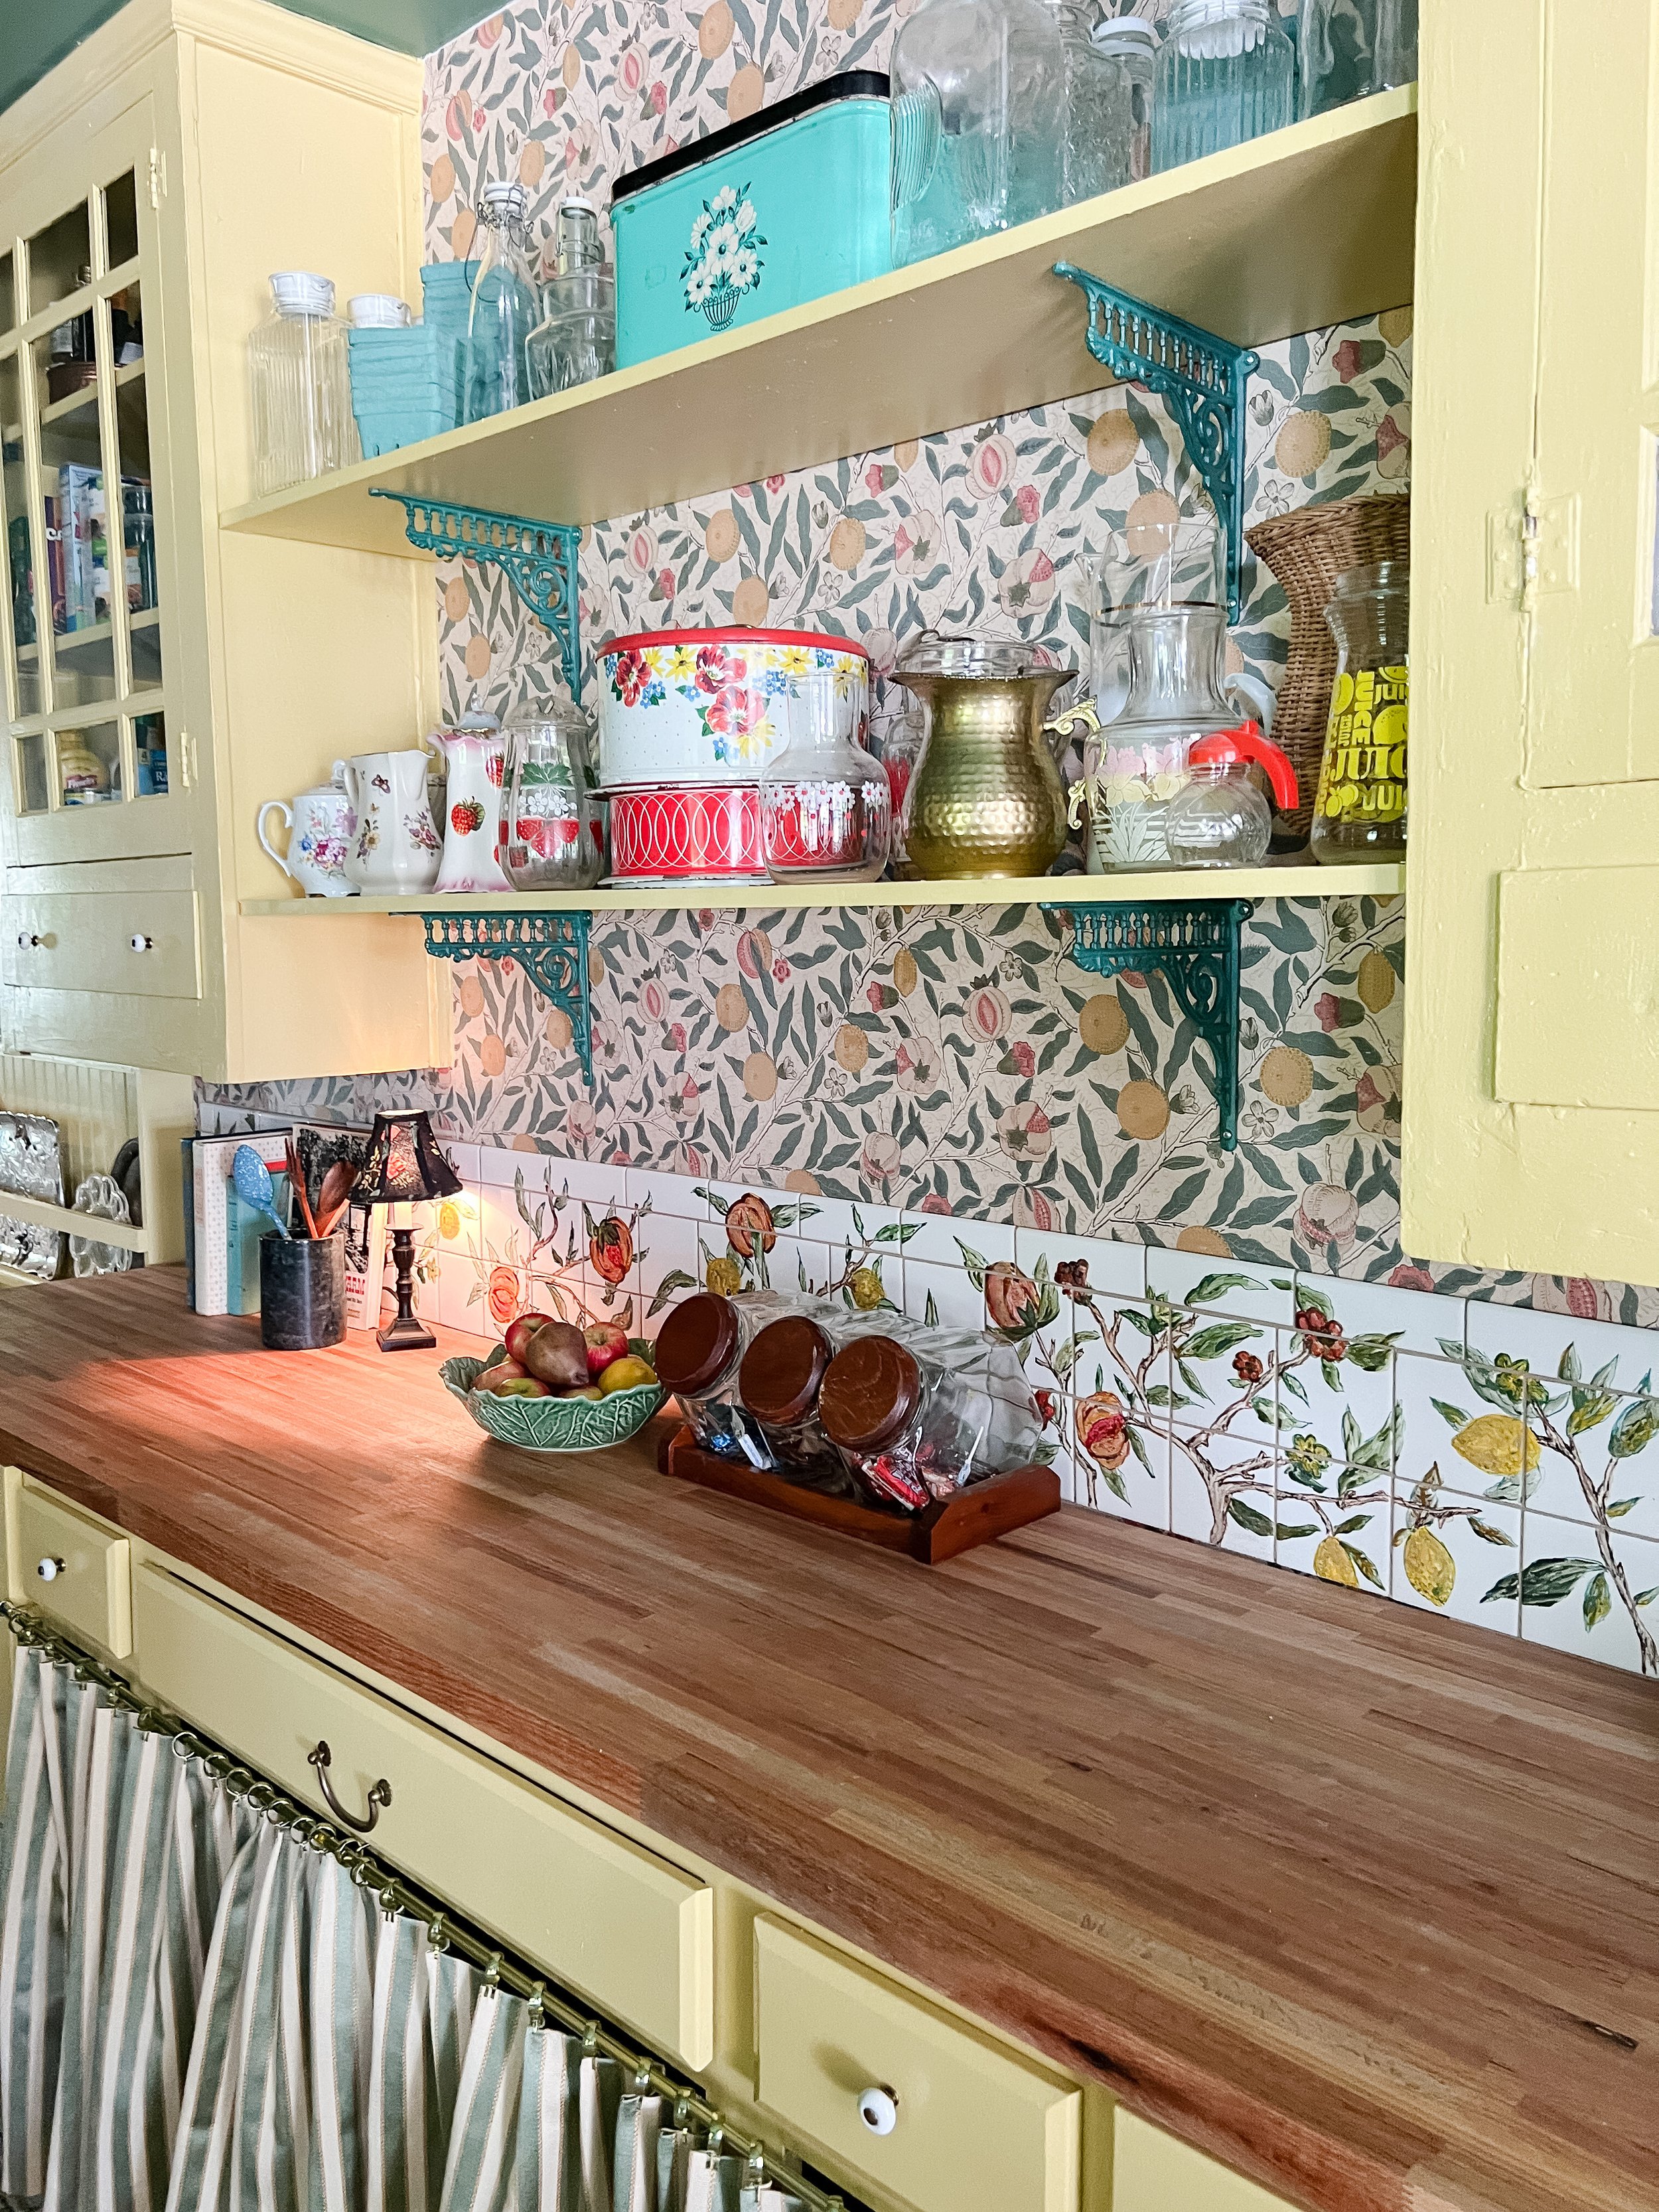
Credit: gatheredky.com
Frequently Asked Questions
What Kind Of Paint Will Stick To Ceramic Tile?
Use epoxy-based or acrylic latex paint designed for tiles. Proper surface cleaning and priming ensure strong adhesion.
How To Paint Patterns On Tiles?
Clean tiles thoroughly and let dry. Sketch your pattern lightly with pencil. Use acrylic or tile paint and fine brushes to paint designs. Allow paint to dry between layers. Seal with a clear tile sealer for durability and protection.
How To Paint Ceramic Tile Edges?
Use a small brush to carefully paint ceramic tile edges. Apply smooth strokes and avoid overloading paint. Let edges dry before rolling main tile surface.
Can You Paint A Design On Ceramic Tile?
Yes, you can paint designs on ceramic tiles using special tile paint and stencils. Proper surface prep ensures lasting results.
Conclusion
Painting DIY ceramic tile patterns can transform any space with charm. Start with clean, dry tiles for the best results. Use quality paint designed for ceramic surfaces to ensure durability. Take your time with stencils or freehand designs to create unique patterns.
Seal your work with a clear coat to protect the paint. Enjoy your personalized tiles that add color and style. This simple project brings creativity and freshness to your home easily. Try it yourself and watch your tiles come alive with beautiful patterns.


