
Painting flowers can be a magical experience for children. It’s more than just fun—art helps kids develop fine motor skills, learn about colors, and express themselves. If you want to guide a child through painting a beautiful flower, you don’t need to be an art teacher or a professional artist.
With simple steps, some patience, and a bit of encouragement, any child can create a flower painting they’ll be proud of. Let’s explore, step by step, how to paint a flower for kids in a way that’s easy to follow, enjoyable, and educational.
Why Flower Painting Is Perfect For Kids
Kids love bright colors and simple shapes. Flowers are a wonderful subject because they’re easy to draw, and you can use almost any color. This activity can help children in many ways:
- Creativity: Kids decide what their flower will look like.
- Confidence: Completing a painting gives a sense of achievement.
- Observation skills: They learn to notice details in nature.
Even if a child has never painted before, following these steps will lead to a happy result.
Materials You’ll Need
Before starting, gather all your supplies. Having everything ready makes the painting session smoother and more enjoyable. Here’s what you need:
- Paper: Thick paper (like watercolor paper) works best.
- Paints: Watercolor, poster, or acrylic paints. Watercolor is less messy for beginners.
- Paintbrushes: One small and one medium-sized brush.
- Cup of water: For cleaning brushes.
- Palette or plate: For mixing colors.
- Paper towels: To clean up spills or dab brushes.
- Pencil and eraser: For sketching the flower.
- Apron or old shirt: To protect clothes.
- Table covering: Newspaper or plastic sheet.
A common mistake is using thin paper, which can tear when wet. Choose a heavier paper if possible for better results.
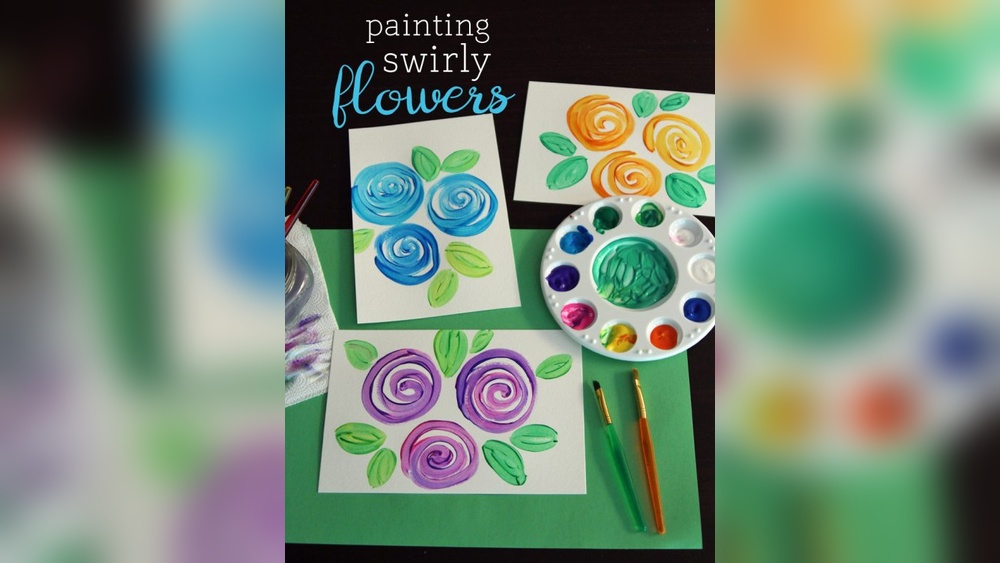
Credit: onelittleproject.com
Step-by-step Guide: How To Paint A Flower For Kids
Let’s break down the process into simple steps. Each step builds on the last, and you can pause as needed.
1. Sketch The Flower Shape
Start with a pencil. Ask the child to draw a small circle in the center of the paper. This will be the flower’s center. Next, draw 5-7 oval shapes around the circle—these are the petals. The petals don’t need to be perfect; flowers in nature are all different!
If drawing is hard for the child, try tracing around bottle caps or lids for the center and petals.
2. Draw The Stem And Leaves
From the bottom of the flower, draw a straight line down for the stem. Add one or two simple leaf shapes to the sides. Leaves can be long ovals with a point at the end.
Remind kids that every flower is unique. If the stem is a bit wavy or the leaves are different sizes, that’s great!
3. Choose Your Paint Colors
Let the child pick their favorite colors for the petals, center, and leaves. Encourage experimenting with unexpected combinations. Sometimes, kids choose colors that adults wouldn’t think of, and the results are beautiful.
Mixing colors can be exciting. For example, mix a bit of red and yellow to make orange for a bright flower.
4. Paint The Petals
Dip the medium brush into water, then into the chosen paint color. Start by painting each petal. It’s okay to leave a little white space between the petals and the center—this helps keep colors from mixing.
If using watercolors, show how a little water makes the color lighter, while less water makes it darker. This is a great chance to talk about shading and blending.
5. Paint The Center
Once the petals are dry (wait a minute or two), paint the center of the flower. Yellow or orange are popular choices, but any color works.
A non-obvious tip: Dab a tiny bit of brown or red into the wet center paint for extra depth. This creates a more interesting look.
6. Paint The Stem And Leaves
Clean the brush in water, then choose green or any favorite color for the stem and leaves. Paint carefully along the lines.
If you want, mix a little blue into the green for a cooler shade, or yellow for a warmer look. This shows kids how artists create different greens.
7. Add Details And Decorations
Once the basic flower is done, details make it special:
- Add tiny dots to the center using the tip of a brush.
- Paint lines on the petals to show texture.
- Outline the flower with a thin brush and a darker color for a cartoon style.
You can also add a background—like blue sky, grass, or other flowers. Remind kids not to overdo details; sometimes simple is best.
8. Let The Painting Dry
Place the finished painting in a safe spot to dry. Don’t rush this step. Touching wet paint can smudge the picture.
A practical tip: If you use lots of water or thick paint, drying may take up to an hour.
9. Sign The Artwork
When the painting is dry, ask the child to sign their name in the corner. This makes the artwork feel special and complete.
10. Display The Flower
Show off the finished flower painting! Hang it on the wall, stick it on the fridge, or give it as a gift. Celebrating kids’ art builds their confidence.
Visual Comparison: Paint Types For Kids
Picking the right paint helps avoid frustration. Here’s how common paint types compare:
| Paint Type | Drying Time | Mess Level | Best For |
|---|---|---|---|
| Watercolor | Very Fast | Low | Young kids, easy cleanup |
| Poster Paint | Fast | Medium | Vivid colors, craft projects |
| Acrylic | Medium | High | Older kids, lasting artwork |
Watercolor is usually best for beginners because it dries quickly and is easy to clean up.
Common Mistakes And How To Avoid Them
Painting with kids is about fun, not perfection. Still, some mistakes can lead to frustration. Here’s how to prevent them:
- Using too much water: Makes colors run and paper wrinkle. Teach kids to dab the brush before painting.
- Pressing too hard with the brush: Can damage the paper. Show how gentle strokes work best.
- Not letting paint dry between steps: Causes colors to mix unintentionally.
- Rushing the drawing: A slow, careful sketch gives better results.
- Over-mixing colors: Creates muddy colors. Encourage using just two colors at a time.
Remind kids that mistakes are part of learning. Sometimes, a “mistake” turns into a new creative idea.
Fun Flower Ideas For Kids To Try
Once your child paints their first flower, they may want to try more. Here are a few simple ideas:
- Rainbow flower: Each petal is a different color.
- Sunflower: Big yellow petals with a brown center.
- Daisy: White petals with a yellow center.
- Fantasy flower: Use colors that don’t exist in nature.
Encourage kids to look at real flowers outside or in books for inspiration. Drawing from life can spark new ideas.
Adding Extra Flair: Backgrounds And More
A flower can look even more special with a creative background. Here are some options:
- Blue sky: Paint the top half of the paper blue.
- Grass: Add green brushstrokes at the bottom.
- Butterflies or bees: Paint small insects near the flower.
- Abstract patterns: Dots, swirls, or zigzags around the flower.
Let the child decide how much to add. Sometimes, less is more.
Comparing Flower Painting With Other Art Activities
How does painting a flower compare to other popular art activities for kids? Here’s a quick look:
| Activity | Skill Level | Messiness | Time Needed |
|---|---|---|---|
| Flower Painting | Beginner | Medium | 20-40 minutes |
| Paper Collage | Beginner | Low | 30-50 minutes |
| Crayon Drawing | Easy | Low | 15-30 minutes |
| Clay Modeling | Intermediate | High | 40-60 minutes |
Painting flowers offers a nice balance—creative but not too messy or hard.
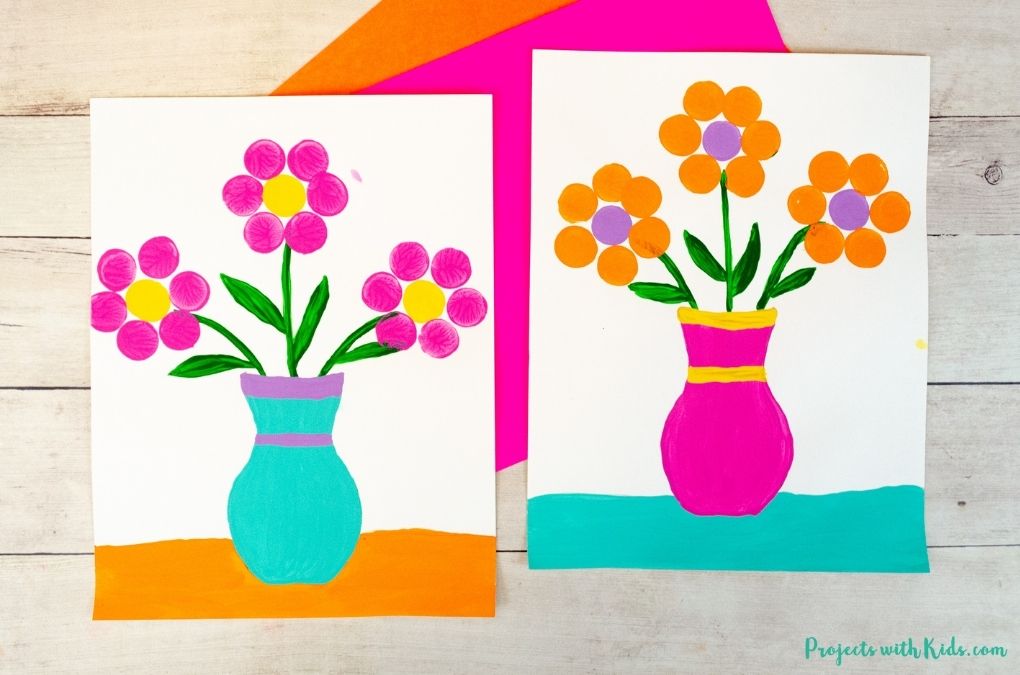
Credit: www.projectswithkids.com
Practical Tips For Parents And Teachers
Here are some extra insights that make painting more enjoyable and less stressful:
- Prepare ahead: Lay out all supplies before starting.
- Dress for mess: Old clothes or aprons save worry about stains.
- Let go of perfection: Focus on the process, not the result.
- Use positive language: Praise effort, not just the finished painting.
- Display artwork: Hanging art gives kids a sense of pride.
A less obvious tip: Play soft music in the background. It can help kids relax and enjoy painting more.
How To Encourage Reluctant Kids
Some children worry their art won’t look “good.” Here’s how to help them:
- Paint alongside them. Kids love seeing adults try too.
- Share stories of famous artists who practiced a lot.
- Remind them that every flower is unique, just like their painting.
If a child gets frustrated, take a short break and return when they’re ready.
Comparing Different Flower Shapes
Not all flowers are the same. Here’s a simple guide to three popular shapes:
| Flower Type | Number of Petals | Petal Shape | Difficulty |
|---|---|---|---|
| Daisy | 10-15 | Long, thin | Easy |
| Sunflower | 20-30 | Wide, pointed | Medium |
| Tulip | 6 | Rounded, cup-like | Easy |
Start with simple shapes. As kids get more confident, try more petals or different styles.
Where To Find Inspiration
Nature is the best teacher. Take a walk outside and notice the flowers you see. You can also look at children’s art books or online galleries. The WikiHow guide to painting flowers has simple examples for kids and adults.

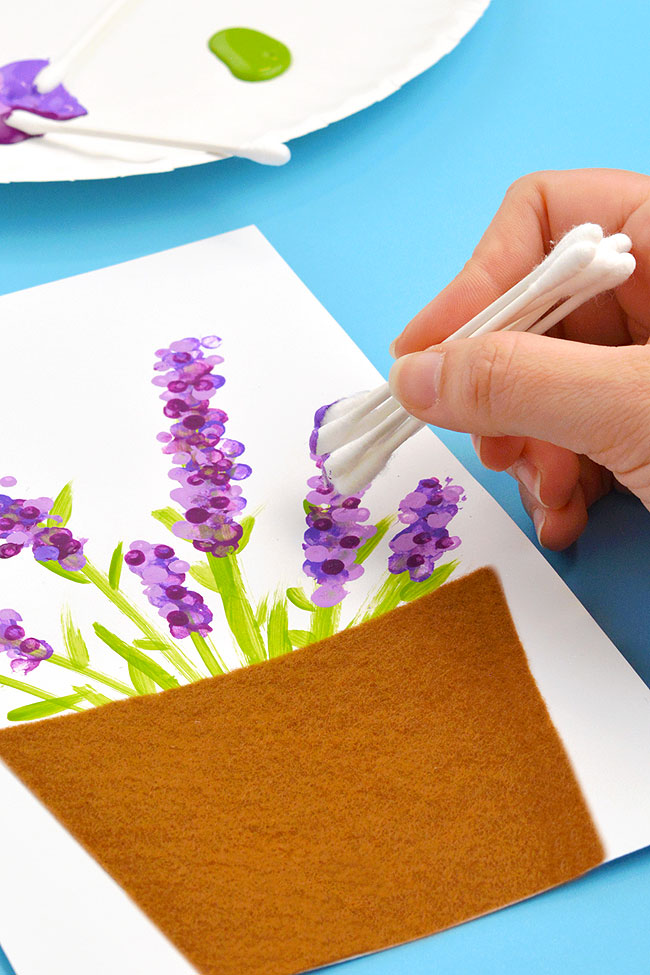
Credit: www.youtube.com
Building Good Painting Habits
Encourage kids to clean their brushes and put away supplies after painting. This teaches responsibility and respect for art materials. Make painting a regular activity—not just a one-time project. Over time, children will get more comfortable and creative.
Frequently Asked Questions
How Old Should A Child Be To Start Painting Flowers?
Most children can start simple flower painting at age 3 or 4, using large brushes and easy shapes. Supervision is helpful for younger kids.
What Type Of Paint Is Safest For Kids?
Watercolor and non-toxic poster paint are safest. Always check labels for “washable” and “child-safe” before buying.
Can Kids Use Markers Or Crayons Instead Of Paint?
Yes! Markers, crayons, and colored pencils are great alternatives. The steps are similar—just skip the water and paintbrushes.
How Can I Make Painting Easier For Kids With Special Needs?
Use larger brushes, thicker paper, and limit the number of colors to avoid overwhelm. Focus on sensory enjoyment rather than the finished look.
How Do I Store Kids’ Paintings?
Let paintings dry completely, then store flat in a folder or hang on a wall. Avoid stacking wet paintings to prevent sticking.
Painting a flower can be a joyful way for kids to learn, explore, and create. With a few simple steps, encouragement, and a playful attitude, children can discover the magic of art—one petal at a time.


