Have you ever wanted to capture the beauty of mountains on your canvas but felt unsure where to start? Painting mountains with acrylic can seem tricky, but it’s easier than you think.
In this guide, you’ll discover simple steps and pro tips to create stunning mountain scenes that look real and full of life. Whether you’re a beginner or looking to improve your skills, this article will give you the confidence and techniques to bring your mountain paintings to life.
Ready to turn your blank canvas into a breathtaking landscape? Let’s dive in!
Choosing The Right Materials
Choosing the right materials helps create beautiful acrylic mountain paintings. Good supplies make painting easier and more fun. The right paints, brushes, and canvas affect your final artwork. Start with the best tools to bring your mountain scene to life.
Selecting Acrylic Paints
Choose acrylic paints with strong colors and good quality. Pick colors like blue, white, gray, and brown for mountain landscapes. Use paint that dries fast but stays easy to blend. Avoid cheap paints that crack or fade quickly. A small set of basic colors works well for beginners.
Picking Brushes And Tools
Use different brushes for various effects. Flat brushes are good for large areas and sky. Round brushes help with details like mountain edges. A fan brush creates texture for trees and rocks. A palette knife adds rough texture and sharp lines. Clean brushes well after use to keep them soft.
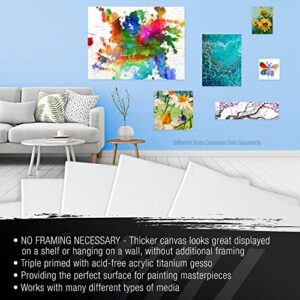
Preparing Your Canvas
Start with a clean, dry canvas. Use a canvas size that fits your painting style. Apply a thin layer of gesso to prime the surface. Gesso helps paint stick and prevents absorption. Let the primer dry before painting. A smooth surface helps paint glide easily.

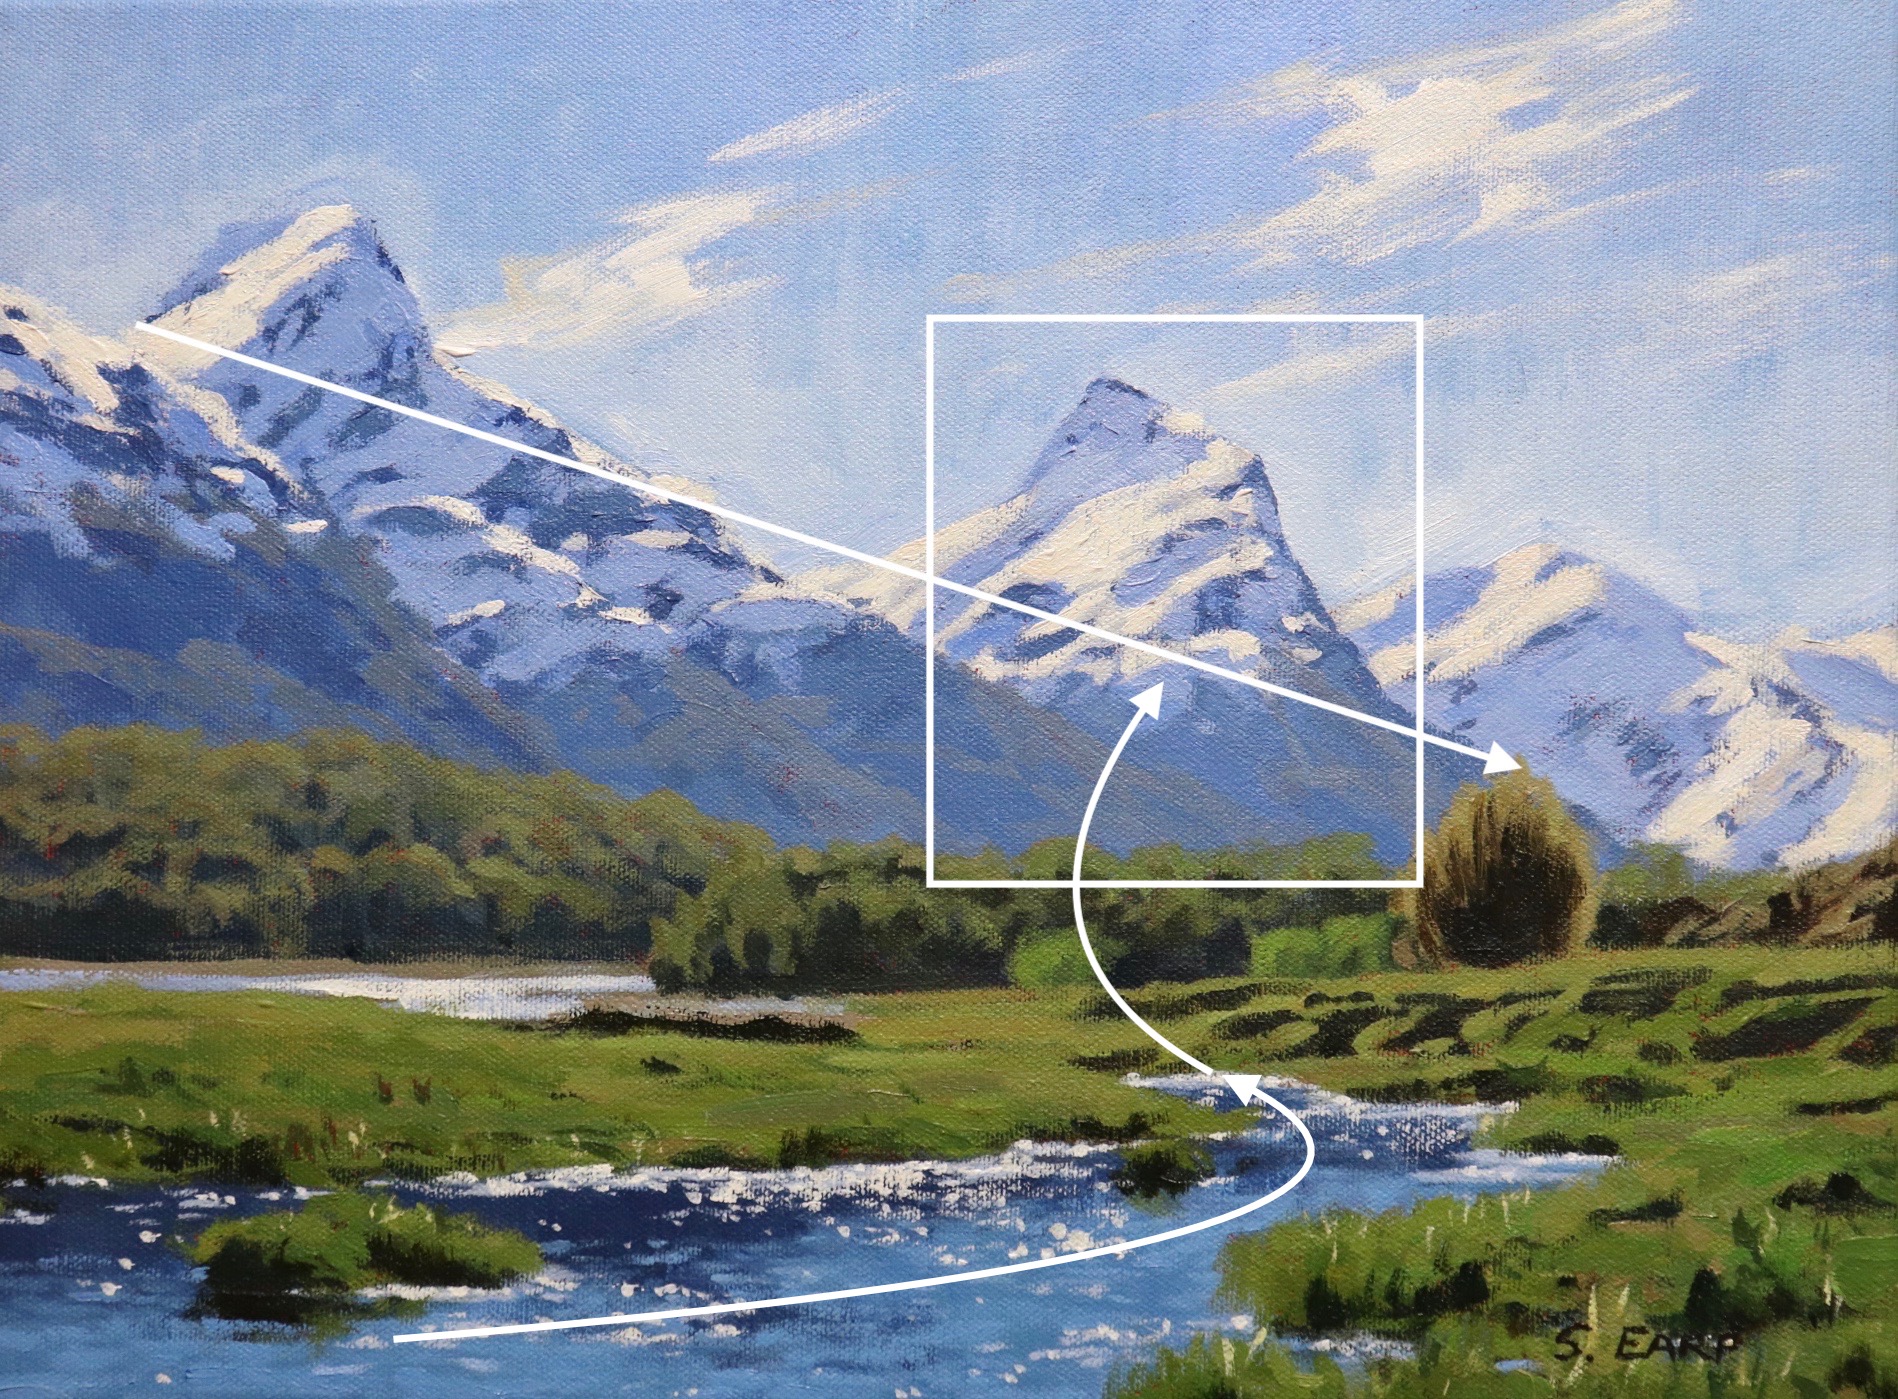
Credit: samuelearp.com
Setting Up Your Workspace
Setting up your workspace is the first step to paint mountains with acrylics. A neat and comfortable area helps you focus and paint better. It also keeps your supplies safe and easy to find. Preparing your space right makes the painting process smooth and fun.
Lighting And Ventilation Tips
Good lighting shows true colors and details of your painting. Natural light is best. Set your workspace near a window if possible. Use a bright lamp with daylight bulbs if natural light is not enough. Avoid harsh shadows on your canvas.
Ventilation keeps the air fresh and helps dry paint faster. Open windows or use a fan to circulate air. Acrylic paint has a strong smell, so fresh air is important. This also protects your health during long painting sessions.
Organizing Your Supplies
Keep your brushes, paints, and tools within reach. Use containers or jars to hold brushes upright. Arrange paints by color or type for quick access. A clean workspace stops clutter and distraction.
Prepare a palette with needed colors before starting. Have water and cloths nearby to clean brushes fast. Organized supplies save time and keep you focused on painting your mountains.
Sketching The Mountain Shape
Sketching the mountain shape is the first step in painting mountains with acrylics. This stage sets the foundation for your artwork. A clear sketch helps you place the mountain correctly on the canvas. It guides your painting process and keeps your work balanced.
Start simple. Use light pencil strokes so you can erase or adjust lines easily. Focus on the overall shape, not the details. Think about the height and width of the mountains. Capture the rough outline of peaks and valleys.
Basic Mountain Outlines
Begin by drawing simple triangle shapes. Mountains often look like triangles or cones. Use uneven lines to show natural peaks. Avoid perfect triangles; nature is irregular. Sketch a few overlapping shapes to create a range. This gives your painting a realistic look. Keep the lines light so you can paint over them later.
Adding Depth With Layers
Build depth by adding layers to your sketch. Start with the farthest mountains as faint outlines. Draw closer mountains with darker lines. This creates a sense of distance. Use overlapping shapes to show which mountains are in front. Layering helps the painting look three-dimensional. It makes the scene more interesting and lifelike.
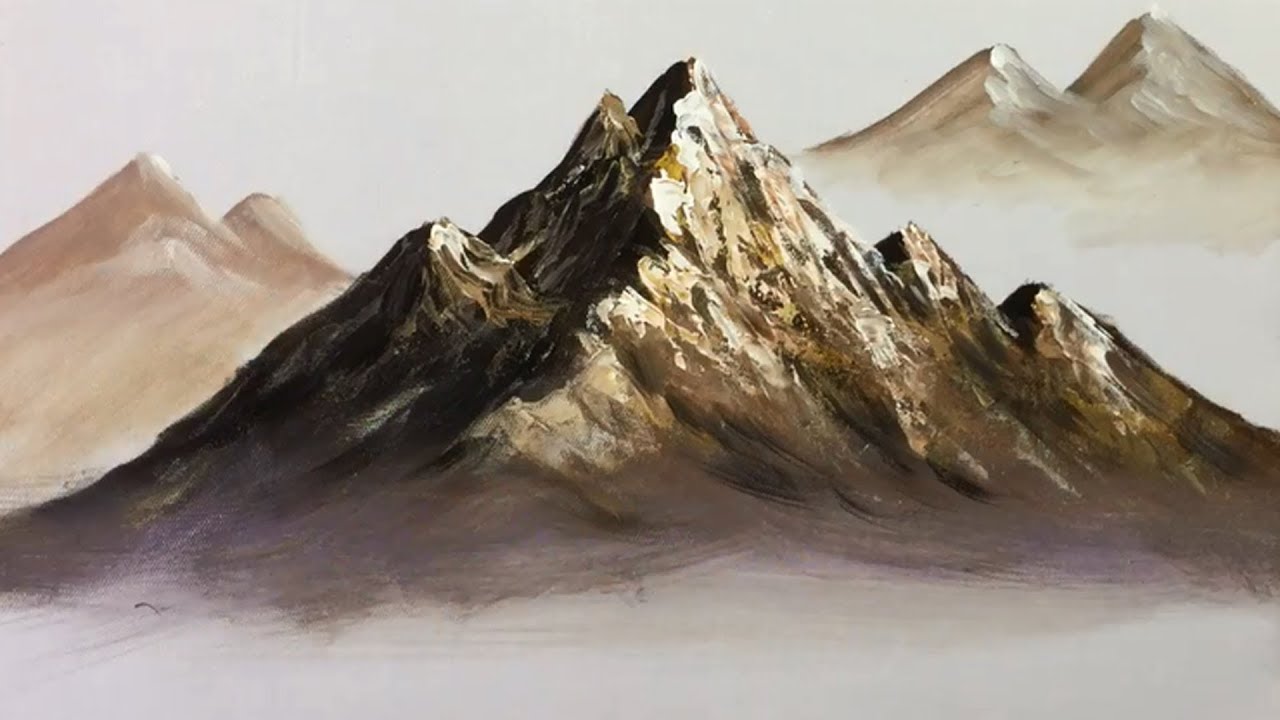
Credit: www.youtube.com
Mixing Colors For Mountains
Mixing colors for mountains is an important step in acrylic painting. It helps create depth and realism. Proper color mixing brings mountains to life on your canvas. Understanding how to blend colors improves the overall look of your artwork.
Creating Base Tones
Start with the base tones to build your mountain’s foundation. Mix earth tones like brown, gray, and green. Use a little blue or purple for cooler tones. Adjust the colors by adding white to lighten or black to darken. This base layer sets the mood and atmosphere.
Shading And Highlighting
Shade the mountain to show shadows and depth. Mix darker shades by adding black or dark blue. Apply these to crevices and lower areas. Highlight peaks and ridges with lighter colors. Use white or light yellow to catch the sunlight. This contrast makes mountains look three-dimensional and real.
Applying The Base Layer
Applying the base layer is the first step in painting mountains with acrylics. This stage sets the foundation for the entire artwork. It helps establish the main shapes and colors of the mountain range. A good base layer makes the painting look more natural and lively later.
Use broad, simple strokes to cover large areas quickly. Focus on the overall shape rather than details. This approach saves time and prepares the canvas for adding texture and depth.
Blocking In Large Areas
Start by mixing your base colors on a palette. Choose colors that match the distant look of the mountains. Use a large brush to paint the biggest shapes first. Cover the sky, mountain tops, and foreground areas with flat color. Avoid small details at this point. Keep strokes loose and smooth to fill space fast.
Building Texture
After blocking in shapes, add texture to the mountain surface. Use a dry brush or sponge for rough, rocky effects. Dab paint lightly to create natural patterns. Vary the pressure and direction of strokes. This makes the mountains look rugged and real. Allow some base color to show through. Texture adds interest and depth without overworking the painting.
Adding Details And Highlights
Adding details and highlights brings your mountain painting to life. It creates depth and shows texture. Details make the mountain look real and interesting. Highlights show where light hits the rocks and snow. This step adds contrast and draws the eye.
Painting Rock Faces
Start by using a small brush for fine lines. Use different shades of gray and brown. Paint cracks and rough edges on the rock surfaces. Use darker colors to show shadows. Light colors show the raised parts of the rocks. Work slowly to build texture step by step. This method gives the rocks a natural look.
Capturing Snow And Light Effects
Snow reflects light in many ways. Use white mixed with a tiny bit of blue or gray. Paint soft edges where snow meets rocks. Add small highlights where the sun touches the snow. Use a dry brush to create a powdery effect. Shadows on snow are usually cool colors like light blue or purple. These simple tips help snow look soft and bright.
Enhancing The Background
Enhancing the background gives your mountain painting more depth and interest. A well-painted background sets the mood and supports the main subject. It helps create a natural scene that feels real. Careful choices in color and detail can make your mountains stand out.
Painting Sky And Clouds
Start with the sky. Use light blue shades for a calm day. Blend the colors smoothly to avoid harsh lines. Add white or light gray for clouds. Soft, fluffy shapes work best. Use a dry brush or sponge for texture. Keep clouds light near the horizon. Darker clouds can add drama higher up. Let the sky colors blend into the mountains gently. This creates a natural transition.
Including Foreground Elements
Foreground elements add layers to your painting. Small trees, bushes, or rocks work well. Use darker and sharper colors here. This makes the foreground pop. Keep details simple but clear. Use smaller brushes for fine touches. These elements frame your mountains and add balance. They also lead the viewer’s eye into the scene. Avoid overcrowding the foreground to keep focus on the mountains.
Final Touches And Corrections
After painting the main shapes and colors of your mountains, the final touches bring your artwork to life. This stage focuses on small corrections and details. These help to sharpen the image and create a more realistic look. Take your time to refine and adjust the painting carefully. This step makes a big difference in how your mountains appear.
Refining Edges
Use a small brush to clean up the edges of your mountains. Soften harsh lines where the mountain meets the sky. Sharp edges can make the scene look unnatural. Blend colors gently at the borders to create smooth transitions. This technique adds depth and realism. Pay attention to the silhouette of each peak. Make sure no brush strokes look out of place.
Balancing Colors And Contrast
Check the colors across your painting for harmony. Add highlights where sunlight hits the mountain tops. Deepen shadows in the valleys and crevices. This contrast helps the mountains stand out. Avoid using too many bright colors at once. Keep the palette simple and natural. Adjust colors to match the mood you want. These small changes improve the overall impact of your work.
Sealing And Preserving Your Artwork
Sealing and preserving your acrylic mountain painting protects it from dust, dirt, and fading. It helps keep colors bright and the surface safe. Taking care of your artwork ensures it lasts for years to come.
Using Varnish
Varnish adds a clear, protective coat over your painting. It stops dust and moisture from damaging the surface. Choose a varnish that suits acrylic paint, like a matte or glossy finish.
Apply varnish with a clean brush in thin, even layers. Let each layer dry before adding the next. Avoid thick coats to prevent drips and uneven texture. Varnish also enhances your painting’s colors and depth.
Storage Tips
Store your painting in a dry, cool place away from direct sunlight. Sun can fade colors and damage paint. Keep paintings upright or flat on a clean surface to avoid warping.
Use acid-free paper or cloth to cover your artwork during storage. This protects the surface from dust and scratches. Proper storage helps keep your painting looking fresh and vibrant.
Credit: samuelearp.com
Frequently Asked Questions
How Do I Start Painting Mountains With Acrylics?
Begin by sketching mountain shapes lightly with a pencil. Use a large brush for background layers. Start with darker colors and gradually add lighter tones for depth and highlights.
What Brushes Work Best For Painting Mountains?
Use flat and fan brushes for broad strokes and texture. Detail brushes help create sharp edges and fine details. Choose synthetic brushes as they hold acrylic paint well.
How Do I Create Realistic Mountain Textures?
Apply paint in layers using dry brush technique for rough textures. Blend colors softly to mimic natural gradients. Add highlights on ridges and shadows in crevices for realism.
Can I Use Acrylic Mediums For Mountain Painting?
Yes, acrylic mediums enhance texture and drying time. Use gel medium for thick texture and glazing medium for transparent layers. These improve the painting’s depth and finish.
Conclusion
Painting mountains with acrylics can bring nature to life on your canvas. Start with simple shapes and build layers step by step. Use light and shadow to show depth and texture. Experiment with colors to capture different moods. Practice often to improve your skills and confidence.
Enjoy the process and let your creativity flow freely. Each painting is a new chance to express yourself. Keep exploring and have fun with every brushstroke.