
Have you ever wanted to capture the delicate beauty of feathers in your art? Painting feathers with acrylic paint might seem tricky at first, but with the right techniques, you can create stunning, lifelike details that bring your work to life.
Whether you’re a beginner or looking to improve your skills, this guide will show you step-by-step how to make your feathers look soft, vibrant, and full of texture. Keep reading, and you’ll discover simple tips that anyone can use to turn a blank canvas into a masterpiece.
Your next painting could be just a brushstroke away!

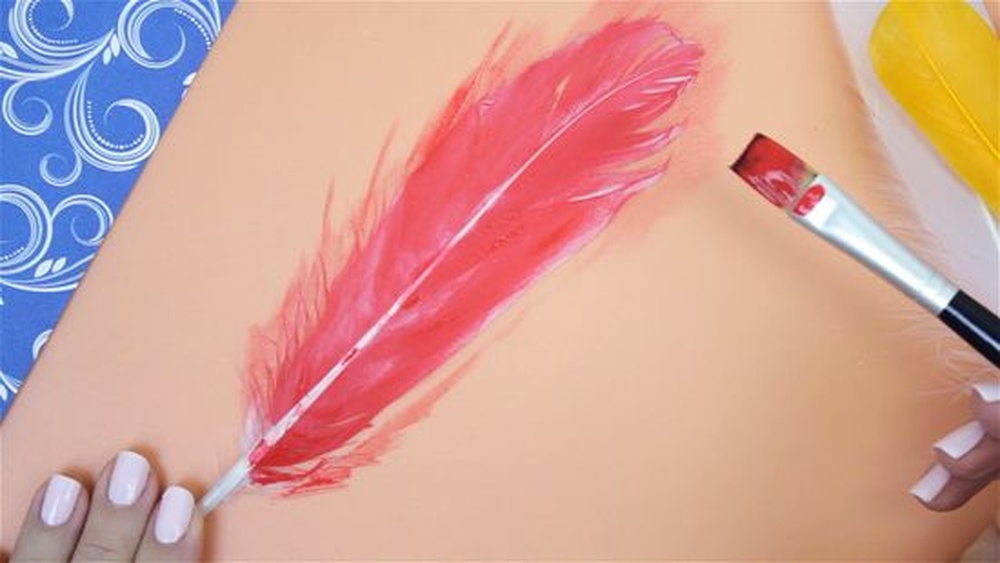
Credit: www.youtube.com
Materials Needed
Gathering the right materials is the first step to paint feathers beautifully with acrylic paint. Each item plays a key role in creating detailed and vibrant feather art. Prepare well to enjoy the painting process and get great results.
Choosing Acrylic Paints
Select paints with bright, rich colors. Acrylics that dry fast and layer well work best. Look for a set that includes white, black, and several shades of brown or blue. These colors help create realistic feather effects. Avoid paints that are too thin or watery.
Selecting Brushes
Pick brushes with fine tips and different sizes. Thin brushes help paint feather details and lines. Medium brushes cover larger areas smoothly. Use synthetic bristles as they hold acrylic paint well and last longer. Clean brushes often to keep their shape.
Preparing Your Workspace
Set up a clean, flat area with good light. Use a protective cover on the table to avoid stains. Have water and paper towels nearby for cleaning brushes. Organize all paints and brushes within easy reach. A calm space helps focus and enjoy painting.
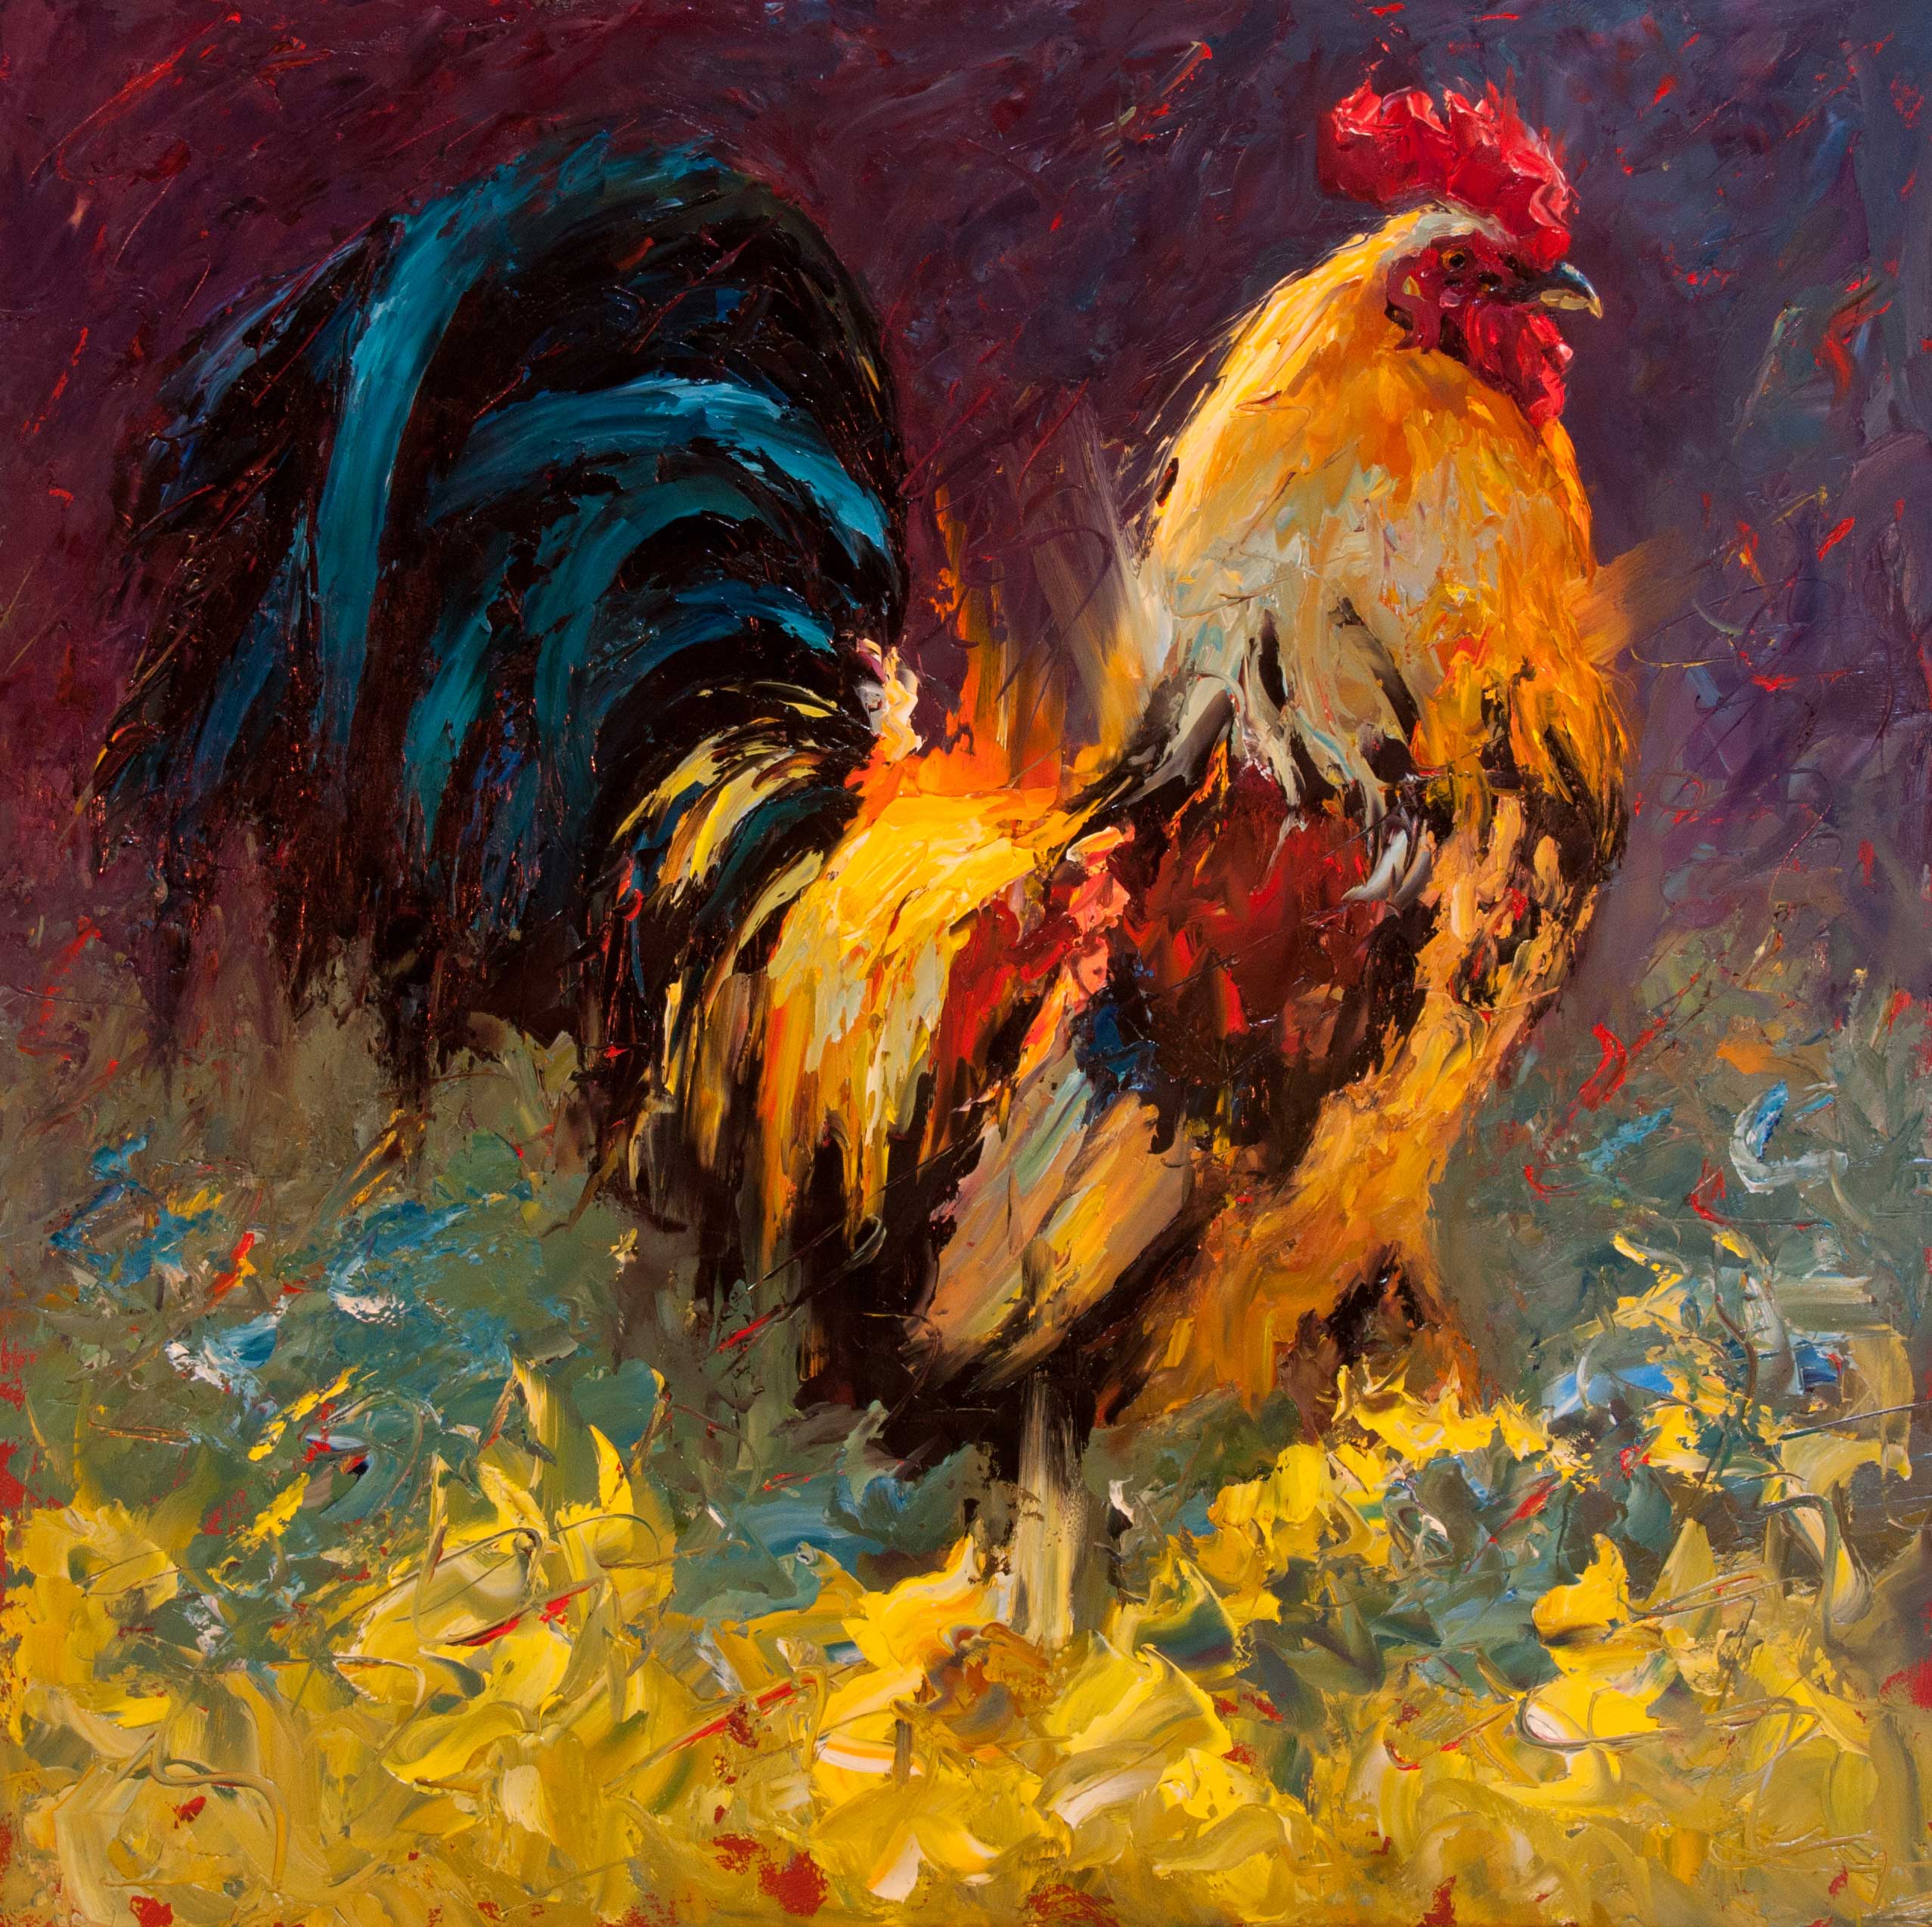
Credit: fineartconnoisseur.com
Basic Feather Shapes
Painting feathers with acrylics starts with understanding their shapes. Feathers come in many forms. Each shape has a unique look and texture. Learning these shapes helps you create realistic paintings.
Start by observing real feathers or photos. Notice the outline and structure. This helps in making your art more lifelike. Knowing basic shapes also makes sketching easier and faster.
Sketching Feather Outlines
Begin with light pencil lines to draw feather shapes. Use simple shapes like ovals or long teardrops. Keep your lines soft for easy changes later. Focus on the feather’s length and width first.
Add the central shaft, called the rachis. Draw it as a thin line down the middle. This guides the feather’s symmetry. Sketch the barbs on both sides, extending from the shaft. Avoid heavy details in this step.
Identifying Different Feather Types
Feathers vary by bird and function. Flight feathers are long and stiff. They have a strong central shaft with closely packed barbs. Down feathers are soft and fluffy. They look rounder and smaller.
Contour feathers cover the bird’s body. They have smooth edges and moderate length. Tail feathers are usually symmetrical and fan-shaped. Knowing these types helps in choosing shapes and textures for painting.
Mixing Colors
Mixing colors is a key step in painting feathers with acrylics. It helps create realistic and vibrant feathers. Good color mixing makes the feathers look soft and natural. You can achieve depth and detail by choosing the right tones.
Creating Base Tones
Start with basic colors like white, brown, and gray. Mix these to match the feather’s main color. Use small amounts of paint to control the shade. Blend colors slowly until you get the tone you want. A smooth base makes adding details easier. This step sets the foundation for your painting.
Adding Highlights And Shadows
Use lighter colors to add highlights on the feather tips and edges. This gives the feather a soft glow. Mix white with your base color for highlights. For shadows, mix darker colors like black or dark brown with your base. Apply shadows where the feather curves or overlaps. These contrasts make the feather look three-dimensional and real.
Painting Techniques
Painting feathers with acrylic paint requires specific techniques. These methods help create realistic and beautiful feather art. Simple steps make the process easier and fun. Focus on layering, blending, and texture to bring feathers to life.
Layering Paint
Start with a light base color. Let it dry before adding the next layer. Use thin layers to build color depth. Each layer adds detail and richness to the feather. Avoid thick paint; it hides fine lines and details.
Blending Colors Smoothly
Use a soft brush for smooth color transitions. Mix colors on a palette before applying. Work quickly while the paint is wet. Blend edges gently to avoid harsh lines. Soft blending creates a natural look for feathers.
Adding Texture
Use a dry brush to create fine lines. Lightly drag the brush to mimic feather strands. You can also use a small liner brush for detail. Texture adds realism and depth to the painting. Experiment with brush strokes for varied effects.
Detailing Feathers
Detailing feathers brings life and realism to your acrylic painting. This step helps capture the fine textures and delicate structures of feathers. Focus on the small parts that make each feather unique. Careful detailing creates depth and interest in your artwork.
Patience and precision matter most. Use the right tools and techniques to highlight the feather’s natural patterns. Small strokes can show the softness or stiffness of the feather parts. Let’s explore how to paint these details clearly.
Painting Barbs And Rachis
Barbs are the thin strands that form the feather’s surface. The rachis is the central shaft running through the feather. Paint the rachis first with a slightly darker color to create contrast. Use thin lines to show its shape and curve.
Next, add the barbs by painting thin, parallel strokes on both sides of the rachis. Vary the length and direction slightly to mimic natural patterns. Use lighter colors for the barbs to make them stand out. This technique gives the feather a soft, layered look.
Using Fine Brushes For Details
Fine brushes are essential for capturing small feather details. Choose brushes with thin, pointed tips for better control. These brushes help paint delicate lines and tiny textures.
Use gentle, short strokes to build feather texture gradually. Avoid pressing too hard to keep the strokes light and natural. Clean your brush often to keep the lines sharp. Fine brushes allow you to add subtle highlights and shadows for depth.

Credit: www.youtube.com
Finishing Touches
Finishing touches bring your acrylic feather painting to life. This stage focuses on refining details and protecting your artwork. Small steps here make a big difference in the final look.
Enhancing Depth
Adding shadows and highlights creates depth in your feather painting. Use a thin brush for fine lines and soft strokes. Darker shades near the base and lighter tones on edges add realism. Blend colors gently to avoid harsh lines. These subtle changes make the feathers look three-dimensional.
Sealing Your Painting
Sealing protects your painting from dust and fading. Use a clear acrylic varnish for a smooth finish. Choose between matte, satin, or glossy varnish based on your style. Apply thin, even coats with a clean brush or spray. Let each coat dry fully before adding another. Proper sealing keeps your artwork vibrant for years.
Common Mistakes To Avoid
Painting feathers with acrylics is fun but tricky. Many beginners make simple mistakes. These errors can ruin your artwork or waste time. Avoiding common pitfalls helps your feathers look real and beautiful. Here are key mistakes to watch for.
Using Too Much Paint
Thick paint hides feather details. It makes strokes look heavy and flat. Use thin layers instead. Thin paint helps capture delicate feather lines. Build up color slowly for better texture.
Skipping Base Layers
Starting without a base color causes uneven tones. A light base helps colors blend well. It gives feathers a soft, natural look. Always paint a base layer before adding details.
Ignoring Feather Direction
Feathers have a clear growth direction. Paint strokes against this look wrong. Follow the feather’s natural flow with your brush. It creates a lifelike and smooth effect.
Overworking The Painting
Too much blending can blur feather edges. This loses the feather’s unique shape. Paint with gentle, confident strokes. Stop when the feather looks clear and soft.
Neglecting Shadow And Light
Flat feathers lack depth without shadows and highlights. Use darker shades where feathers overlap. Add light touches where they catch light. Shadows and light make feathers pop off the page.
Tips For Practice
Practicing painting feathers with acrylic paint helps build skill and confidence. Small, focused exercises improve your technique over time. Practice lets you explore different styles without pressure. Keep your sessions short but regular for steady progress.
Improving Brush Control
Use different brush sizes to see how they affect feather strokes. Practice light, quick strokes for fine feather details. Try slow, deliberate strokes to create soft edges. Hold your brush closer to the bristles for better control. Work on smooth, even pressure to avoid harsh lines.
Experimenting With Colors
Mix colors to find natural feather shades. Try blending bright and muted tones for depth. Paint feathers using only two or three colors first. Notice how colors change when layered thinly or thickly. Use a wet brush to blend colors softly on your canvas.
Frequently Asked Questions
How Do I Start Painting Feathers With Acrylic Paint?
Begin by sketching the feather shape lightly on your canvas. Use a base color to cover the feather. Gradually add layers, focusing on light and shadow to create depth and texture.
What Brushes Work Best For Painting Feathers?
Use fine detail brushes for feather strands and medium flat brushes for base layers. Synthetic brushes hold acrylic paint well and allow precise strokes to mimic feather texture.
How Can I Make Feathers Look Realistic With Acrylics?
Focus on layering colors and blending softly. Add fine lines to represent barbs and use highlights to emphasize light reflection on feathers.
Should I Use A Primer Before Painting Feathers?
Yes, priming your surface with gesso helps acrylic paint adhere better. It also provides a smooth, even base for vibrant feather colors.
Conclusion
Painting feathers with acrylics can be fun and rewarding. Start with light colors and build layers slowly. Use small brushes for fine details and soft edges. Experiment with blending to create smooth transitions. Practice often to improve your technique and confidence.
Remember, patience is key to great feather art. Enjoy each step and watch your skills grow. Keep your paints ready and your creativity flowing. Painting feathers brings beauty to your art projects. Try these tips and see your work come alive.


