Painting a sun and moon wall art is more than just a craft—it’s a way to add beauty and meaning to your space. The sun and moon are symbols in many cultures, often representing balance, time, and unity. If you want to create your own artwork, you don’t need to be a trained artist.
With the right steps, some patience, and creativity, anyone can paint a stunning piece for their wall.
In this guide, you’ll learn every detail needed to paint a sun and moon wall art, from planning your design to the final protective finish. Whether you are a beginner or have some experience with painting, you’ll find practical advice, tips, and solutions for common mistakes.
Let’s dive into the world of color, shape, and imagination.
Planning Your Sun And Moon Wall Art
Before you start painting, planning your artwork is key. A clear plan saves time and helps you avoid mistakes.
Choosing A Style
There are many ways to paint a sun and moon. Some people prefer realistic art, while others like a more abstract or cartoon style. Look at online galleries, Pinterest, or even tattoo designs for inspiration. Decide if you want both the sun and moon on the same canvas or if you’d like to paint them separately.
Picking A Location
Think about where you want to hang your art. Is it a bedroom, living room, or a child’s playroom? The size and colors you choose should fit the space. For example, a large, bright sun might look great in a living room, while a gentle moon fits a quiet bedroom.
Sketching Your Idea
Use a pencil and paper to sketch your design. Experiment with different layouts. Try drawing the sun on one side and the moon on the other, or have them overlap in the center. This sketch will be your guide while painting.
Gathering Materials And Tools
Having the right materials makes painting easier and more enjoyable. You don’t need expensive supplies, but quality tools help your final artwork look better.
| Material | Recommended Option | Why It Matters |
|---|---|---|
| Canvas or Wall | Stretched cotton canvas (16”x20” or larger) | Smooth surface, easy to paint and hang |
| Acrylic Paints | Basic set (red, blue, yellow, black, white, orange, purple) | Fast drying, easy for beginners |
| Brushes | Flat, round, detail brushes (variety pack) | Different sizes for lines and large areas |
| Pencil & Eraser | Standard HB pencil, kneaded eraser | Easy sketching and correction |
| Palette | Plastic or wood | Mix colors easily |
| Water Cup | Reusable plastic cup | Clean brushes between colors |
| Old Cloth or Paper Towels | Any clean rag | Wipe and dry brushes |
| Masking Tape | Painter’s tape | Protect edges and create clean lines |
| Varnish (optional) | Clear acrylic spray | Protects your painting |
It’s easy to substitute some items. For example, if you don’t have a canvas, thick poster board works in a pinch. Acrylic paints are best for beginners because they dry fast and are easy to clean.
Preparing Your Workspace
A good workspace keeps your project fun and stress-free. Choose an area with good light and enough room to move. Lay down old newspapers or a plastic sheet to protect surfaces from paint splashes.
Organize your supplies so everything is within reach. Fill your water cup and keep your palette nearby. If you’re painting on a wall, use painter’s tape to mark out the area for your art. This keeps edges neat and helps you focus on your design.
Drawing The Sun And Moon Outline
Take your time with this step. The outline is the skeleton of your painting.
- Lightly sketch the sun and moon using a pencil. Start with basic shapes: A circle for the sun, a crescent or full circle for the moon.
- Decide how they interact. Do you want the sun and moon to overlap? Should there be faces on them? Many artists add simple faces to give character.
- Add details like sun rays and moon craters. Rays can be straight, wavy, or a mix of both.
- Don’t worry about mistakes—use a kneaded eraser to correct lines before painting.
Here’s a tip beginners often miss: Keep your lines light. Heavy pencil marks can show through light paint colors, and are hard to erase later.
Choosing And Mixing Colors
Color choice sets the mood for your wall art. Sun and moon paintings often use warm colors (red, orange, yellow) for the sun and cool colors (blue, purple, silver) for the moon. However, you’re free to experiment.
Basic Color Suggestions
- Sun: Yellow, orange, gold, touches of red
- Moon: Blue, white, gray, silver, soft purple
Acrylic paints mix well, so try making your own shades. Mix yellow with a little red for a sunset orange. Add a touch of blue to white for a cold moonlight look.
Creating Contrast
One non-obvious insight: Contrast makes both shapes stand out. If your sun is bright, keep your moon’s colors soft. If you use similar colors for both, they may blend together and lose impact.
Try out different combinations on a scrap piece of paper before you commit them to your artwork.
Painting The Background
A smooth, even background helps your sun and moon pop.
- Choose a background color that fits your room. Light blue, black, or purple are popular.
- Use a large flat brush to cover the canvas or wall. Work in even strokes.
- Let the background dry before painting the sun and moon. Acrylic paint dries in about 15-30 minutes, but thicker layers take longer.
For a gradient effect, blend two colors together while the paint is wet. For example, fade from dark blue at the top to light blue at the bottom. This gives a sky-like feeling.
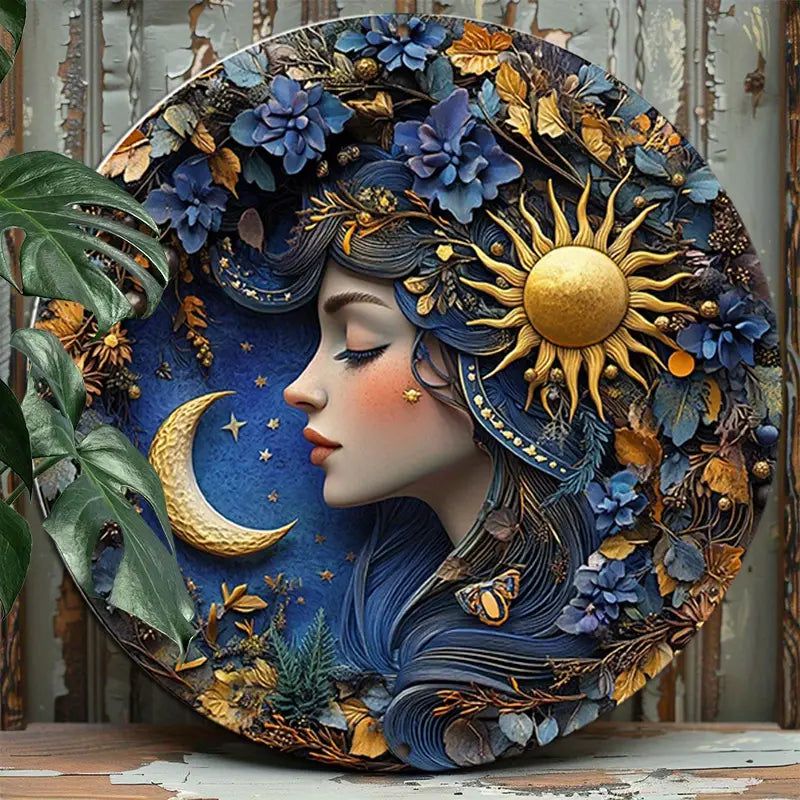
Credit: moonchildworld.com
Painting The Sun And Moon
Now the fun begins. Painting the sun and moon is your chance to bring the design to life.
Painting The Sun
- Use a round or flat brush for the main circle.
- Start with the lightest color (yellow) and fill in the circle.
- Add orange and red around the edges to create a glowing effect. Blend the colors while wet for a smooth look.
- Paint the rays. Alternate between straight and wavy for interest. Use a small brush for sharp points and a bigger one for soft, wide rays.
Painting The Moon
- Fill in the moon shape with light gray or blue.
- Add white highlights to make it look round and glowing.
- For a crescent moon, outline the edge with a slightly darker color to show its shape.
- Add small craters or shadow spots with a detail brush.
Adding Faces (optional)
Many sun and moon wall arts include simple faces. Use a thin brush to add closed eyes, a smiling mouth, or even decorative dots and lines. Keep it simple—too much detail can distract from the overall design.
Adding Extra Details And Effects
This is where your art becomes unique. Extra details can make a simple painting look professional.
- Stars: Use the tip of a small brush or an old toothbrush to flick white paint for tiny stars.
- Clouds: Dab white and light blue paint with a sponge for soft clouds.
- Swirls and patterns: Paint decorative lines or dots around the sun and moon for a magical, fantasy look.
- Glitter or metallic paint: Add gold to the sun or silver to the moon for extra shine. Use sparingly—too much can look messy.
One thing beginners often overlook: Less is more with details. Too many additions can make the art busy and confusing. Step back often to see the full effect.
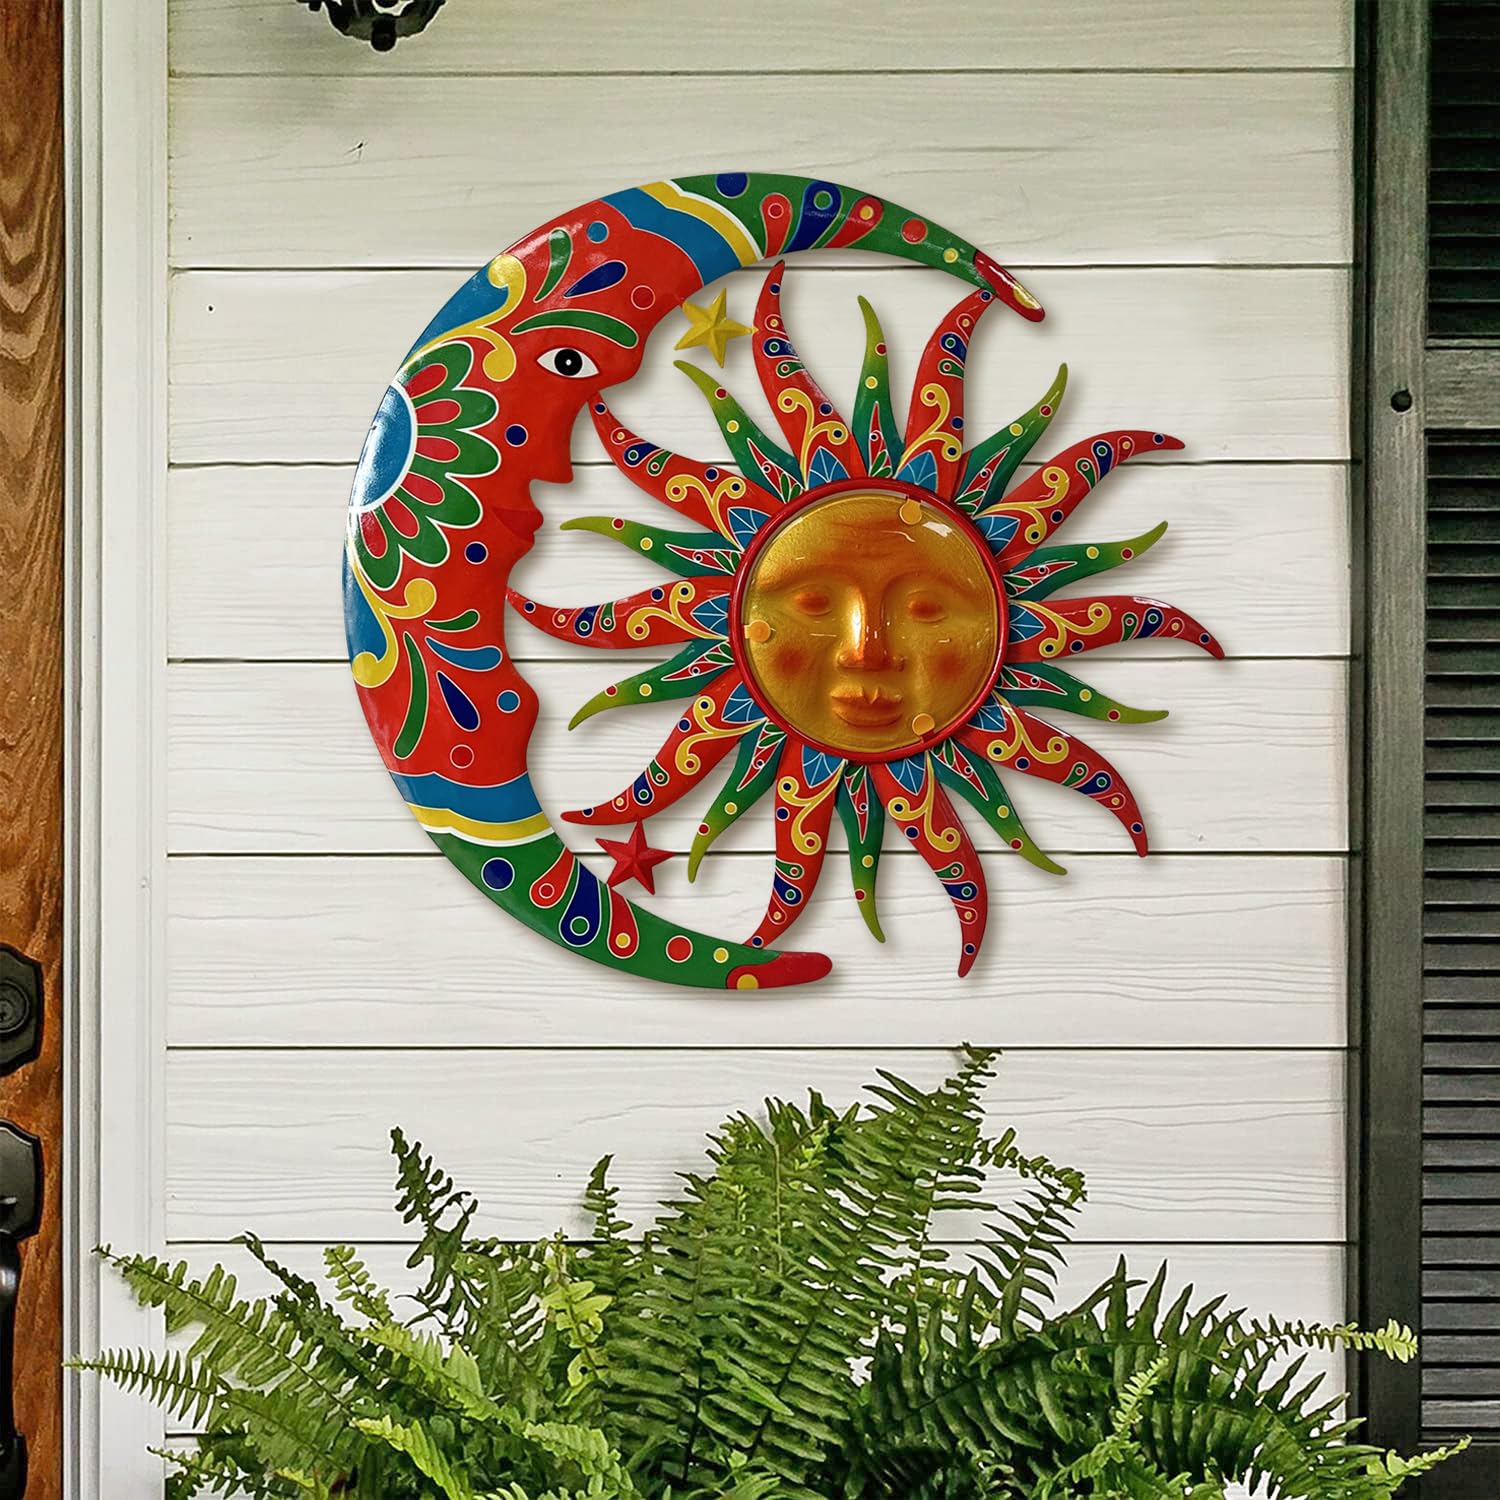
Credit: www.amazon.com
Drying And Sealing Your Art
Let your painting dry completely. Acrylic paint usually dries to the touch in 30 minutes, but thicker layers need a few hours.
If you want your painting to last longer and resist dust or fading, use a clear acrylic varnish. Spray or brush it on in a thin layer. Always follow the product instructions and let it dry in a well-ventilated space.
Hanging Your Sun And Moon Wall Art
Your art deserves a good place on the wall. Use strong hooks or picture hangers for canvas. If you painted directly on the wall, remove masking tape carefully for clean edges.
Think about lighting. A bright spot or gentle lamp can make your painting stand out, especially at night.
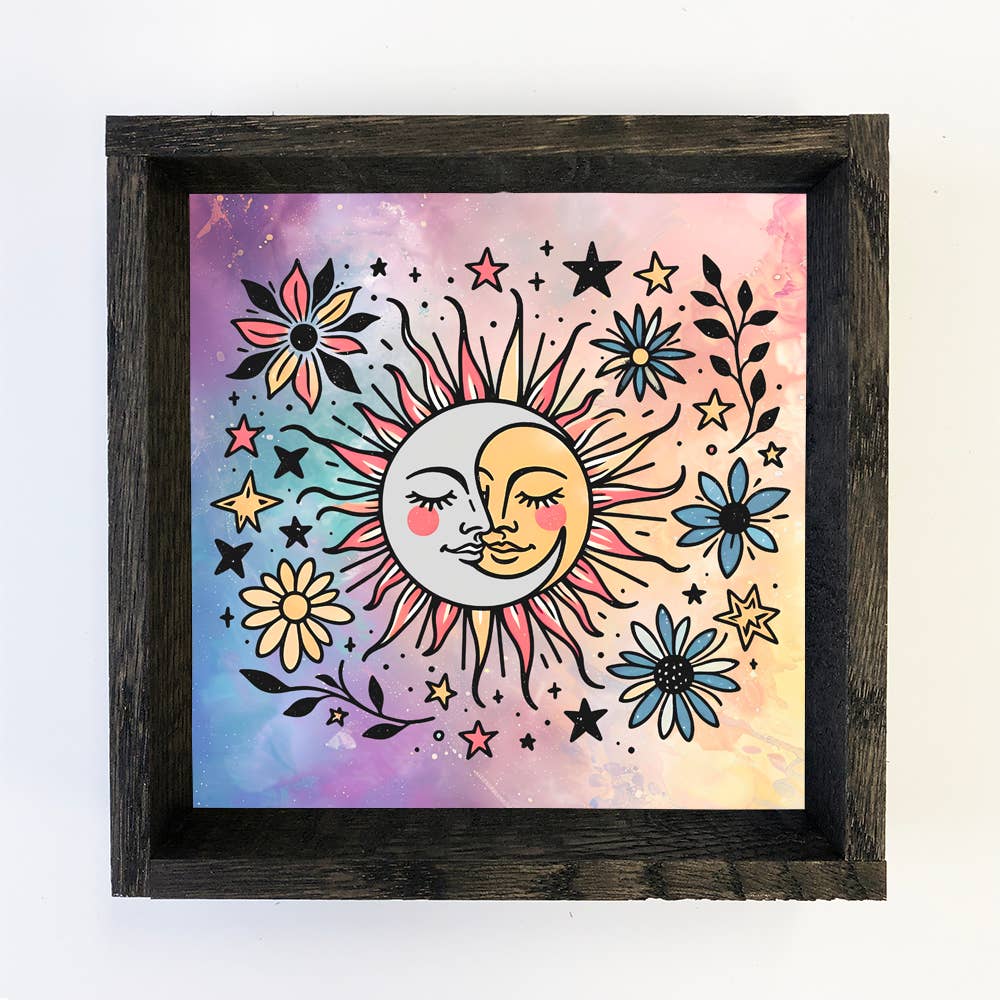
Credit: hangouthome.com
Common Problems And How To Fix Them
Even experienced artists make mistakes. Here’s how to handle a few common ones:
| Problem | Cause | Solution |
|---|---|---|
| Colors look muddy | Mixing too many colors at once | Clean brush between colors, use fresh paint |
| Pencil lines show through | Heavy sketching, thin paint | Use light pencil lines, apply a second paint layer |
| Paint bleeds under tape | Poor tape seal, watery paint | Press tape firmly, use thicker paint |
| Sun and moon look flat | No shadows or highlights | Add lighter and darker shades for depth |
If you make a big mistake, let the paint dry, then paint over it. Acrylic paint is very forgiving.
Taking Your Art To The Next Level
If you enjoy painting, try new ideas for your next sun and moon wall art:
- Use different shapes: Try a geometric or mosaic style.
- Add other celestial objects: Include stars, planets, or galaxies.
- Paint with family or friends: Combine ideas for a larger mural.
- Try mixed media: Add paper, fabric, or 3D objects to your canvas.
For more inspiration and techniques, you can explore WikiHow’s mural painting guide.
Frequently Asked Questions
How Long Does It Take To Paint A Sun And Moon Wall Art?
It usually takes 2 to 4 hours for a simple design, including drying time between layers. Adding many details or waiting for thicker paint to dry can make it longer. If you’re painting a large wall mural, plan for a full day or more.
What Kind Of Paint Should I Use?
Acrylic paint is best for beginners. It dries fast, is easy to clean, and works well on canvas or walls. You can also use wall latex paint for large murals. Avoid watercolor, as it won’t show well on vertical surfaces.
Can I Paint On A Wall Directly?
Yes, you can paint directly on most indoor walls. Make sure the wall is clean, dry, and dust-free before starting. Use painter’s tape to protect the surrounding area. If the wall is glossy, a light sanding helps paint stick better.
How Do I Fix Mistakes While Painting?
Let the paint dry fully, then paint over the mistake with your background color. Once that dries, try again with your main design. Acrylic paint is easy to cover, so don’t worry if you make a small error.
How Do I Make My Sun And Moon Art Look Unique?
Add personal touches like patterns, colors, or extra symbols that mean something to you. Try different shapes, faces, or add stars and clouds. Look for inspiration from different cultures or your own imagination.
Creating your own sun and moon wall art is a rewarding project. Take your time, enjoy the process, and don’t be afraid to experiment. Every piece is unique—just like the sun and moon themselves.