Painting can be a wonderful way to express yourself, but sometimes the tools you use make all the difference. If you have ever struggled to paint natural leaves, sweeping grass, or soft petals, it might not be your technique—it could be your brush. A dagger brush is a unique tool that many beginners overlook, but it can completely change how you paint fine details and fluid strokes. Learning to use a dagger brush can open new possibilities, whether you work with watercolor, acrylics, or oils. With the right tips and practice, you can create effects that are hard to achieve with any other brush.
What Is A Dagger Brush?
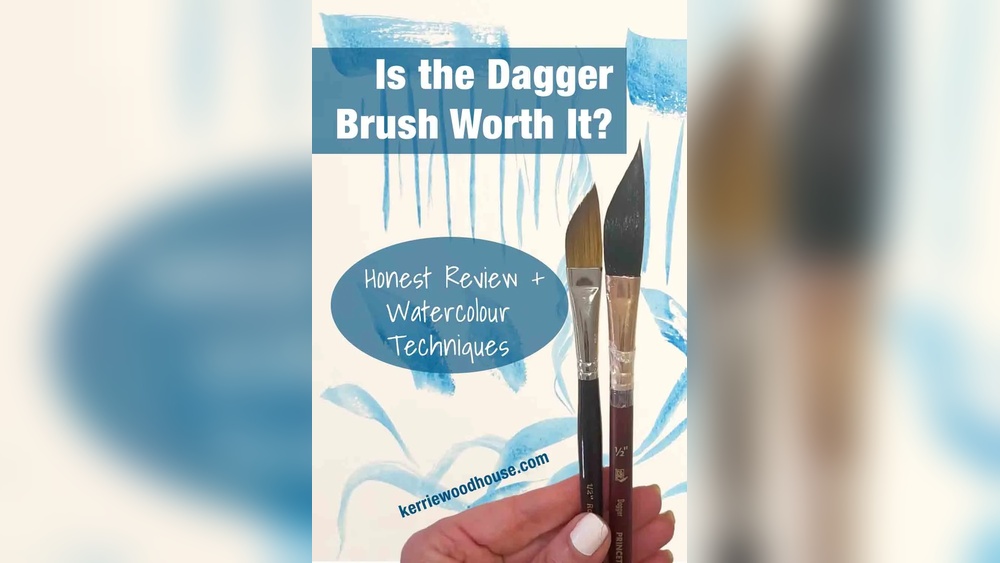
A dagger brush is a special artist’s brush with a slanted or angled tip, shaped a bit like a sword or knife. The bristles are cut so that one side is longer than the other, creating a sharp point and a flat edge. This design makes it different from round or flat brushes.
Most dagger brushes are about 1/4 to 1/2 inch wide, but you can find both larger and smaller versions. The unique shape allows for both bold strokes and fine lines. It’s often made with synthetic or natural hair, and you can use it with watercolor, acrylic, or oil paints.
Why Artists Love Dagger Brushes
The main reason artists reach for a dagger brush is versatility. With a single stroke, you can create a thick line, then flick your wrist for a thin detail. You can paint long, flowing lines or tiny veins in a leaf—all with one tool. This makes it perfect for painting flowers, grasses, hair, fur, and even calligraphy.
Another benefit is how well the brush holds paint or water. This helps you paint longer lines without stopping to reload your brush, making your work feel more fluid and natural.
How To Hold And Control A Dagger Brush
The way you hold a dagger brush is important for getting the most out of it. The angled tip means the brush responds differently to pressure and direction compared to a normal brush.
- Hold the brush at an angle: Rest your hand lightly and let the brush tip touch the paper or canvas at about a 30-degree angle.
- Use your wrist, not your fingers: Move your wrist to change the direction and pressure. This gives you smoother, more natural lines.
- Test the edge and tip: Try dragging the whole edge for a wide stroke, or just the tip for a thin line. Practice switching between the two in one stroke.
A common beginner mistake is holding the brush like a pencil and pressing too hard. This can flatten the tip and make your lines look clumsy. Instead, use a gentle touch and let the brush glide.
Basic Dagger Brush Techniques
Understanding what you can do with a dagger brush is the first step. Here are some core techniques to practice:
1. Broad Strokes
Load your brush with paint and lay the full flat edge on the surface. Pull the brush towards you for a bold, wide stroke. This is useful for backgrounds or the base of leaves.
2. Fine Lines
Use just the sharp point of the brush. Drag it lightly to create thin lines—perfect for stems, hair, or veins.
3. Flicking
Start with the full edge, then flick your wrist upward or sideways, letting the brush lift off the paper. This creates a line that starts wide and ends in a point, like a blade of grass.
4. Twisting
As you paint, twist the brush between your fingers. This changes the angle of the tip, creating lines that vary in width. It’s great for petals or ribbons.
5. Layering
Because the brush holds a lot of paint, you can layer colors smoothly. Start with a light touch and build up more color for depth.
Practical Painting Tips For Dagger Brush
Knowing the techniques is one thing, but using them in real paintings takes practice. Here are tips to help you get better results:
- Use good quality paper or canvas: Cheap surfaces can ruin your strokes. Watercolor paper or primed canvas works best.
- Keep your brush clean: Rinse often, especially when switching colors, to avoid muddy results.
- Practice pressure control: Try making lines from thick to thin in one motion. This is the key to natural-looking grass and petals.
- Load the brush properly: Dip only the tip for fine lines, or the whole edge for big strokes.
- Let the brush do the work: Don’t fight the shape. Trust the brush to create the effects for you.
- Experiment with angles: Try holding the brush almost flat, or straight up, to see how the shape changes your stroke.
- Work quickly for freshness: Dagger brushes are great for loose, flowing styles, so don’t overwork areas.
- Combine with other brushes: Use the dagger for details, and a round brush for washes or backgrounds.

Credit: www.youtube.com
Common Subjects For Dagger Brush Painting
Some subjects are perfect for the dagger brush because of its shape. Here are a few you should try:
Leaves And Foliage
The angled tip creates natural-looking leaves in just one or two strokes. Start with the full edge, then flick to a point. You can even add veins by using the tip.
Grass And Weeds
For grass, load the brush, press down, and flick upward. Vary the angle for more realistic results. Try overlapping strokes for a wild look.
Flower Petals
Twist and lift the brush as you paint petals. This makes them look soft and curved without much effort.
Animal Fur Or Hair
Short, quick flicks with the tip can mimic fur. For long hair, use the edge and drag gently.
Water And Waves
The dagger can make rippling water lines. Use the flat edge for wide reflections, then twist to break them up.
Real-world Examples: Dagger Brush Vs. Other Brushes
It helps to see how the dagger brush compares to other common brushes. Here’s a quick comparison:
| Brush Type | Best For | Strengths | Weaknesses |
|---|---|---|---|
| Dagger Brush | Leaves, grass, petals, ribbons | Versatile lines, easy curves, holds paint | Not for large washes |
| Round Brush | General painting, details | Fine points, good for lines and washes | Not as good for sharp edges |
| Flat Brush | Large areas, sharp edges | Strong lines, bold blocks of color | Harder for delicate curves |
As you can see, the dagger brush fills a special role between the round brush and flat brush.
Materials And Brands: Choosing The Right Dagger Brush
Not all dagger brushes are the same. Here’s what to look for when choosing one:
Bristle Type
- Synthetic bristles: Last longer, easier to clean, and often cheaper. Good for acrylics and watercolors.
- Natural hair: Softer, holds more paint. Best for watercolor.
Handle Length
- Short handles: Better for close-up detail work.
- Long handles: Good for easel painting and loose strokes.
Price And Quality
A good dagger brush can cost between $10 and $30. Cheaper brushes often lose their shape quickly.
| Brand | Bristle Type | Price Range | Best For |
|---|---|---|---|
| Princeton Neptune | Synthetic | $15-$25 | Watercolor |
| Silver Black Velvet | Natural | $20-$30 | Professional watercolor |
| Da Vinci Nova | Synthetic | $12-$20 | Acrylic, oil |
If you’re not sure where to start, visit an art store and test a few brands. Look for brushes that snap back to a point when wet.
Step-by-step: Painting A Leaf With A Dagger Brush
Let’s put the tips into practice with a simple exercise—painting a leaf.
- Load the brush: Dip the edge in green paint, then touch just the tip to a darker or lighter shade.
- Start at the base: Place the flat edge at the base of the leaf.
- Pull and flick: Drag the brush upwards while twisting slightly, then flick off at the tip to form a point.
- Add veins: Use the tip to paint thin lines from the center outwards.
- Layer for depth: Let the first layer dry, then add more color for shadows or highlights.
This method works for most leaves and is much faster than painting with a round brush. You’ll notice the brush naturally forms the right shape.

Credit: www.kerriewoodhouse.com
Advanced Techniques And Creative Uses
Once you’re comfortable with the basics, try these advanced ideas:
- Wet-in-wet blending: Use the dagger brush on wet paper to blend colors smoothly.
- Dry brush effect: Use less water or paint for a rough, textured look, great for bark or sand.
- Double loading: Dip one edge in one color, and the other edge in a second color. The brush will paint both at once, making colorful strokes.
- Calligraphy: The sharp point and edge make dagger brushes good for lettering and flourishes.
Mistakes Beginners Make (and How To Fix Them)
Even with the best brush, mistakes can happen. Here’s how to avoid common problems:
- Forcing the brush: Let the brush shape do the work. If your strokes look stiff, relax your hand and use your wrist.
- Using too much water or paint: This can make your lines bleed or lose shape. Practice with less paint at first.
- Not cleaning the brush well: Leftover paint can ruin the shape. Rinse thoroughly, especially between colors.
- Ignoring practice: Spend time just making lines and shapes on scrap paper. The more you practice, the more natural your strokes will feel.
Dagger Brush Care And Maintenance
Taking care of your dagger brush helps it last longer and keeps your strokes sharp.
- Rinse after each use: Use clean water for watercolor, or the right solvent for acrylics/oils.
- Shape the tip: After washing, reshape the bristles with your fingers before drying.
- Store flat or upright: Don’t leave the brush tip down in water—it will bend the bristles.
A well-kept brush can last years, while a neglected one may fray or lose its edge within months.
When To Use A Dagger Brush (and When Not To)
Dagger brushes are fantastic, but not for everything. Here’s a quick reference:
| Use a Dagger Brush For | Avoid for |
|---|---|
| Leaves, grass, petals, fur, ribbons, calligraphy | Large background washes, blocky shapes, heavy texture |
If you need to cover a large area or create solid blocks of color, switch to a flat or mop brush.
Non-obvious Insights For Better Results
Many beginners miss these advanced tips:
- Control the paint load: The dagger brush holds a lot of paint, but using too much can cause drips or puddles. Test on scrap paper until you find the right amount.
- Use the brush’s curve: If the bristles start to curve with use, don’t worry. This can actually help you make more natural, curved lines—just turn the brush so the curve works for you.
Learning Resources And Inspiration
To see masters using a dagger brush, look for artists on YouTube or Instagram who paint loose florals or landscapes. Watching real-time videos helps you understand the movement and pressure better than photos. For more in-depth guides, check out resources from Jackson’s Art Blog.

Credit: www.youtube.com
Frequently Asked Questions
What Size Dagger Brush Should I Start With?
A 1/4-inch to 3/8-inch dagger brush is perfect for beginners. It’s large enough for leaves and petals but still fine enough for details.
Can I Use A Dagger Brush With Acrylics Or Oils?
Yes, just make sure you choose a brush with synthetic bristles. Natural hair works best for watercolors, but synthetic holds up better with thicker paints.
Why Does My Dagger Brush Lose Its Point?
This can happen if you press too hard, use rough surfaces, or don’t clean the brush well. Always reshape the tip after washing and store the brush properly.
How Do I Make Clean Lines With A Dagger Brush?
Use just the tip, and practice steady, light pressure. Keep your wrist relaxed, and let the brush glide without forcing it.
What’s The Main Advantage Of A Dagger Brush Over A Round Brush?
The dagger brush allows you to create both wide and fine lines in a single stroke, making it faster and easier to paint natural subjects like leaves, grass, and petals.
Painting with a dagger brush can transform your art experience. With practice, you’ll find it becomes your go-to tool for nature, detail, and expressive marks. Try the tips above, and don’t be afraid to experiment—soon you’ll see why so many artists swear by this unique, versatile brush.