
Painting a tree is a fun and creative activity that helps children express themselves and learn about nature at the same time. Many kids love drawing but feel nervous about painting something as detailed as a tree. The good news is, painting a tree can be very simple—even for young children or beginners.
With the right steps and a bit of patience, every child can create a beautiful tree painting they can be proud of. This easy guide shows you how to paint a tree with kids, from gathering supplies to adding finishing touches.
Along the way, you’ll learn helpful tips, spot common mistakes, and discover how to keep the process enjoyable.
Why Painting Trees Helps Kids Grow
Learning how to paint a tree is more than just an art project. It supports many areas of child development:
- Fine motor skills: Holding a brush and making lines or dots improves hand muscles and control.
- Observation: Kids learn to look closely at tree shapes, colors, and patterns.
- Creativity: There are no limits—kids can use their imagination for leaves, sky, and background.
- Confidence: Finishing a tree painting gives kids a sense of achievement.
Many parents and teachers notice that children who paint regularly are better at focusing, following instructions, and problem-solving. Tree painting is also a gentle way to introduce kids to ideas about seasons, nature, and even environmental care.
Materials You Need For Easy Tree Painting
Before starting, gather all the supplies. You don’t need expensive materials. Simple items work well, especially for beginners.
| Material | Recommended for | Why it helps |
|---|---|---|
| Thick paper (watercolor, mixed media, or poster board) | All ages | Stays flat and holds paint well |
| Water-based paints (tempera, watercolor, or acrylic) | Kids 3+ | Easy to clean; bright colors |
| Paintbrushes (variety of sizes) | All ages | Thin for branches, thick for trunks or leaves |
| Palette or plate for mixing colors | All ages | Keeps colors organized |
| Water cup | All ages | For rinsing brushes |
| Paper towels or rags | All ages | Cleaning spills or drying brushes |
| Apron or old shirt | All ages | Protects clothing |
Optional items: cotton swabs, sponges, colored pencils, or crayons for adding details.

Credit: www.artycraftykids.com
Step-by-step Guide: How To Paint A Tree For Kids
This simple method can be used by children ages 4 and up, with help for younger kids. Older children can add more detail as their skills grow.
1. Prepare Your Workspace
Choose a flat surface with good light. Cover the table with old newspaper or a plastic sheet. Lay out all materials within easy reach. If painting in a group, give each child enough space.
2. Draw The Tree Trunk And Main Branches
Start with a pencil to sketch lightly. Encourage kids to draw a tall trunk in the middle of their paper. The trunk should be wider at the bottom and thinner at the top. Add 3–5 large branches spreading out from the trunk. For very young kids, you can draw the outline for them.
Tip: Branches should get thinner as they move away from the trunk. They don’t have to be straight—real trees have curved or zig-zag branches.
3. Add Smaller Branches
Use the pencil or a thin brush to add smaller branches. These branches split off from the big ones. Tell kids to use light, quick strokes. Too many branches can make the tree look crowded, so keep it simple at first.
Beginner insight: Many kids forget that branches don’t all go up. Some should reach out to the sides or even slightly downward.
4. Paint The Trunk And Branches
Choose brown paint or mix red, yellow, and a little black to make your own brown. Use a medium brush for the trunk and a thinner brush for the branches. Fill in the trunk with up-and-down strokes. For branches, use gentle, thin lines.
Non-obvious tip: If the paint is too thick, add a little water. This helps create smooth lines and prevents clumps.
5. Create The Leaves
There are several fun ways to add leaves:
- Dabbing with a round brush: Dip the brush in green paint and gently tap around the tips of the branches.
- Cotton swab method: Dip a cotton swab in paint and dot leaves around the branches. Use several shades for a natural look.
- Sponge technique: Press a small sponge into green paint, then dab on the leaves.
Encourage kids to use different greens—mixing yellow and blue makes new shades. For fall trees, try orange, red, and yellow.
6. Add Details And Background
Once the tree is dry, add extra details:
- Grass: Use a thin brush to paint small green lines at the base.
- Sky: Paint blue around the top or add white clouds.
- Flowers or fruits: Dot red, pink, or white for blossoms or apples.
- Birds or animals: Simple shapes add interest, but keep them small.
| Detail | Easy Method | Why Add? |
|---|---|---|
| Grass | Short upward strokes | Makes the scene more complete |
| Clouds | White paint in circles | Adds atmosphere |
| Fruit/Flowers | Small dots of color | Shows different seasons |
7. Let The Painting Dry
Leave the painting flat until it’s completely dry. This usually takes 15–30 minutes with water-based paints. Remind kids not to touch the painting too soon or colors may smudge.
Creative Variations: Exploring Different Tree Types
Painting trees doesn’t always mean painting the same kind of tree. Children love variety, and different trees can teach new skills.
- Cherry Blossom Trees: Use pink and white dots for flowers instead of green leaves.
- Palm Trees: Draw a tall, thin trunk with curved, long leaves.
- Autumn Trees: Use red, orange, yellow, and brown for leaves. Try layering colors for a realistic effect.
- Winter Trees: Paint bare branches and add dots of white for snow.
- Magic or Fantasy Trees: Use bright, unusual colors like purple or blue for a creative touch.
Insight: Letting kids pick their favorite type of tree or season increases engagement and creativity.
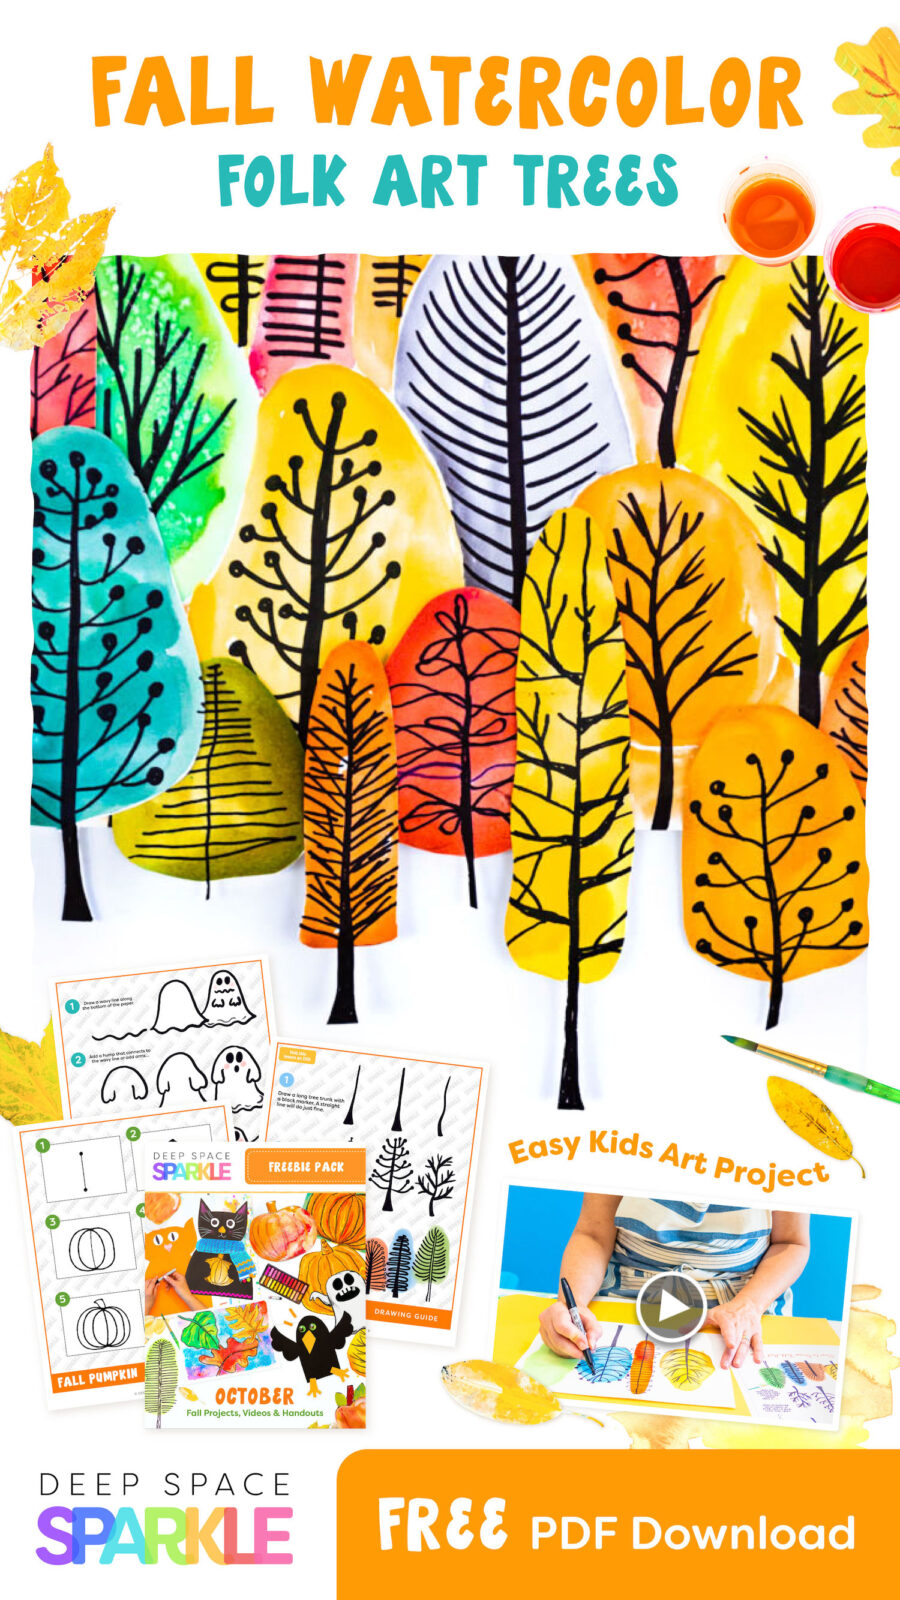
Credit: www.deepspacesparkle.com
Avoiding Common Mistakes Kids Make
Even simple projects come with challenges. Here’s how to help kids avoid frustration:
- Rushing through steps: Remind kids to wait for paint to dry before adding new colors. This prevents smears and muddy colors.
- Using too much paint: Teach them to dip their brush lightly and add more paint if needed.
- Drawing branches too straight: Show examples from nature—real branches bend and twist.
- Forgetting the roots or ground: Encourage painting a bit of grass or soil so the tree doesn’t “float.”
- Over-mixing colors: Too many colors mixed at once turn brown or gray. Use separate spots on the palette.
Teaching Kids About Tree Parts And Seasons
While painting, you can talk with kids about parts of a tree:
- Roots: Hidden underground, help the tree stand and get water.
- Trunk: The main support, carries food and water.
- Branches: Spread out to hold leaves and reach the sun.
- Leaves: Make food for the tree using sunlight.
Each season changes how a tree looks. In spring, trees have blossoms; in summer, green leaves; in autumn, colorful leaves; in winter, bare branches or snow.
Learning while painting helps children remember new facts. For more about trees and seasons, check this Wikipedia article on trees.
Fun Tree Painting Activities For Groups
Tree painting is perfect for classrooms, birthday parties, or family time. Here are a few group ideas:
- Season mural: Each child paints a tree for a different season. Hang them together to show a year of trees.
- Family tree art: Paint a tree and add fingerprint leaves for each family member.
- Class forest: Each student paints one tree, then all paintings are displayed to make a “forest” on the wall.
Group painting builds teamwork and appreciation for different styles.
Safety And Cleanup Tips
- Use non-toxic paints for children under 8.
- Wash hands after painting, even if paints are labeled safe.
- Quickly wipe up spills to avoid stains.
- Store unused paint and brushes in a safe place out of reach from small children.
Simple Troubleshooting: What To Do If…
| Problem | Quick Fix |
|---|---|
| Paint runs off the paper | Use less water or thicker paper |
| Colors look dull | Let layers dry before adding new paint |
| Branches look too thick | Switch to a thinner brush or use a cotton swab |
| Leaves cover the branches | Paint branches first, let dry, then gently dab on leaves |
Extra tip: Show kids how to wash their brushes gently—don’t smash the bristles, swirl them in water.
Displaying And Celebrating Your Tree Painting
When the tree painting is finished and dry, celebrate your child’s effort. Hang it on the wall, share a photo with family, or add it to an art portfolio. Compliment the unique choices your child made, such as unusual colors or creative shapes.
Non-obvious benefit: Kids are more likely to keep painting and improving if their work is appreciated—not just graded.

Credit: www.youtube.com
Frequently Asked Questions
How Can I Help My Child If They Say They “can’t Draw”?
Encourage them to start with simple shapes. Drawing a tree trunk is just a long rectangle, and branches are lines. Remind them that trees in nature look different—there’s no “perfect” tree. Show examples and paint together for extra confidence.
What’s The Best Age For Kids To Start Painting Trees?
Children as young as 3 or 4 can paint simple trees with help. Around age 6, most kids can follow steps and use brushes on their own. Adjust the activity to your child’s age and patience.
How Do I Prevent A Mess When Painting With Kids?
Cover your table, use old shirts or aprons, and choose washable paints. Keep wipes or paper towels nearby. Paint in a space that’s easy to clean, like the kitchen or outside.
Can Tree Painting Be A Science Lesson?
Yes! Talk about how trees grow, why they have leaves, and how seasons change their appearance. Painting is a great way to learn new words and facts about nature.
What If My Child Wants To Use Unusual Colors For The Tree?
Let them! Using colors like purple, blue, or even rainbow branches boosts creativity. There are no rules in art, and experimenting helps kids discover their own style.
Painting a tree with kids is a joyful and rewarding project. With simple steps and a relaxed attitude, children can create art that teaches them about nature, color, and their own imagination. The most important part is to have fun and celebrate every unique tree!


