Have you ever wanted to capture the powerful energy of waves crashing on the shore with your paintbrush? Painting waves in acrylic can seem tricky, but with the right techniques, you can bring that dynamic movement and vibrant splash to your canvas.
In this guide, you’ll discover simple steps to create stunning, lifelike waves that look like they’re about to jump right out of your painting. Get ready to unlock your creativity and make your seascapes come alive like never before. Keep reading, and soon you’ll be mastering the art of painting crashing waves with confidence!
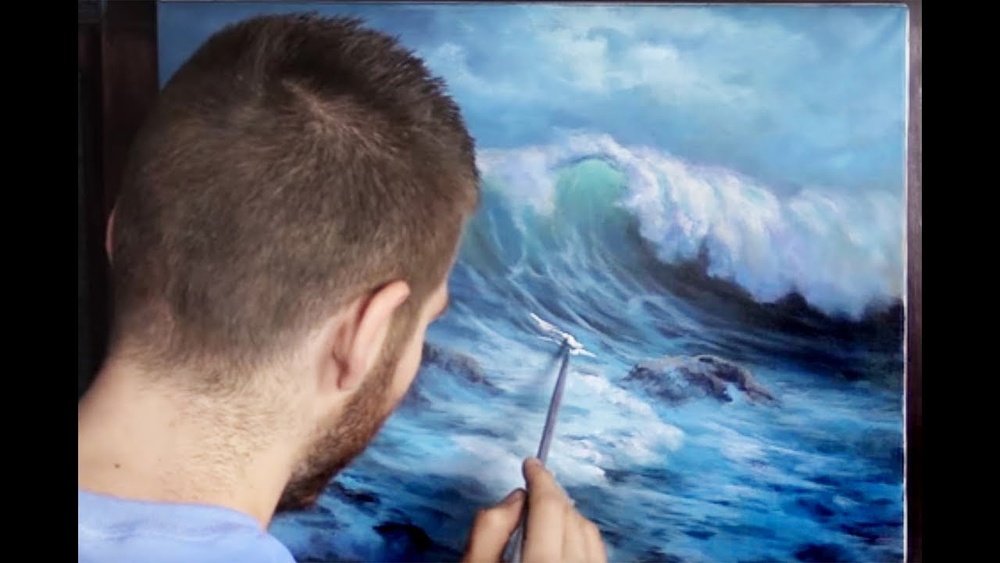
Credit: theartsherpa.com
Choosing The Right Materials
Choosing the right materials is key to painting waves that look real and lively. Good supplies help you capture the movement and color of crashing waves. This section guides you through the best acrylic paints, brushes, and canvas preparation for your ocean scene.
Selecting Acrylic Paints
Pick acrylic paints with bright, rich colors. Blues, whites, and greens work well for waves. Choose paints that dry quickly but stay smooth. Look for high-quality brands to get better color and coverage. Using the right shades helps your waves look natural and dynamic.
Picking Suitable Brushes
Use different brush shapes for various wave parts. Flat brushes cover large areas fast. Round brushes make smooth, curved lines for wave crests. Fan brushes create texture for foam and spray. Choose brushes with firm, synthetic bristles that hold paint well. Clean brushes often to keep strokes neat.
Preparing Your Canvas
Start with a clean, dry canvas. Apply a layer of gesso to seal and prime it. Gesso stops paint from soaking in and improves texture. Let the gesso dry completely before painting. A well-prepared canvas makes your waves stand out and last longer.
Capturing Wave Movement
Capturing wave movement in acrylic painting brings energy and life to your art. Waves are never still. They flow, crash, and change shape quickly. To paint waves that look real, you must understand their motion. This helps you show their power and beauty on canvas.
Observing Wave Anatomy
Waves have parts: the crest, face, lip, and foam. The crest is the top edge, often curling. The face is the smooth front side. The lip is the part that folds over when the wave breaks. Foam forms where the wave crashes. Watch videos or photos of waves. Notice how these parts move and interact.
Sketching Dynamic Lines
Use flowing, curved lines to suggest motion. Draw the wave’s shape with sweeping strokes. Avoid stiff, straight lines. Let your pencil or brush follow the wave’s natural curve. Add smaller lines to show spray and foam. These details make the wave look alive and moving.
Planning Composition
Decide where the wave will be on the canvas. Place it to guide the viewer’s eye through the painting. Consider the background and foreground elements. Leave space for the wave to “move” into. Balance the wave with empty areas or other features like rocks or sky. This creates a sense of motion and flow.
Mixing Colors For Realism
Mixing colors well is key to painting waves that look real. The ocean has many shades. Blending the right colors makes the waves come alive. Use simple color mixes to show the water’s depth and movement. Small changes in color create big effects.
Creating Ocean Blues And Greens
Start with basic blue and green paints. Mix blue with a little green for sea tones. Add tiny amounts of yellow to warm the color. Use darker blue or black to show deep water. Light blue and turquoise work for shallow areas. Test colors on paper before painting the wave.
Adding Highlights And Shadows
Highlights and shadows give waves shape. Mix white with your blue-green mix for highlights. Use a darker mix for shadows under the wave curves. Shadows make waves look round and strong. Highlights show where sunlight hits the water. Keep these colors soft and blend well.
Using White For Foam And Spray
White paint is great for wave foam and spray. Use pure white or mix with a tiny blue for cooler foam. Dab white softly on wave edges for spray effect. Use a small brush to add foam details. This makes waves look fresh and lively. Avoid too much white to keep foam natural.
Techniques For Painting Waves
Painting waves that look alive takes specific techniques. Waves have many layers and movements. Capturing this needs careful steps with acrylic paint. The following methods help create waves that feel deep, moving, and real.
Layering Paint For Depth
Start with a dark base color to represent deep water. Add lighter shades on top for highlights and foam. Use thin layers to build up the wave’s shape slowly. This layering creates a sense of depth and volume. It makes the wave look three-dimensional and dynamic.
Using Brush Strokes To Mimic Water
Choose brush strokes that follow the wave’s flow. Long, curved strokes show the wave’s movement. Short, quick strokes suggest splashes and foam. Varying brush pressure changes the texture of the paint. This technique helps mimic how water moves and crashes.
Incorporating Texture With Mediums
Add texture by mixing acrylic mediums into the paint. Gel mediums thicken paint for rough, raised surfaces. Use a palette knife to spread thick paint for foam and spray. Texture adds realism and interest to the wave. It makes the painting feel more tactile and alive.
Detailing Foam And Splash
Detailing foam and splash adds life to waves crashing in acrylic paintings. It creates texture and shows the sea’s energy. Small touches make the scene feel real and vibrant. This section guides you on how to paint these effects with simple steps.
Adding Foam Patterns
Start with white or light colors for foam. Use a small brush to paint irregular shapes. Draw dots, short lines, and swirls. These shapes show where water bubbles and crashes. Avoid smooth edges. Keep the patterns rough for a natural look.
Capturing Spray And Mist
Use a dry brush or sponge for spray effects. Lightly dab white paint near wave crests. This creates a soft, misty look. Spray appears where waves break and throw water up. Keep the paint thin to keep the mist transparent and light.
Enhancing Realistic Effects
Mix light blue or gray with white for shadows in foam. Paint small shadows under foam edges. This adds depth and volume. Blend edges softly to avoid hard lines. Finish by adding tiny dots of bright white for highlights. These show sunlight hitting water drops.

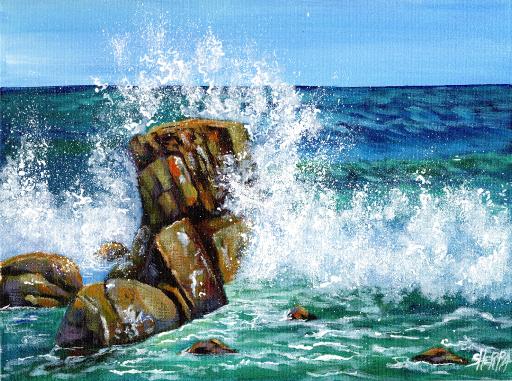
Credit: www.montmarte.com
Final Touches And Refinements
Final touches bring your wave painting to life. This stage improves depth, balance, and detail. It helps your artwork look complete and polished. Small changes can make a big difference. Take your time to refine the shapes and colors carefully.
Balancing Light And Contrast
Check the light and dark areas on your canvas. Waves need clear highlights and shadows. Use white or light blue for foam and crest lights. Add darker blues or greens in the deeper water. Contrast makes waves look powerful and real. Avoid flat colors by mixing shades smoothly.
Correcting Proportions
Look closely at wave sizes and shapes. Adjust any parts that seem too big or small. The wave’s curve should flow naturally. Check the foam’s position on the wave’s edge. Use a small brush to fix details like spray and bubbles. Proper proportions give your painting balance and realism.
Sealing Your Painting
Seal your acrylic painting with a clear varnish. It protects colors from dust and fading. Choose matte or glossy finish based on your style. Apply thin layers with a clean brush. Let each layer dry before the next. Sealing also adds a smooth surface and depth to your waves.
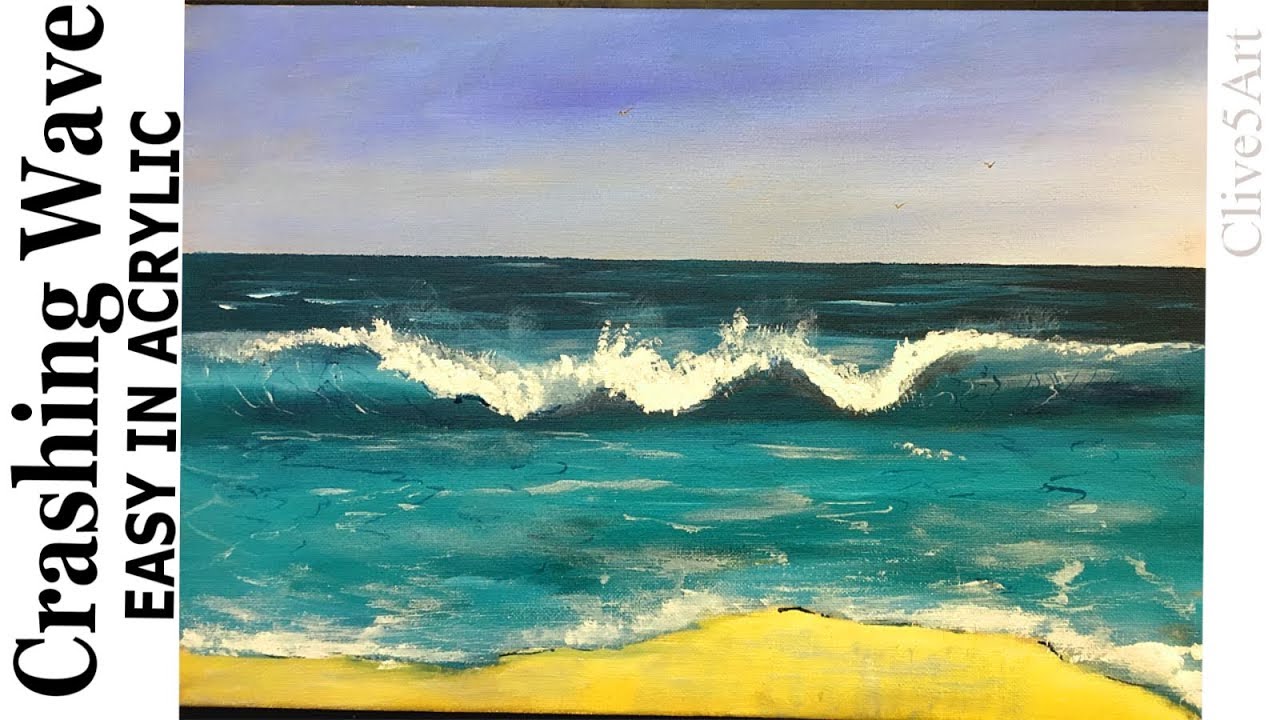
Credit: www.youtube.com
Frequently Asked Questions
How Do I Start Painting Waves Crashing In Acrylic?
Begin with a light sketch of the wave shapes. Use a large brush to block in base colors. Focus on layering blues, whites, and greens to create depth and movement.
What Acrylic Colors Work Best For Painting Waves?
Use ultramarine blue, phthalo blue, titanium white, and green shades. These colors mimic real ocean hues and help create realistic wave effects.
How To Paint Realistic Foam In Crashing Waves?
Apply thick white paint with a small brush or palette knife. Use dabbing and flicking techniques to create textured foam and splash effects.
What Brush Types Are Ideal For Wave Painting?
Flat brushes are great for broad strokes. Fan brushes help create foam textures. Detail brushes add fine lines and highlights on waves.
Conclusion
Painting waves crashing with acrylic can be fun and relaxing. Start with simple shapes and colors. Use white paint to show foam and spray. Practice blending blues and greens for water depth. Don’t rush; take your time to add details.
Each wave looks different, so enjoy creating your own style. Keep trying, and you will see improvement. Painting waves helps you understand nature’s beauty better. Grab your brush and let your creativity flow!