Are you ready to take your digital art to the next level? Learning how to create textures in Procreate can transform your drawings from flat and simple to rich and lifelike.
Whether you’re aiming for rough, smooth, gritty, or soft surfaces, mastering textures adds depth and character to every stroke you make. In this guide, you’ll discover easy, step-by-step techniques to craft stunning textures that bring your artwork to life. Stick with me, and by the end, you’ll have the skills to make your Procreate creations truly stand out.
Let’s dive in and unlock the full potential of your digital canvas!
Texture Basics
Understanding texture basics is essential for creating stunning digital art in Procreate. Textures add depth and interest to your artwork. They can transform flat colors into rich, tactile surfaces. Learning how textures work helps you choose and create the right effect for your piece.
Textures can be subtle or bold, depending on your style. They influence the mood and realism of your design. Mastering texture basics allows you to enhance your art with ease and creativity.
Types Of Textures
There are many types of textures you can create in Procreate. Some common ones include rough, smooth, grainy, and soft textures. Rough textures mimic surfaces like wood or stone. Smooth textures resemble glass or metal. Grainy textures add a natural, organic feel. Soft textures create a gentle, blended look. Each type serves a different purpose in art.
You can combine textures for unique effects. Experiment with brushes and layers to find the best fit for your project.
Choosing The Right Texture
Choosing the right texture depends on your artwork’s theme and style. Think about the surface you want to imitate. For example, use rough textures for rocks or bark. Use smooth textures for shiny objects like glass. Consider the emotion you want to convey. Textures can make your art feel cozy, harsh, or lively.
Test different textures on a small area before applying them widely. This helps you see how they affect the overall look. Balance texture with color and shading for the best results.

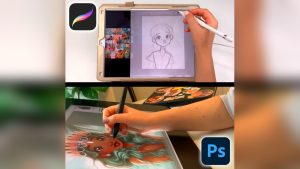
Credit: www.youtube.com
Setting Up Procreate
Setting up Procreate properly is the first step to creating beautiful textures. This section helps you prepare your workspace for smooth texture design. Clear canvas and imported textures make the process easier and more efficient.
Proper setup saves time and improves the final artwork quality. Follow these steps to get ready.
Canvas Preparation
Open Procreate and tap the plus icon to create a new canvas. Choose the size that fits your project needs. A larger canvas gives more detail but may slow your device.
Set the canvas resolution to at least 300 DPI for sharp textures. Choose a color profile like RGB or P3 for vibrant colors. Remember to name your canvas to find it easily later.
Clear the background or set a base color that suits your texture style. This step gives a clean start and helps you see texture details clearly.
Importing Textures
Tap the wrench icon to open the Actions menu. Select Add then Insert a photo or file. Browse your device and choose the texture image you want to use.
Adjust the texture size and position on your canvas by dragging and pinching. Use the opacity slider to blend the texture gently with your background.
Lock the texture layer to avoid accidental changes. You can duplicate or erase parts of the texture to customize it further. Importing textures saves time and adds realism to your artwork.
Creating Custom Texture Brushes
Creating custom texture brushes in Procreate allows you to add unique details to your artwork. These brushes give your designs a natural, handcrafted feel. You can control every aspect of the brush to match your style and needs. This section explains how to create custom texture brushes step-by-step.
Brush Settings
Start by opening the brush library and tapping the plus icon. This creates a new brush. Adjust the brush shape by choosing a base texture image. This image sets the pattern your brush will paint.
Next, control the brush grain. This defines the texture that repeats as you draw. You can import your own grain or select from Procreate’s options.
Modify the brush behavior by adjusting settings like spacing, jitter, and scatter. These affect how the texture appears while drawing. For example, increasing spacing spreads the texture apart.
Change the opacity and flow to control how solid or transparent the texture looks. Experiment with these until you find the effect you want.
Using Brush Studio
Brush Studio is where you fine-tune all brush features. Open Brush Studio by tapping your custom brush, then selecting “Edit.”
Explore each tab: Shape, Grain, Rendering, and more. The Shape tab lets you change the brush tip’s shape source. The Grain tab controls the repeating texture inside the brush stroke.
In Rendering, choose how the brush interacts with color and layers. You can make the texture blend or stand out.
Use the Dynamics and Apple Pencil tabs to adjust pressure, tilt, and speed sensitivity. This lets you create a more natural drawing experience.
Test your brush on a canvas often. Small tweaks can make a big difference in texture quality.
Applying Textures
Applying textures in Procreate adds depth and character to your digital artwork. It transforms flat surfaces into visually rich compositions. This step enhances realism and artistic expression.
Textures can be applied using different methods. Choosing the right approach depends on your project’s style and needs. Two key techniques are layer management and adjusting blend modes with opacity.
Layer Techniques
Use separate layers for each texture to keep your work organized. This lets you edit textures without affecting the base artwork. Duplicate layers to try different effects quickly.
Mask layers to apply textures selectively. This protects areas where you want to keep clean details. Use clipping masks to restrict textures to specific shapes.
Arrange texture layers above or below other elements to create depth. Experiment with layer order to see how textures interact with your drawing.
Blend Modes And Opacity
Blend modes control how texture layers mix with layers underneath. Modes like Multiply, Overlay, and Soft Light are popular for textures. They add shading or highlight effects naturally.
Adjust opacity to control texture strength. Lower opacity makes textures subtle, while higher opacity makes them bold. Fine-tune opacity for the perfect balance.
Test different blend modes and opacity settings for unique looks. Combine multiple textures with varied modes to create complex surfaces.
Adding Paper Textures
Creating seamless backgrounds in Procreate allows artists to design patterns that repeat smoothly. These backgrounds are perfect for digital wallpapers, fabric prints, or web design. A seamless texture has no visible edges or breaks, making the pattern continuous. Achieving this effect requires careful planning and technique. Below are key methods to create seamless backgrounds efficiently.
Tileable Texture Creation
Tileable textures fit together like puzzle pieces without gaps or overlaps. Start by designing a square canvas in Procreate. Draw your texture inside this square, focusing on the center area first. Use the “Offset” feature under the “Adjustments” menu to shift the image horizontally and vertically by half the canvas size. This move brings the edges to the center.
Fix any visible seams or mismatched areas that appear after offsetting. Use tools like the smudge brush or clone stamp to blend edges smoothly. Repeat offset and fix steps until no seams show. Test the tile by duplicating the layer multiple times to see if the pattern repeats without disruption.
Repeating Patterns
Repeating patterns use the tileable textures to fill larger areas. After creating a seamless tile, duplicate it across your canvas. Align each tile perfectly to maintain the flow of the pattern. Vary tile rotation or colors for more dynamic effects.
Procreate’s layer grouping helps manage multiple tiles easily. Lock the original tile layer to avoid accidental changes. Use grids and snapping features for precise alignment. Repeating patterns create visually appealing and professional backgrounds quickly.
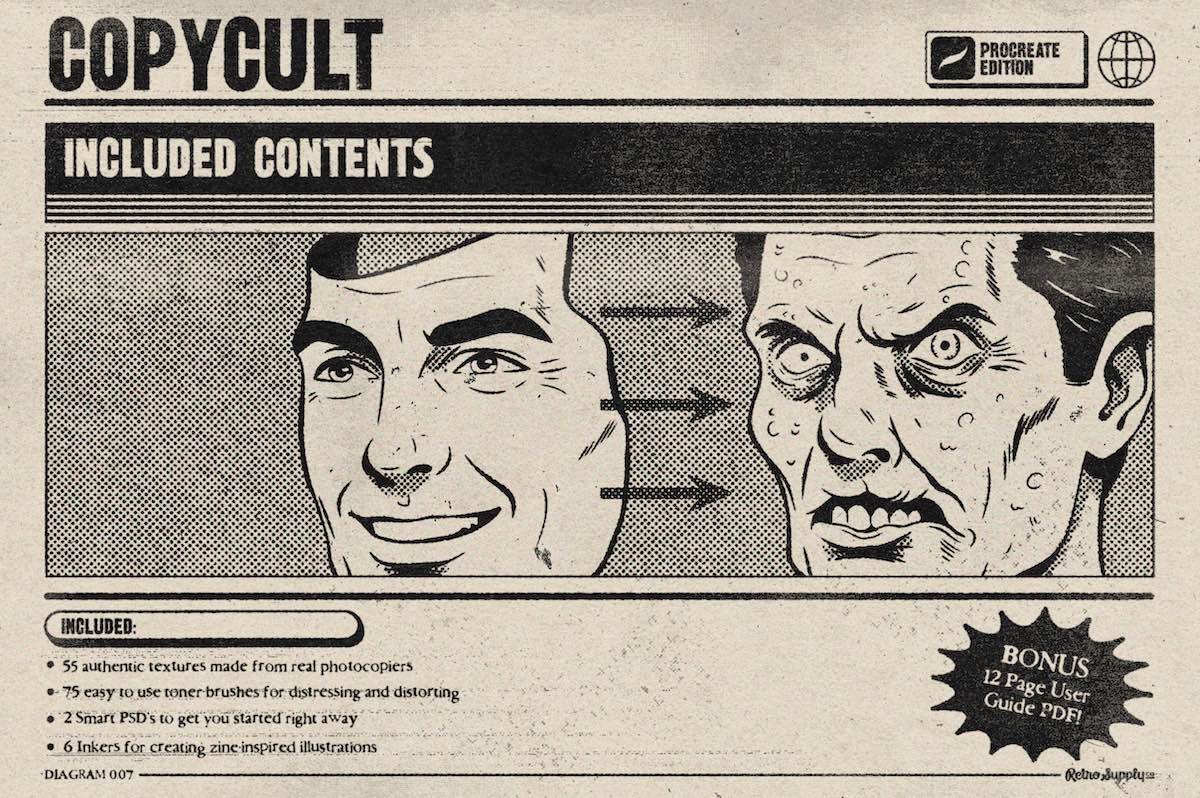
Credit: www.retrosupply.co

Credit: www.youtube.com
Frequently Asked Questions
How To Create Textures In Procreate?
Create a new layer above your artwork in Procreate. Select or design a texture brush. Apply strokes to add texture. Adjust layer opacity and blending modes for a natural look. Use imported texture images for variety and refine with eraser or smudge tools.
How To Use Guides In Procreate?
Open the Actions menu by tapping the wrench icon. Select Canvas, then enable Drawing Guide. Customize guides via Edit Drawing Guide for grids or symmetry. Use guides to align and draw accurately.
How To Draw Basic Textures?
To draw basic textures, place paper on a textured surface and tape it. Use the side of your pencil with light, side-to-side strokes, keeping them close without gaps. Gradually increase pressure for depth and practice to improve texture realism.
How To Create A Texture Overlay?
Create a new layer above your artwork. Paste or paint your texture on this layer. Adjust blend mode and opacity for desired effect. Use masks to refine texture placement. Save your work as PNG for overlay use.
Conclusion
Creating textures in Procreate opens new paths for your art. Practice each step patiently to see improvement. Use simple brushes and layers to build depth. Experiment with different textures to find your style. Keep your designs clean and visually interesting.
Textures add life and realism to digital drawings. Enjoy the process and keep creating with Procreate.