Painting a barn in oil can transform a simple rural scene into a vibrant work of art that tells a story. Whether you’re a beginner or looking to refine your skills, this guide will help you capture the rustic charm and timeless beauty of a barn using oil paints.
You’ll learn how to choose the right colors, create depth, and add details that bring your painting to life. Ready to turn your canvas into a stunning barn landscape? Let’s dive in and make your oil painting truly unforgettable.
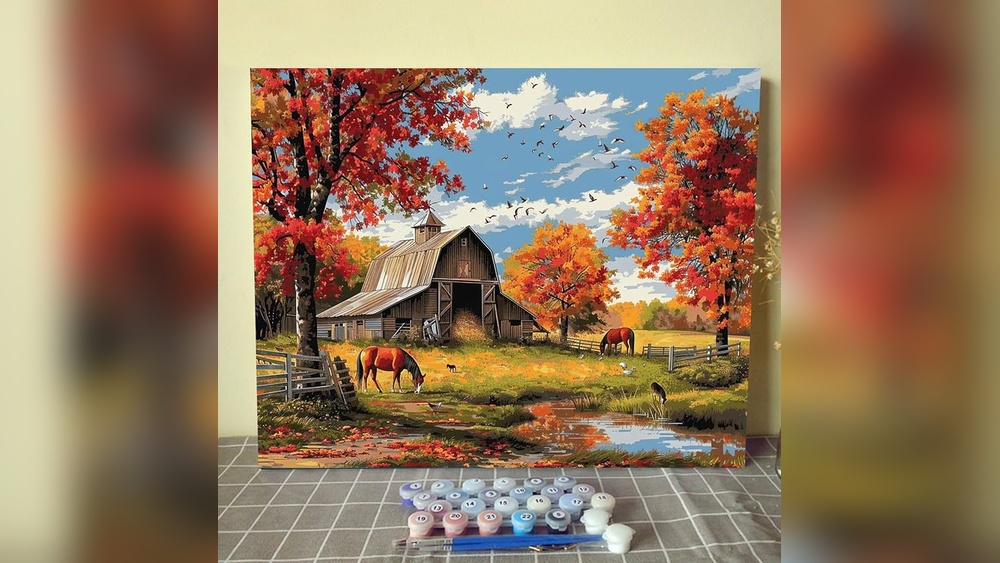
Choosing Your Materials
Choosing the right materials is the first step to a successful oil painting of a barn. Good supplies make painting easier and more enjoyable. The quality of your paints, brushes, and canvas affects the final look. It also helps you capture the rustic charm of a barn effectively. Take time to select tools that suit your style and skill level.
Selecting Oil Paints
Choose oil paints with rich, vibrant colors. Reds, browns, and greens work well for barn scenes. Look for paints that have strong pigment and smooth consistency. Artist-grade paints last longer and offer better coverage. Start with basic colors and mix your own shades for natural effects. Avoid cheap paints that may fade or crack over time.
Picking Brushes And Tools
Use a variety of brushes to add texture and detail. Flat brushes help cover large areas like walls and sky. Round brushes are perfect for fine lines and details, such as barn wood grain. Choose brushes made with natural bristles for oil paints. Palette knives can create interesting textures and shapes in your painting. Keep your tools clean to maintain their quality.
Preparing Your Canvas
Start with a primed canvas designed for oil painting. Priming protects the canvas fibers and prevents paint from soaking in. Use a white or light-colored primer to make colors pop. Stretch your canvas tightly on a frame to avoid wrinkles. Apply a thin undercoat to establish the barn’s basic shapes before adding details. This step helps paint layers stick better and last longer.
Planning Your Composition
Planning your composition is the first step to a successful barn painting in oil. It sets the foundation for your artwork. This stage helps you decide the barn’s shape, size, and its place in the scene. A clear plan guides your brush and colors. It also makes the painting process smoother and more enjoyable.
Sketching The Barn
Begin by sketching the barn on your canvas or paper. Use light pencil marks to outline the barn’s main shapes. Focus on simple forms like rectangles and triangles. Keep proportions correct but do not worry about details yet. This sketch acts as a guide for your painting. Adjust the barn’s size or position until it feels right.
Positioning Landscape Elements
Next, plan where to place trees, fields, or fences around the barn. These elements add depth and interest to your painting. Arrange them to balance the composition. Avoid crowding the barn or leaving too much empty space. Think about how these elements lead the viewer’s eye to the barn. This step makes your painting look natural and complete.
Considering Light And Shadow
Think about the light source before painting. Decide where sunlight hits the barn and where shadows fall. Light and shadow create volume and mood in your artwork. Observe real barns or photos to see how light shapes them. Mark shadow areas lightly on your sketch. This planning helps you add realistic highlights and shading later.
Mixing Colors
Mixing colors is a key step when painting a barn in oil. It helps you capture the real look and feel of the scene. Choosing the right shades brings life and depth to your painting. Understanding how to blend colors can make your barn look rustic and natural. Simple color mixes create rich and vibrant tones for every part of your painting.
Creating Barn Reds And Earth Tones
Start with basic reds like cadmium red or alizarin crimson. Mix in small amounts of yellow ochre or burnt sienna for warmth. Add a touch of burnt umber to darken the red for shadow areas. Earth tones come from mixing ochres, siennas, and a little ultramarine blue. These colors give the barn a weathered, natural appearance. Adjust the ratios to find the perfect rusty red or soft brown.
Mixing Sky And Foliage Colors
Use ultramarine blue and titanium white to create bright sky blues. Add a bit of yellow to warm the sky near the horizon. For foliage, mix sap green with touches of yellow and blue. Add burnt sienna or raw umber for shadowed leaves. These blends make the trees and bushes look lively and real. Use soft transitions between colors for a natural effect.
Blending For Natural Effects
Blending is essential to avoid harsh lines in your painting. Use a clean, dry brush to softly mix colors on the canvas. Work quickly while the paint is wet to create smooth transitions. Gentle blending mimics natural light and texture. This technique makes the barn and surroundings look more lifelike and pleasing. Try blending different areas to see how colors interact.
Credit: www.amazon.com
Building The Painting Layers
Building the layers in an oil painting sets the foundation for a rich and vibrant barn scene. Each layer adds depth and dimension, helping the barn come alive on the canvas. This process requires patience and careful attention to how colors and shapes interact. Follow simple steps to create a strong structure before refining details.
Starting With An Underpainting
Begin with a thin layer of paint called the underpainting. Use neutral tones to sketch the main shapes and shadows. This layer guides the composition and values for the whole painting. It helps establish light and dark areas early on. Keep the underpainting simple and loose.
Blocking In Major Shapes
Next, block in the barn’s main shapes with solid colors. Focus on the roof, walls, and large shadows. Use a medium-sized brush to cover large areas quickly. Avoid small details at this stage. This step builds the painting’s basic structure and color balance.
Adding Midtones And Highlights
Apply midtones to create volume and form on the barn. Gradually add lighter colors to show highlights where light hits. Use smaller brushes for more control. Blend edges softly to create smooth transitions. These layers bring life and realism to the painting.
Detailing The Barn
Detailing the barn brings your oil painting to life. This step adds texture, character, and realism. Focus on the barn’s surfaces and shapes. Small touches create a strong impact. Let’s explore how to highlight wood texture, weathered effects, and architectural details.
Painting Wood Texture
Start with the grain of the wood. Use thin, quick brush strokes to mimic natural lines. Vary the stroke length and direction for more realism. Mix browns, greys, and subtle reds for the wood color. Apply darker shades in gaps and edges to add depth. Lightly dry brush to create roughness and imperfections.
Capturing Weathered Effects
Old barns show signs of age and weather. Add fading colors to represent sun exposure. Use a soft brush to blend lighter tones on the wood surface. Paint small cracks and chips with a fine brush. Streaks of dirt or moss add realism. These details suggest time and history in your painting.
Adding Architectural Details
Pay attention to doors, windows, and roof edges. Use sharp lines to define these shapes clearly. Highlight nails, hinges, and wood panels with small strokes. Shadows under eaves and around openings add dimension. Include subtle reflections on glass if the barn has windows. These details make your barn believable and interesting.
Credit: samuelearp.com
Enhancing The Surroundings
Enhancing the surroundings in your barn oil painting adds depth and life. It creates a scene that feels real and inviting. Attention to trees, sky, and ground makes the barn stand out. These elements support the main subject and give the painting balance.
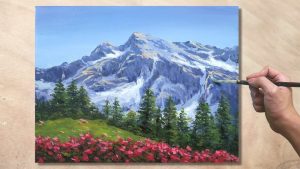
Painting Trees And Foliage
Start by blocking in large shapes of trees using broad brush strokes. Use different shades of green to show light and shadow. Paint leaves with quick, varied dabs to suggest texture. Add darker tones near the trunk and lighter tones on sunlit leaves. Keep edges soft to blend trees naturally with the sky and barn. Small touches of yellow or orange create seasonal interest.
Creating A Realistic Sky
Begin with a light blue base and blend gently for smooth gradients. Use horizontal strokes to mimic the sky’s natural flow. Add soft white clouds with round, fluffy shapes. Blend cloud edges softly to avoid harsh lines. Vary cloud size and shape to keep the sky dynamic. Subtle color changes near the horizon add depth and distance.
Adding Ground Textures
Use short, varied brush strokes to paint grass and dirt. Mix greens, browns, and yellows for a natural look. Highlight sunlit areas with lighter tones. Add small rocks or patches of bare earth for realism. Use thicker paint or a palette knife for rough textures. Ground details help anchor the barn and complete the scene.
Final Touches And Finishing
Adding the final touches and finishing your barn painting in oil is crucial. This stage brings the artwork to life and ensures it lasts over time. Focus on refining small areas, balancing colors, and protecting the painting. Each step enhances the overall impact and quality of your work.
Refining Details
Look closely at your barn and surrounding elements. Use a fine brush to sharpen edges and highlight key features. Add small lines for wood grain or cracks. These tiny details create realism and depth. Avoid overworking the painting; subtlety is key. Step back often to see the effect from a distance.
Balancing Colors And Contrast
Check the harmony of colors across your painting. Adjust shadows and highlights to add dimension. Increase contrast to make the barn stand out against the background. Use glazing techniques to deepen tones without losing texture. Make sure the colors feel natural and unified throughout the scene.
Applying Varnish For Protection
Once dry, apply a varnish layer to protect your painting. Choose a varnish that suits your desired finish—matte, satin, or glossy. Varnish shields from dust, dirt, and UV light damage. Use a soft, wide brush and apply thin, even coats. Allow each coat to dry fully before adding another. This step preserves your art for years.

Credit: www.youtube.com
Common Mistakes To Avoid
Painting a barn in oil can be a rewarding experience. Avoiding common mistakes helps keep your work fresh and realistic. These errors often affect the overall look and feel of the painting. Understanding what to avoid ensures better results and a smoother painting process.
Overworking The Paint
Applying too many layers can make the paint muddy and thick. It hides details and reduces the vibrancy of colors. Work in stages, letting layers dry before adding more. Keep brush strokes confident and avoid excessive blending. This preserves texture and keeps the painting lively.
Ignoring Light Source
Light defines the shape and mood of your barn. Not considering the light source causes flat and unrealistic images. Decide where the light hits and where shadows fall. Use lighter tones on sunlit areas and darker tones in shadows. Consistent lighting adds depth and makes the barn stand out.
Neglecting Color Harmony
Colors in your painting should work well together. Clashing or random colors can confuse the eye and spoil the scene. Choose a color palette that matches the setting and mood. Use similar tones for the barn and background to create unity. Harmonious colors make your painting pleasant and balanced.
Tips For Beginners
Starting an oil painting of a barn can feel exciting and a bit challenging. Beginners need simple tips to build confidence and improve skills. Focus on small steps and enjoy the process. Each tip here helps you paint with more control and better results.
Practicing Brush Techniques
Brush control is key in oil painting. Try different strokes on a scrap canvas. Use short dabs, long lines, and soft blends. Practice switching brush angles and pressure. This helps create texture on the barn’s wood and roof. Clean brushes between colors to keep your work sharp.
Working With Thin Layers
Thin layers dry faster and prevent paint from cracking. Start with a light base color on the barn. Let it dry before adding details. Build color slowly by layering thin paint. This method keeps your colors bright and clear. It also allows changes without ruining earlier work.
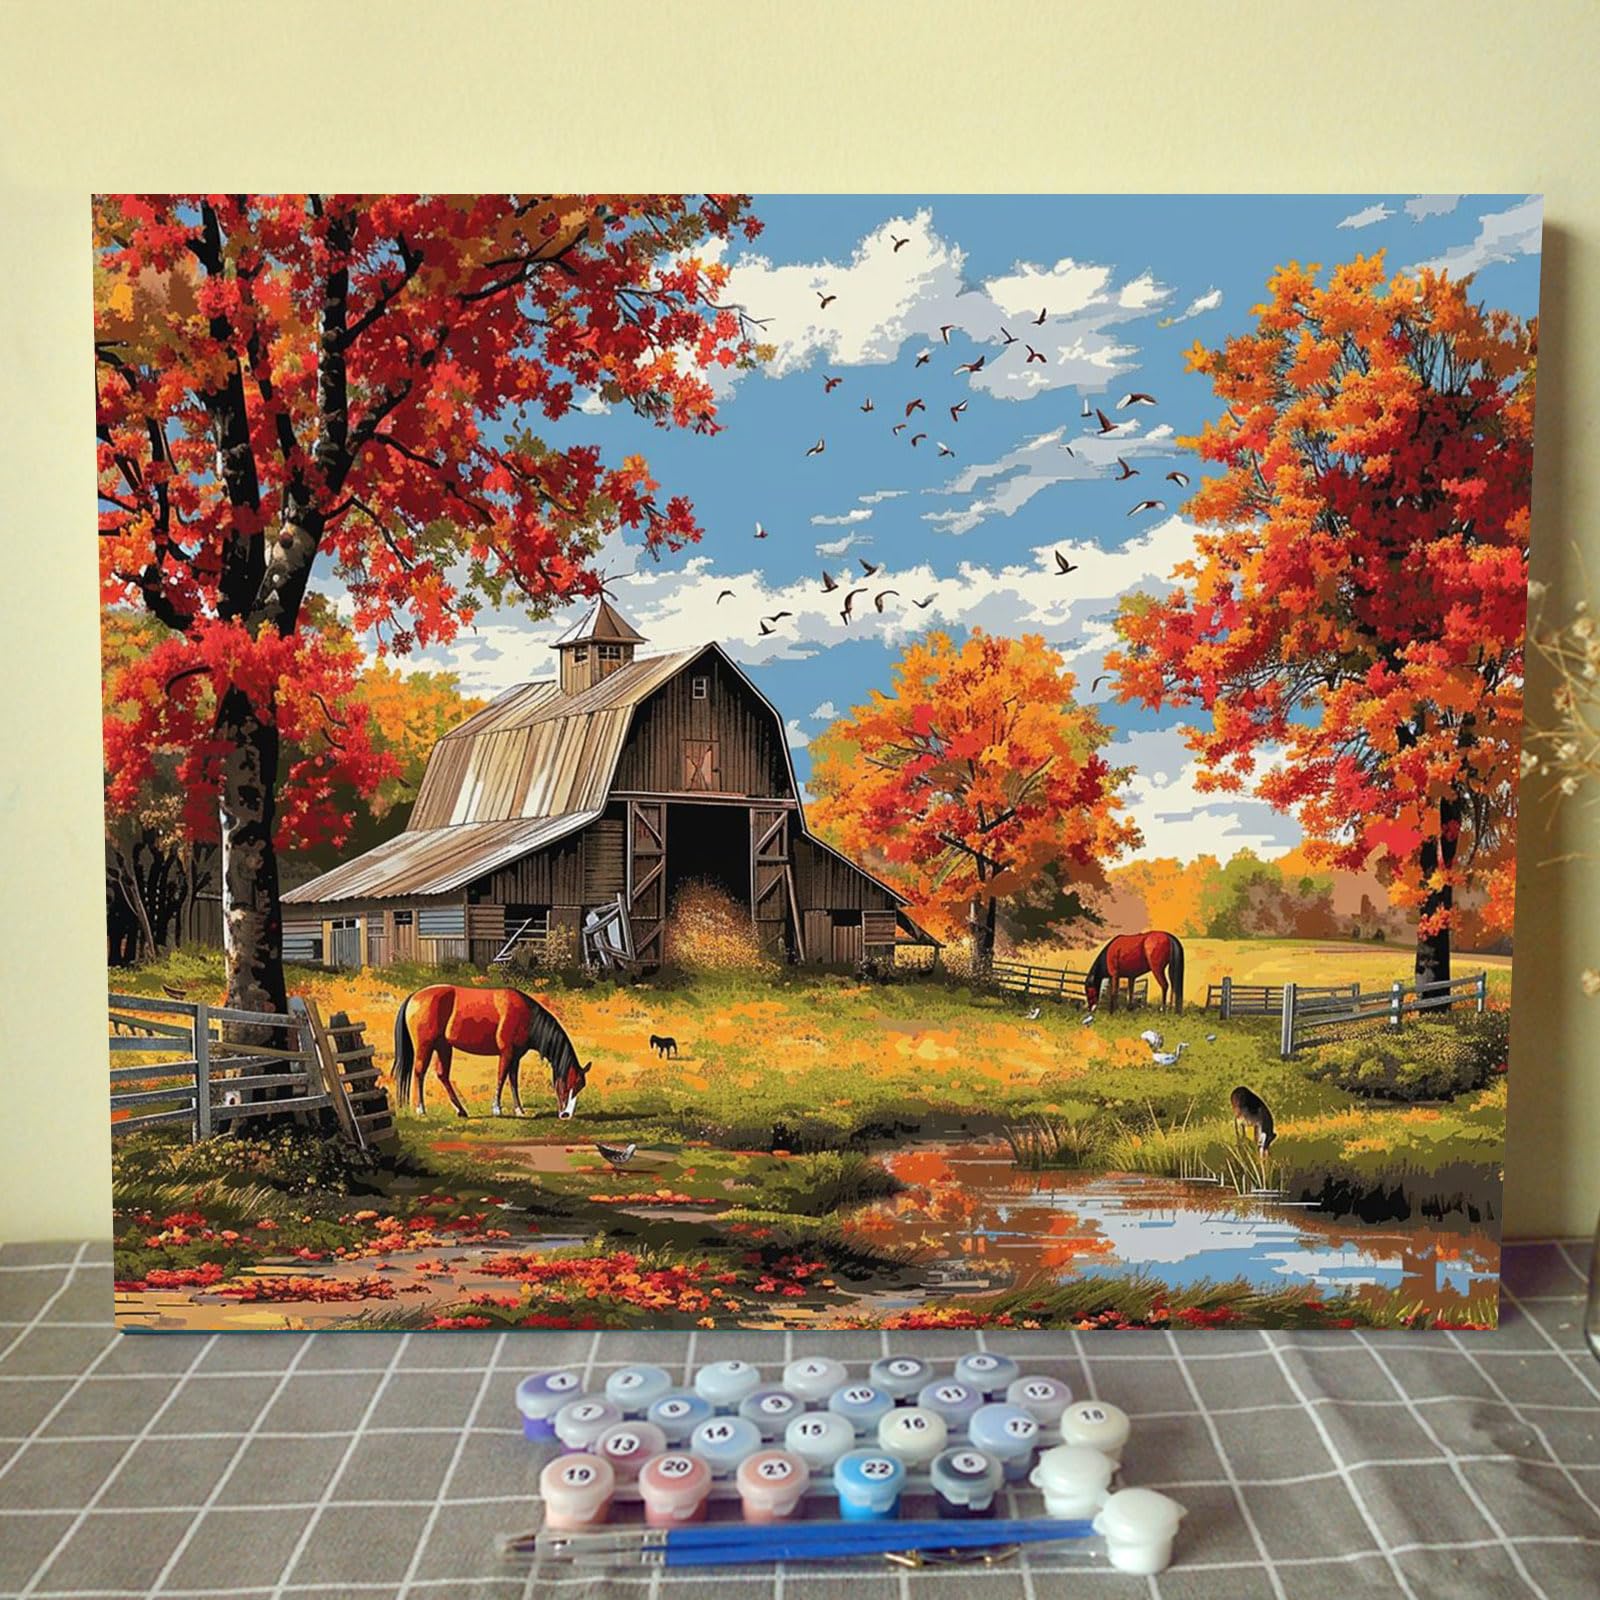
Using Reference Images
Reference images guide your painting and improve accuracy. Find photos of barns in different lights and seasons. Notice shapes, shadows, and colors carefully. Use the images to copy details like wood grain and roof tiles. References help you avoid mistakes and create a realistic barn scene.
Frequently Asked Questions
What Materials Do I Need To Paint A Barn In Oils?
You need oil paints, brushes, canvas or board, palette, linseed oil, and turpentine. Prepare with a palette knife and rags for cleaning.
How Do I Start Painting A Barn In Oil?
Begin with a light underpainting to sketch barn shapes. Block in large color areas before adding details and textures.
What Colors Are Best For Barn Painting In Oils?
Use reds, browns, whites, and greys for realistic barns. Add greens and blues for surrounding landscape and sky.
How Can I Create Texture On The Barn’s Surface?
Apply thick paint with a palette knife or stiff brush. Use varied brush strokes to mimic wood grain and weathering.
Conclusion
Painting a barn in oil brings rustic charm to life on canvas. Use simple steps to build layers and add details. Focus on light, shadow, and color to create depth. Practice often to improve your brushwork and blending skills. Enjoy the process and express your unique style freely.
This art form offers endless ways to capture peaceful countryside scenes. Keep experimenting and have fun with your barn oil painting journey.