Painting is a wonderful way for children to express their creativity, learn new skills, and have fun. Many kids love animals, and cats are a favorite subject because of their playful shapes and cute faces. For parents and teachers, finding easy ways to teach kids how to paint a cat can open doors to both artistic growth and joyful memories.
In this article, you’ll discover a simple, step-by-step guide for painting a cat, plus helpful tips, creative ideas, and answers to common questions. Whether you’re a parent, teacher, or just curious, you’ll find everything you need to help kids paint a cat with confidence.
Why Painting A Cat Is Great For Kids
Painting a cat isn’t just about making a cute picture. It helps kids improve their hand-eye coordination, practice fine motor skills, and learn about colors and shapes. Since cats have clear, easy-to-recognize features, they’re perfect for young artists. Even children who are just starting to paint can create a cat they’ll be proud of.
On top of that, painting can make kids feel relaxed and happy. It’s a good way to take a break from screens and enjoy quiet, focused time. When children finish their cat painting, they feel a real sense of achievement.
What You Need Before You Start
Having the right supplies makes painting easier and more fun. Here’s a simple list of what you’ll need:
- Thick paper or a small canvas (A4 or 9×12 inches works well)
- Paints: Watercolor or poster paints are best for kids
- Paintbrushes: One small and one medium-sized
- Cup of clean water
- Paper towel or old rag
- Pencil and eraser
- Palette for mixing colors (a plastic plate is fine)
- Apron or old shirt to protect clothing
If you want, you can add extras like crayons, markers, or glitter for decoration.
Step-by-step Guide: How To Paint A Cat For Kids Easy
Let’s break down the process into easy steps, so children can follow along without getting confused or overwhelmed.
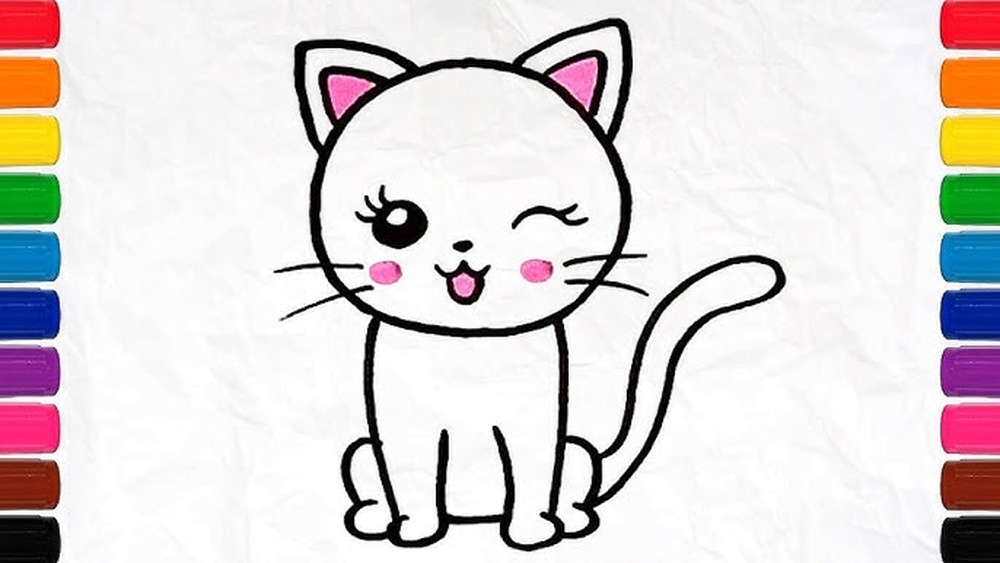
1. Drawing The Cat’s Shape
First, use a pencil to lightly sketch the basic cat shape. Start with simple shapes:
- Draw a circle for the head.
- Add a bigger oval below for the body.
- Draw two triangle shapes on top of the head for ears.
- Add a long, curling tail on one side.
- Lightly sketch four simple legs (just lines or ovals).
Keep the lines soft so you can erase if needed. Don’t worry about details yet.
2. Outlining The Cat
Once the basic shape looks good, you can go over the lines with a darker pencil or a black marker. This makes the cat stand out and helps younger kids paint inside the lines.
3. Painting The Body
Start with the main color of the cat. For example, orange for a tabby, gray, black, or white. Use the medium brush and paint the body, head, tail, and legs.
- If using watercolor, dip your brush in water first to help the paint spread.
- For thicker paints, use a little water to make it easier for kids to work with.
- Remind kids to rinse their brush before changing colors.
Let the first layer dry before adding more colors or details.
4. Adding The Face
The face is what gives the cat its character! Use a small brush and black or dark brown paint for:
- Eyes: Two ovals or circles. Add a tiny white dot for sparkle.
- Nose: A small upside-down triangle.
- Mouth: Two short lines coming down from the nose, making a small “W” shape.
- Whiskers: Three thin lines on each side.
If kids want, they can add eyebrows or little dots above the mouth.
5. Painting The Ears And Tail
Use a pink or light color for the inside of the ears. The tail can be painted with stripes or spots if the child wants a patterned cat.
6. Adding Details
Once the main parts are dry, kids can add stripes, spots, or other decorations. They can also paint a background—like grass, a window, or a favorite toy near the cat.
7. Final Touches
Let the painting dry fully. Erase any visible pencil lines. If you like, add glitter or glue to make the painting pop.
Comparison: Painting With Watercolors Vs Poster Paints
Here’s a quick look at how watercolors and poster paints compare for kids’ cat paintings:
| Feature | Watercolors | Poster Paints |
|---|---|---|
| Color Brightness | Soft, light colors | Bold, bright colors |
| Drying Time | Dries very quickly | May take longer to dry |
| Clean-up | Easy with water | Needs more scrubbing |
| Blending Colors | Easy to mix and blend | Good for solid areas |
| Best For | Light, soft effects | Strong, clear shapes |
Simple Cat Painting Ideas For Kids
If you want to keep things interesting, here are a few fun ideas:
- Rainbow Cat: Paint each part of the cat a different bright color. Let kids choose their favorites.
- Cartoon Cat: Give the cat big eyes and a silly smile.
- Sleeping Cat: Draw the cat curled up in a ball.
- Cat With a Fish: Add a small fish in the cat’s paw or near its mouth.
- Patterned Cat: Try stripes, spots, or even a zig-zag tail.
Encourage kids to use their imagination—there’s no wrong way to paint a cat!
Tips For Helping Kids Succeed
Children sometimes get frustrated if their painting doesn’t look “perfect.” Here are some ways to help:
- Praise effort, not results. Say things like “I love how you chose those colors!”
- Show examples, but let kids make their own choices.
- Break tasks into small steps. Help with tricky parts, like the face.
- Keep supplies within reach to avoid spills and messes.
- Let them explore. If a child wants a purple cat, that’s great!
Remember, the goal is fun and learning, not perfection.
Common Painting Mistakes And How To Avoid Them
Young artists often make the same mistakes when painting cats. Here’s how you can help prevent them:
- Using too much water: Paint gets runny and the paper may tear. Teach kids to dab their brush on a paper towel before painting.
- Forgetting to let layers dry: Colors can mix and look messy. Remind kids to wait between steps.
- Pressing too hard with the brush: This can damage the paper. Show how a gentle touch works better.
- Not cleaning the brush: Mixing colors can make muddy brown. Remind children to rinse the brush between colors.
- Drawing too many details: Keep it simple. Younger kids do best with big shapes and bold colors.
Fun Facts About Cats To Inspire Kids
Kids love learning interesting things about their painting subjects. Here are some cat facts you can share as they paint:
- Domestic cats sleep for about 12–16 hours a day.
- The average cat can jump up to six times its length.
- Each cat’s nose print is unique, just like a human fingerprint.
- Cats have 32 muscles in each ear, helping them hear very well.
- The world’s oldest known pet cat lived over 9,000 years ago (found in a grave in Cyprus).
Sharing fun facts can keep kids interested and make the painting session more memorable.

Credit: www.youtube.com
Cat Painting Themes For Different Ages
Not all kids are the same. Here’s how you can match the painting activity to different age groups:
| Age Group | Best Cat Painting Style | Why It Works |
|---|---|---|
| 3-5 years | Simple shapes, bright colors | Easy to draw, helps with basic skills |
| 6-8 years | Cartoon cats, patterns | More control, enjoy creativity |
| 9-12 years | Realistic details, backgrounds | Ready for challenges, want to improve |
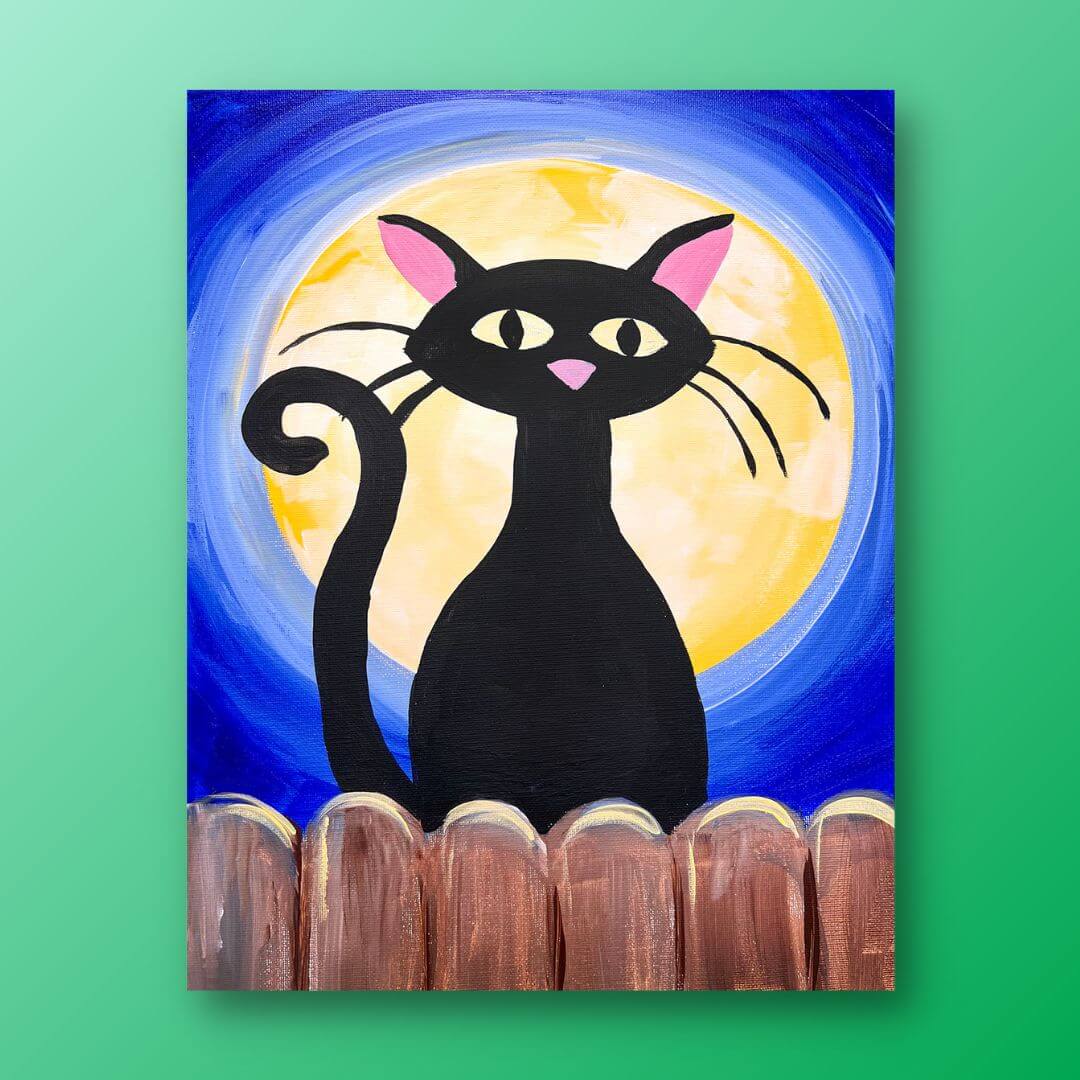
How To Display Kids’ Cat Paintings
When the painting is finished, it’s important to show that you value your child’s effort. Here are a few ideas:
- Hang it on the wall or fridge.
- Make a simple frame from colored paper or cardboard.
- Take a photo and share it with family.
- Create a gallery by hanging several paintings together.
- Turn the cat painting into a card for a birthday or holiday.
Displaying artwork boosts children’s confidence and encourages them to keep creating.
Credit: www.wineanddesign.com
Safety Tips For Painting With Kids
Art should be fun and safe. Follow these rules:
- Use non-toxic paints made for children.
- Make sure kids wear an apron or old clothes.
- Keep water cups away from the edge of the table.
- Wash hands after painting.
- Supervise young children, especially if scissors or glue are used.
You can find more tips about safe art materials on the U.S. Consumer Product Safety Commission website.
Two Insights Beginners Often Miss
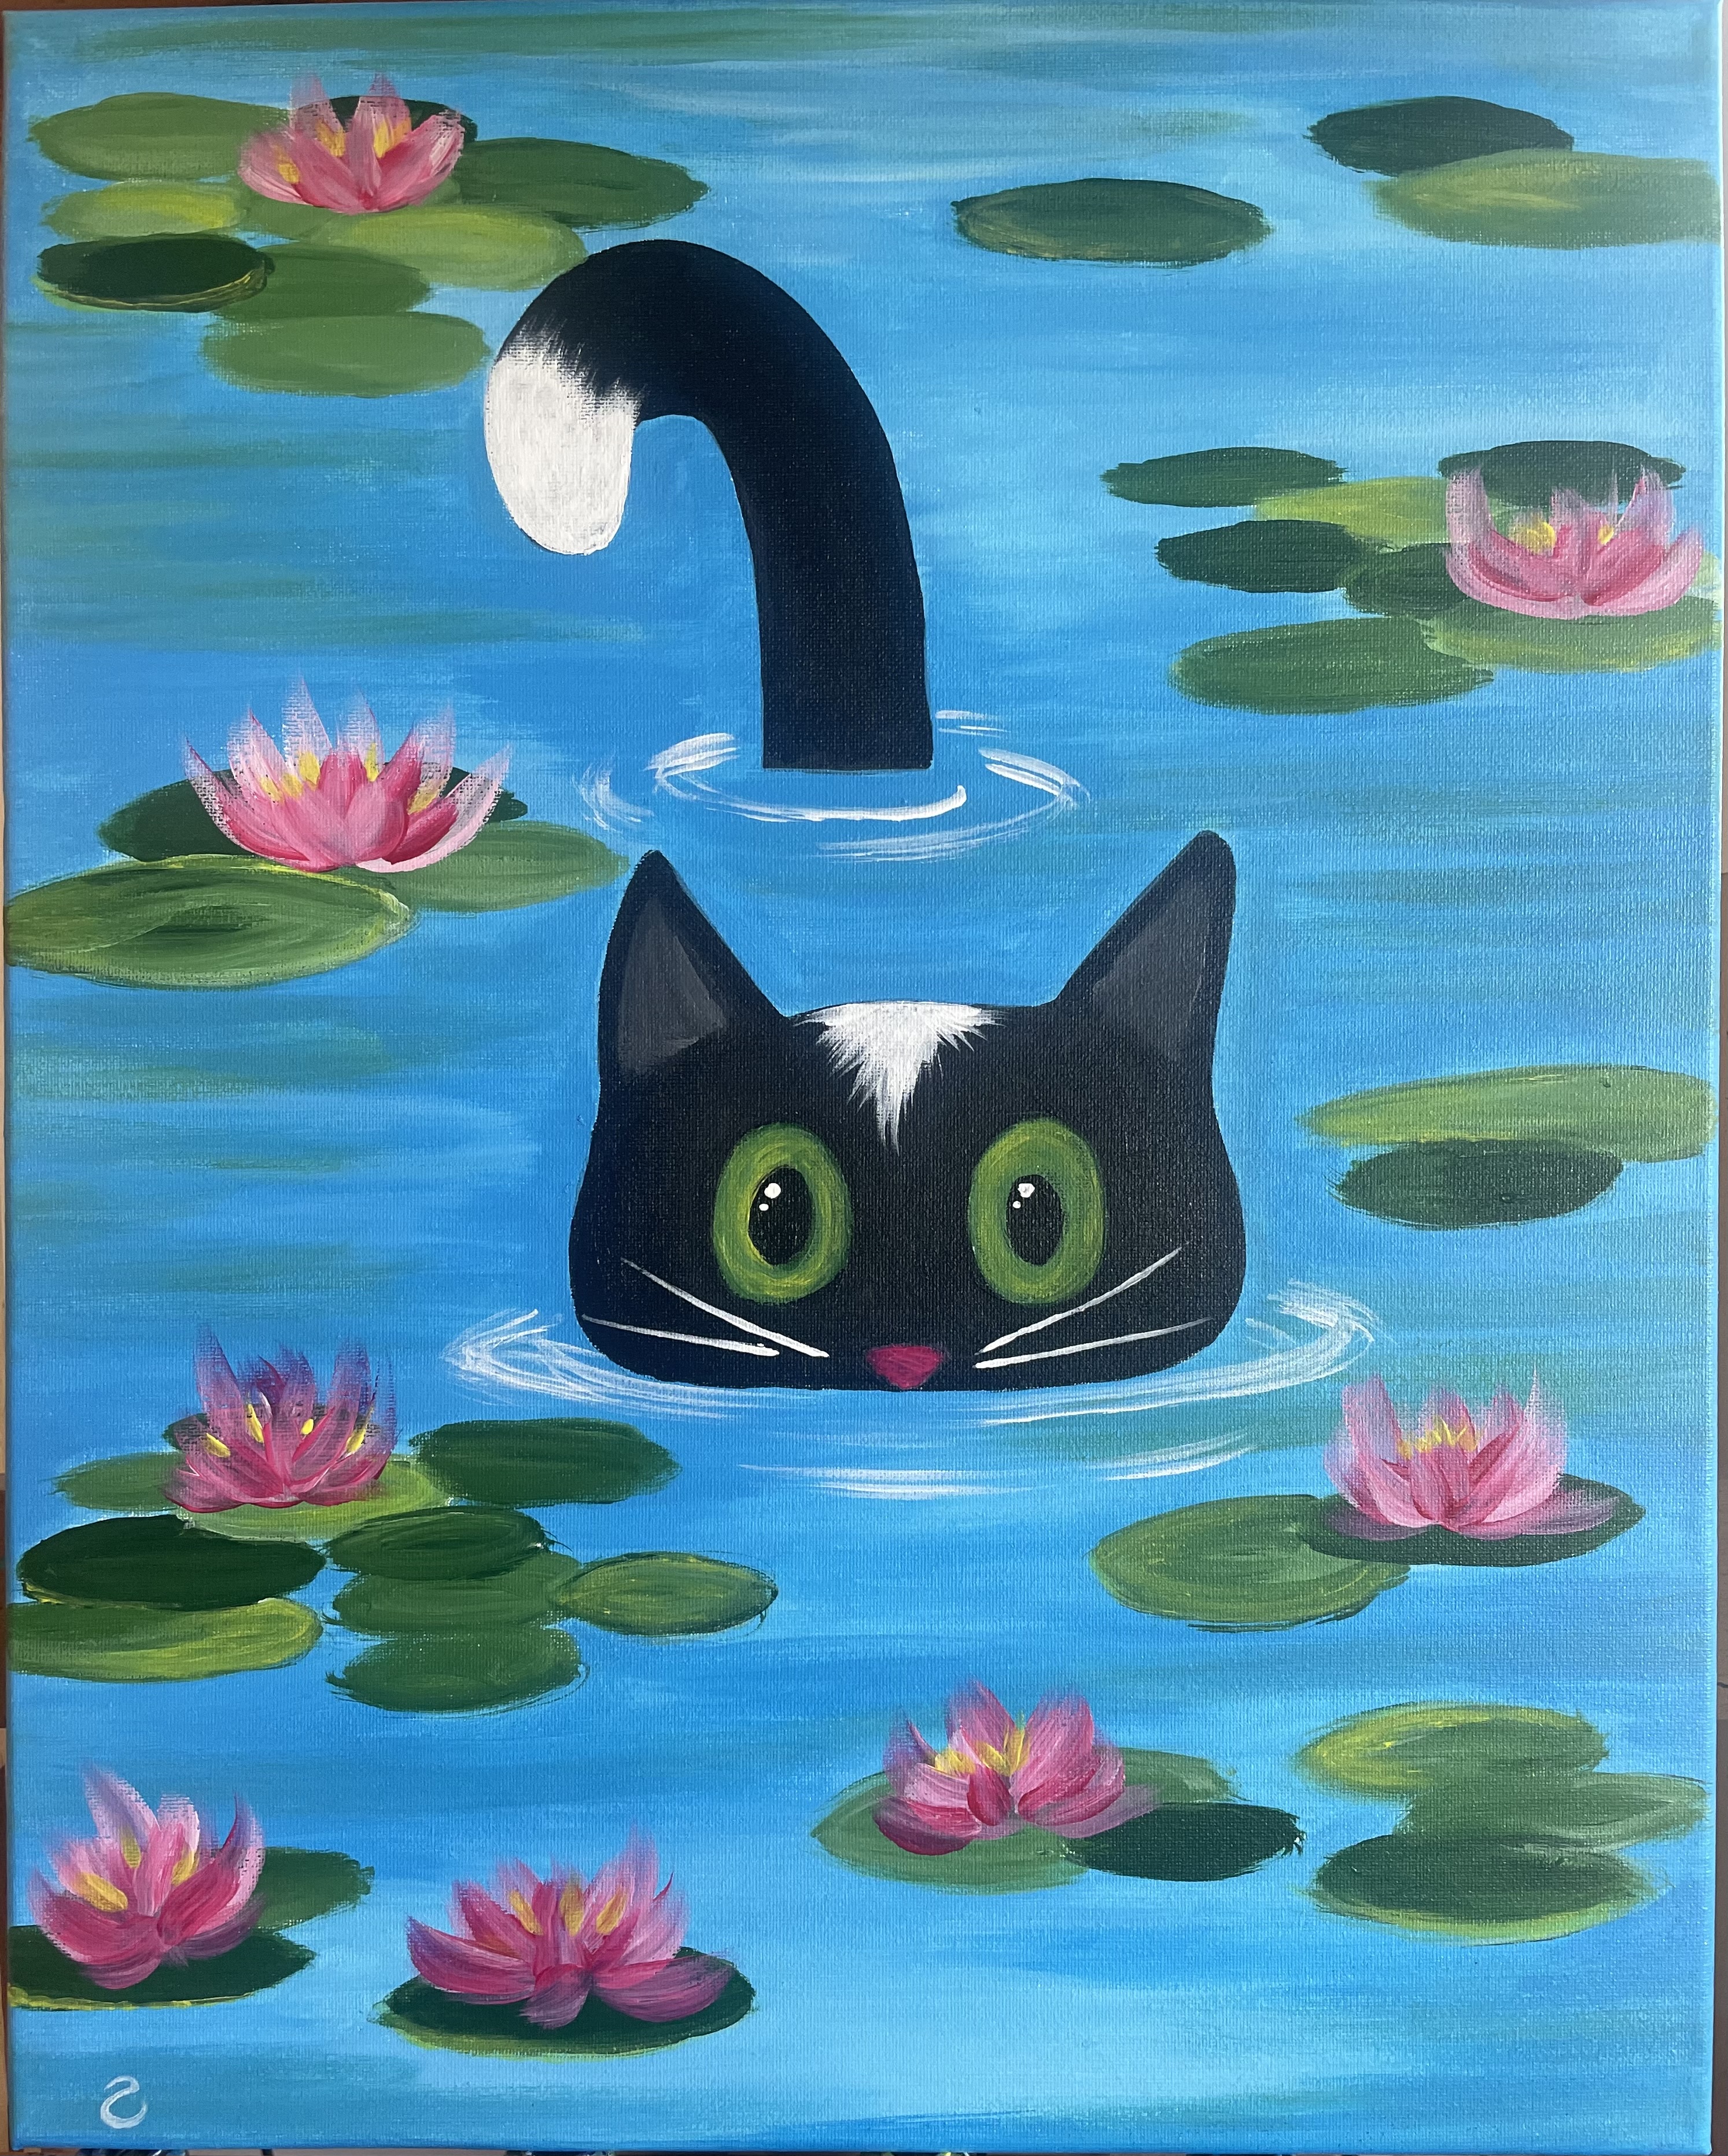
- Start light, then go dark: When painting, it’s easier to add dark colors over light ones. If kids start with black, it’s hard to fix mistakes.
- Background comes last: Many kids paint the background first, which can cause colors to mix in the wrong way. It’s usually better to finish the cat, let it dry, then add sky, grass, or other details.
Credit: www.paintingtogogh.com
Encouraging Creative Growth
Painting is not just about copying what others do. Let your child try new ideas, mix colors, or even paint a cat from their imagination. Sometimes the best art comes from unexpected choices. If a child wants to add a hat to their cat or paint it flying in space, encourage that creativity.
Don’t forget to celebrate every finished painting. A kind word or a proud smile can inspire kids to keep making art for years to come.
Frequently Asked Questions
How Can I Make Painting A Cat Easier For Very Young Children?
For toddlers or preschoolers, use very simple shapes—just a circle for the head, two triangles for ears, and an oval for the body. Let them use their fingers to paint if brushes are too tricky. Pre-draw the outline if needed.
What If My Child’s Painting Doesn’t Look Like A Cat?
That’s okay! Kids’ art is about the process, not the result. Every child sees and paints things differently. Focus on what your child enjoys and how proud they feel.
How Do I Help My Child Mix Colors?
Show them how to use a palette and add small amounts of paint to mix new colors. For example, mix red and yellow for orange, or blue and yellow for green. Let them experiment.
Can I Use Colored Pencils Instead Of Paint?
Yes, colored pencils or crayons work well, especially for smaller details. Kids can start with pencils and later try paints as their skills grow.
How Do I Clean Up After Painting?
Have children wash their hands with soap and water. Clean brushes right after use. Cover tables with old newspaper, and use a washable apron or shirt. Store paints and supplies out of reach when finished.
Painting a cat for kids is a joyful way to build skills and make memories. With these steps, tips, and creative ideas, any child can enjoy making their own masterpiece. Happy painting!